
Categorie popolari
State cercando un filato?














Commenti / Domande (30)
 Irene Connors ha scritto:
Pattern is knitting up beautifully, but im just wondering, when I cast on the 6 extra stitches on the side for armhole,are these stitches then included in the 1 garter and 8 rib stitches going down for the body? And then the remainder of the previous rib stitches worked in stocking stitch?
19.08.2026 - 09:09DROPS Design ha risposto:
Dear Mrs Connors, in size L and XL when you have cast on 6 new sts at the end of first 2 rows, turn and work 1 edge stitch in garter stitch, 8 sts in rib, work the remaining sts as before and cast on 6 new stitches, turn and work 1 edge stitch in garter stitch, 8 sts in rib, stocking stitch until 9 sts remain, work 8 sts in rib and 1 edge stitch. Happy knitting!
19.08.2026 - 17:22
 Iwona ha scritto:
Gdy długość robótki od markera wynosi 20-21-22-23-24-25 cm, przerobić 1 rząd na prawo na prawej stronie robótki, w tym samym czasie równomiernie dodając 28-30-34-38-42-46 oczek = 121-133-147-163-181-199 oczek. Długość robótki od rzędu nabierania oczek na szelki wynosi teraz ok. 38-40-42-44-46-48 cm. Mam pytanie dotyczące tego fragmentu, dlaczego mam tutaj dodawać oczka i w jaki sposób?
25.07.2026 - 22:54DROPS Design ha risposto:
Здравствуйте! Для вязания резинки спицами 2,5 мм требуется больше петель, чем для лицевой глади спицами 3 мм, поэтому мы будем делать прибавки перед началом вязания резинки; таким образом, ширина останется прежней. Приятного вязания!
11.08.2026 - 13:01
 Lynne ha scritto:
For the spring peaks design the arm increase stitch count is wrong. For example, the smallest size ends up with less stitches and the next size ends up with the exact same number of stitches after the increase rows. What is the correct stitch numbers for the patter after the armholes increase? And then the rest of the pattern?
03.07.2026 - 16:47DROPS Design ha risposto:
Dear Lynne, you start the armholes increases after the first row of the charts, in which you decrease 2 stitches for every repeat of A.1/ A.2. You had 103-103-107-107-111-111 stitches before starting the charts. You work A.1 8 times and A.2 once, so you decrease 18 sts: 85-85-89-89-93-93 sts for all sizes. Then, start the armhole increases; 2 stitches 4 times for the smallest size = 8 increases; 85+8= 93 sts. For the next size is 2 x (2+7=9) so 18 sts and you are back to the previousnumber of stitches. For the next size: 2x10 = 20, and so on. So the number of stitches is correct in the pattern. Happy knitting!
05.07.2026 - 20:31
 Christina ha scritto:
I'm an English speaker living in Denmark. I'm knitting Spring peak in size L. I'm having difficulty in the total number of stitches. After the armhole increase I should have 121 stitches, but I have 139 (121+18 border stitches). After the decreases I have 131 stitches while the pattern says I should have only 113. Where did I go wrong? Please help! Thank you.
12.06.2026 - 08:59DROPS Design ha risposto:
+Dear Christina, when joining shoulder together you should have 107 sts (incl. the new sts inbetween) - you will decrease when working the first row in A.1 and A.2 (2 sts in each of the 9 repeats = 89 sts remain), then increase 1 st 10 times in each side for armhole=89+(2x10)=109; then cast on 6 sts in each side for armhole = 109+(2x6)=121 sts. You then decrease 1 st in each side 4 times = 121-(2x4)=113 sts remain. Happy knitting!
12.06.2026 - 16:31
Avila Langsather ha scritto:
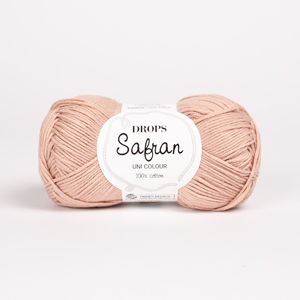
Hello, I am wondering if the knitting gauge for this pattern is accurate. I am using Drops Safran on 3mm needles, but my gauge swatch is at least an inch and a half from 4 inch in both directions. I have tried to get the 4 inch gauge by going up to 4.5 mm needles without success! Thank you for your time and consideration answering my questions.
14.03.2026 - 21:33DROPS Design ha risposto:
Dear Mrs Langsather, this is a quite usual tension for DROPS Safran, you can try if blocking your swatch may help to get the appropriate tension or ask your store for more advices (even per mail or telephone). Happy knitting!
16.03.2026 - 09:30
 Lisa ha scritto:
Hello, I am a bit confused regarding the stitch count. When working rib for S size we have 103 stitches and after the increase for the armholes it says the count is 93. From there on the numbers don\'t add up with the increases and decreases. Could you please clarify this for me?
12.03.2026 - 21:39DROPS Design ha risposto:
Dear Lisa, note that between the 103 and the 93 sts you will have worked A.1 (8 times 10 sts in width) and A.2 (1 time 9 sts in width) betwen 6 sts rib + 1 edge st on each side; when diagrams are done you have decrease 2 sts in each A.1/A.2 (18 sts decreased in total) and at the same time as working A.1 and A.2 you increase 1 stitch on each side a total of 4 times - so 103 sts - 18 sts + 8 sts = 93 sts. Happy knitting!
13.03.2026 - 07:31
 Lisa Bjartmar ha scritto:
Efter ökningen till ärmhål säger beskrivningen att man ska (i M) ha 103 maskor och därefter lägga upp maskor till sammanlagt 111. Men när man börjar mönsterstickningen i början har man redan 103 maskor. Något är fel i mönstret
21.04.2025 - 16:12DROPS Design ha risposto:
Hej Lisa. Du börjar med 103 maskor, men sedan minskas det maskor i A.1 och A.2 så när dessa 2 diagram har stickats klart så har du minskat 18 maskor, och du ökar 18 maskor till ärmhål så därför slutar du på 103 maskor igen. Mvh DROPS Design
25.04.2025 - 10:46
 Daria ha scritto:
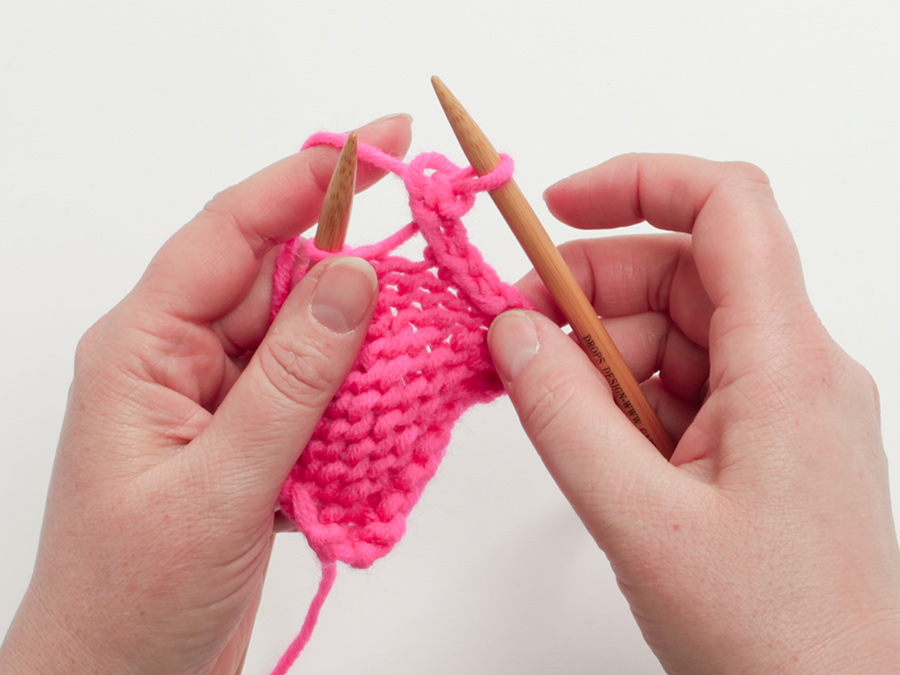
I’m confused as to how to connect the right shoulder strap to the left shoulder strap with the left shoulder having 65 stitches cast on after completing the wrong side to desired length of straps. When I finish the straps from the wrong side and go to do the ribbing from right side starting on the right shoulder, correct? Should I do the knitted cast on from the wrong side or the backward loop cast on? Is there a video to show any of the strap connection with cast on neck section?
03.08.2024 - 22:55DROPS Design ha risposto:
Dear Daria, the last row both straps was worked from WS, after last row from WS on right shoulder turn and work next row from RS on the right shoulder, cast on the 18-22 sts for neck then work the left strap from RS - cast on these stitches using this method in video/this lesson. Happy knitting!
05.08.2024 - 07:40
 Mdev ha scritto:
Bonjour , je bloque au niveau du diagramme Je comprends pas je dois faire le didiagramme 1 sur toutes les mailles ...le diagramme 2 ? Je le fais quand.Merci de votre aide
02.06.2024 - 17:07DROPS Design ha risposto:
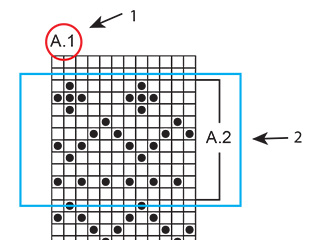
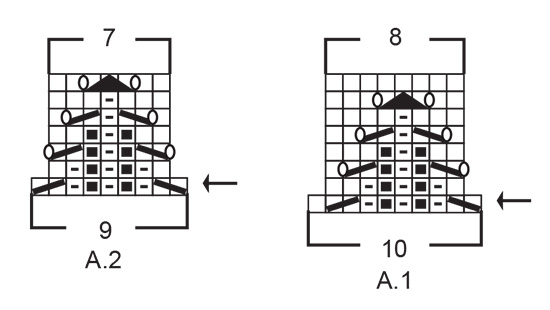
Bonjour Mdev, on répète le diagramme A.1 et on termine par le diagramme A.2 (vu sur l'endroit), ainsi, le motif est symétrique. Bon tricot!
03.06.2024 - 08:29
Patricia ha scritto:
Bonjour J’ai un doute à propos du diagramme. Il se lit bien de droite à gauche ? Merci
30.04.2024 - 19:12DROPS Design ha risposto:
Bonjour Patricia, Les diagrames sont tricotes de droite à gauche sur l'endroit et de gauche a droite sur l'envers. Bon tricot!
01.05.2024 - 15:12
|
|||||||||||||||||||||||||
Spring Peak#springpeaktop |
|||||||||||||||||||||||||
 |
 |
||||||||||||||||||||||||
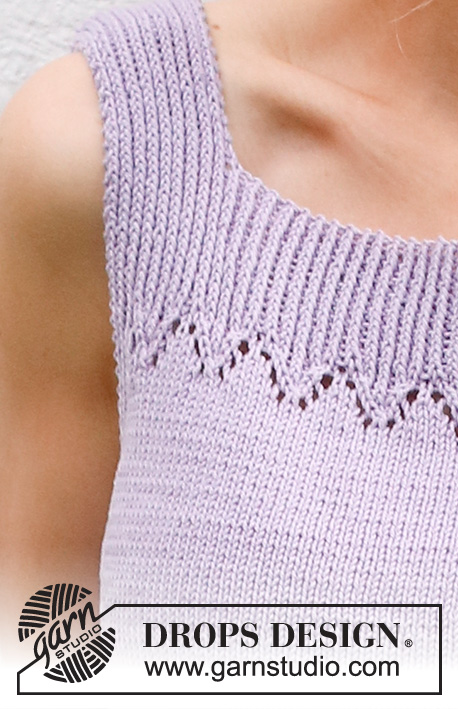
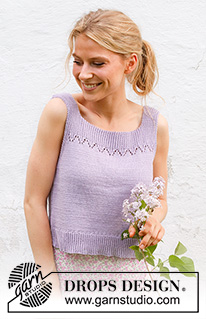
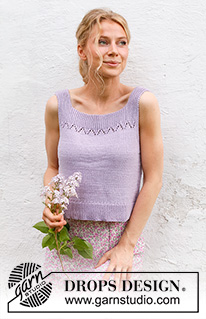
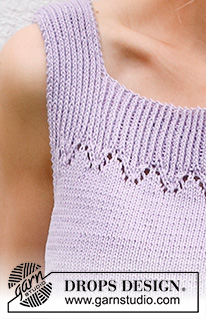
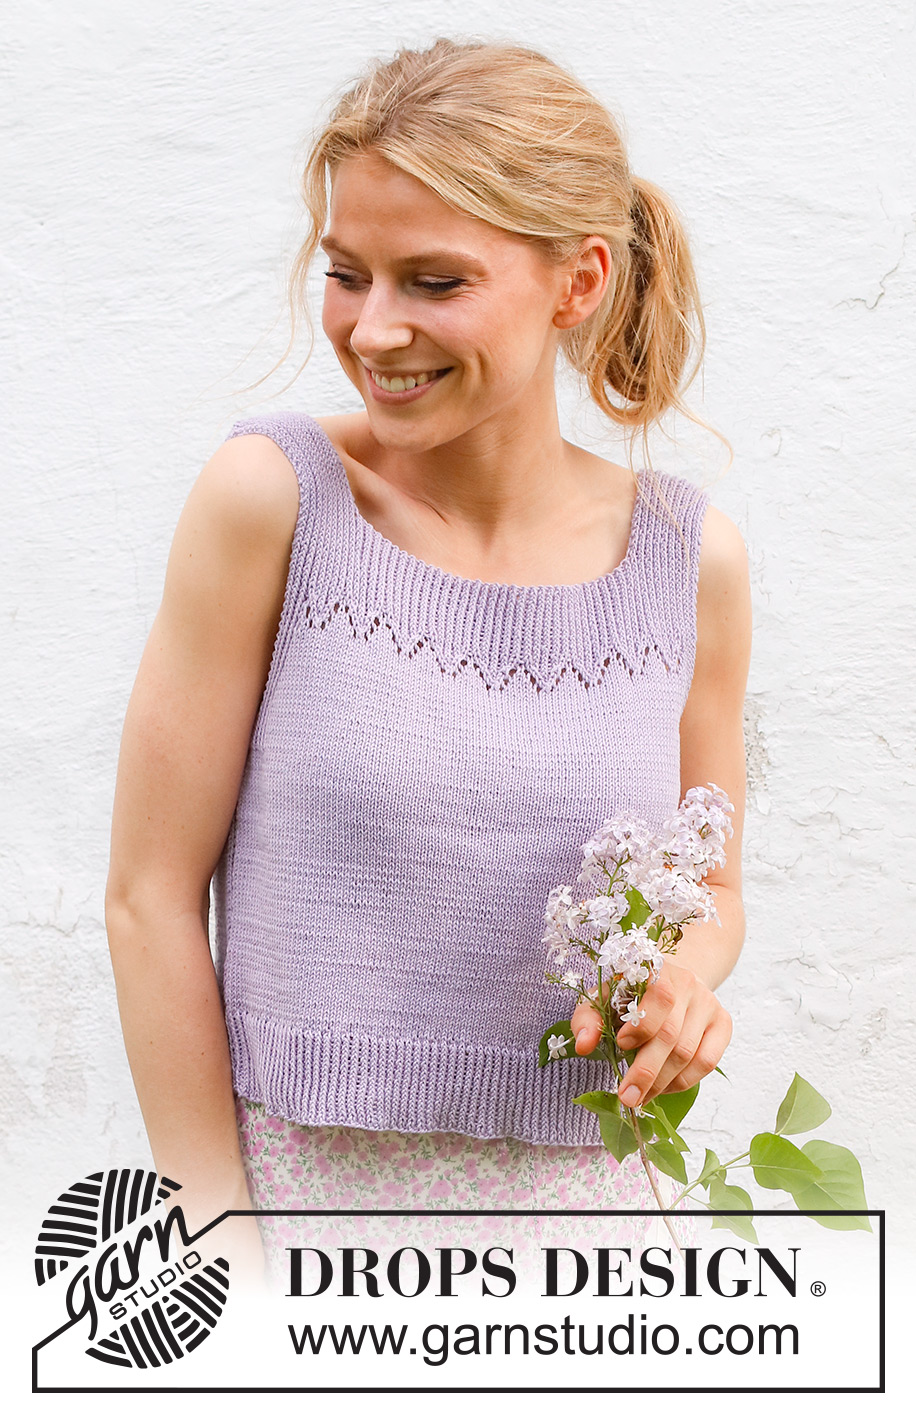
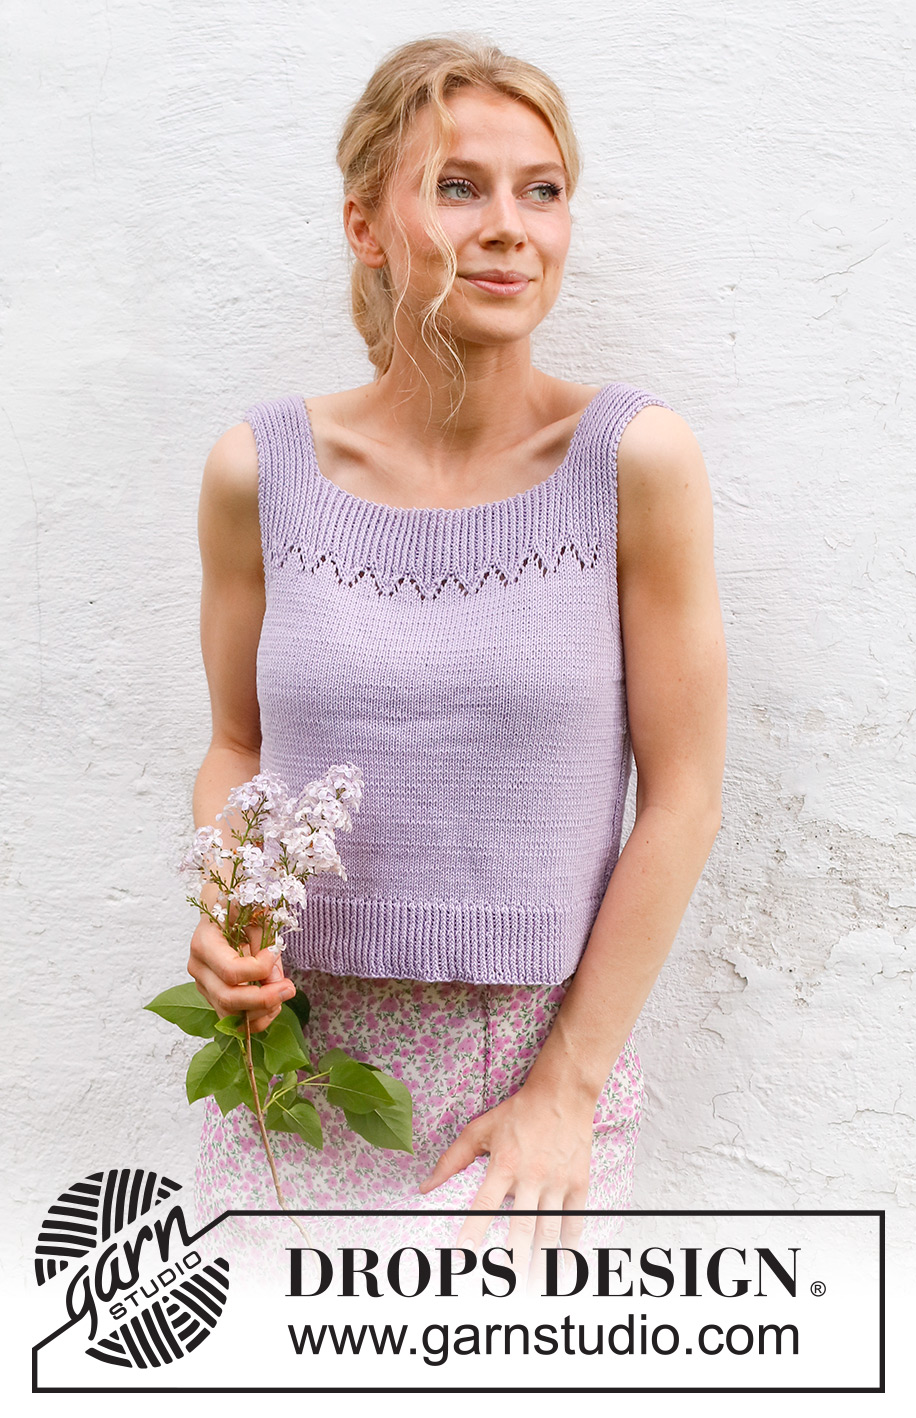
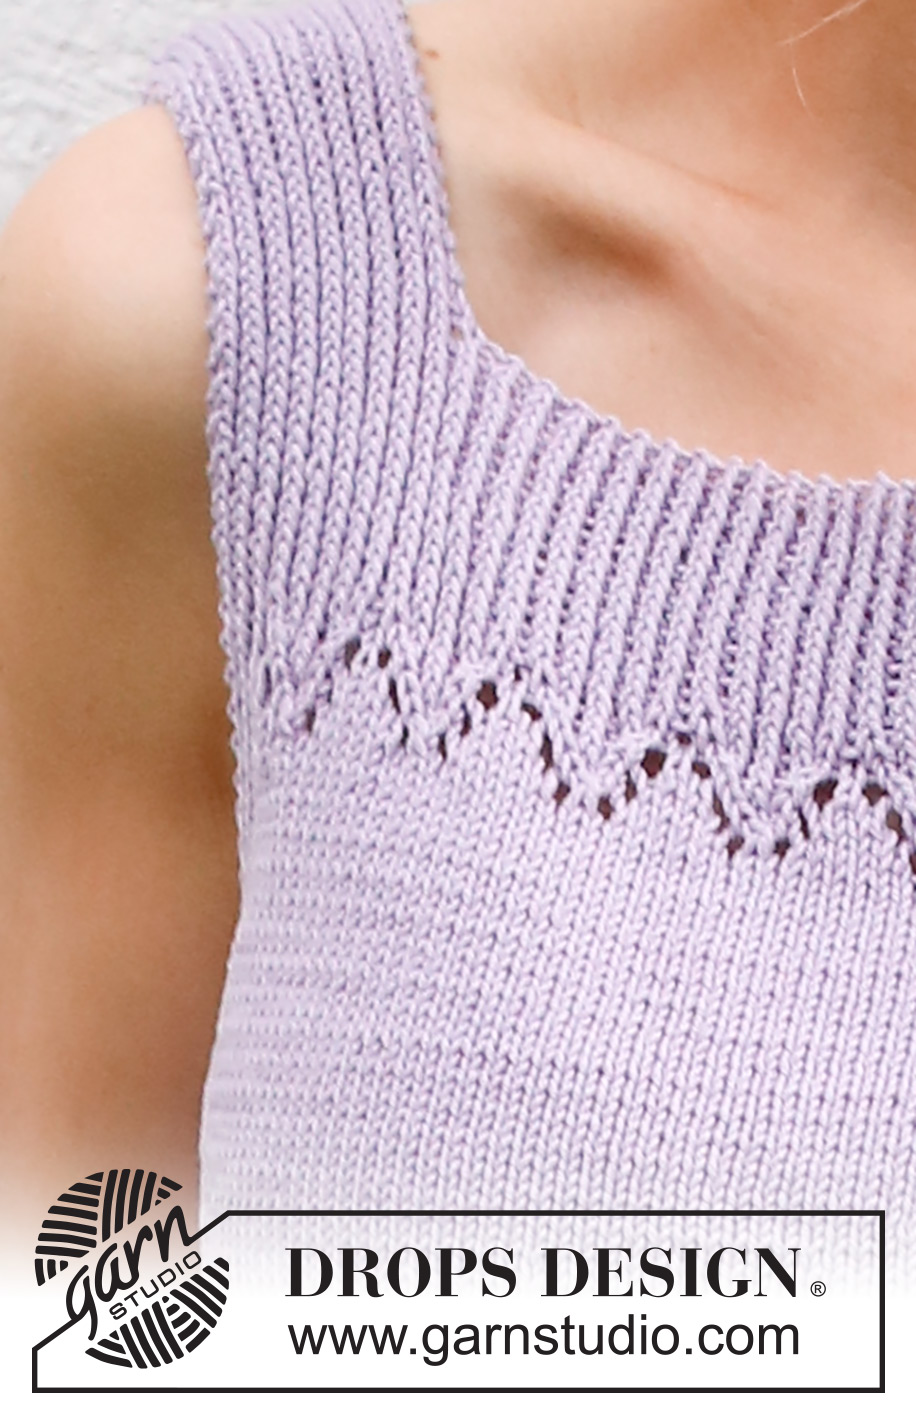
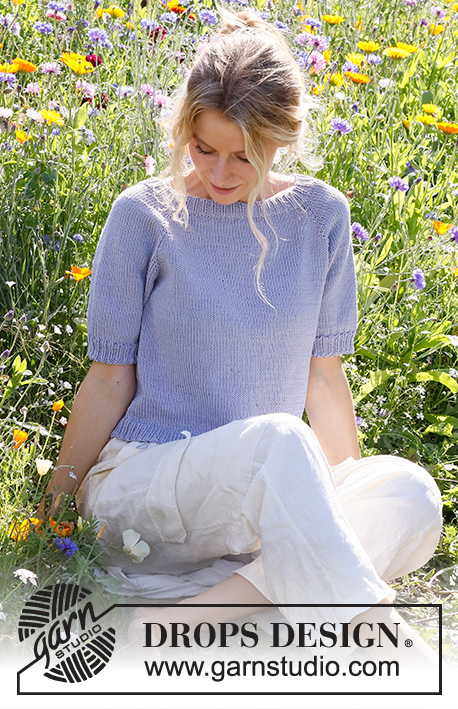
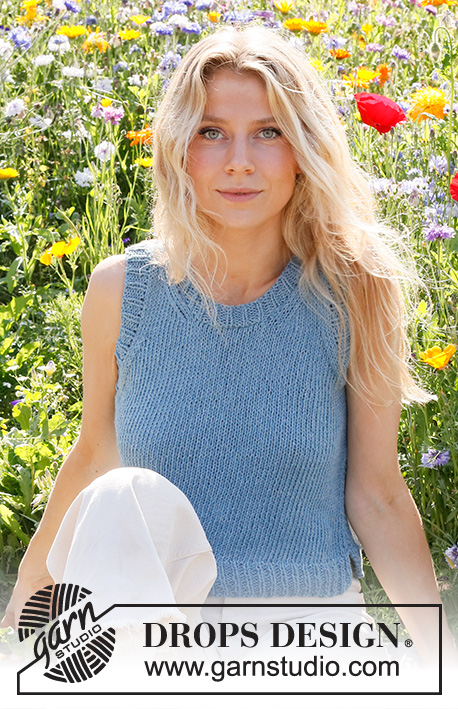
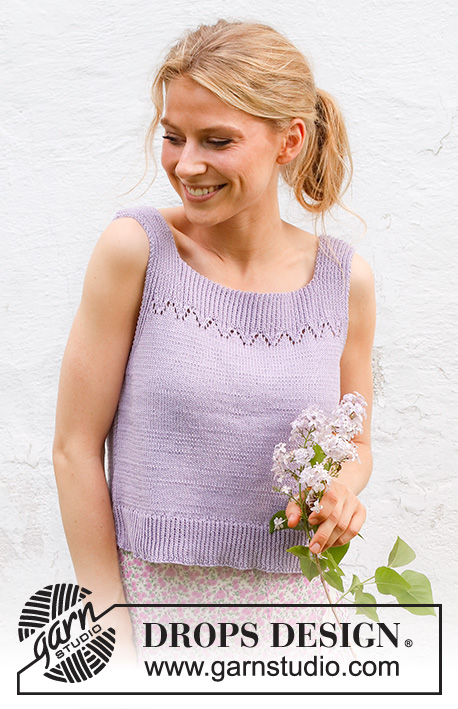
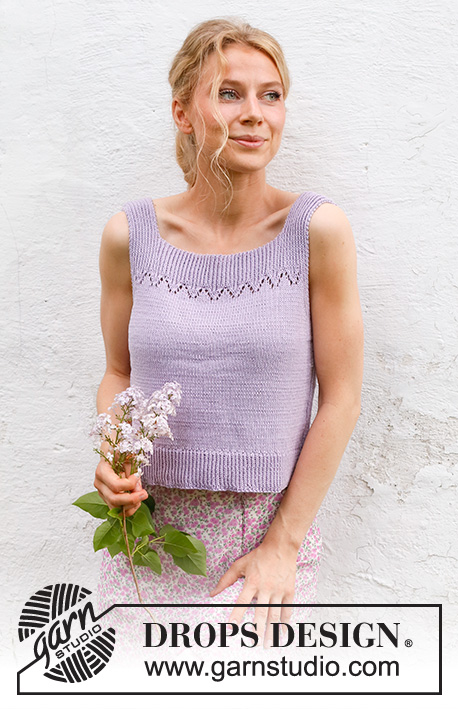
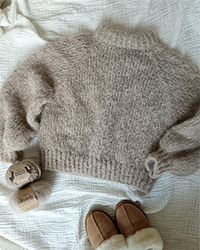
Top / canottiera lavorata ai ferri in DROPS Safran. Lavorata dall’alto in basso con motivo traforato e spacchi laterali. Taglie: S – XXXL.
DROPS 230-54 |
|||||||||||||||||||||||||
|
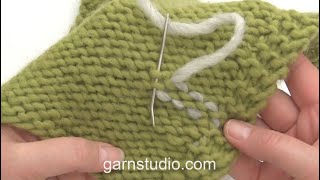
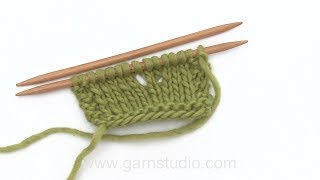
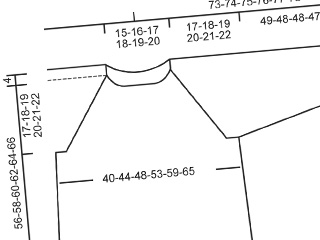
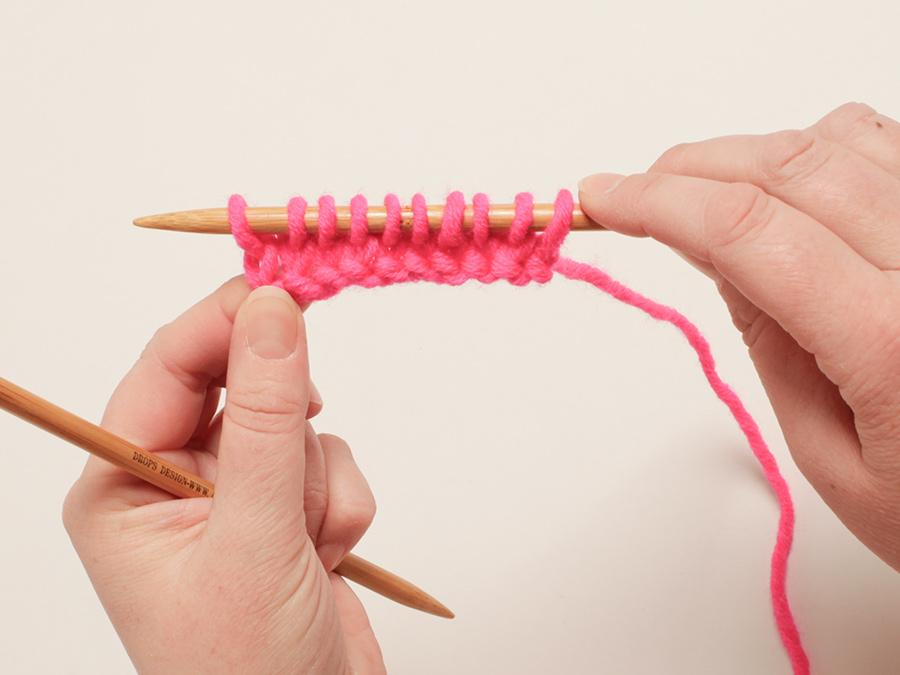
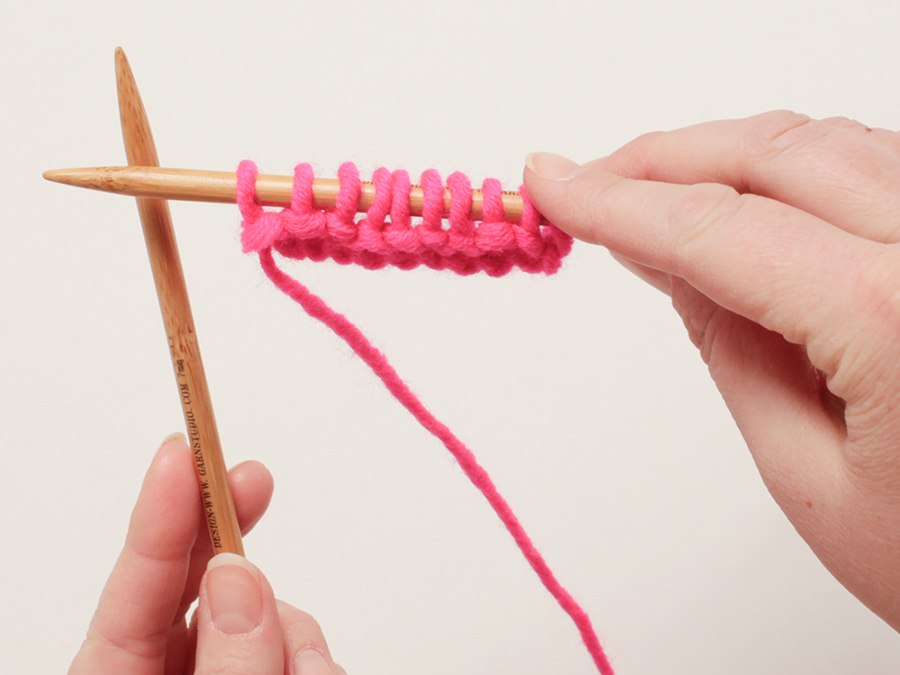
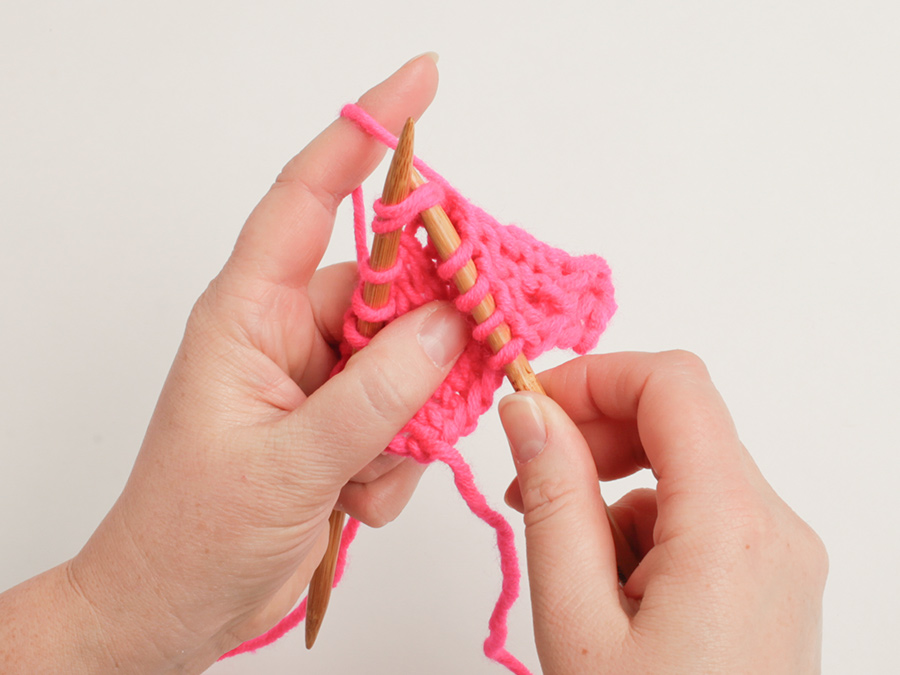
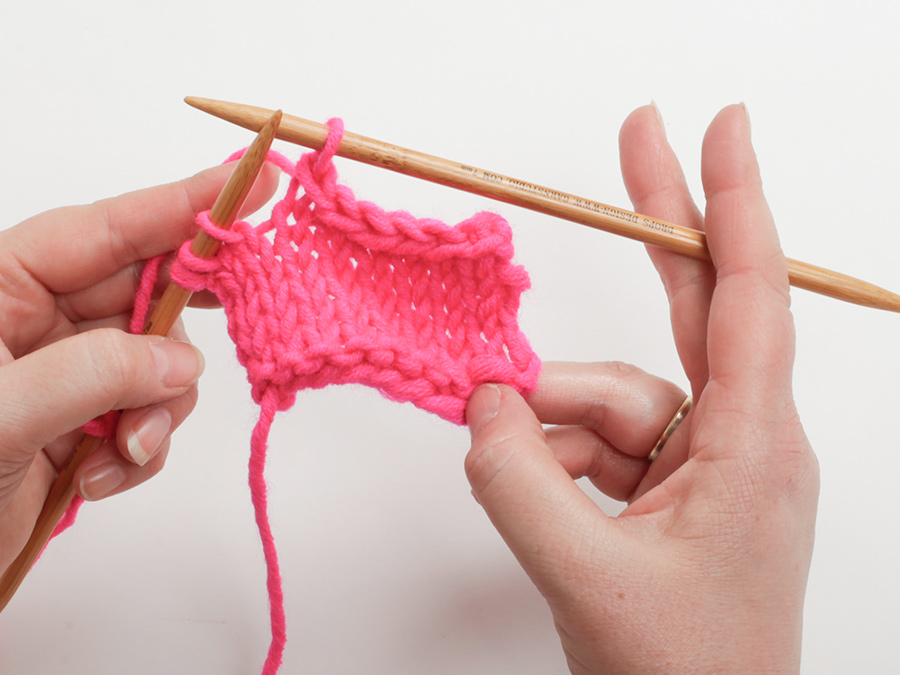
---------------------------------------------------------- TECNICHE IMPIEGATE: ---------------------------------------------------------- COSTA/MAGLIA LEGACCIO (avanti e indietro): Lavorare tutti i ferri a diritto. 1 costa in altezza = 2 ferri diritto. MOTIVO: Vedere i diagrammi A.1 e A.2. I diagrammi mostrano tutti i ferri del motivo visti dal diritto del lavoro. SUGGERIMENTO PER GLI AUMENTI (applicato agli scalfi): Aumentare 1 maglia facendo 1 gettato all’interno delle 7-7-9-9-11-11 maglie più esterne a ogni lato. Sul ferro successivo lavorare il gettato a ritorto per evitare buchi. Poi lavorare le nuove maglie a maglia rasata. SUGGERIMENTO PER LE DIMINUZIONI (applicate ai lati del davanti e dietro): Lavorare tutte le diminuzioni dal diritto del lavoro! DIMINUIRE ALL’INIZIO DEL FERRO COME SEGUE: Lavorare 1 maglia a maglia legaccio, 2 maglie a maglia rasata, passare 1 maglia a diritto senza lavorarla, 1 maglia diritto, accavallare la maglia passata sopra quella appena lavorata. DIMINUIRE ALLA FINE DEL FERRO COME SEGUE: Lavorare fino a quando rimangono 5 maglie, 2 maglie insieme a diritto, 2 maglie a maglia rasata e 1 maglia a maglia legaccio. ---------------------------------------------------------- INIZIO DEL LAVORO: ---------------------------------------------------------- TOP – BREVE RIASSUNTO DEL LAVORO: Lavorar il davanti e dietro in modo separato e dall’alto in basso. Cucire il lavoro sulle spalle e ai lati. DAVANTI: Iniziare con la spalla sinistra sul davanti (con il capo indossato). SPALLA SINISTRA: Avviare 19-19-21-21-23-23 maglie con i ferri circolari n° 3 mm con DROPS Safran. Lavorare 1 ferro rovescio dal rovescio del lavoro. Poi lavorare a coste come segue: FERRO 1 (= diritto del lavoro): 1 maglia a MAGLIA LEGACCIO – leggere la spiegazione sopra - * 1 maglia diritto ritorto, 1 maglia rovescio *, lavorare *-* fino a quando rimangono 2 maglie sul ferro, 1 maglia diritto ritorto e 1 maglia a maglia legaccio. FERRO 2 (= rovescio del lavoro): 1 maglia a maglia legaccio, * 1 maglia rovescio ritorto, 1 maglia diritto *, ripetere *-* fino a quando rimangono 2 maglie, 1 maglia rovescio ritorto e 1 maglia a maglia legaccio. Ripetere i ferri 1 e 2 fino a quando il lavoro misura 8-8-8-9-9-9 cm – finire dopo un ferro dal rovescio del lavoro, non girare il lavoro, ma avviare 65 nuove maglie alla fine del ferro per il collo. Mettere il lavoro da parte e lavorare la spalla destra. SPALLA DESTRA: Avviare 19-19-21-21-23-23 maglie con i ferri circolari n° 3 mm con DROPS Safran. Lavorare 1 ferro rovescio dal rovescio del lavoro. Poi lavorare a coste nello stesso modo della spalla sinistra fino a quando il lavoro misura 8-8-8-9-9-9 cm – finire dopo un ferro dal rovescio del lavoro. PANORAMICA DELLA SEZIONE SUCCESSIVA: Ora unire le parti e lavorare il motivo come spiegato sotto – inoltre aumentare per gli scalfi a ogni lato. Leggere la sezione MOTIVO e SCALFI prima di continuare! MOTIVO: Lavorare dal diritto del lavoro come prima sulle prime 18-18-20-20-22-22 maglie sulla spalla destra, lavorare la maglia successiva, continuare a coste sulle 65 maglie avviate per il collo, lavorare la 1° maglia sulla spalla sinistra, e lavorare le ultime 18-18-20-20-22-22 maglie sulla spalla sinistra a coste come prima = 103-103-107-107-111-111 maglie. Lavorare a coste in questo modo su tutte le maglie con 1 maglia a maglia legaccio a ogni lato fino a quando il lavoro misura 13-13-14-14-15-15 cm dal bordo di avvio sulle bretelle della spalla. Lavorare il ferro successivo come segue dal diritto del lavoro: 1 maglia a maglia legaccio, lavorare a coste come prima sulle 6-6-8-8-10-10 maglie successive, lavorare A.1 8 volte in totale, A.2, coste come prima sulle 6-6-8-8-10-10 maglie successive, e 1 maglia a maglia legaccio. Continuare questo motivo in piano in questo modo. Alla fine di A.1 e A.2, lavorare a maglia rasata con 6-6-8-8-10-10 maglie a coste e 1 maglia a maglia legaccio sul bordo a ogni lato. FARE ATTENZIONE ALLA TENSIONE DEL LAVORO! SCALFO: ALLO STESSO TEMPO alla fine del 1° ferro in A.1/A.2 iniziare ad aumentare per lo scalfo – leggere il SUGGERIMENTO PER GLI AUMENTI. Aumentare 1 maglia a ogni lato ogni 4 ferri 4-2-0-0-0-0 volte in totale, a ferri alterni 0-7-10-5-6-2 volte in totale, e poi su ogni ferro 0-0-0-11-13-24 volte in totale = 93-103-109-121-131-145 maglie. Dopo aver lavorato un ferro dopo l’ultimo aumento per lo scalfo, avviare 4-4-6-6-8-8 nuove maglie per lo scalfo alla fine dei 2 ferri successivi = 101-111-121-133-147-161 maglie. Il lavoro misura circa 18-19-20-21-22-23 cm dal bordo di avvio sulle spalline. Continuare il davanti come spiegato sotto. Inserire 1 segnapunti nel ferro – ora misurar il lavoro da questo segnapunti. Lavorare a maglia rasata con 6-6-8-8-10-10 maglie a coste e 1 maglia a maglia legaccio sul bordo a ogni lato. Quando il lavoro misura 2 cm dal segnapunti, lavorare a maglia rasata con 1 maglia a maglia legaccio sul bordo a ogni lato. Quando il lavoro misura 5 cm dal segnapunti, diminuire 1 maglia a ogni lato – leggere il SUGGERIMENTO PER LE DIMINUZIONI. Diminuire in questo modo ogni 5 cm 4 volte in totale a ogni lato = 93-103-113-125-139-153 maglie. Quando il lavoro misura 20-21-22-23-24-25 cm dal segnapunti, lavorare 1 ferro dal diritto del lavoro in cui aumentare 28-30-34-38-42-46 maglie in modo uniforme = 121-133-147-163-181-199 maglie. Il lavoro ora misura circa 38-40-42-44-46-48 cm dal bordo di avvio sulle spalline. Passare ai ferri circolari n° 2,5 mm. Poi lavorare a coste come segue: FERRO 1 (= rovescio del lavoro): 1 maglia a maglia legaccio * 1 maglia rovescio ritorto, 1 maglia diritto *, lavorare *-* fino a quando rimangono 2 maglie sul ferro, 1 maglia rovescio ritorto e 1 maglia a maglia legaccio. FERRO 2 (= diritto del lavoro): 1 maglia a maglia legaccio, * 1 maglia diritto ritorto, 1 maglia rovescio *, ripetere *-* fino a quando rimangono 2 maglie, 1 maglia diritto ritorto e 1 maglia a maglia legaccio. Ripetere i ferri 1 e 2 fino a quando le coste misurano 6 cm. Intrecciare senza stringere. Il davanti misura circa 44-46-48-50-52-54 cm. DIETRO: Avviare e lavorare come per il davanti – il dietro e il davanti sono uguali. CONFEZIONE: Cucire i margini delle spalle. Cucire i lati nel filo più esterno delle maglie di vivagno – iniziare la cucitura all’altezza degli scalfi e fermarsi quando rimangono 6 cm sulla parte inferiore di ogni lato (spacco). |
|||||||||||||||||||||||||
Spiegazioni del diagramma |
|||||||||||||||||||||||||
|
|||||||||||||||||||||||||
 |
|||||||||||||||||||||||||
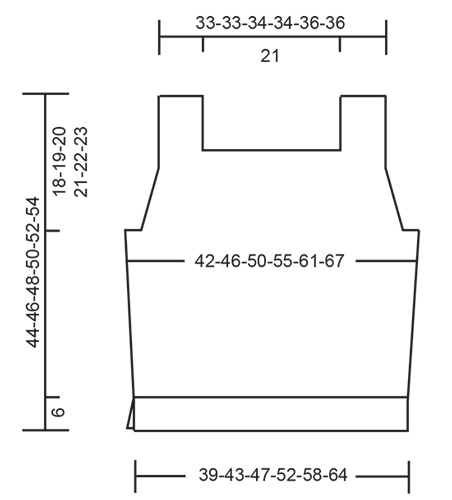 |
|||||||||||||||||||||||||
Avete terminato questo modello?Allora taggate le vostre foto con #dropspattern #springpeaktop o inviatele alla #dropsfan gallery. Avete bisogno di aiuto con questo modello?Troverete 13 video tutorial, una sezione per i commenti/domande e molto altro guardando il modello su www.garnstudio.com © 1982-2026 DROPS Design A/S. Ci riserviamo tutti i diritti. Questo documento, compreso tutte le sue sotto-sezioni, è protetto dalle leggi sul copyright. Potete leggere quello che potete fare con i nostri modelli alla fine di ogni modello sul nostro sito. |
|||||||||||||||||||||||||

Con oltre 40 anni di esperienza nel design di modelli di maglia e uncinetto, DROPS Design offre la più estesa collezione di modelli gratuiti su internet - tradotti in 17 lingue. Ad oggi vi possiamo fornire 333 cataloghi e 12551 modelli - 9825 dei quali sono tradotti in Italiano.
Ci stiamo impegnando molto per darvi il meglio che vi possiamo offrire in termini di maglia e uncinetto, ispirazioni e consigli così come filati di grande qualità ad un prezzo incredibile! Volete utilizzare i nostri modelli per qualcosa d'altro oltre al vostro uso personale? Potete leggere tutto ciò che è consentito nel testo sul Copyright in basso su tutte le pagine dei nostri modelli. Buon lavoro!
Lasciare un commento sul modello DROPS 230-54
Noi saremmo felici di ricevere i tuoi commenti e opinioni su questo modello!
Se vuoi fare una domanda, fai per favore attenzione a selezionare la categoria corretta nella casella qui sotto per velocizzare il processo di risposta. I campi richiesti sono indicati da *.