
Popular categories
Looking for a yarn?


Comments / Questions (40)
![]() Ingrid Van Leeuwen wrote:
Ingrid Van Leeuwen wrote:
Ik zou graag de mouwen iets langer willen maken. Kan ik dit doen door meer steken voor de mouw op te zetten?
12.03.2023 - 17:43DROPS Design answered:
Dag Ingrid,
Ja, dit kun je inderdaad doen door meer steken op te zetten. Aan de hand van de stekenverhouding zou je uit kunnen rekenen hoeveel steken je extra op moet zetten.
16.03.2023 - 20:46
![]() Noella wrote:
Noella wrote:
Bonjour, puis je tricoter avec aiguilles droite
22.09.2019 - 17:31DROPS Design answered:
Bonjour Noella, tout à fait, ce modèle se tricote entièrement en allers et retours, on utilise des aiguilles droites ici pour avoir suffisamment de placer pour y loger toutes les mailles. Vous trouverez ici plus d'infos sur l'adaptation d'un modèle sur des aiguilles droites. Bon tricot!
23.09.2019 - 09:29
![]() Gio wrote:
Gio wrote:
Buongiorno, sui metà davanti, quando dice di " iniziare a diminuire a lato come sul dietro", significa che si deve diminuire solo dalla parte del fianco e non prima dei bordi centrali altrimenti le maglie da diminuire si raddoppierebbero . Ho capito bene? Grazie mille !!
17.04.2016 - 10:40DROPS Design answered:
Buongiorno Gio, è corretto, deve diminuire solo sul lato, non sul bordo davanti, 1 m ogni 3 f per un totale di 6 volte. Buon lavoro!
17.04.2016 - 14:42
![]() Åsa wrote:
Åsa wrote:
Jättefin blir den nog, när jag fått hem mer garn. Jag kommer behöva närmare 500gr till storl XL. Är det bara jag som haft problem med det?
06.08.2013 - 00:53
![]() AKIBODE Marie-FRANCE wrote:
AKIBODE Marie-FRANCE wrote:
J'ai tricoté ce gilet en taille L qui est ma taille habituelle. Il est trop étroit du fait des diminutions qui resserre la taille. Comment faire pour l'élargir sans tout recommencer ? Puis-je connaitre les équivalence des tailles? Merci pour vos jolis modèles.
13.03.2013 - 10:42DROPS Design answered:
Bonjour Madame Akibode, pour trouver la bonne taille, nous recommandons de comparer les mesures d'un vêtement analogue à celles du schéma en bas de page. Si votre tension correspond à celle de l'échantillon, vous obtiendrez les mesures indiquées. Bon tricot!
13.03.2013 - 14:56
![]() Agnetha Vesterdahl wrote:
Agnetha Vesterdahl wrote:
Tack för snabb feedback med jättebra instruktionsvideo! Nu kan jag äntligen gå vidare =)
13.04.2011 - 19:00
![]() Drops Design wrote:
Drops Design wrote:
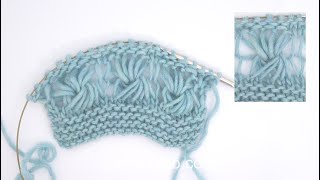
Nu ligger den en instruktionsvideo. Klik på Muslingemønster lige efter opskriften. God fornøjelse!
13.04.2011 - 15:07
![]() Anne Kip wrote:
Anne Kip wrote:
Bedankt voor jullie vlotte antwoord, net naar video gekeken, dat wordt dus (toch) een naald vol met veel steken, omslagen, veel geduld tellen! Opletten dus. Anne.
13.04.2011 - 13:29
![]() DROPS Design NL wrote:
DROPS Design NL wrote:
Hoi Anne. We hebben een video gemaakt, die uitlegt hoe dit patroon gebreid wordt. Kijk in ons gedeelte met instructievideo's. Succes.
13.04.2011 - 10:36
![]() DROPS Design wrote:
DROPS Design wrote:
Hej Agnetha, vi har gjort en video som visar hur du skall göra:-) Lycka till!
13.04.2011 - 09:50
|
|
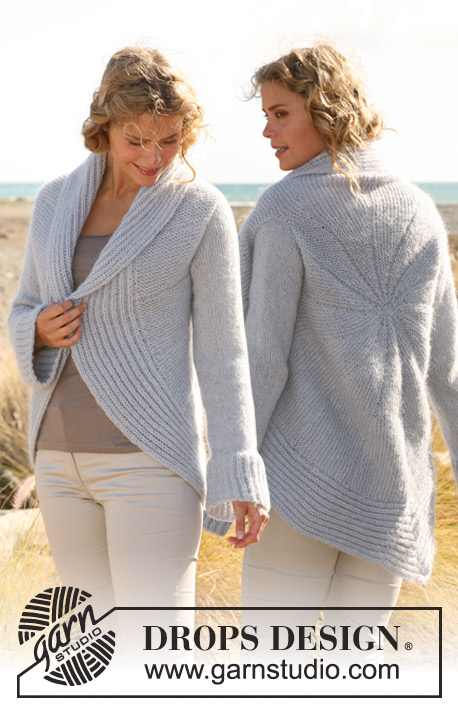
Macy May#macymaycardigan |
|
 |
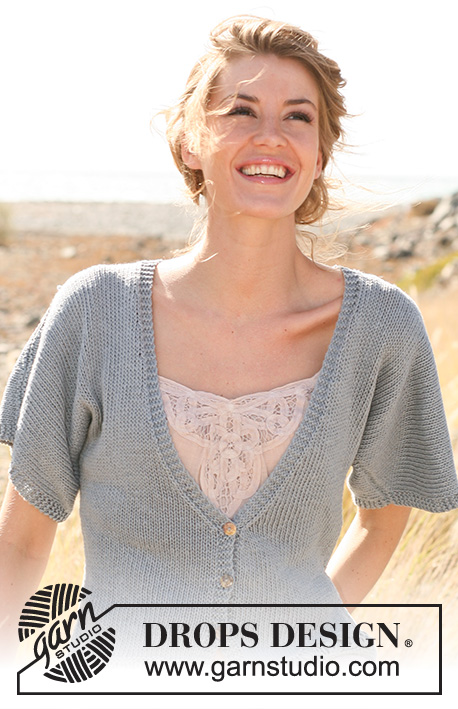 |
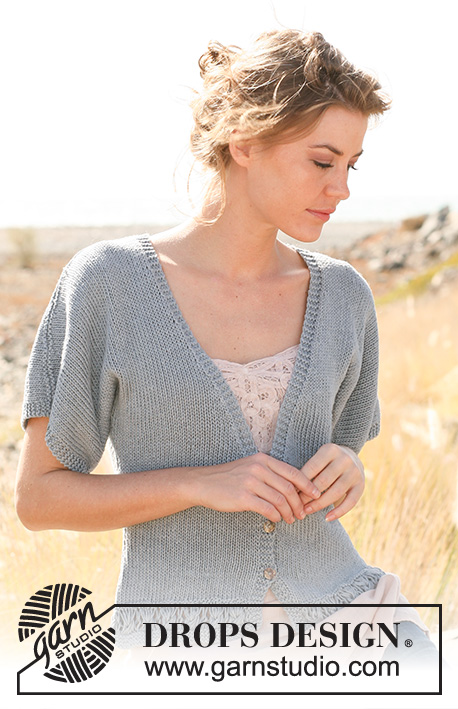
Knitted DROPS jacket with short sleeves in "Bomull-Lin". Size: S - XXXL.
DROPS 129-31 |
|
|
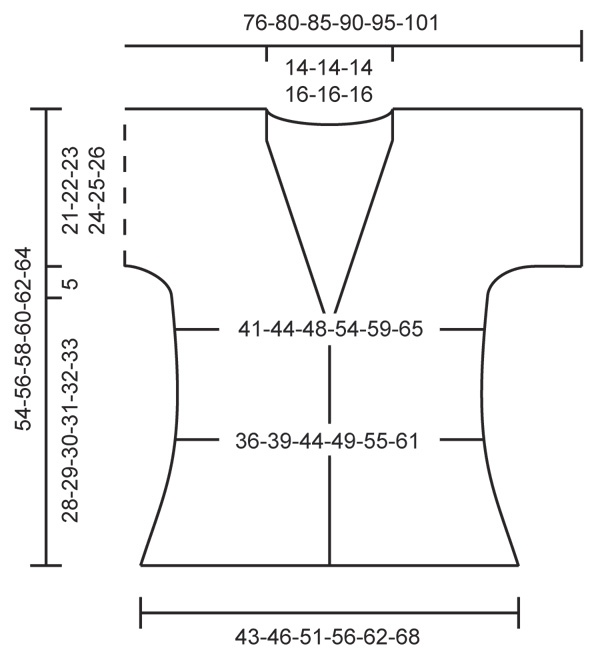
GARTER ST (back and forth on needle): K all rows. MUSSEL PATTERN: ROW 1 (= RS): K all sts. ROW 2 (= WS): * P 1, (P 1, 3 loose YO), repeat from (-) a total of 5 times *, repeat from *-* and finish with P 1. ROW 3: K 1, * (slip 3 YO off needle, slip next st as if to K), repeat from (-) a total of 5 times, slip the 5 slipped sts over to left needle and then work into them as follows (without slipping them off the needle): K 5 tog, 3 loose YO, P 5 tog, 3 loose YO, K 5 tog, 3 loose YO, P 5 tog, 3 loose YO, K 5 tog, 3 loose YO, then K 1 into next stitch *, repeat from *-*. ROW 4: * P 1, (slip 3 YO off needle, K 1), repeat from (-) a total of 5 times *, repeat from *-* and finish with P 1. DECREASE TIP (applies to neckline): All dec are done from RS! Dec 1 st inside the outermost 4 sts in garter st as follows: Dec after 4 sts in garter st as follows: Slip 1 st as if to K, K 1, psso. Dec 2 sts before 4 sts in garter st as follows: K 2 tog. BUTTON HOLES: Cast off for button holes on right front band. 1 BUTTON HOLE = work first and second band st from mid front, make 1 YO, K third and fourth band st tog. Cast off for button holes when piece measures: SIZE S: 8, 14 and 20 cm SIZE M: 9, 15 and 21 cm SIZE L: 10, 16 and 22 cm SIZE XL: 9, 16 and 23 cm SIZE XXL: 10, 17 and 24 cm SIZE XXXL: 10, 17 and 24 cm --------------------------------------------------------- BACK PIECE: Cast on 81-87-99-111-117-129 sts (incl 1 edge st in each side) on needle size 4 mm with Bomull-Lin. Work 6 rows in GARTER ST - see explanation above (1st row = RS). Then work MUSSEL PATTERN - see explanation above - with 1 edge st in each side. After mussel pattern, K 1 row from RS and K 1 row from WS. Then K 1 row from RS while AT THE SAME TIME dec 6-7-11-14-9-11 sts evenly = 75-80-88-97-108-118 sts. Switch to circular needle size 5 mm and continue with stocking st back and forth on needle (1st row = P from WS). AT THE SAME TIME when piece measures 7 cm, dec 1 st in each side. Repeat the dec on every 3rd row a total of 6 times = 63-68-76-85-96-106 sts. REMEMBER THE KNITTING TENSION! When piece measures 18-19-20-21-22-22 cm, inc 1 st each side. Repeat inc every 3-3-3-3-4½-5 cm a total of 4-4-4-4-3-3 times = 71-76-84-93-102-112 sts. When piece measures 28-29-30-31-32-33 cm, cast on new sts for sleeves at the end of every row in each side as follows: 1 st 3 times, 2 sts 1 time, 4 sts 1 time and 20-21-21-21-21-21 sts 1 time = a total of 129-136-144-153-162-172 sts on needle. Continue in stocking st but work the outermost 4 sts in each side in garter st (= edge at the bottom of each sleeve). When piece measures 51-53-55-57-59-61 cm - adjust so that next row is worked from WS -, insert a marker mid back (in Size S + Size XL insert the marker in the middle st on needle, in the other sizes insert the marker between the 2 middle sts). READ ALL OF THE FOLLOWING SECTION BEFORE CONTINUING! NECK: Now K 3 rows over the middle 29-30-30-33-34-34 sts on needle, i.e. 14-15-15-16-17-17 sts on each side of marker/st with marker (work the other sts as before). On next row from RS, cast off the middle 21-22-22-25-26-26 sts for neck, i.e. 10-11-11-12-13-13 sts on each side of marker + st with marker (applies to Size S + Size XL), and finish each shoulder separately. LEFT SHOULDER (seen from RS): Continue to dec 1 st on the next row from neckline - READ DECREASE TIP = 53-56-60-63-67-72 sts remain on the shoulder. Continue in stocking st and 4 sts in garter st each side. When piece measures 54-56-58-60-62-64 cm, K 1 row from WS. Loosely cast off. RIGHT SHOULDER (seen from RS): Work as left shoulder but reversed. RIGHT FRONT PIECE: READ ALL OF THE FOLLOWING SECTION BEFORE CONTINUING! Cast on 48-48-54-60-66-72 sts (incl 1 edge st in the side and 4 band sts towards mid front) on needle size 4 mm with Bomull-Lin. Work 6 rows in GARTER ST (1st row = RS). Then work next row from RS as follows: 4 band sts in garter st, MUSSEL PATTERN over the next 43-43-49-55-61-67 sts and finish with 1 edge st. After mussel pattern, K 1 row from RS and K 1 row from WS. Then K 1 row from RS while AT THE SAME TIME dec 7-4-6-8-8-9 sts evenly (do not dec over band sts) = 41-44-48-52-58-63 sts. Switch to circular needle size 5 mm and continue with stocking st back and forth on needle (1st row = P from WS), but work the outermost 4 sts towards mid front in garter st until finished measurements. AT THE SAME TIME when piece measures 7 cm, beg dec in the side as on back piece. REMEMBER BUTTON HOLES ON BAND. When piece measures 18-19-20-21-22-22 cm, beg to inc in the side as on back piece. AT THE SAME TIME when piece measures 21-22-23-24-25-25 cm, dec 1 st for neckline towards mid front as follows - READ DECREASE TIP. Repeat dec on every other row a total of 5-6-6-6-6-6 times, on every 4th row a total of 7-7-7-9-9-9 times and then on every 8th row a total of 3-3-3-2-3-3 times. AT THE SAME TIME when piece measures 28-29-30-31-32-33 cm, cast on new sts for sleeve at the end of every row towards the side as follows: 1 st 3 times, 2 sts 1 time, 4 sts 1 time and 20-21-21-21-21-21 sts 1 time. Continue in stocking st but work the outermost 4 sts in each side in garter st. After all inc and dec there are 53-56-60-63-67-72 sts on the needle. When piece measures 54-56-58-60-62-64 cm, K 1 row from WS. Loosely cast off. LEFT FRONT PIECE: Cast on and work as right front piece but reversed and without button holes. ASSEMBLY: Sew shoulder seams inside cast off edge so that there are 2 rows in P sts (seen from RS) against each other. Sew the side and sleeve seams inside 1 edge st. Sew on buttons. |
|
 |
|
Have you finished this pattern?Tag your pictures with #dropspattern #macymaycardigan or submit them to the #dropsfan gallery. Do you need help with this pattern?You'll find 15 tutorial videos, a Comments/Questions area and more by visiting the pattern on garnstudio.com. © 1982-2026 DROPS Design A/S. We reserve all rights. This document, including all its sub-sections, has copyrights. Read more about what you can do with our patterns at the bottom of each pattern on our site. |
|


With over 40 years in knitting and crochet design, DROPS Design offers one of the most extensive collections of free patterns on the internet - translated to 17 languages. As of today we count 324 catalogues and 12290 patterns translated into English (UK/cm). 12290
We work hard to bring you the best knitting and crochet have to offer, inspiration and advice as well as great quality yarns at incredible prices! Would you like to use our patterns for other than personal use? You can read what you are allowed to do in the Copyright text at the bottom of all our patterns. Happy crafting!
Post a comment to pattern DROPS 129-31
We would love to hear what you have to say about this pattern!
If you want to leave a question, please make sure you select the correct category in the form below, to speed up the answering process. Required fields are marked *.