
Popular categories
Looking for a yarn?


Comments / Questions (20)
![]() Nora Aida wrote:
Nora Aida wrote:
14/11-24 Om jag vore er skulle jag mkt tydligare visa en hänvisning till att förklaringar/lektioner övh finns ! Länge visste jag inte alls det , men har tyckt om flera modeller.
14.11.2024 - 19:37
![]() Eeva wrote:
Eeva wrote:
Miten silmukat kudotaan lisäysten jälkeen, jotta kuvio tulisi oikein?
11.07.2024 - 08:08DROPS Design answered:
Neulo mallineuletta siten, että kuviot jatkuvat lisäysten ulkopuolella siististi.
18.07.2024 - 17:03
![]() Lene Andreasen wrote:
Lene Andreasen wrote:
I forklaringen står der retstrik - strikkes rundt og frem og tilbage, hvordan kan man se hvornår det er den ene eller anden metode ?
31.07.2023 - 19:57DROPS Design answered:
Hej Lene, når du strikker rundt på rundpind, bruger du den ene metode og når du strikker stropperne frem og tilbage bruger du den anden metode :)
07.08.2023 - 11:58
![]() Ursel wrote:
Ursel wrote:
Hallo! Ich bin mit dem Rumpfteil fertig und fange jetzt mit dem Rücken an. Muss ich gar keine Randmaschen stricken? Viele Grüße
01.11.2022 - 08:45DROPS Design answered:
Liebe Ursel, beim Rückenteil stricken Sie jetzt in Hin- und Rückreihen im Muster wie zuvor mit je 4 Maschen kraus rechts beidseitig - es sind keine extra Randmaschen, die 4 ersten + die 4 letzten Maschen stricken Sie kraus rechts, und die restlichen wie zuvor. Viel Spaß beim stricken!
01.11.2022 - 10:34
![]() Ursel wrote:
Ursel wrote:
Ich bin beim Rumpfteil und habe nach 8 cm das erste mal zugenommen. Jetzt soll ich in der nächsten Runde die zugenommenen Maschen in das Muster A1 einarbeiten. Wie geht das?
01.10.2022 - 14:38DROPS Design answered:
Liebe Ursel, die neue Masche vor der Markierung stricken Sie wie die nächste Masche von einem neuen Rapport (lesen Sie das Diagramme rechts nach links), die neue Masche nach der Markierung stricken Sie wie die letzte Masche von einem neuen Rapport (lesen Sie das Diagramm links nach rechts). So lange Sie nicht 3 Maschen beidseitig der Markierungen zugenommen haben, wir A.1 nicht in der Runde passen, einfach die neuen Maschen wie eine "Dehnung" vom Muster je beim Rücken- und Vorderteil stricken. Viel Spaß beim stricken!
03.10.2022 - 08:36
![]() Katrin B wrote:
Katrin B wrote:
Diagrammet som ska upprepas varvet ut består av tre maskor. Vid ökning ökas två maskor i varje sida vilket blir totalt fyra maskor på ett varv vilket jag inte får ihop med diagrammet på tre maskor. Tacksam för en förklaring då jag inte förstår.
08.07.2021 - 10:42DROPS Design answered:
Hej Katrin. De ökade maskorna stickas fortlöpande in i A.1. Det kommer alltså inte alltid vara en hel mönsterrapport i sidorna. Mvh DROPS Design
09.07.2021 - 09:29
![]() Kari Blask wrote:
Kari Blask wrote:
Vielen lieben Dank! Ich habe abketten mit abnehmen verwechselt. Liebe Grüße Kari
28.06.2021 - 19:49
![]() Kari Blask wrote:
Kari Blask wrote:
Hallo alle Strikern, kann mir BITTE jemand erklären beim Anfang vom Rückenteil muss ich Maschen an der Innenseite abnehmen und die KRAUSEN WEITERSTRICKEN- wie? Ich Danke Euch! LG Kari
28.06.2021 - 16:08
![]() Kari Blask wrote:
Kari Blask wrote:
Guten Morgen, ich bin jetzt beim Rückenteil und muss abnehmen und verstehe das 4 krause Maschen bleiben müssen! Komme nicht recht damit. Tut mir leid für die Mühe die ich Ihnen mache. Liebe Grüße
28.06.2021 - 09:29DROPS Design answered:
Liebe Frau Blask, wenn Sie jetzt Rückenteil stricken (= die Maschen für die Armausschnitte wurden jetzt abgekettet), dann stricken Sie so: 4 Maschen kraus rechts (= recht bei Hin- sowie Rückreihen), Muster wie zuvor (beachen Sie, daß das Muster in der Höhe passt), und 4 Maschen kraus rechts. dh, die 4 ersten und 4 letzten Maschen werden jetzt immer kraus rechts gestrickt un die mittleren Maschen wie zuvor. Gleichzeitig, nach den 4 Maschen und vor den 4 Maschen nehmen Sie wie unter ABNAHME TIPP erklärt. Kann es Ihnen weiter helfen? Viel Spaß beim stricken!
28.06.2021 - 16:02
![]() Kari Blask wrote:
Kari Blask wrote:
Guten Morgen, BACK PIECE: = 81-88-95-103-111-122 stitches. Continue A.1 back and forth with circular needle size 3.5 mm and 4 edge stitches in garter stitch on each side for the armholes. AT THE SAME TIME, on the next row from the right side decrease 1 stitch on each side – read DECREASE TIP. Decrease for the armholes like this every 2nd row (each row from the right side) a total of 8-10-12-13-17-18 times = 65-68-71-77-77-86 stitches. ?
28.06.2021 - 09:00
|
|||||||
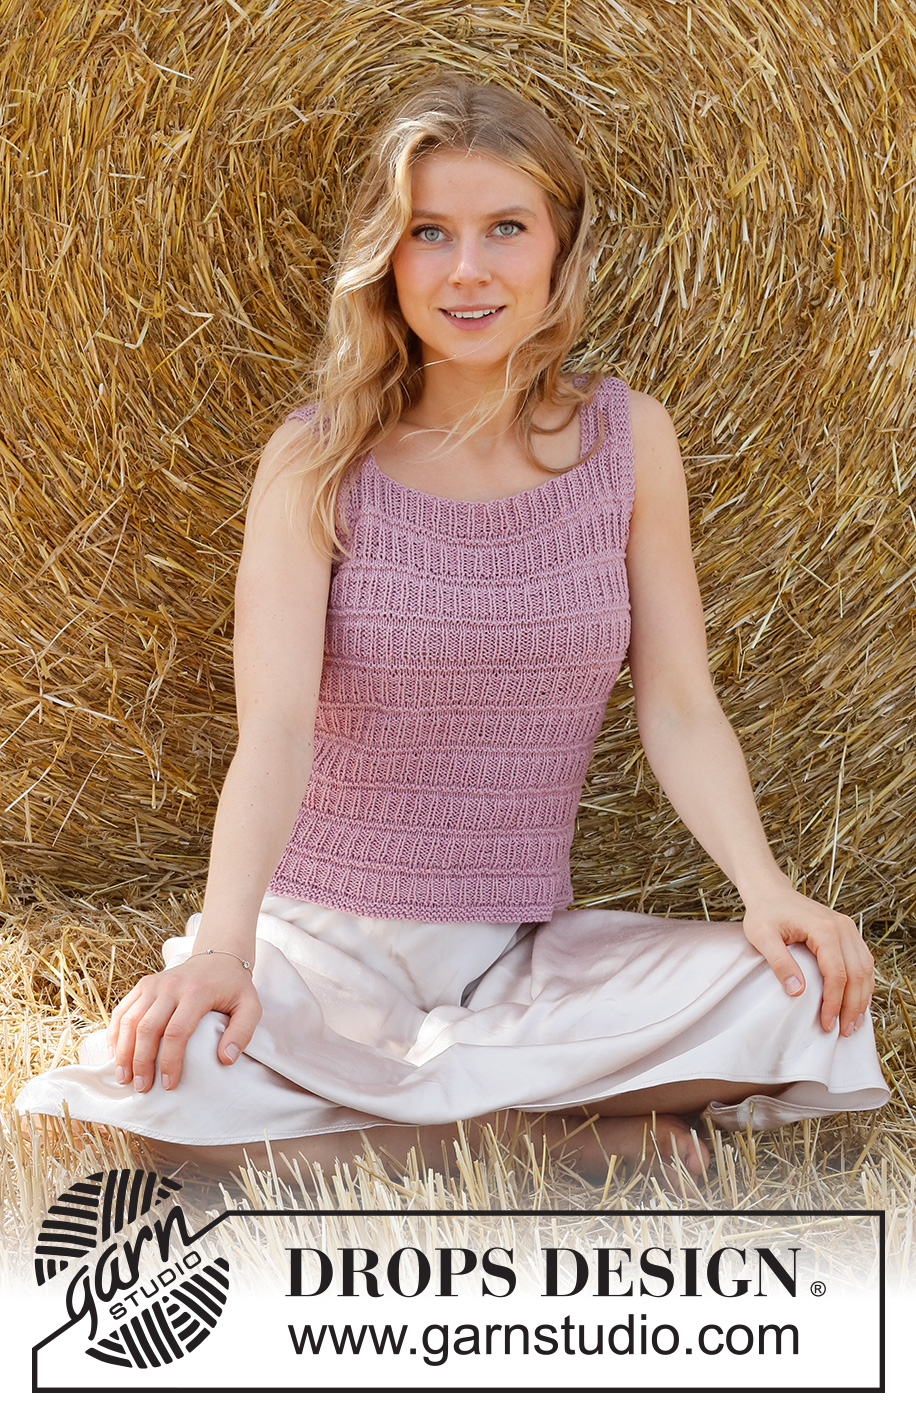
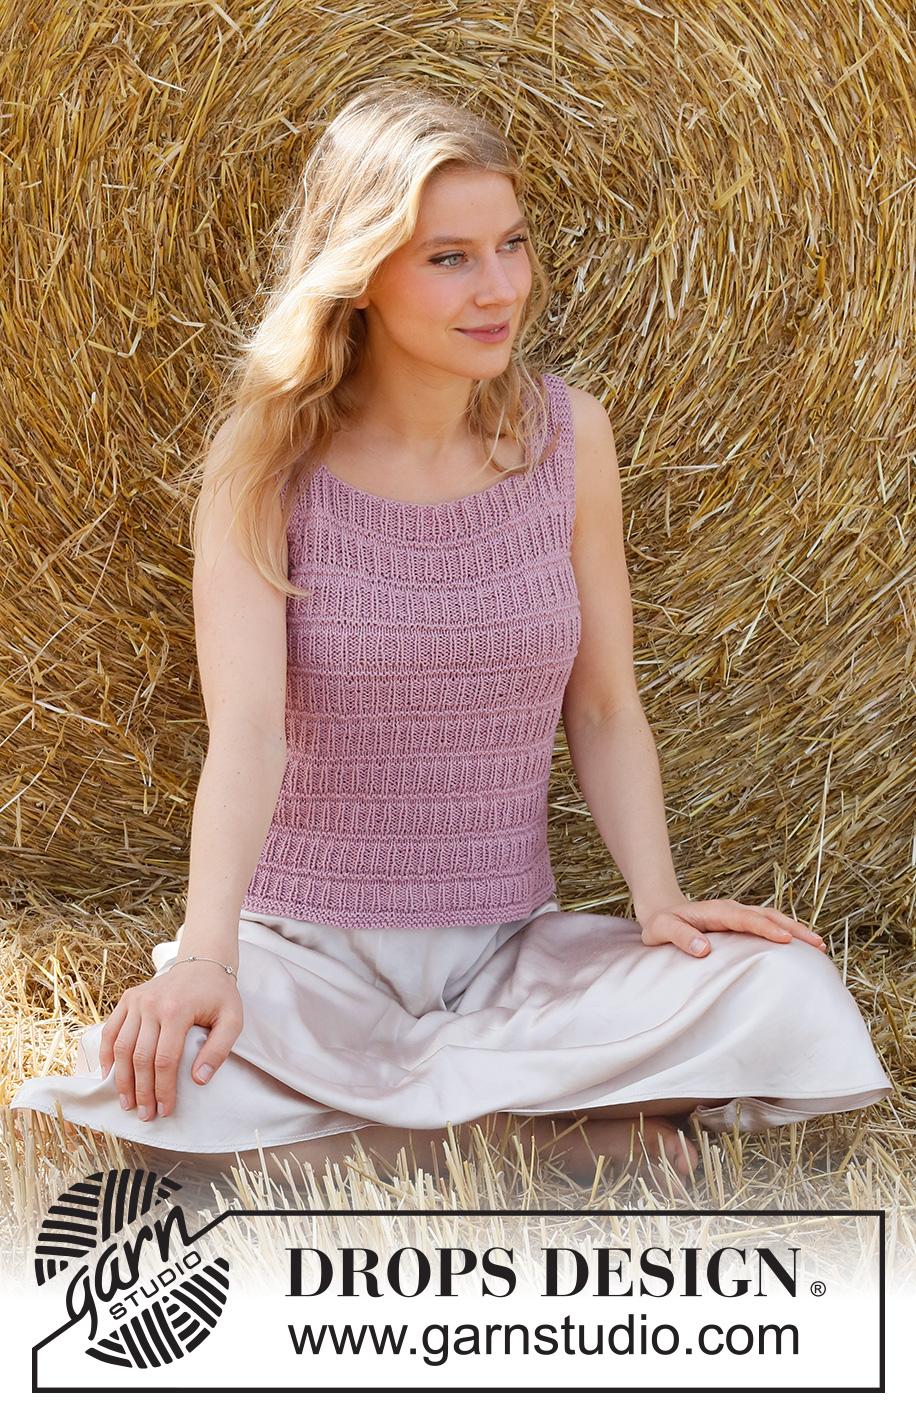
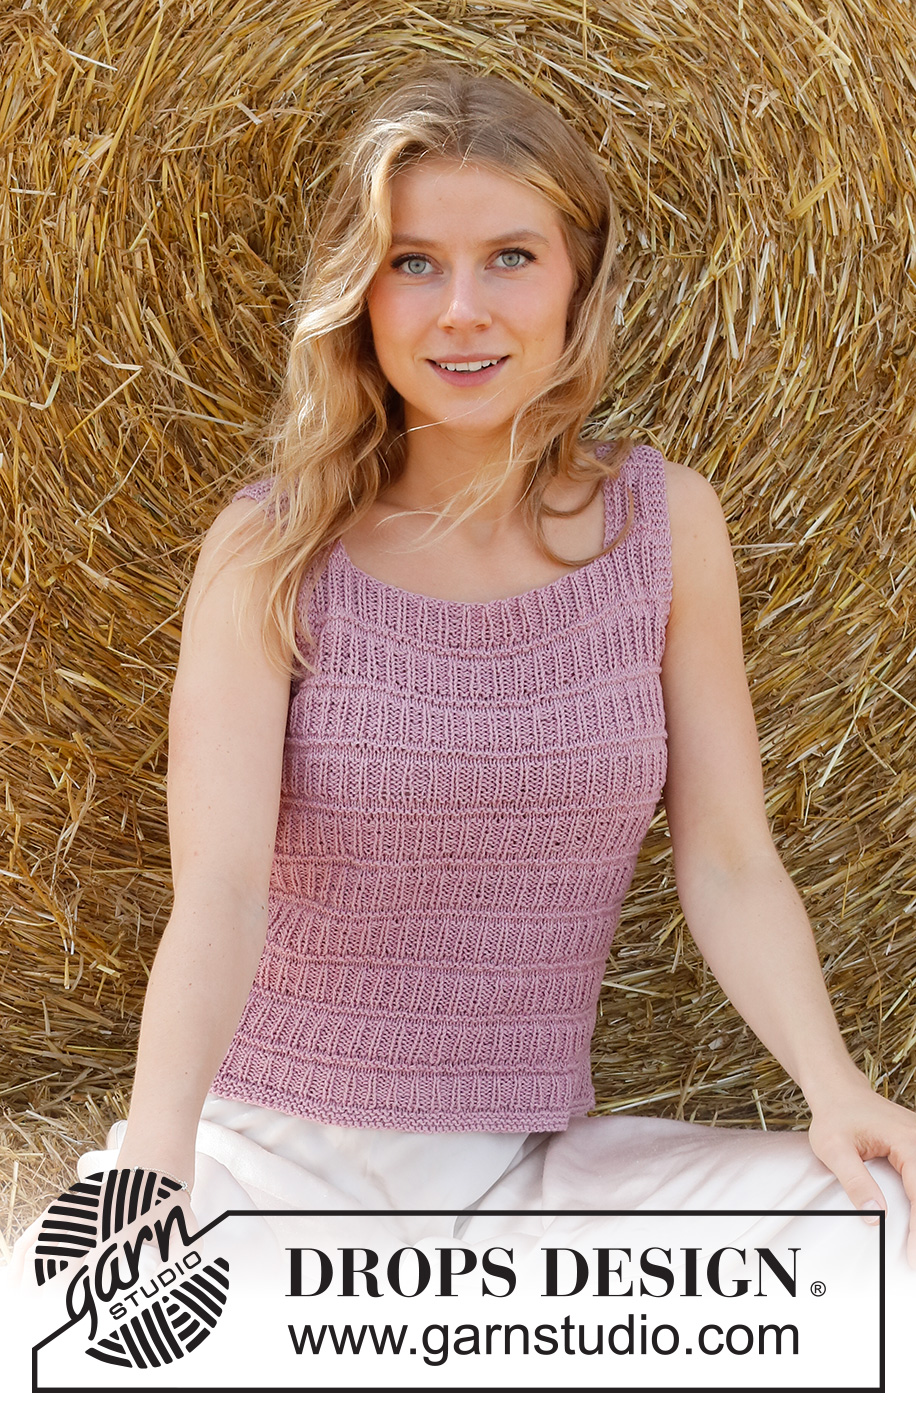
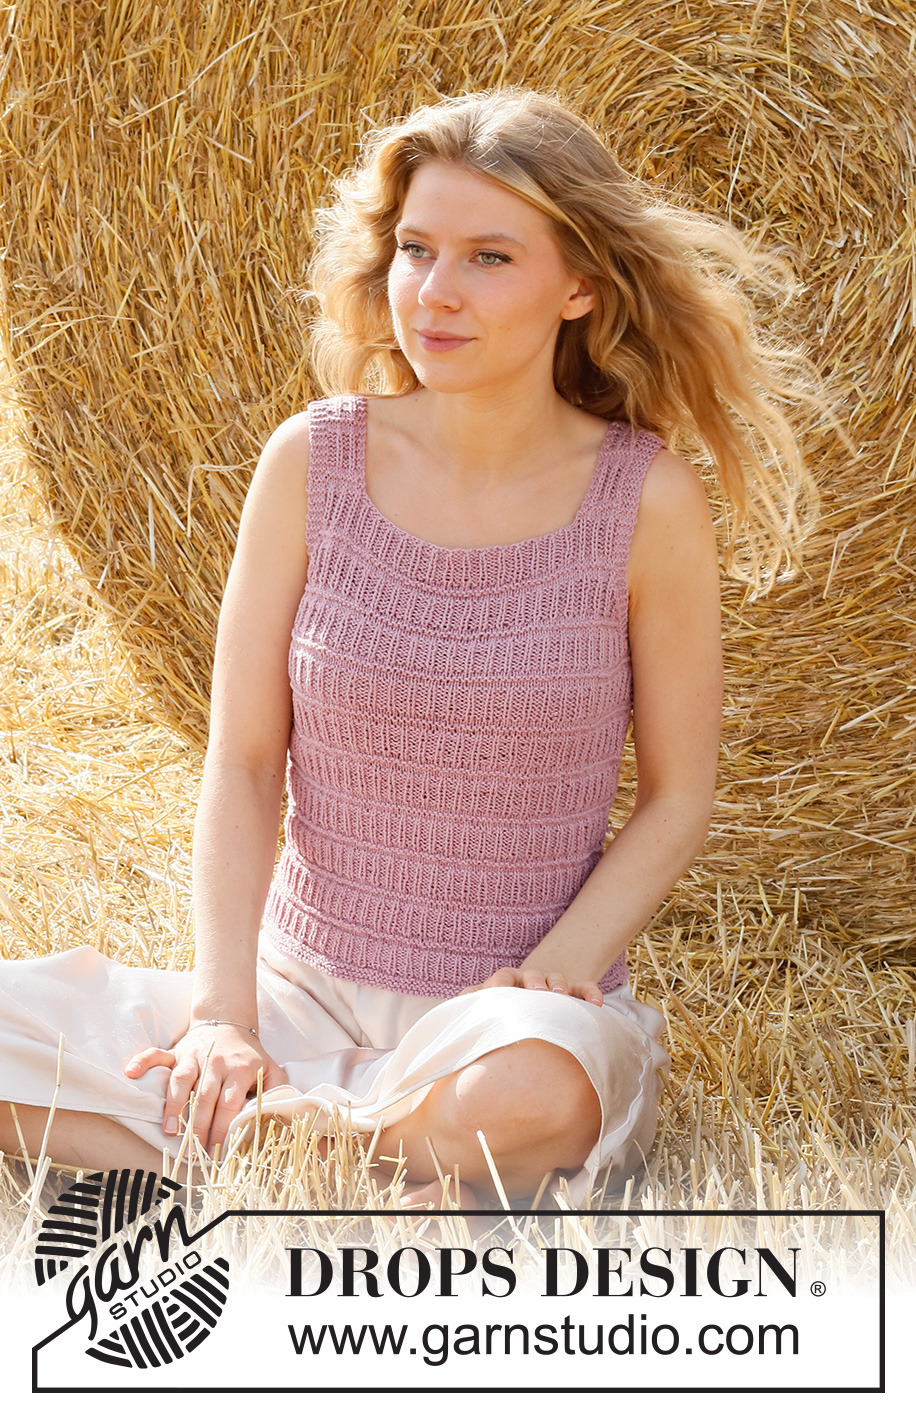
Pink Straw#pinkstrawtop |
|||||||
 |
 |
||||||
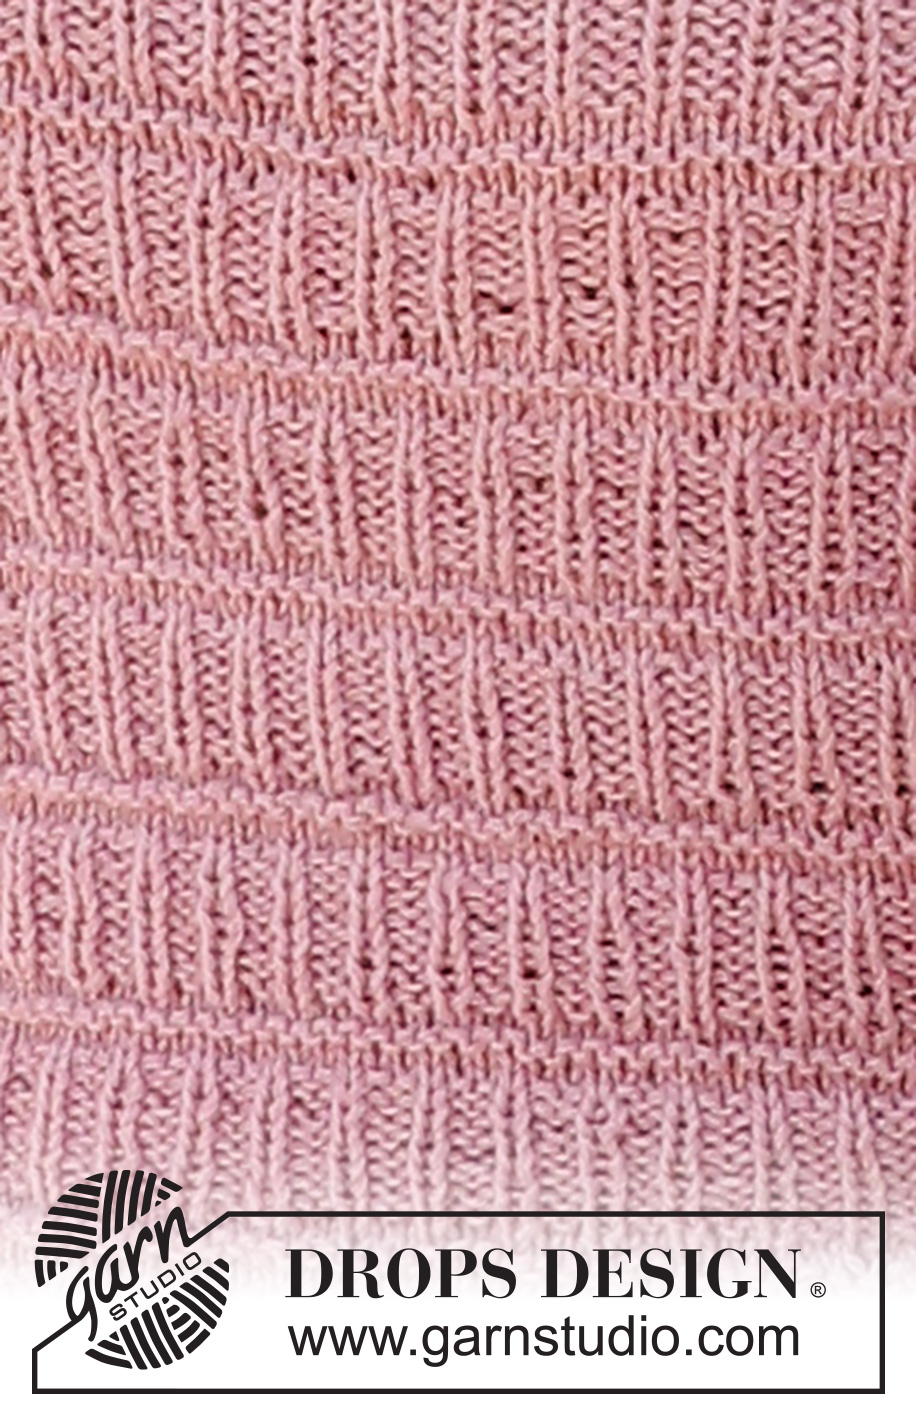
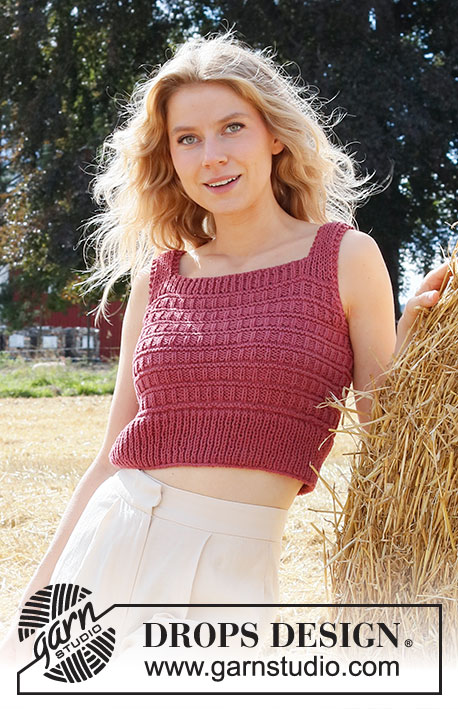
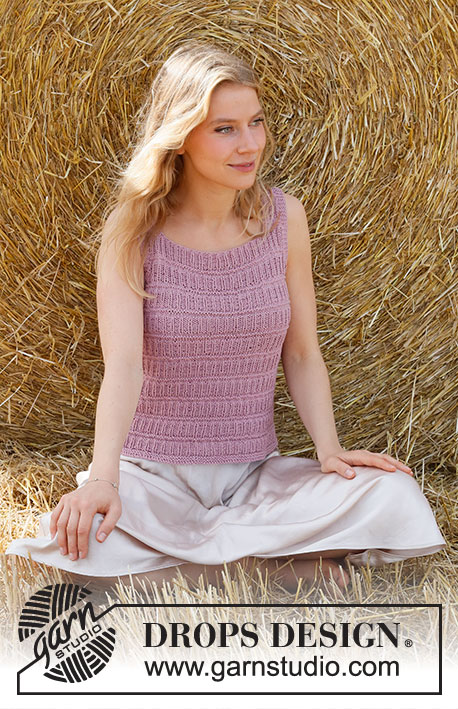
Knitted top in DROPS Belle. The piece is worked with textured pattern. Sizes S - XXXL.
DROPS 223-18 |
|||||||
|
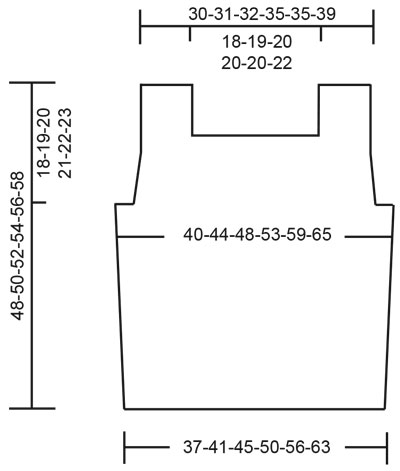
------------------------------------------------------- EXPLANATIONS FOR THE PATTERN: ------------------------------------------------------- RIDGE/GARTER STITCH (worked in the round): 1 ridge in height = 2 rounds; Knit 1 round and purl 1 round. RIDGE/GARTER STITCH (worked back and forth): Knit all rows. 1 ridge in height = Knit 2 rows. PATTERN: See diagram A.1. The diagram shows all the rows in the pattern from the right side. INCREASE TIP (for sides of body): Work until there are 3 stitches left before the marker thread, make 1 yarn over, work 6 stitches in pattern as before (marker thread sits between these 6 stitches) make 1 yarn over (= 2 stitches increased). On the next round work the yarn overs twisted to avoid holes. Then work the new stitches into A.1. DECREASE TIP (for armholes): Decrease on the inside of the 4 edge stitches in garter stitch. All decreases are worked from the right side! DECREASING AFTER THE 4 EDGE STITCHES: Purl 2 twisted together. DECREASING BEFORE THE 4 EDGE STITCHES: Start 2 stitches before the 4 edge stitches and purl these 2 stitches together. ------------------------------------------------------- START THE PIECE HERE: ------------------------------------------------------- TOP – SHORT OVERVIEW OF THE PIECE: The piece is worked in the round with circular needle bottom up, as far as the armholes. The front and back pieces are finished back and forth separately. BODY: Cast on a little loosely 162-180-198-222-246-276 stitches with circular needle size 3.5 mm and Belle. Change to circular needle size 3 mm and work 2 RIDGES in the round – read description above. Change back to circular needle size 3.5 mm and work 2 rounds of stocking stitch. Insert 1 marker thread at the beginning of the round and 1 marker thread after 81-90-99-111-123-138 stitches (= sides of body). Allow the threads to follow your work onwards; they are used when increasing in the sides. Work A.1 in the round. REMEMBER THE KNITTING TENSION! When the piece measures 8-8-8-8-10-10 cm, increase 1 stitch on each side of both marker threads – read INCREASE TIP (= 4 stitches increased). Increase like this every 7-7-8-8-8-8 cm a total of 3 times = 174-192-210-234-258-288 stitches – work the new stitches into A.1. When the piece measures 29-30-31-32-33-34 cm, work 2 ridges over 14-16-18-22-26-30 stitches in each side (i.e. 7-8-9-11-13-15 stitches on each side of both marker threads – the other stitches are worked as before). When the 2 ridges are finished, cast off for the armholes on the next round as follows: Cast off 3-4-5-7-9-11 stitches, work as before until 3-4-5-7-9-11 stitches remain before the next marker thread, cast off 6-8-10-14-18-22 stitches, work as before until 3-4-5-7-9-11 stitches remain on the round and cast off the last 3-4-5-7-9-11 stitches. Cut the strand and pull it through the last stitch. Back and front pieces are finished separately. BACK PIECE: = 81-88-95-103-111-122 stitches. Continue A.1 back and forth with circular needle size 3.5 mm and 4 edge stitches in garter stitch on each side for the armholes. AT THE SAME TIME, on the next row from the right side decrease 1 stitch on each side – read DECREASE TIP. Decrease for the armholes like this every 2nd row (each row from the right side) a total of 8-10-12-13-17-18 times = 65-68-71-77-77-86 stitches. Continue working until the piece measures 44-46-48-50-52-54 cm, but adjust so you are still in a ribbed section. On the next row cast off for the neck as follows: Work the first 13-13-13-16-16-19 stitches as before, cast off the next 39-42-45-45-45-48 stitches (with knit over knit and purl over purl), work the last 13-13-13-16-16-19 stitches as before. Each shoulder strap is finished separately. Continue A.1 back and forth as before, with 4 edge stitches in garter stitch on each side and 3 edge stitches in garter stitch towards the neck, until the strap measures 4 cm. The top measures approx. 48-50-52-54-56-58 cm from the shoulder down. Cast off. Work the other strap in the same way. FRONT PIECE: = 81-88-95-103-111-122 stitches. Continue A.1 back and forth with circular needle size 3.5 mm and 4 edge stitches in garter stitch on each side for the armholes. AT THE SAME TIME, on the next row from the right side decrease 1 stitch on each side in the same way as the back piece. Decrease like this every 2nd row (each row from the right side) a total of 8-10-12-13-17-18 times = 65-68-71-77-77-86 stitches. Continue working until the piece measures 40-42-43-45-46-48 cm, but adjust so you are still in a ribbed section. On the next row cast off for the neck as follows: Work the first 13-13-13-16-16-19 stitches as before, cast off the next 39-42-45-45-45-48 stitches (with knit over knit and purl over purl) and work the last 13-13-13-16-16-19 stitches as before. Each shoulder strap is finished separately. Continue A.1 back and forth as before, with 4 edge stitches in garter stitch on each side and 3 edge stitches in garter stitch towards the neck, until the strap measures 8-8-9-9-10-10 cm. The top measures approx. 48-50-52-54-56-58 cm from the shoulder down. Cast off. Work the other strap in the same way. ASSEMBLY: Sew the shoulder seams inside the cast-off edges. |
|||||||
Diagram explanations |
|||||||
|
|||||||
 |
|||||||
 |
|||||||
Have you finished this pattern?Tag your pictures with #dropspattern #pinkstrawtop or submit them to the #dropsfan gallery. Do you need help with this pattern?You'll find 20 tutorial videos, a Comments/Questions area and more by visiting the pattern on garnstudio.com. © 1982-2026 DROPS Design A/S. We reserve all rights. This document, including all its sub-sections, has copyrights. Read more about what you can do with our patterns at the bottom of each pattern on our site. |
|||||||


With over 40 years in knitting and crochet design, DROPS Design offers one of the most extensive collections of free patterns on the internet - translated to 17 languages. As of today we count 325 catalogues and 12298 patterns translated into English (UK/cm). 12298
We work hard to bring you the best knitting and crochet have to offer, inspiration and advice as well as great quality yarns at incredible prices! Would you like to use our patterns for other than personal use? You can read what you are allowed to do in the Copyright text at the bottom of all our patterns. Happy crafting!
Post a comment to pattern DROPS 223-18
We would love to hear what you have to say about this pattern!
If you want to leave a question, please make sure you select the correct category in the form below, to speed up the answering process. Required fields are marked *.