Komentáře / Otázky (429)
![]() Laura Tesse napsala:
Laura Tesse napsala:
Non riesco a trovare on line nei siti con traduzione in italiano questo materiale con questa descrizione - in particolare i ferri per i calzini: Ferri a doppia punta e ferri circolari piccoli DROPS n° 3 Ferri circolari DROPS n° 4 (40 cm - ferri per calzini, per la taglia più piccola)
17.09.2025 - 15:00Odpověď DROPS Design :
Buongiorno Laura, dai rivenditori DROPS può trovare i ferri a doppia punta e i ferri circolari da 40 cm. Buon lavoro!
19.09.2025 - 15:59
![]() Jenny napsala:
Jenny napsala:
Bonjour et merci pour vos super modèles ! L'échantillon se fait-il sur des aiguilles 3 ou 4, et avec quel point ? J'ai deux fils de couleurs différentes : un motif à tresses permet-il judiceusement une alternance de couleur à chaque tour ? Ou chaque deux tours ? Merci d'avance pour vos réponses
27.08.2025 - 16:11Odpověď DROPS Design :
Bonjour Jenny, l'échantillon se tricote ici avec les aiguilles 4 - si vous souhaitez des rayures, vous pouvez choisir à quel niveau les faire notez que toutes les torsades ne se répètent pas au même rythme, par ex tous les 4 rang dans M.2 tout comme celle au milieu de M.1 mais celles des côtes se répètent sur davantage de rangs et celles de M.3 + les petites de M.1 (de chaque côté + après la grande du milieu) se tricotent tous les 2 rangs. Tricotez un échantillon et choisissez la fréquence des rayures qui vous convient. Bon tricot!
28.08.2025 - 18:49
![]() Boust Ghislaine napsala:
Boust Ghislaine napsala:
Peut on réaliser ce modèle avec des aiguilles droites et coudre sous le ventre ?
26.08.2025 - 21:20Odpověď DROPS Design :
Bonjour Mme Boust, probablement, cette leçon vous donnera quelques astuces; celle-ci pourra éventuellement vous aider également car on y montre comment on tricote ce pull. Bon tricot!
27.08.2025 - 07:50
![]() Natashia napsala:
Natashia napsala:
Jeg er i gang med str. M. Og ja jeg har set videoen. Men der mangler et *.
04.07.2025 - 06:30
![]() Natashia napsala:
Natashia napsala:
Jeg er gået igang. Men i opskriften står der til sidst i diagrammet, M1 (= midt på rygge M3 *, gentag fra *-* 3 gange. Men der mangler en *. Og hvis jeg regner det sammen får jeg 142.
01.07.2025 - 18:09Odpověď DROPS Design :
Hej Natashia, hvilken størrelse strikker du? Har du set vores video hvor vi strikker hele hundeblusen? 102-43
03.07.2025 - 12:17
![]() Sara Murray napsala:
Sara Murray napsala:
I'm just starting this pattern, and it reads in a very confusing way. I see there are other knitters who have commented the same. Might I suggest that you add a diagram to show the overall shape of the coat, as well as putting the cable pattern in the instructions rather than just the diagram. Most cable patterns I have seen have both options so knitters can choose whether they follow the diagram or pattern. I'm not used to following a diagram personally.
25.06.2025 - 06:24
![]() Claudine De Braekeleer napsala:
Claudine De Braekeleer napsala:
Hallo kan ik een iets duidelijker patroon krijgen AUB
20.04.2025 - 15:13
![]() Sue Evans napsala:
Sue Evans napsala:
So sorry but I've never followed such a confusing pattern before!! I have just put 22 stitches on a stitch holder and don't understand if I'm continuing on the round needle in pattern or changing to normal needles and knitting garter stitch or pattern? Please help
20.02.2025 - 15:35Odpověď DROPS Design :
Dear Mrs Evans, after you have slipped the middle 22 stitches for stomach you continue each part separately back and forth in pattern as before; when you have reached the desired height on back piece, slip these stitches on a thread then work the 22 sts to the same height then you will work these stitches in the round again to finish sweater. In this lesson we show how to work this jumper in the smaller size but the technique will be the same, this should be able to help you visualizing how to do. Happy knitting!
21.02.2025 - 08:10
![]() Nicole Chapdelaine napsala:
Nicole Chapdelaine napsala:
Aiguille circulaire DROPS n° 4 (40 cm – aiguille à chaussettes dans la plus petite taille) (+ ou – grosse pour obtenir l'échantillon) Je ne comprend pourquoi deux sortes d'aiguille pour l'échantillon Merci
16.02.2025 - 01:16Odpověď DROPS Design :
Bonjour Mme Chapdelaine, il faut juste des aiguilles 4 pour l'échantillon, mais soit une aiguille circulaire de 40 cm pour les grandes tailles soit juste des aiguilles doubles pointes pour la petite taille. Bon tricot!
17.02.2025 - 09:15
![]() Nea He napsala:
Nea He napsala:
Teen M kokoista villapaitaa ja päätin juuri mahakappaleen 28 silmukkaa. En ymmärrä kuinka seuraava vaihe tapahtuu. Tehdäänkö joka 2. krs kaikki nämä 1 x 3 s, 2-3-4 x 2 s, 2-3-4 x 1 s, 2-3-4 x 2 s ja 1 x 3 s päättämiset vai joka kierroksella vain yksi näistä? Mihin kohtaan päätökset tulevat?
15.01.2025 - 13:55Odpověď DROPS Design :
Hei, kummastakin reunasta päätetään aluksi 3 silmukkaa kerran, sitten kummastakin reunasta päätetään 2 silmukkaa 2-3-4 kertaa, tämän jälkeen kummastakin reunasta päätetään 1 silmukka 2-3-4 kertaa jne. Silmukat päätetään joka 2.kerros (eli päätä kerroksen alusta ensin 3 simukkaa, neulo kerros loppuun ja päätä sitten seuraavan kerroksen alusta 3 silmukkaa, neulo kerros loppuun, päätä seuraavan kerroksen alusta 2 silmukkaa jne).
17.01.2025 - 17:39
The Lookout |
|||||||||||||||||||
 |
 |
||||||||||||||||||
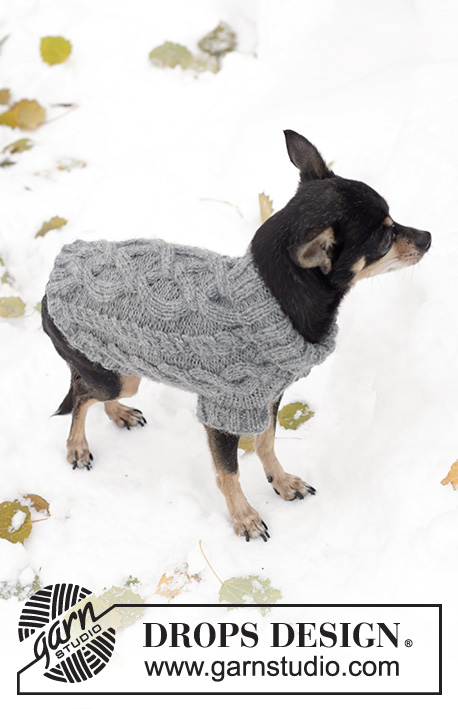
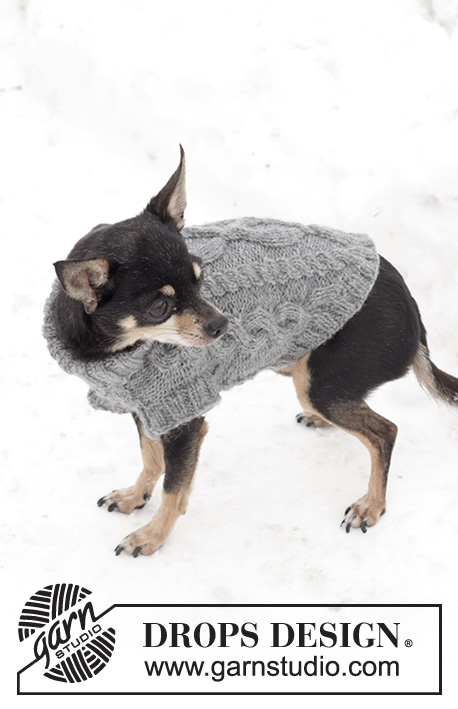
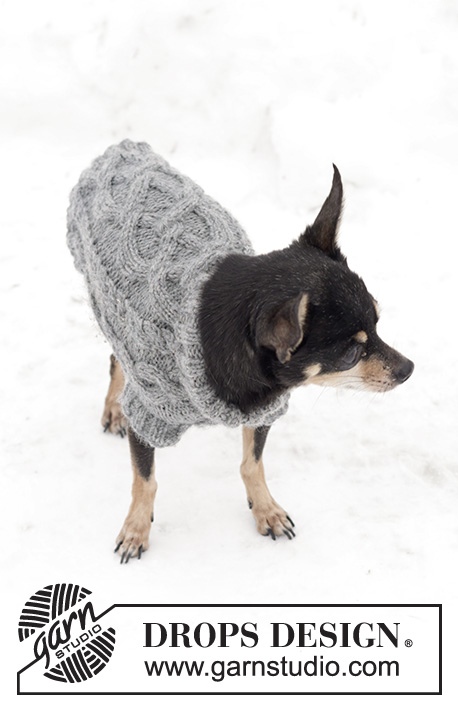
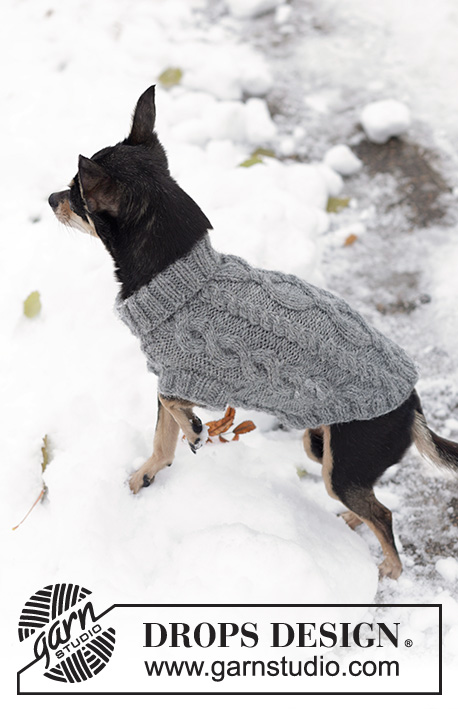
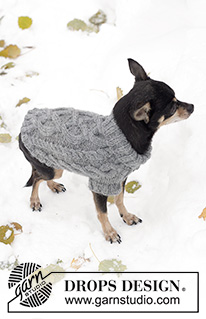
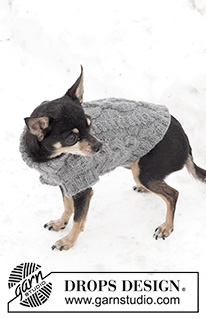
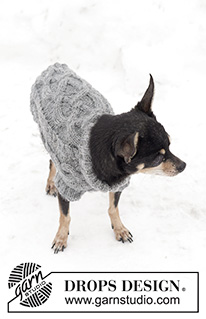
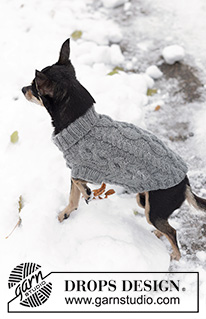
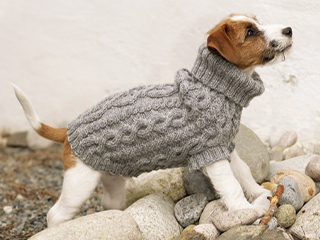
DROPS copánkový svetr pro psa z příze "Karisma".
DROPS 102-43 |
|||||||||||||||||||
|
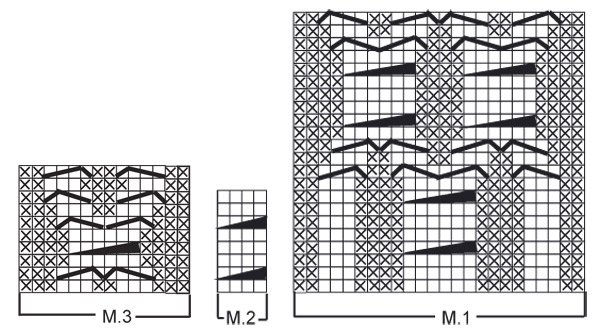
VZOR: Viz schémata M.1 – M.3. Vzor je nahlížen z lícové strany. Patent 2/2: Střídáme 2 oka hladce, 2 obrace. ---------------------------------------------------------------------- SVETR: Pleteme v kruhových řadách od roláku dolů. Na sadu ponožkových jehlic č.3 nahodíme světle šedou přízí Karisma 60-80-100 ok. Upleteme 8-10-12 cm patentem 2/2 (= rolák). Pak převedeme pleteninu na krátkou kruhovou jehlici č.4 (nebo sadu ponožkových jehlic téže velikosti). Pleteme 1 kruhovou řadu hladce, SOUČASNĚ přidáme rovnoměrně 16-32-54 ok = 76-112-154 ok. Pokračujeme copánkovým vzorem, takto: Velikost XS: vzor M.2, 2 oka obrace, vzor M.2, 3 oka obrace, vzor M.3, vzor M.2, vzor M.1 (= střed zad), vzor M.2, vzor M.3 a 3 oka obrace. Velikost S: *vzor M.2, 2 oka obrace*, *-* opakujeme 2x, vzor M.2, *vzor M.3, vzor M.2*, *-* opakujeme 2x, vzor M.1 (= střed zad), *vzor M.2, vzor M.3*, *-* opakujeme 2x. Velikost M: *vzor M.2, 2 oka obrace*, *-* opakujeme 3x, vzor M.2, *vzor M.3, vzor M.2*, *-* opakujeme 3x, vzor M.1 (= střed zad), *vzor M.2, vzor M.3*, *-* opakujeme 3x. SOUČASNĚ ve výši 12-16-20 cm rozdělíme pleteninu pro přední nohy, takto: 10-16-22 ok odložíme na pomocnou jehlici (= část pod břichem), uzavřeme 1 oko obrace, pleteme nad oky zádového dílu a uzavřeme poslední oko na druhé straně = 64-94-130 ok (= zádový díl). Upleteme v řadách nad těmito oky 6-8-10 cm výšky pleteniny (díl měří celkem 18-24-30 cm). Pak oka odložíme na pomocnou jehlici a odložená oka břišní části vrátíme zpět na jehlici. Na obou stranách nahodíme 1 nové oko = 12-18-24 ok. Pokračujeme v pletení vzoru, pleteme v řadách s 1 okem obrace na každé straně dílu. Po upletení 6-8-10 cm výšky převedeme všechna oka (stávající i odložená) na společnou kruhovou jehlici a pokračujeme v kruhových řadách = 76-112-154 ok. Ve výši 24-31-38 cm uzavřeme 12-20-28 ok uprostřed břišní části. Dále pleteme v řadách – SOUČASNĚ uzavíráme na obou stranách v každé 2. řadě: 1x 3 oka, 2-3-4x 2 oka, 2-3-4x 1 oko, 2-3-4x 2 oka a 1x 3 oka = 32-50-74 zbylých ok. Díl měří asi 30-39-48 cm. DOKONČENÍ: Zbylá oka převedeme na krátkou kruhovou jehlici č.3 a podél uzavřeného okraje nabereme celkem asi 84-108-140 ok. Pleteme patentem 2/2 do výše 2-3-4 cm, pak oka volně uzavřeme. NOHAVICE: Na sadu ponožkových jehlic č.3 nabereme kolem jednoho otvoru asi 36-44-52 ok. Pleteme patentem 2/2 do výše 2-3-4 cm, pak oka volně uzavřeme. Stejným způsobem upleteme druhou nohavici. |
|||||||||||||||||||
Vysvětlivky ke schématu |
|||||||||||||||||||
|
|||||||||||||||||||
 |
|||||||||||||||||||
Dokončili jste tento model?Pak označte své fotky tagem #dropspattern nebo je pošlete do galerie #dropsfan. Potřebujete s tímto návodem poradit?Otevřete-li si návod na stránce garnstudio.com, najdete tam 24 výukových video-ukázek, Komentáře/Dotazy a další užitečné informace. © 1982-2026 DROPS Design A/S. Vyhrazujeme si veškerá práva. Tento dokument, včetně všech jeho dílčích částí, podléhá autorským právům. Podrobnější komentář k možnostem užití našich návodů najdete dole pod každým návodem na našich stránkách. |
|||||||||||||||||||









Přidejte komentář k návodu DROPS 102-43
Rádi bychom věděli, co si o tomto modelu myslíte!
Pokud se chcete na něco zeptat, dbejte prosím na to, abyste ve formuláři níže vybrali správnou kategorii - díky tomu se dříve dozvíte, co potřebujete vědět. Povinná pole jsou označena *.