
Categorías populares
¿Buscas un hilo?


Comentarios / Preguntas (49)
![]() Micky escribió:
Micky escribió:
Hallo, meine Frage bin gestern ist beantwortet worden, hilft mir aber leider nicht weiter: wie stricke ich am V-Ausschnitt die letzte Masche in der Rückreihe, damit sich ein schöner and ergibt?
28.06.2023 - 11:31DROPS Design respondió:
Liebe Micky, alle Maschen (auch die Randmaschen) werden glatt rechts gestrickt = rechtes bei den Hin-Reihen und links bei den Rückreihen. Viel Spaß beim stricken!
28.06.2023 - 12:14
![]() Micky escribió:
Micky escribió:
Wird die Krausrippe (also die Randmasche auch in Rückreihen rechts stricken) auch beim V-Ausschnitt beibehalten? Auf dem Foto sieht der Rand nämlich nicht nach diesen Knötchen aus.
27.06.2023 - 13:40DROPS Design respondió:
Liebe Micky, es sind keine Ranmasche mehr nach Halsausschnitt, nur 5 Maschen glatt rechts für den Hals und die Armlöcher - siehe ABNAHMETIPP:. Viel Spaß beim stricken!
27.06.2023 - 13:49
![]() Monique Meijer escribió:
Monique Meijer escribió:
Hoi,ik heb de panden klaar maar snap niet hoe ze aan elkaar worden gezet. Het lijkt dat er open ruimte zit tussen de panden hoe doe je dit?
17.06.2023 - 19:11DROPS Design respondió:
Dag Monique,
De zijnaden hebben inderdaad een split, dus je naait de onderste 5 cm niet dicht, deze laat je open.
18.06.2023 - 11:50
![]() Micky escribió:
Micky escribió:
Hallo, welche Größe trägt das Model? Ich wüsste gerne, ob das Top mit Positive Ease oder Negative Ease gestrickt ist, daher wäre es hilfreich, die Größe am Model zu wissen.
17.06.2023 - 11:47DROPS Design respondió:
Liebe Micky, unsere Modellen tragen meistens S oder M, um die genaue Größe zu wählen, messen Sie eine ähnliche Kleidung, die Sie gerne tragen und vergleichen Sie diese mit den Maßen in der Skizze, so finden Sie die beste passende Größe und können Sie dann für eine negative oder positive Ease - hier lesen Sie mehr; Viel Spaß beim stricken!
19.06.2023 - 08:21
![]() Rosy escribió:
Rosy escribió:
Buongiorno, nella vostra spiegazione non specificate quante maglie vanno diminuite, es. Una o due? "Diminuire per il collo all’inizio di ogni ferro dal diritto del lavoro 15-17-18-19-21 volte. Allo stesso tempo, diminuire per lo scalfo alla fine di ogni 4 ferri 4 volte, poi ogni 2 ferri 7-9-10-11-13 volte. Alla fine di tutte le diminuzioni ci sono 10-10-10-12-12 maglie sulla spalla."prego di correggere, e se potete eliminare il mio commento precedente errato nella sezione comment grazie
25.05.2023 - 15:28DROPS Design respondió:
Buonasera Rosy, per quanto riguarda le diminuzioni deve seguire quanto riportato nel suggerimento per le diminuzioni. Buon lavoro!
28.05.2023 - 21:06
![]() Rosy escribió:
Rosy escribió:
Diminuire per il collo all’inizio di ogni ferro dal diritto del lavoro 15-17-18-19-21 volte. Allo stesso tempo, diminuire per lo scalfo alla fine di ogni 4 ferri 4 volte, poi ogni 2 ferri 7-9-10-11-13 volte. Alla fine di tutte le diminuzioni ci sono 10-10-10-12-12 maglie sulla spalla.
25.05.2023 - 00:30DROPS Design respondió:
Buonasera Rosy, abbiamo risposto alla sua domanda successiva: deve seguire il SUGGERIMENTO PER LE DIMINUZIONI. Buon lavoro!
28.05.2023 - 21:08
![]() Rose escribió:
Rose escribió:
Also, how would the decreases work if I am knitting in the round until the v neck?And the cast offs? For the beginning ow decreases, would I still knit 5? OR only 4, as there is one edge garter stitch? I'm sorry to bother you, Thank you.
16.05.2023 - 09:51DROPS Design respondió:
Dear Rose, you can work in the round from the cast on edge towards the first cast off for armhole, then you will have to finish each piece separately back and forth, ie including both armhole + V-neck decreases, ie just work as explained in the pattern. Happy knitting!
16.05.2023 - 14:11
![]() Rose escribió:
Rose escribió:
Hi, great pattern, but if I wanted to change it to be in the round until the armholes could I do that. I have trouble understanding how to work it in the round until the armholes if I wanted to (minimal assembly.) I am knitting the smallest size. How many stitches fo I cast on? Would appreiate some help. Thanks!
13.05.2023 - 02:00DROPS Design respondió:
Dear Rose, you'd need to remove the garter stitches (that is, 1 stitch on each side for each piece). Therefore, you would cast on 78x2 = 156 stitches. Happy knitting!
14.05.2023 - 18:42
![]() Lisa escribió:
Lisa escribió:
Hi! I'm not sure I understand the decreasing for the arm and neck. If starting on the right side, every fourth needle would be on the wrong side? But decreasing only happens on the right side. Or do you mean every fourth time you are on the right side? Either way is it correct you finish decreasing at the beginning but continue a few rows decreasing at the end?
24.04.2023 - 11:09
![]() Zuzanna escribió:
Zuzanna escribió:
Witam, ja mam natomiast pytanie co do szelek. Informacja ze wzoru to „ […] oczek na szelkę/ramiączko. Przerabiać aż długość robótki wynosi ok. 44-46-48-50-52-54 cm od rzędu nabierania oczek. Zamykać oczka na prawo. ”. W jaki sposób przerabiać ramiączka? Dżersejem czy na okrągło? :)
20.03.2023 - 13:16DROPS Design respondió:
Witaj Zuzanno, oczka ramiączek przerabiasz dżersejem w tę i z powrotem z 1 oczkiem brzegowym ściegiem francuskim z każdej strony. Ten topik już mam i jest jednym z moich ulubionych :) Pozdrawiam!
20.03.2023 - 14:11
|
|
About Spring#aboutspringtop |
|
 |
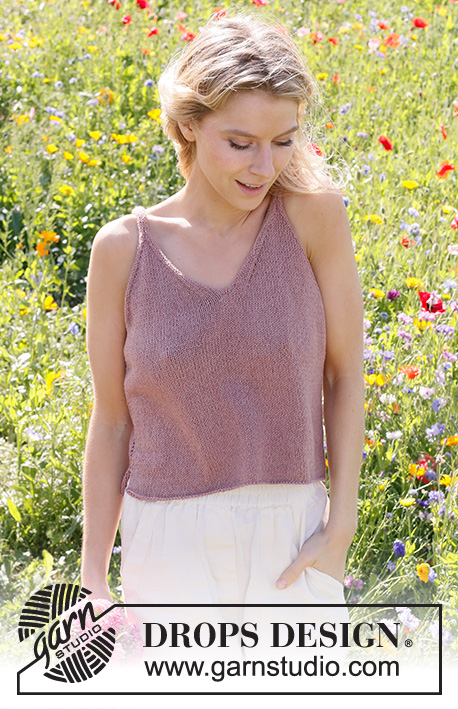 |
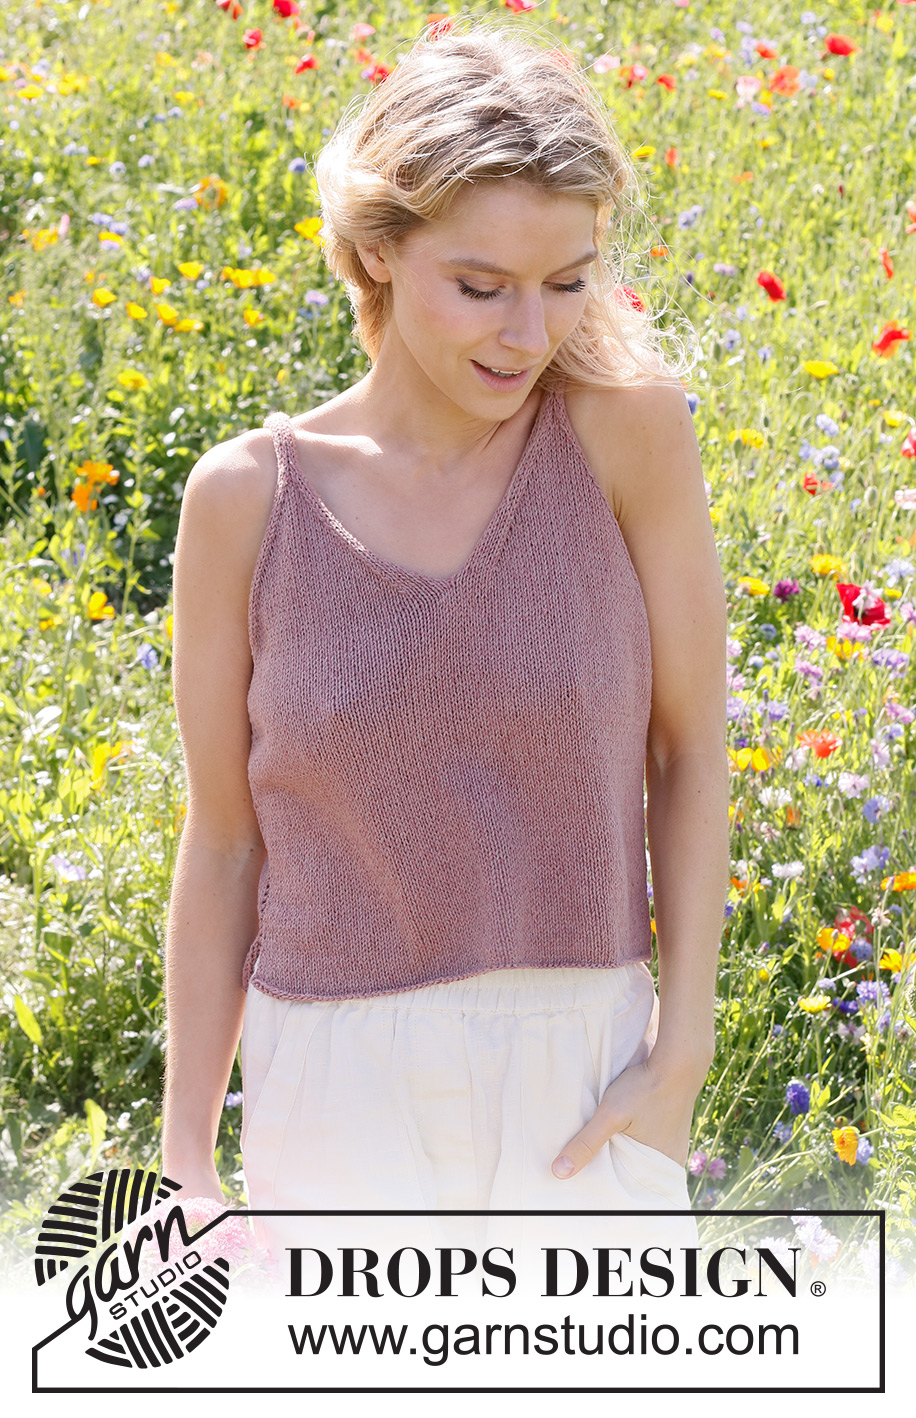
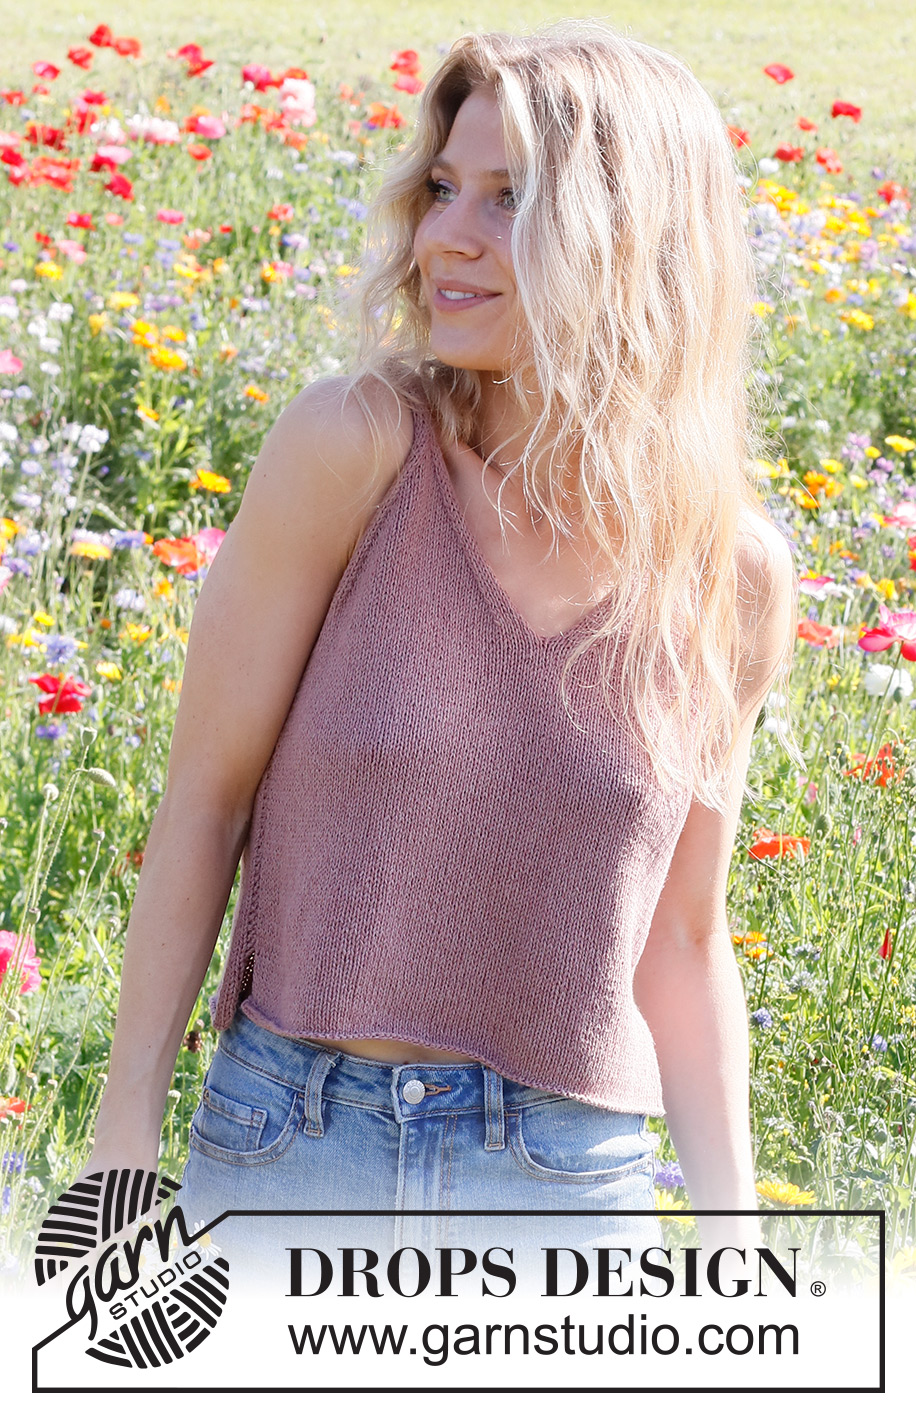
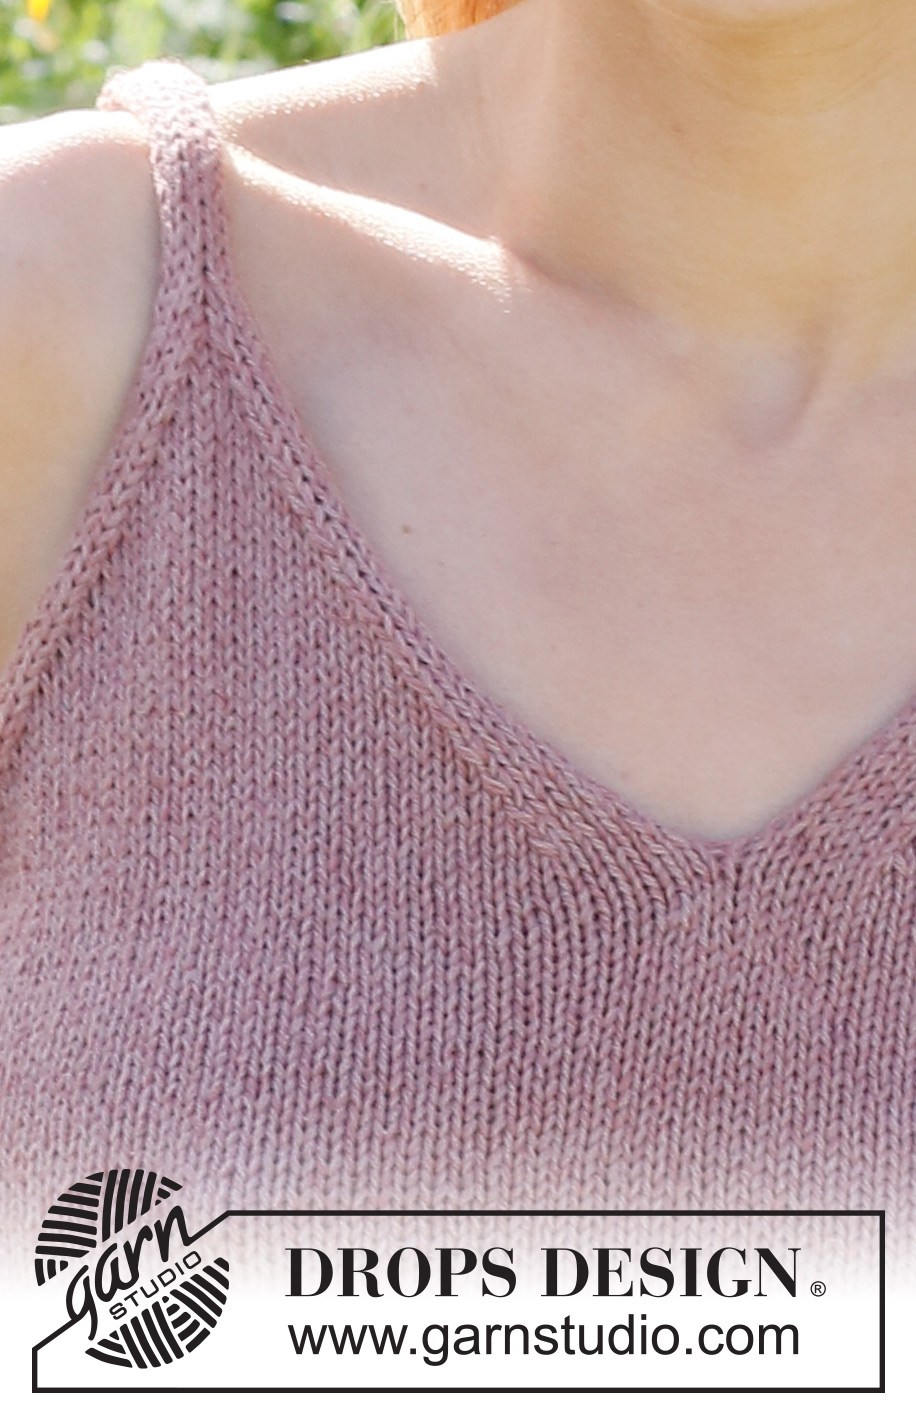
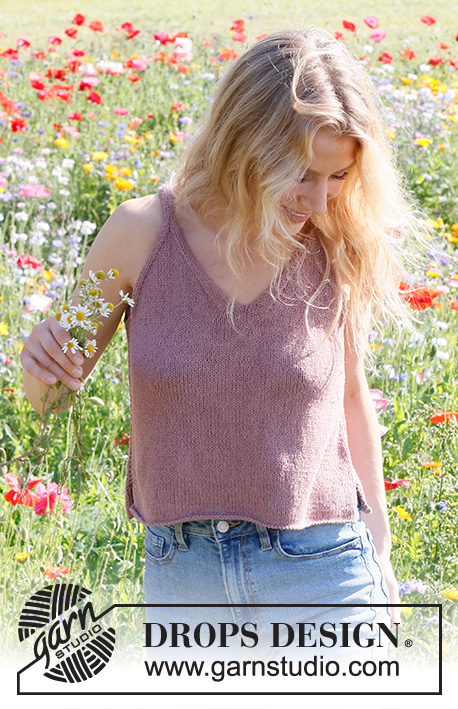
Top de punto en DROPS Belle. La pieza está tejida de abajo hacia arriba con escote en V. Tallas XS – XXL.
DROPS 231-26 |
|
|
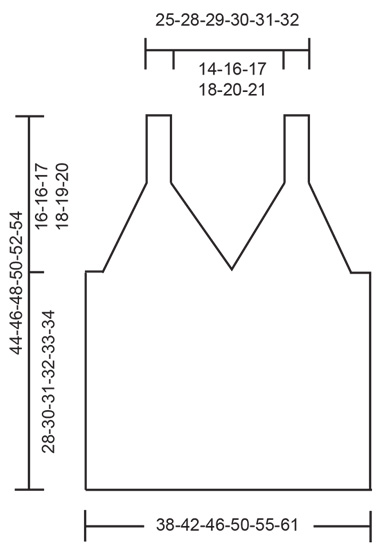
EXPLICACIONES PARA REALIZAR EL PATRÓN: ------------------------------------------------ SURCO/PUNTO MUSGO (tejido de ida y vuelta): Tejer todas las hileras de derecho. 1 surco = tejer 2 hileras de derecho. TIP PARA DISMINUIR: ¡Todas las disminuciones son hechas por el lado derecho! DISMINUIR 1 PUNTO AL PRINCIPIO DE LA HILERA: Tejer 5 puntos derechos, deslizar 1 punto como de derecho, tejer 1 punto derecho y pasar el punto deslizado por encima. DISMINUIR 1 PUNTO AL FINAL DE LA HILERA: Tejer hasta que resten 7 puntos, tejer 2 puntos juntos de derecho, tejer 5 puntos derechos. ------------------------------------------------ COMENZAR LA PIEZA AQUÍ: ------------------------------------------------ TOP: La pieza del frente y la pieza de la espalda son iguales, y se tejen separadamente de ida y vuelta con aguja circular, de abajo hacia arriba. ESPALDA: Montar 80-88-96-104-116-128 puntos con aguja circular tamaño 4 mm y DROPS Belle. Tejer punto jersey de ida y vuelta con 1 punto de orillo en PUNTO MUSGO a cada lado – leer descripción arriba. Tejer hasta que la pieza mida 28-30-31-32-33-34 cm a partir de la orilla de montaje y que la hilera siguiente sea por el lado derecho. ¡RECORDAR MANTENER LA MISMA TENSIÓN DE TEJIDO DE LA MUESTRA! Rematar 4-4-6-6-8-8 puntos al principio de las 2 hileras siguientes para las sisas = 72-80-84-92-100-112 puntos. Insertar 1 marcador, ¡AHORA MEDIR LA PIEZA A PARTIR DE AQUÍ! Ahora dividir para el escote de la manera siguiente: Tejer los primeros 36-40-42-46-50-56 puntos y colocar estos puntos en un hilo (parte-2). Tejer los 36-40-42-46-50-56 puntos siguientes (parte-1). PARTE-1: = 36-40-42-46-50-56 puntos. En la hilera siguiente por el lado derecho comenzar a disminuir para el escote y la sisa al mismo tiempo de la manera siguiente en las diferentes tallas – leer TIP PARA DISMINUIR: TALLAS XS – S – M – L – XL: Disminuir para el escote al principio de cada hilera por el lado derecho 15-17-18-19-21 veces. Al mismo tiempo, disminuir para la sisa al final de cada 4ª hilera 4 veces, después cada 2ª hilera 7-9-10-11-13 veces. Cuando todas las disminuciones estén terminadas, hay 10-10-10-12-12 puntos en el hombro. TALLA: XXL: Disminuir al principio y al final de cada hilera por el lado derecho (para el escote y para la sisa) 22 veces. Cuando todas las disminuciones estén terminadas, hay 12 puntos en el hombro. TODAS LAS TALLAS: = 10-10-10-12-12-12 puntos para el tirante. Tejer hasta que la pieza mida aprox. 44-46-48-50-52-54 cm a partir de la orilla de montaje. Rematar de derecho. PARTE-2: Colocar los 36-40-42-46-50-56 puntos del hilo de vuelta en aguja circular tamaño 4 mm. Tejer 1 hilera de revés por el lado revés. ¡Recordar el TIP PARA DISMINUIR! Ahora comenzar a disminuir para el escote y la sisa de la manera siguiente en las diferentes tallas: TALLAS XS – S – M – L – XL: Disminuir para el escote al final de cada hilera por el lado derecho 15-17-18-19-21 veces. Al mismo tiempo, disminuir para la sisa al principio de cada 4ª hilera 4 veces, después cada 2ª hilera 7-9-10-11-13 veces. Cuando todas las disminuciones estén terminadas, hay 10-10-10-12-12 puntos en el hombro. TALLA XXL: Disminuir al principio y al final de cada hilera por el lado derecho (para el escote y para la sisa) 22 veces. Cuando todas las disminuciones estén terminadas, hay 12 puntos en el hombro. TODAS LAS TALLAS: = 10-10-10-12-12-12 puntos para el tirante. Tejer hasta que la pieza mida aprox. 44-46-48-50-52-54 cm a partir de la orilla de montaje. Rematar de derecho. FRENTE: Montar y tejer de la misma manera como la pieza de la espalda. ENSAMBLAJE: Coser los tirantes, cosiendo en el bucle más externo del punto más externo. Coser las costuras laterales entre sí, en el bucle más externo de los puntos en punto musgo – dejar una abertura de 5 cm en la parte de abajo. |
|
 |
|
¿Terminaste este patrón?Entonces, etiqueta tus fotos con #dropspattern #aboutspringtop o envíalas a la galería #dropsfan. ¿Necesitas ayuda con este patrón?Encontrarás 19 videos tutoriales, un espacio para comentarios/preguntas y más visitando la página del patrón en garnstudio.com © 1982-2026 DROPS Design A/S. Todos los derechos reservados. Este documento, incluyendo todas sus sub-secciones, está protegido por los derechos de autor (copyright). Lee más acerca de lo que puedes hacer con nuestros patrones en la parte de abajo de cada patrón de nuestro sitio. |
|


Con más de 40 años en el diseño de modelos de punto y de ganchillo, DROPS Design ofrece una de las más vastas colecciones de patrones gratuitos en el internet - traducidos en 17 idiomas. Al día de hoy, contamos con 324 catálogos y 12290 patrones - de los cuales 11675 están traducidos en español.
Nosotros trabajamos con mucho esmero para brindarte lo mejor que las labores de punto y ganchillo tienen para ofrecer,inspiración y consejos, así como hilos de magnífica calidad a precios increíbles! Te gustaría usar nuestros patrones para otro fin además del uso personal? Puedes leer acerca de lo que estás permitida a hacer en el texto de Copyright en la parte de abajo de todos nuestros patrones. Felices labores!
Escribe un comentario sobre DROPS 231-26
¡Nos encantaría saber qué piensas acerca de este patrón!
Si quieres escribir una pregunta referente al patrón, por favor asegúrate de elegir la categoría correcta en el formulario debajo, para acelerar el proceso de respuesta. Los campos obligatorios están marcados con un *.