
Popular categories
Looking for a yarn?


Comments / Questions (19)
Denise Voiss wrote:
I want to convert this to stockinette stitch. How would I prevent it from curling? What edging could I add (4 stitches of seed stitch on each end)? And how would I knit this into the pattern given that there is only a 2 stitch cast on? Thank you!
10.01.2017 - 18:47DROPS Design answered:
Dear Mrs Voiss, we are not able to adjust each our pattern to every individual request, you are welcome to contact your DROPS store for any further personnal assistance or maybe rather choose another pattern worked in stocking st if you rather. Happy knitting!
11.01.2017 - 09:12
![]() Amanda Dunn wrote:
Amanda Dunn wrote:
I love this scarf, wondered if it's possible to convert it to a crochet pattern?? I haven't tried knitting, not sure I could do it!!
07.11.2016 - 22:27DROPS Design answered:
Dear Mrs Dunn, this pattern is only knitted one - you will find different videos showing how to knit if you like to learn, see tab "videos" and scrolling down to the bottom of the page. Happy knitting!
08.11.2016 - 09:52
![]() Petra Mohr wrote:
Petra Mohr wrote:
Hallo , habe das Drops Tuch fertig gestrickt und genau nach der Anleitung aber leider war das Tuch am Ende nur 39 cm lang . Habe alles nochmal mehrmals durchgelesen aber keinen Fehler gefunden. Hätte man die Wolle doppelt nehmen müssen ? Liebe Grüße Petra Mohr
27.10.2016 - 21:43DROPS Design answered:
Liebe Frau Mohr, haben Sie auch alle Zunahmen am Anfang jeder 2. Reihe (dh gleichzeitig mit den verkürzte R) gestrickt? Diese Zunahmen geben Breit und Höhe (es gibt immer mehr M. mit den Zunahmen, und damit mehr verkürzten Reihen).
28.10.2016 - 09:37
![]() Carmen wrote:
Carmen wrote:
Cuando se termina la hilera antes de cambiar de color, se tejen los puntos de toda la hilera o sólo los 6 últimos y se cambia de color?
19.10.2016 - 07:08DROPS Design answered:
Hola Carmen. ¿Puedes concretar la pregunta? ¿A qué fila y qué sección te estás refiriendo.?
30.10.2016 - 12:24
![]() Anke Graetz wrote:
Anke Graetz wrote:
Sehr geehrte Damen und Herren, ich bin Strickanfängerin. Wieviel Maschen werden ab Abschnitt 1 in jeder Rückreihe zugenommen? Abwechselnd 1M und dann 2M oder immer 2M. Danke im voraus für Ihre Hilfe. MfG Anke Graetz
17.09.2016 - 15:03DROPS Design answered:
Liebe Frau Graetz, es wird immer abwechselnd 1M und 2 M am Anfang jeder Reihe zugenommen (also bei der Randmaschen, nicht in der mitte wo man die verkürtzte Reihe strickt).
19.09.2016 - 09:12
![]() Beatriz Silva wrote:
Beatriz Silva wrote:
O modelo é simples mas tem uma boa combinação de cores, permitindo alterar o colorido, mantendo o esquema
24.06.2016 - 17:01
![]() Johanna wrote:
Johanna wrote:
So simple and beautiful!
10.06.2016 - 12:38
![]() Candy wrote:
Candy wrote:
Been looking for just this shawl
07.06.2016 - 16:19
![]() Diane Charbonneau wrote:
Diane Charbonneau wrote:
On pourrait6 l'appeler....Rose des vents
04.06.2016 - 04:01
|
|
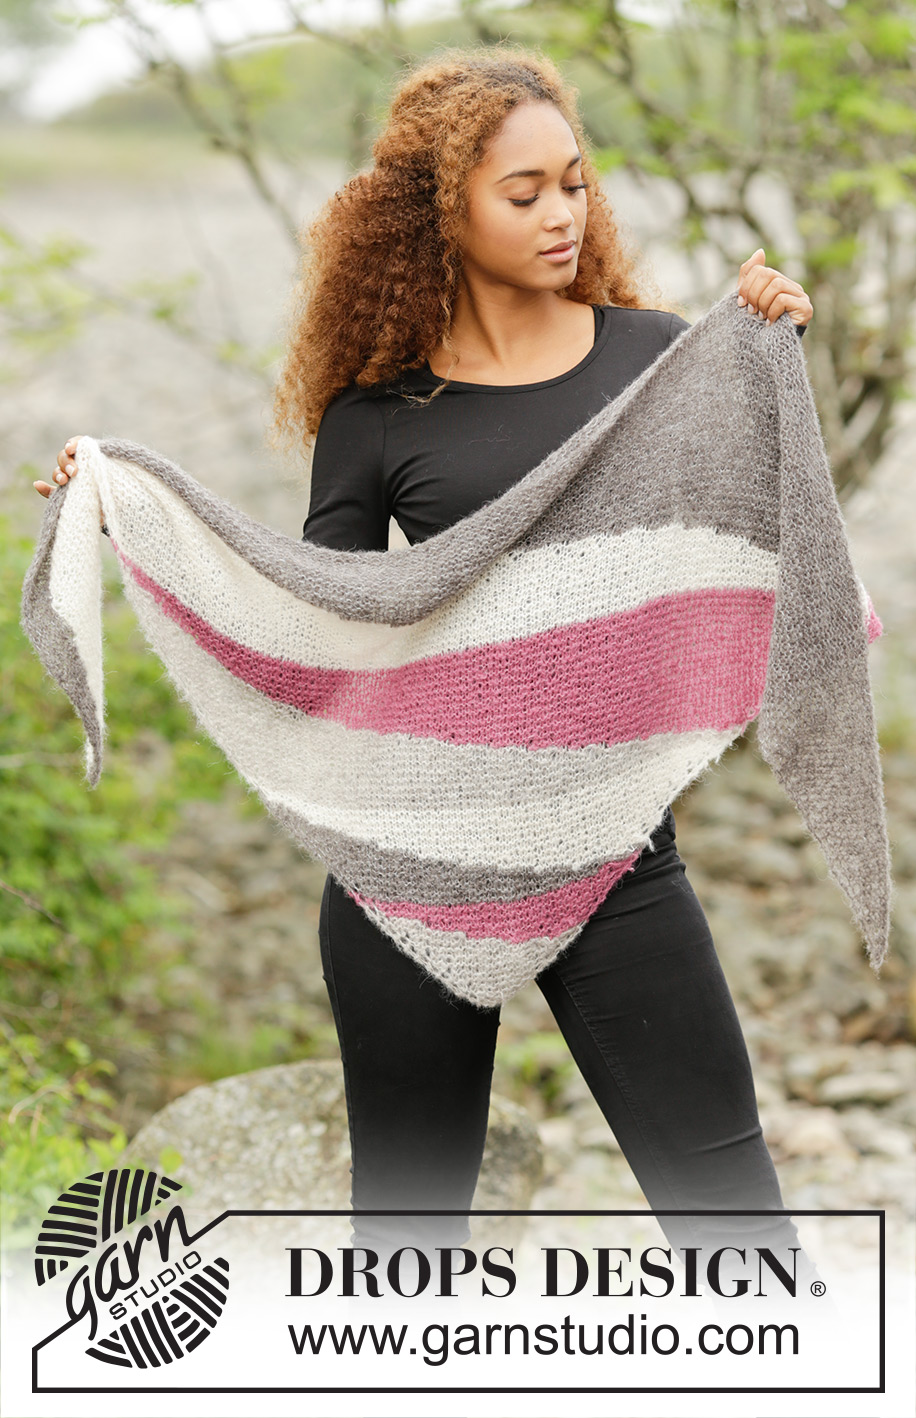
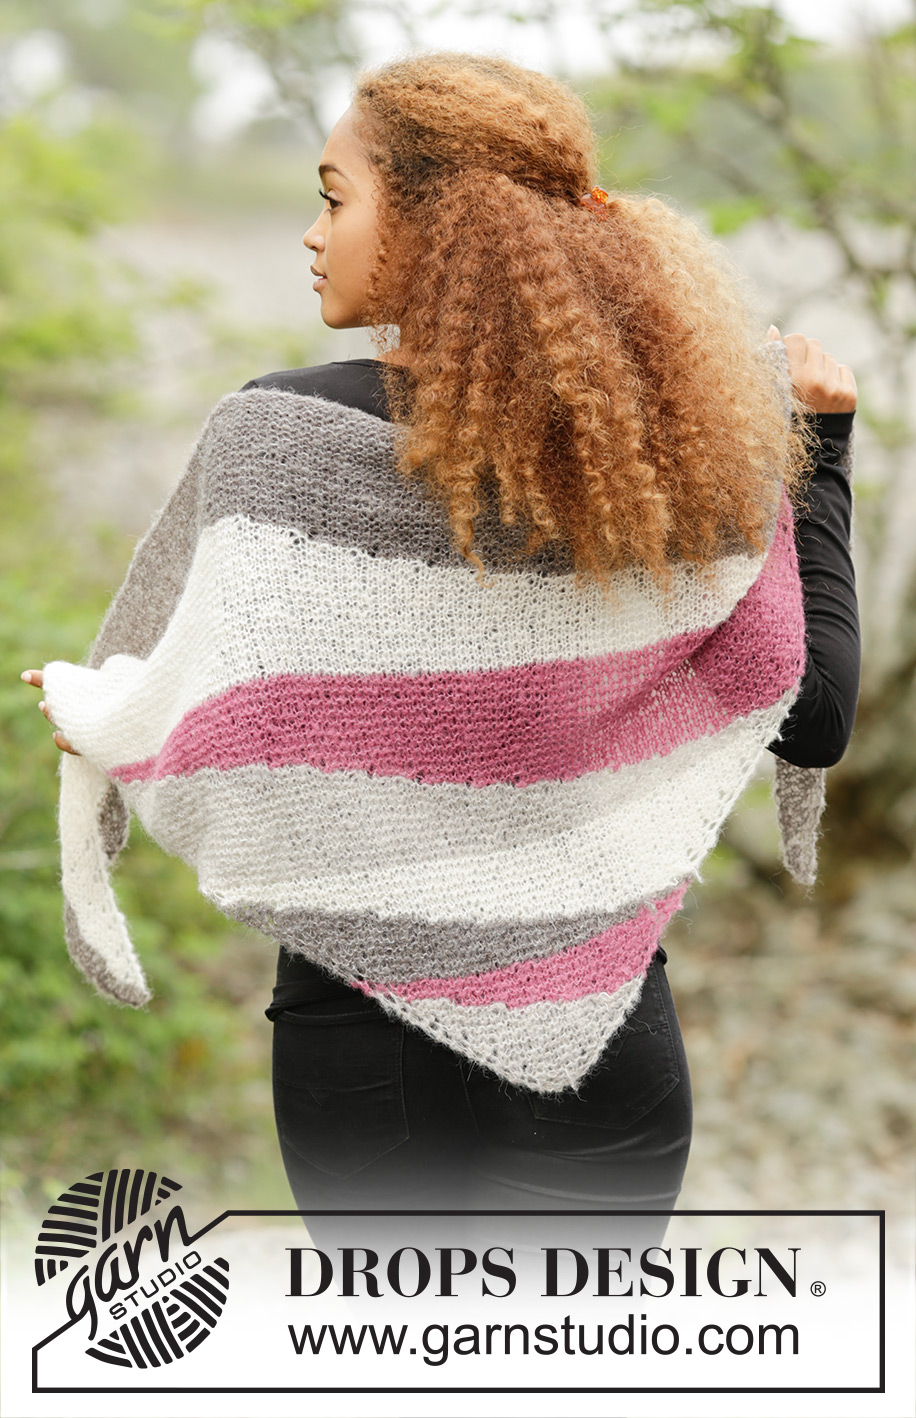
Tide Rose#tiderosescarf |
|
 |
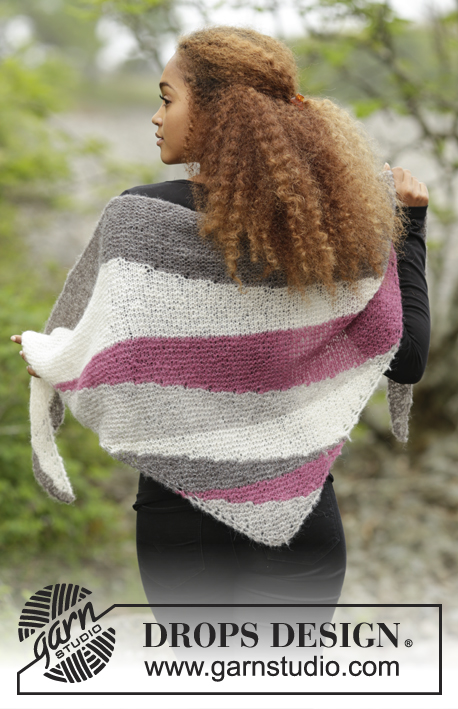 |
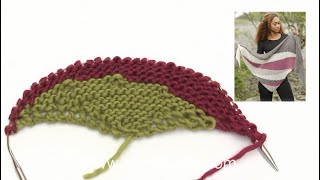
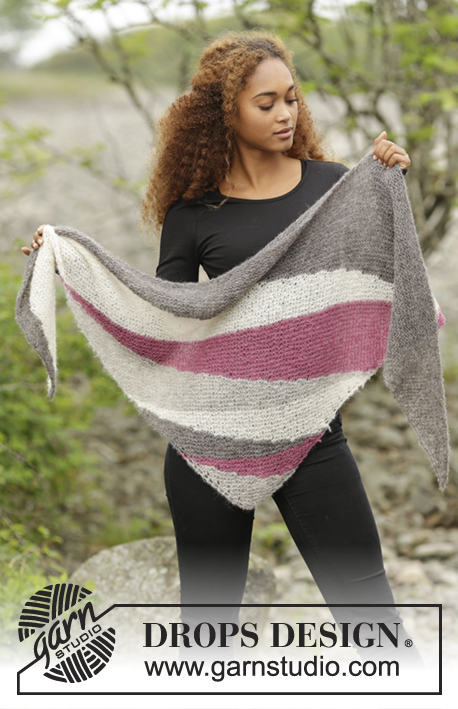
Knitted DROPS shawl with short rows and stripes in ”Brushed Alpaca Silk”.
DROPS 172-20 |
|
|
GARTER ST (back and forth): K all rows. 1 ridge = 2 rows K. ---------------------------------------------------------- SHAWL: Worked back and forth on circular needle to make room for all the sts. Work from tip and up in GARTER ST - see explanation above. Cast on 2 sts on circular needle size 6 mm with light grey. Then work as follows: ROW 1 (= RS): K 1, 1 YO (= 1 st inc), K the rest of row. ROW 2 (= WS): K 1, 1 YO (= 1 st inc), K the rest of row. ROW 3: K 1, 1 YO (= 1 st inc), K 1, 1 YO (= 1 st inc), K the rest of row (= 2 sts inc in total). ROW 4: K 1, 1 YO (= 1 st inc), K 1, 1 YO (= 1 st inc), K the rest of row (= 2 sts inc in total). REMEMBER THE KNITTING TENSION Repeat 1st to 4th row until piece measures 6 cm, adjust so that next row is from WS. Now work short rows as follows: SECTION 1: Continue to inc as before, but in this section inc only in left side of piece (= in beg of row from WS). Work short rows as follows: ROW 1 (= WS): K until 6 sts remain, turn piece (these sts are no longer worked). ROW 2 (= RS): K back. ROW 3: K until 12 sts remain (incl the first 6 sts), turn piece (these sts are no longer worked). ROW 4: K back. Continue like this, i.e. work over 6 sts less every other row and inc as before in left side of piece, until 6 sts remain or less on row (last row is from RS). Work 1 row over all sts from WS and inc as before. SECTION 2: Switch colour to heather. Continue to inc as before, but in this section inc only in right side of piece (= in beg of row from RS). Work short rows as follows: ROW 1 (= RS): K the first 6 sts, turn piece. ROW 2 (= WS): K back. ROW 3: K over 6 sts more than on 1st row, turn piece (i.e. sts inc on 1st row are not counted). ROW 4: Work back. Continue like this, i.e. work 6 more sts every other row until 1 ridge has been worked over all sts (last row is from WS). SECTION 3: Switch colour to grey. K 1 row from RS. Work as SECTION 1. SECTION 4: Switch colour to off white. Work as SECTION 2. SECTION 5: Switch to light grey. K 1 row from RS. Work as SECTION 1. SECTION 6: Switch colour to heather. Work as SECTION 2. SECTION 7: Switch colour to off white. K 1 row from RS. Work as SECTION 1. SECTION 8: Switch colour to grey. Work as SECTION 2. Cast off as follows: * Cast off 5 sts, 1 YO and cast off YO *, repeat from *-* until all sts have been cast off. |
|
Have you finished this pattern?Tag your pictures with #dropspattern #tiderosescarf or submit them to the #dropsfan gallery. Do you need help with this pattern?You'll find 10 tutorial videos, a Comments/Questions area and more by visiting the pattern on garnstudio.com. © 1982-2026 DROPS Design A/S. We reserve all rights. This document, including all its sub-sections, has copyrights. Read more about what you can do with our patterns at the bottom of each pattern on our site. |
|


With over 40 years in knitting and crochet design, DROPS Design offers one of the most extensive collections of free patterns on the internet - translated to 17 languages. As of today we count 324 catalogues and 12290 patterns translated into English (UK/cm).
We work hard to bring you the best knitting and crochet have to offer, inspiration and advice as well as great quality yarns at incredible prices! Would you like to use our patterns for other than personal use? You can read what you are allowed to do in the Copyright text at the bottom of all our patterns. Happy crafting!
Post a comment to pattern DROPS 172-20
We would love to hear what you have to say about this pattern!
If you want to leave a question, please make sure you select the correct category in the form below, to speed up the answering process. Required fields are marked *.