
Popular categories
Looking for a yarn?


Comments / Questions (9)
![]() Gunnel Enestedt wrote:
Gunnel Enestedt wrote:
Vill skicka garnet tillväskan till mitt barnbarn. Hur gör jag? Gunnel Enestedt
31.05.2025 - 19:27
![]() Silvia wrote:
Silvia wrote:
Buongiorno la borsa è bellissima. Ho fatto la tracolla come c'è scritto ma non capisco come attaccarla. Bisogna tagliarla a metà per fare i due manici?
09.08.2022 - 07:46DROPS Design answered:
Buonasera Silvia, deve far passare la tracolla nell'angolo superiore di un lato corto della borsa e poi ancora dall'altro lato e poi annodare le estremità. Buon lavoro!
10.08.2022 - 22:24
![]() Lagom wrote:
Lagom wrote:
Je suis en train de le faire pour mes petites-filles 21 et 18 ans. Elles adorent les couleurs.
08.07.2022 - 23:57
![]() Catalina wrote:
Catalina wrote:
Y otra pregunta, hay que girar la pieza como en el video explicativo? Gracias.
10.06.2022 - 00:40DROPS Design answered:
Hola Catalina, sí, hay que girar como en el vídeo explicativo.
16.06.2022 - 19:57
![]() Catalina wrote:
Catalina wrote:
Hola! Es la primera vez que intento hacer ganchillo, no entiendo en el diagrama el símbolo "-" por ejemplo al empezar la segunda hilera hacemos 3+1 cadenetas o hacemos 3 cadenetas y - la hacemos entre los puntos altos de la primera hilera? Gracias
09.06.2022 - 23:07DROPS Design answered:
Hola Catalina, en el caso que has indicado, trabajas 3 +1 cadenetas, es decir, 4 seguidas. Para no confundirlas, coloca un marcapuntos en la 3ª de las 3 cadenetas iniciales, para marcar el inicio de la vuelta. Puedes consultar la siguiente lección para entender mejor los diagramas a ganchillo: https://www.garnstudio.com/lesson.php?id=69&cid=23
16.06.2022 - 19:56
![]() Yasmine Aly wrote:
Yasmine Aly wrote:
I made it it is very beautiful
27.05.2022 - 09:51
![]() Kissné Kalocsai Judit wrote:
Kissné Kalocsai Judit wrote:
Kedves Garnstudio! \r\nNagyon tetszik ez a honlap, de ez a mintaleírás sajnos hibás.\r\nJavaslom a fordítás felülvizsgálatát.\r\nEzt a mintát megtaláltam a w-711 mintában, és ott azt hiszem helyesen készült el.\r\nÜdvözlettel Judit Cecília
12.03.2022 - 21:14
![]() Gabriella Macera wrote:
Gabriella Macera wrote:
Wildflower satchel
15.01.2022 - 21:01
![]() Anna Wilks wrote:
Anna Wilks wrote:
Granny cool
15.01.2022 - 13:34
|
|||||||||||||||||||||||||
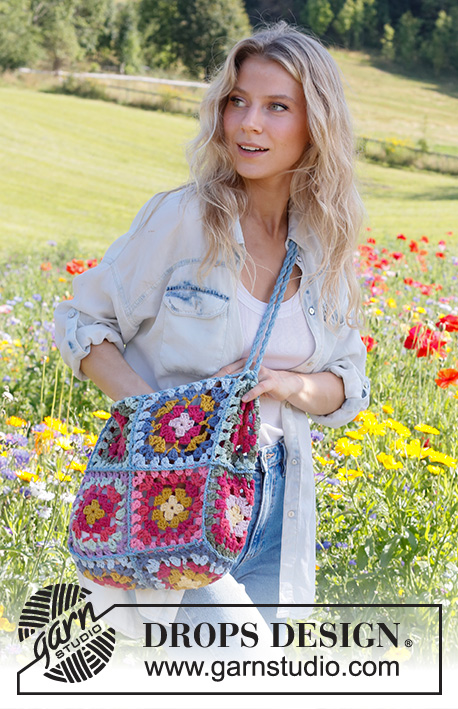
Colourful World#colourfulworldbag |
|||||||||||||||||||||||||
 |
 |
||||||||||||||||||||||||
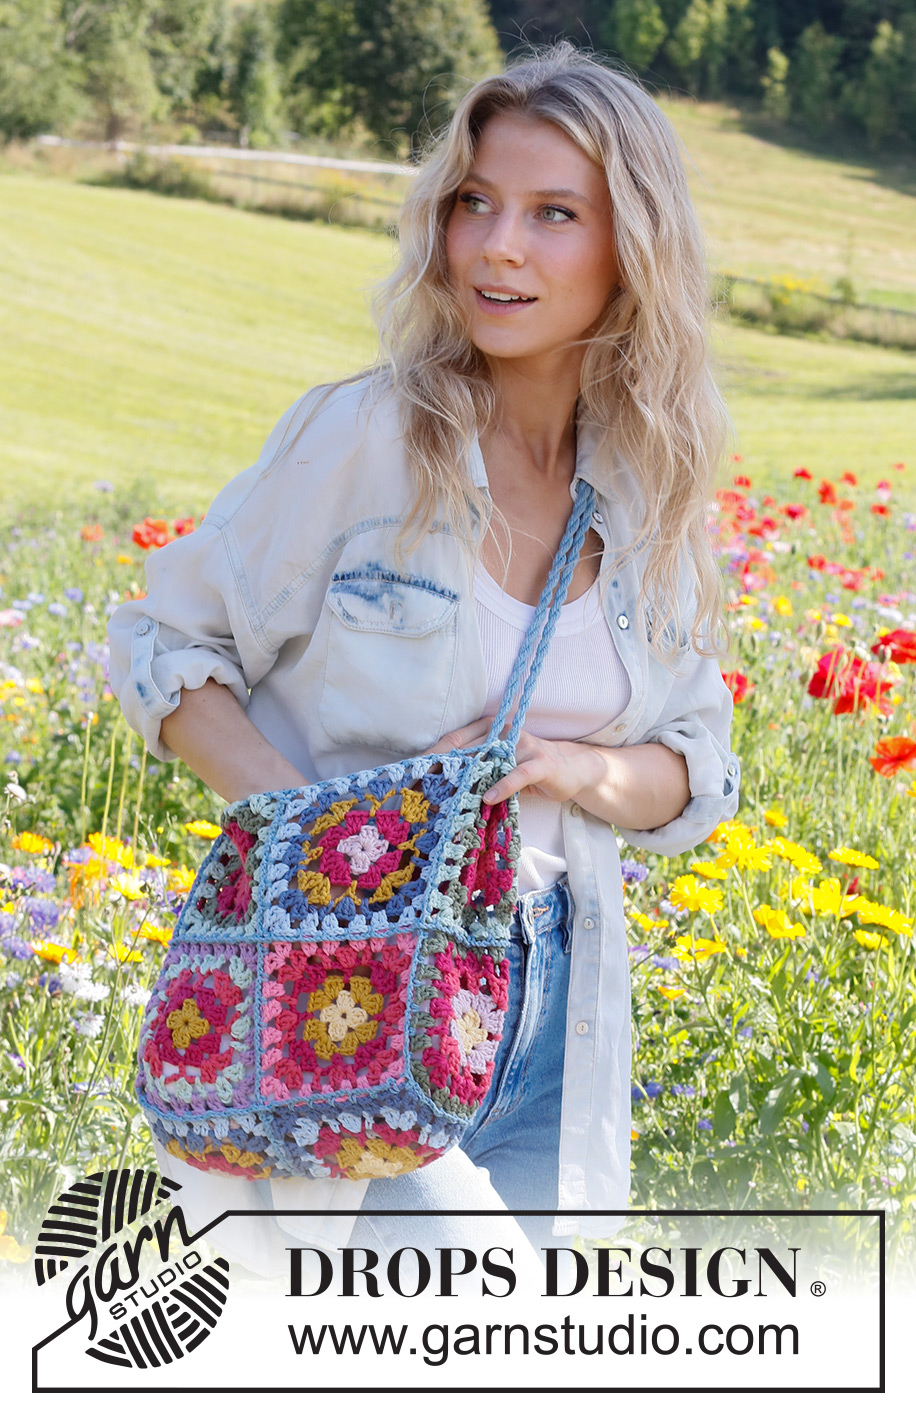
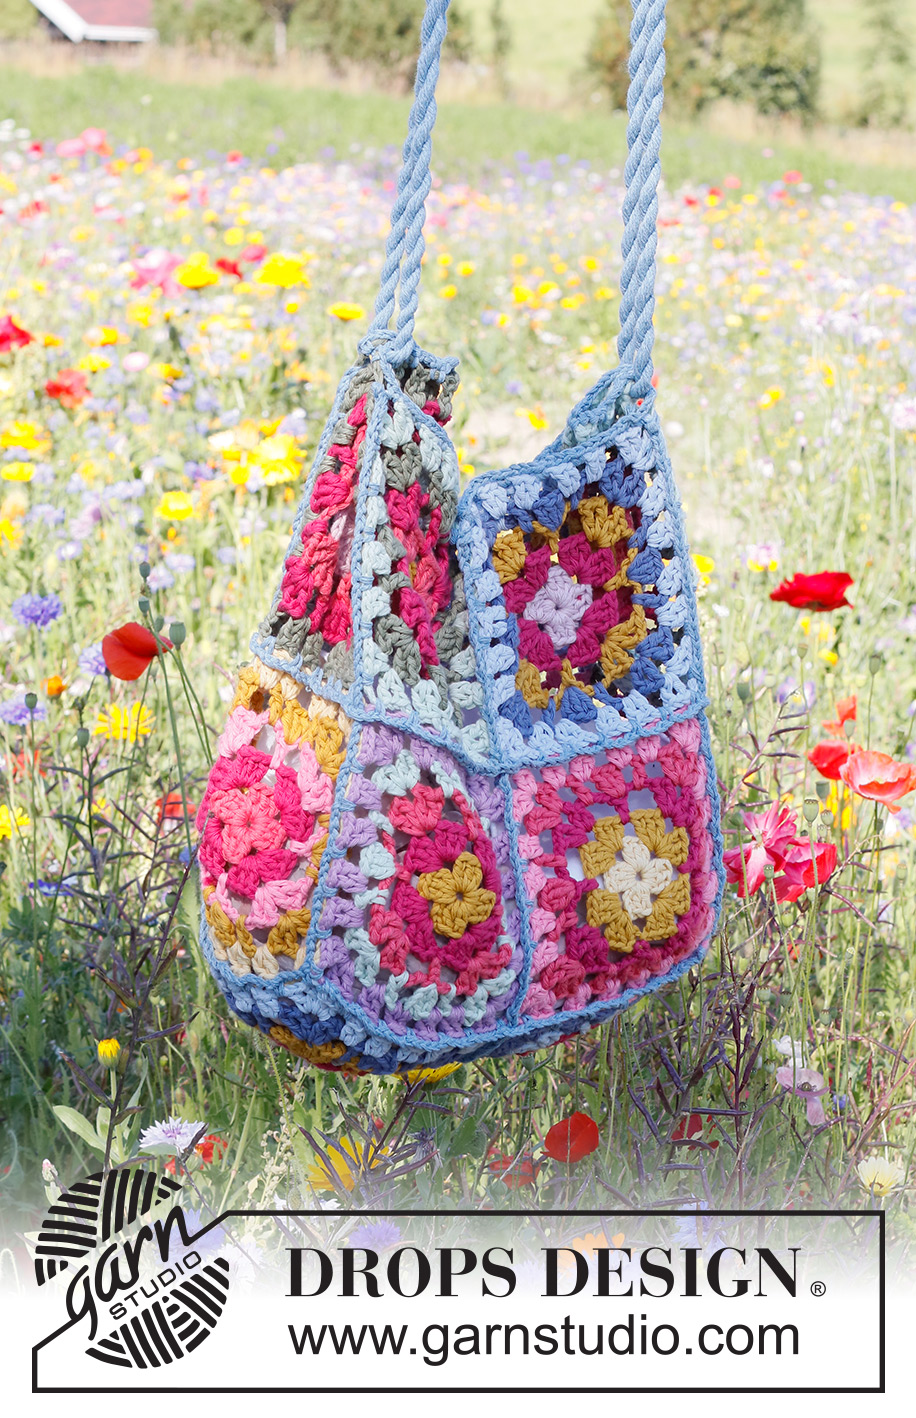
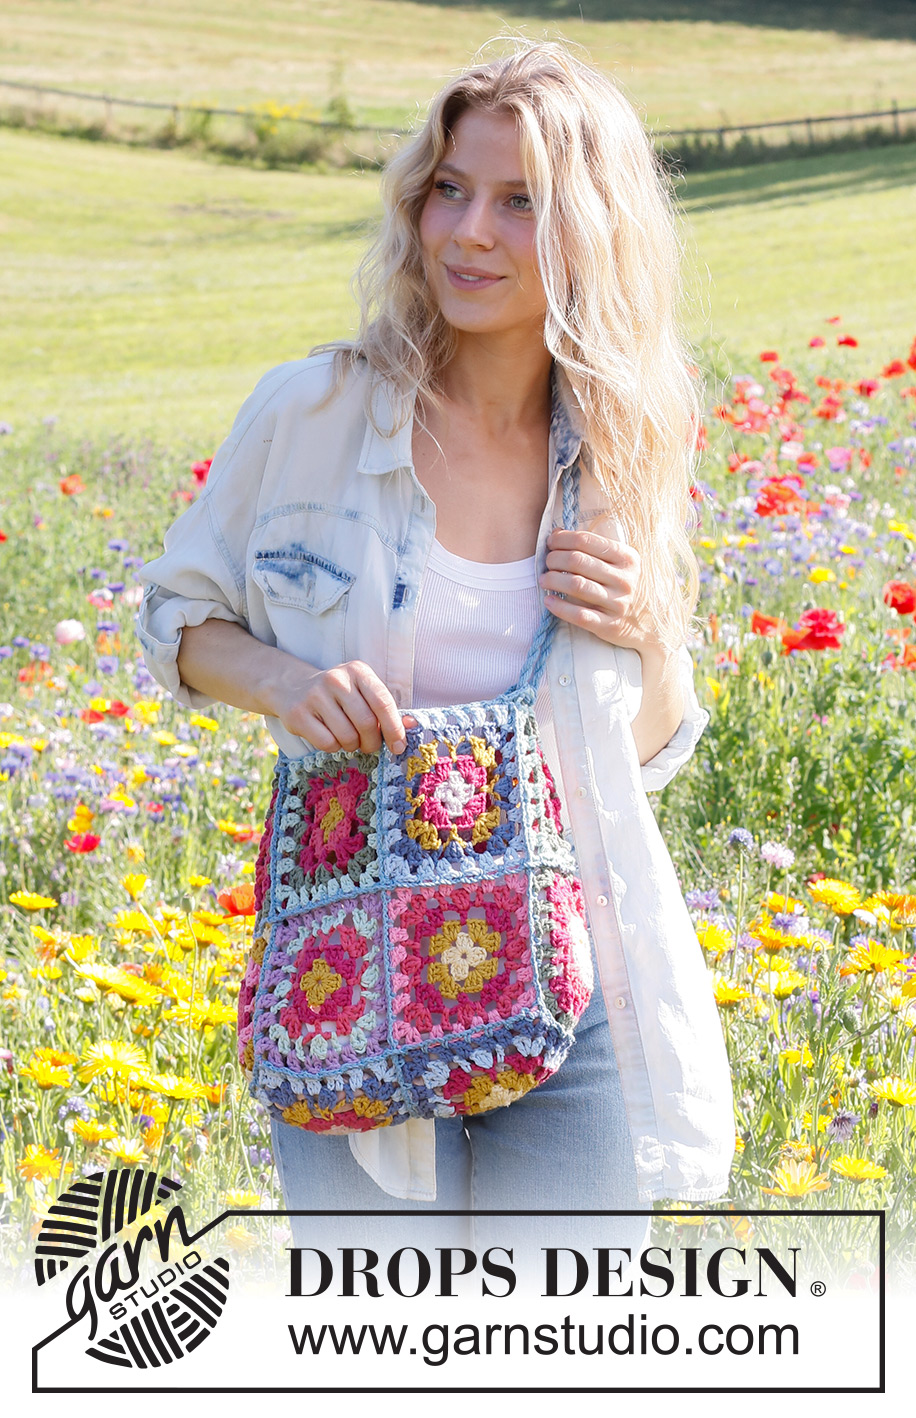
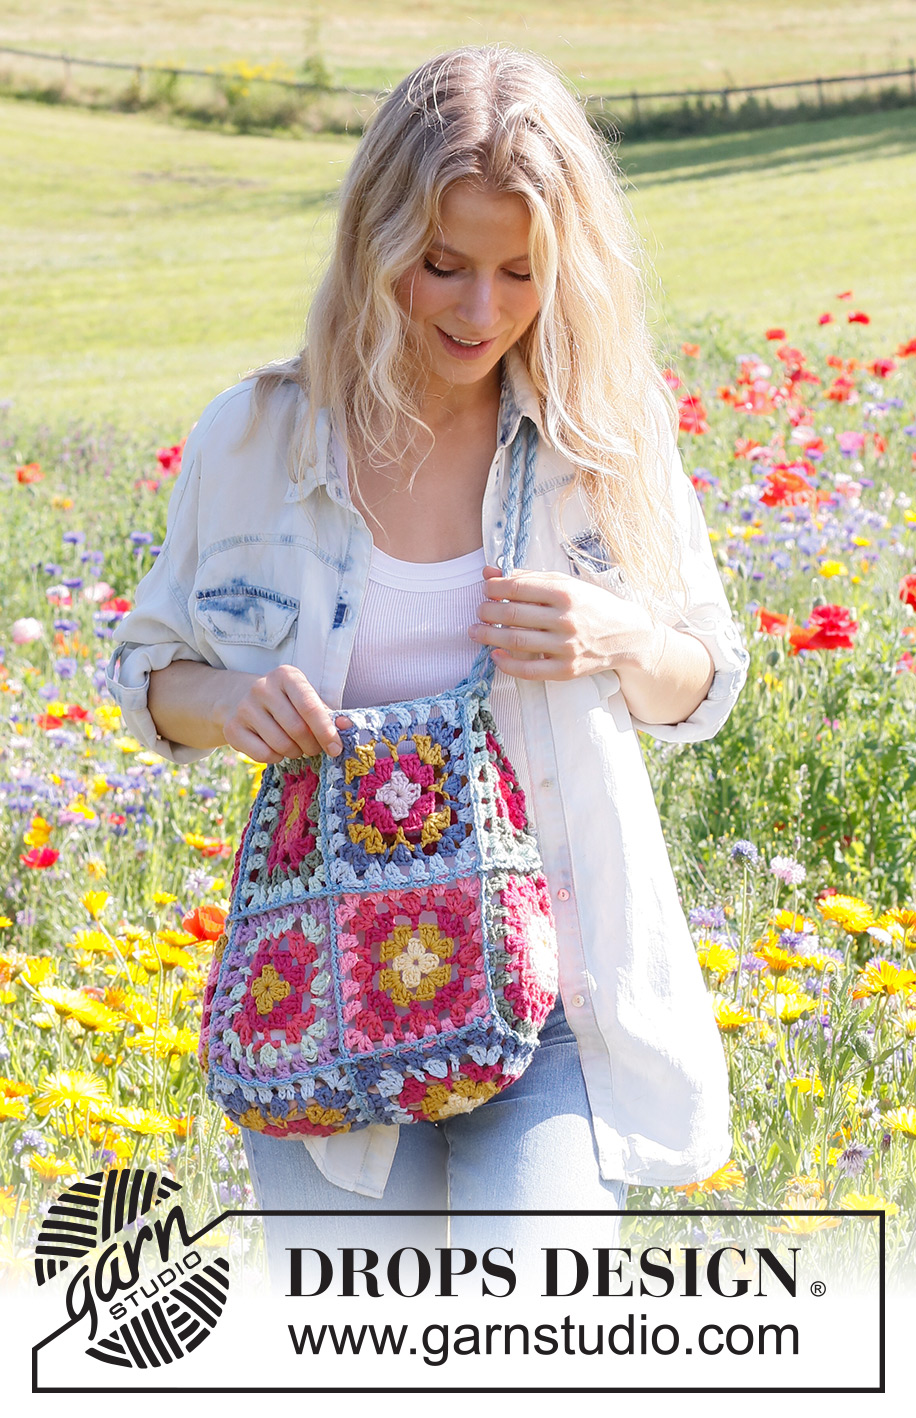
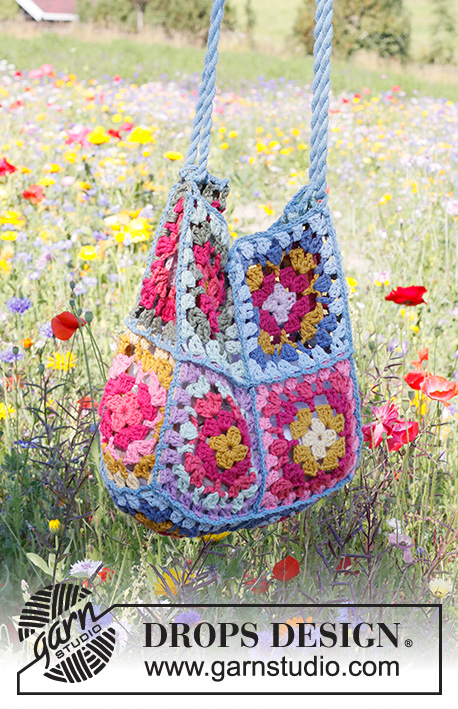
Crocheted bag with Granny squares in DROPS Paris.
DROPS 229-4 |
|||||||||||||||||||||||||
|
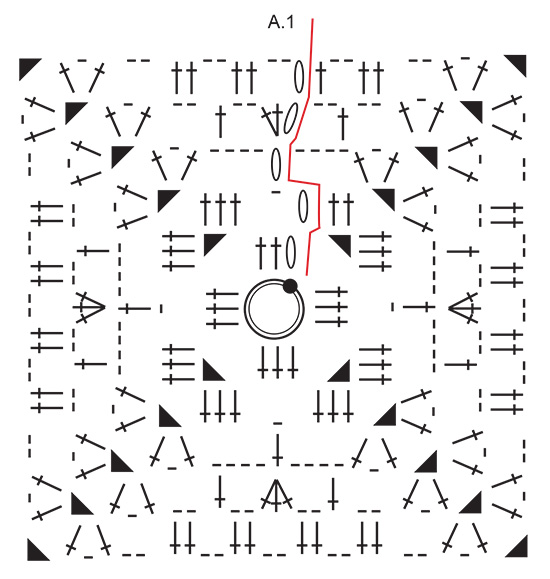
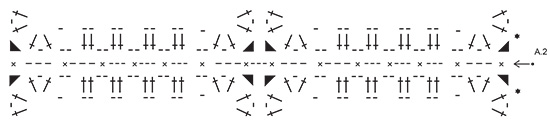
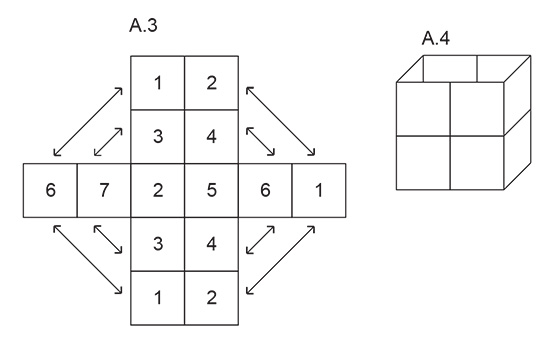
------------------------------------------------------- EXPLANATIONS FOR THE PATTERN: ------------------------------------------------------- COLOUR-CHANGE: For a neat transition when changing colours, work the last slip stitch on the round with the new colour. COLOUR COMBINATIONS: The chain-stitch ring is worked with the same colour as the first round. SQUARE 1: Round 1 with mustard, round 2 with raspberry, round 3 with cherry, round 4 with moss green, round 5 with mint green. SQUARE 2: Round 1 with light lavender, round 2 with cherry, round 3 with mustard, round 4 with jeans blue, round 5 with light wash. SQUARE 3: Round 1 with mustard, round 2 with cherry, round 3 with raspberry, round 4 with mint green, round 5 with lilac. SQUARE 4: Round 1 with light yellow, round 2 with mustard, round 3 with cherry, round 4 with raspberry, round 5 with pink. SQUARE 5: Round 1 with light yellow, round 2 with mustard, round 3 with cherry, round 4 with light wash, round 5 with jeans blue. SQUARE 6: Round 1 with light yellow, round 2 with light lavender, round 3 with raspberry, round 4 with cherry, round 5 with moss green. SQUARE 7: Round 1 with raspberry, Round 2 with cherry, Round 3 with pink, Round 4 with mustard, Round 5 with light yellow. PATTERN: See diagrams A.1 to A.4. Diagram A.1 shows the working of the squares, A.2 and A.3 how the squares are crocheted together, A.4 how the bag looks when completed. ------------------------------------------------------- START THE PIECE HERE: ------------------------------------------------------- BAG – SHORT OVERVIEW OF THE PIECE: The piece consists of Granny squares, crocheted together to finish. BAG: Use hook size 5 mm and DROPS Paris. Read COLOUR-CHANGE and COLOUR COMBINATIONS in the explanations above. Work according to diagram A.1. REMEMBER THE CROCHET TENSION! Make 3 x squares 1 and 2; 2 x squares 3, 4 and 6; 1 x squares 5 and 7. A total of 14 squares. ASSEMBLY: Lay the squares out as shown in A.3. The number in the diagram corresponds to the number in COLOUR COMBINATION. Use hook size 5 mm and light blue. Crochet the squares together as shown in diagram A.2. Diagram A.4 shows how the bag looks when completed. Work 1 round of double crochets and chain stitches around the opening on the bag in the same way as in A.2, but now through 1 layer to give a neat finish to the opening. STRAPS: Cut 8 strands of light blue, each 6 metres long. Twist the strands together until they begin to resist, fold the strap double and it will continue to twist. Tie a knot in each end and trim the ends. Thread the ends from the inside and out through the top corners (at the top) on each short-side of the bag, then thread the ends from the outside through the top corners (at the top) on the opposite short-side of the bag. Tie the ends of the strap together (on the inside of the bag) and pull the part of the strap that is on the inside of the bag up to a handle; the edges of the bag will fold in to the inside. |
|||||||||||||||||||||||||
Diagram explanations |
|||||||||||||||||||||||||
|
|||||||||||||||||||||||||
|
|||||||||||||||||||||||||
|
|||||||||||||||||||||||||
|
|||||||||||||||||||||||||
Have you finished this pattern?Tag your pictures with #dropspattern #colourfulworldbag or submit them to the #dropsfan gallery. Do you need help with this pattern?You'll find 10 tutorial videos, a Comments/Questions area and more by visiting the pattern on garnstudio.com. © 1982-2025 DROPS Design A/S. We reserve all rights. This document, including all its sub-sections, has copyrights. Read more about what you can do with our patterns at the bottom of each pattern on our site. |
|||||||||||||||||||||||||


With over 40 years in knitting and crochet design, DROPS Design offers one of the most extensive collections of free patterns on the internet - translated to 17 languages. As of today we count 314 catalogues and 11822 patterns translated into English (UK/cm).
We work hard to bring you the best knitting and crochet have to offer, inspiration and advice as well as great quality yarns at incredible prices! Would you like to use our patterns for other than personal use? You can read what you are allowed to do in the Copyright text at the bottom of all our patterns. Happy crafting!
Post a comment to pattern DROPS 229-4
We would love to hear what you have to say about this pattern!
If you want to leave a question, please make sure you select the correct category in the form below, to speed up the answering process. Required fields are marked *.