
Categorie popolari
State cercando un filato?


Commenti / Domande (46)
![]() Marylou Boivin ha scritto:
Marylou Boivin ha scritto:
Je comprends bien la couture au milieu du dos. Ou je dois faire les autres couture?
18.01.2026 - 16:01DROPS Design ha risposto:
Bonjour Mme Boivin, pour chaque partie, on va coudre les mailles rabattues aux mailles montées (on a ainsi deux sortes de "tubes", le plus court est côté manche, le plus large côté milieu dos/devant. Bon tricot!
19.01.2026 - 10:33
![]() Hella ha scritto:
Hella ha scritto:
Goeiemiddag. Ik vind dit een prachtig patroon, maar mijn "model" zou graag de mouwen langer hebben. Ik vraag me af hoe ik dat het best kan doen. Is het bijv. een optie om na elke verkorte toeren herhaling een paar naalden "gewoon" tricotsteek te breien?
13.04.2023 - 11:53DROPS Design ha risposto:
Dag Hella,
Het is voor ons helaas niet mogelijk om een patroon aan te passen naar persoonlijke wensen. Voor de mouwen zul je inderdaad extra naalden moeten breien om ze langer te maken.
14.04.2023 - 21:17
![]() Hella ha scritto:
Hella ha scritto:
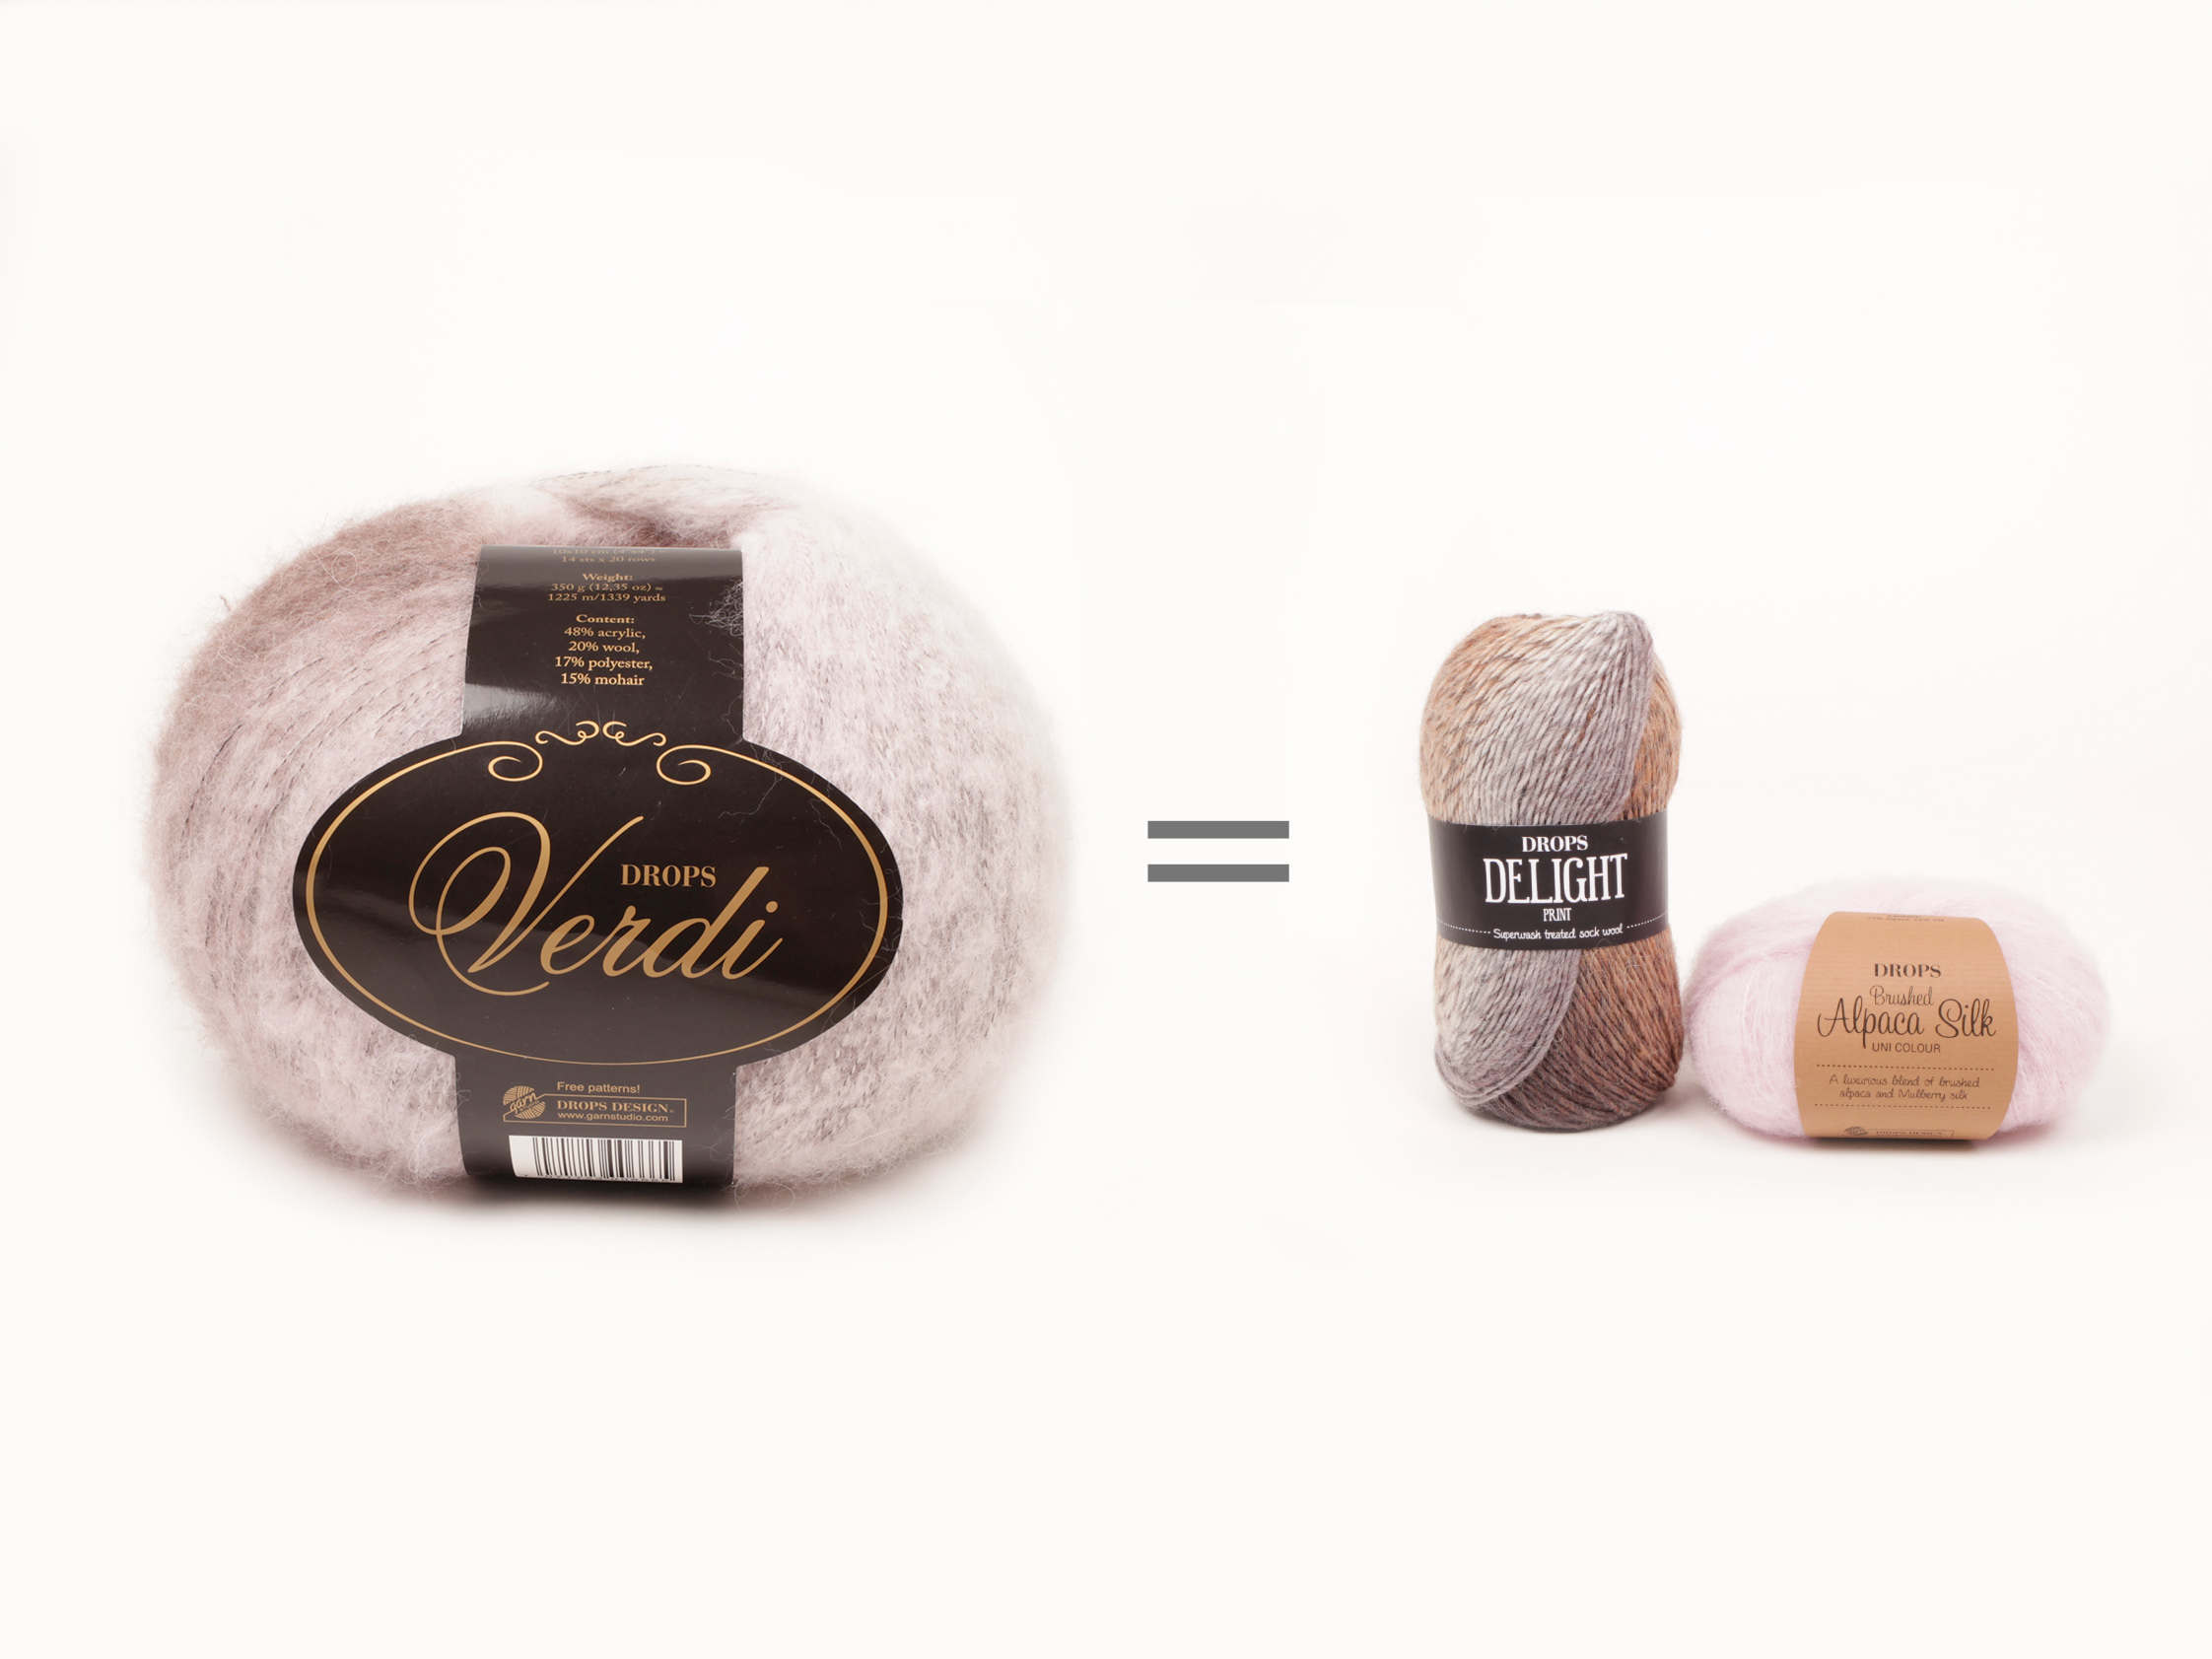
Het voorgestelde garen bij dit vest is Verdi, maar dat staat niet meer in de lijst. De aangegeven stekenverhouding kan ik bij een ander garen van Drops ook niet terugvinden, hebben jullie een idee welk garen (of dubbele draad) ik dan het best kan kiezen. Ik brei sowieso een proeflap natuurlijk.
27.03.2023 - 10:30DROPS Design ha risposto:
Dag Hella,
Klopt, dit is een ouder patroon en het garen is uit de handel. Om een ander garen te vinden kun je de garenvervanger gebruiken. Hiervan vindt je een link onder de materialenlijst bij ieder patroon. (Voor Verdi wordt als vervanging bijvoorbeeld 1 draad Melody of 2 draden Brushed Alpaca Silk aangegeven.)
27.03.2023 - 20:35
![]() Karin ha scritto:
Karin ha scritto:
Gerne würde ich das Modell Gentle Breeze nacharbeiten.Finde aber zu Drops Verdi keinerlei Angaben zu Qualität und Lauflänge.Die Garnalternative Brushed+Delight gefällt mir nicht.da die Farbauswahl bei Delight doch sehr eingeschränkt ist.Ich gehe davon aus,dass Drops Verdi nicht mehr erhältlich ist.Gibt es noch andere Alternativen? Vielen Dank!
27.01.2023 - 11:47
![]() Libre ha scritto:
Libre ha scritto:
Is dit patroon te verkrijgen dat niet met rondbreinaalden gebreid is?
24.02.2021 - 22:08DROPS Design ha risposto:
Dag Libre,
Het patroon wordt heen en weer gebreid, dus je zou het met rechte naalden kunnen breien. Je hebt dan wel veel steken op de naald. Dat is ook de reden dat er rondbreinaalden geadviseerd worden.
26.02.2021 - 11:52
![]() Marie Poppins ha scritto:
Marie Poppins ha scritto:
Bonjour, Je ne suis pas sûre d'avoir bien compris...Après les 2 rangs de point mousse, le rang sur 10 mailles : on tricote 5mmousse puis 5mjersey endroit puis on retourne son ouvrage et on tricote 5mjersey envers puis 5mailles mousse. Les "5 m mousses- les mailles jersey -5 m mousse " de calculent sur les 2 rangs raccourcis? Ou faut il finir chaque rang raccourci par 5 mailles mousses. Merci
11.11.2018 - 11:54DROPS Design ha risposto:
Bonjour Mary Poppins, quand vous tricotez les rangs raccourcis, tricotez les mailles soit au point mousse (= les 5 premières et les 5 dernières mailles) soit en jersey (celles du milieu), par ex pour le 1er rang: 10 m = 5 m point mousse, 5 m jersey (2ème rang= 5 m env, 5 m end), 3ème rang: 5 m end, 26 m jersey (= 31 m), 4ème rang: 26 m env, 5 m end et ainsi de suite. Bon tricot!
12.11.2018 - 10:02
![]() Debbie ha scritto:
Debbie ha scritto:
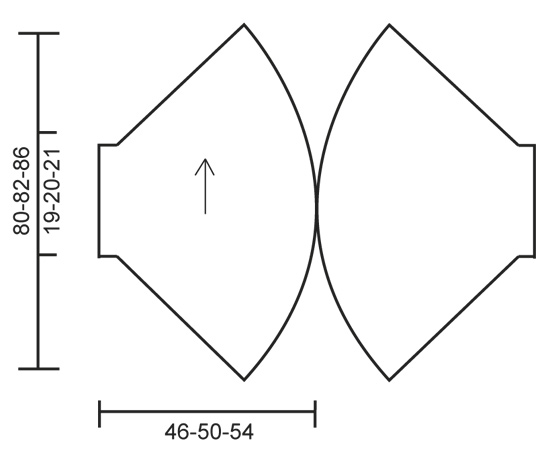
Is the arc the widest point for meaning or is it point to point? I am measuring to finish Knitting and not sure if it is the right size. ( the other question was what do the numbers on the drawing represent)
09.11.2018 - 14:31DROPS Design ha risposto:
Dear Debbie, the longuest measurement (=80-82-86 cm) is the total length of garment - the shorter length (= 19-20-21 cm) is the width of wrist/sleeve (folded = when worn). Each piece is 46-50-54 cm width from sleeve edge to middle front/back piece. Should you need any futher help to choose your size, please contact your DROPS store, even per mail or telephone, they will be able to give you further advices. Happy knitting!
09.11.2018 - 15:28
![]() Debbie ha scritto:
Debbie ha scritto:
What is considered the widest for 64\" measurement. The outside circular edge or point to point. Also what are the numbers for on the drawing?
09.11.2018 - 02:47DROPS Design ha risposto:
Dear Debbie, all measurements in chart are taken in cm and measured flat from side to side - read more here. At the beginning of the pattern (header) you'll find the matching chest measurements in inches. Happy knitting!
09.11.2018 - 08:57
![]() Pamela Franks ha scritto:
Pamela Franks ha scritto:
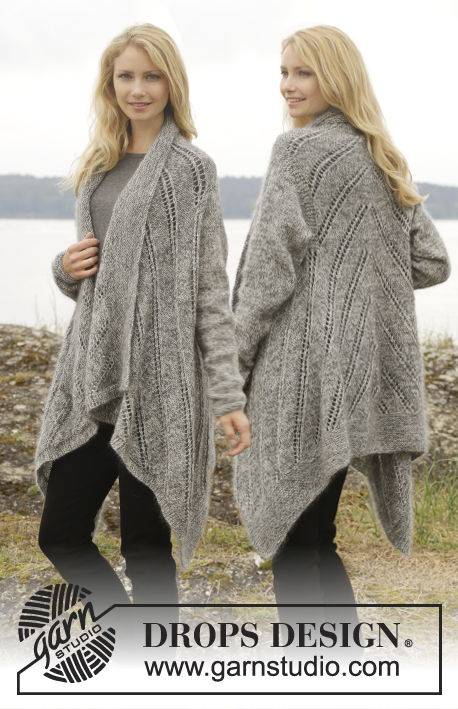
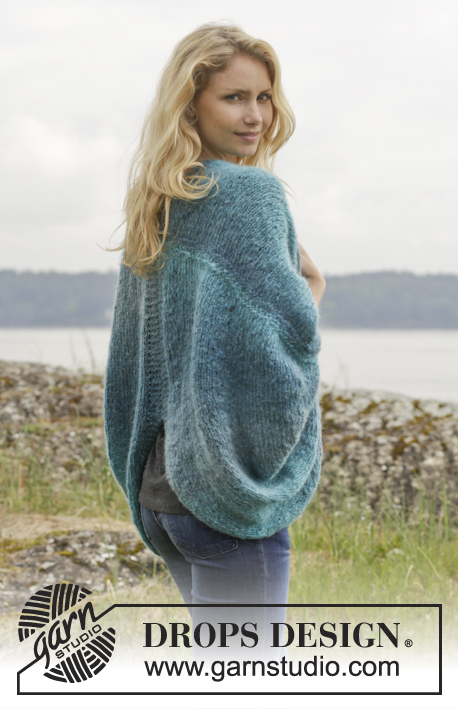
If this pattern is correct and there are only 2 pieces, then I can only deduce the horizontal seam across the back, shown in the PHOTO for the pattern, is a result of the knitter sewing the back seam while the sleeve seams run across the back instead of under the arms, giving the appearance of three pattern pieces. Please review the PHOTO of the back of the garment and let me know if this is the case or if the wrong PHOTO is posted for this pattern.
20.06.2018 - 23:52DROPS Design ha risposto:
Dear Mrs Franks, picture is matching pattern, you work first the right front piece/back piece and sew the cast on edge to the cast off edge together on this piece (= ridge against ridge as you can see in the middle back on the picture). Work then the left front piece/back piece and sew the cast on edge to the cast off edge together. (ridge against ridge as for 1st piece). Now sew both pieces together along midback. Happy knitting!
21.06.2018 - 08:24
![]() Pamela Franks ha scritto:
Pamela Franks ha scritto:
I have made two of your garments in this shape (Summer Snug 154-8 and Barroque 149-6), so I understand the diagram. However the photo of this one shows what appears to be a horizontal seam across the back which seems to indicate thete are THREE pieces to this pattern. It is shown clearly on the photo of the BACK of the garment. Is this the correct photo for this pattern? I didn't see any instructions for a third piece.....
19.06.2018 - 22:17DROPS Design ha risposto:
Dear Mrs Franks, the ridge you can see in the back is the ridges at the beg and end end of each piece, ie you sew each piece together with cast on edge to cast off edge (1st ridge to last ridge on piece). There are 2 pieces (right front/back piece and left front/back piece) that are both sewn into a "ring" then you sew both pieces tog along back piece. Happy knitting!
20.06.2018 - 08:08
|
||||
Gentle Breeze#gentlebreezecardigan |
||||
 |
 |
|||
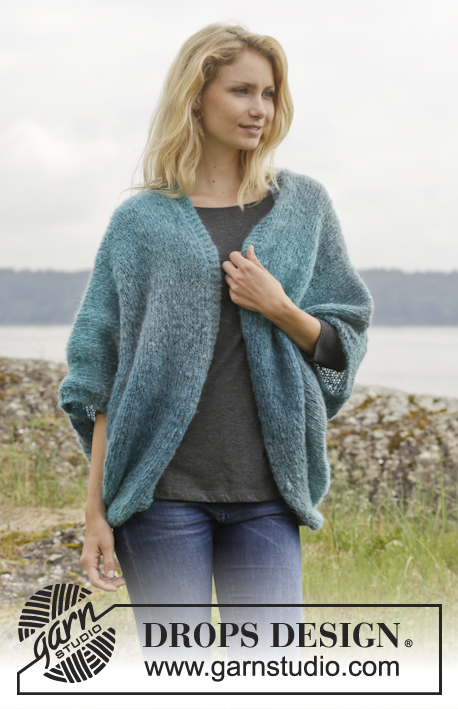
Giacca DROPS lavorata ai ferri a cerchio a maglia legaccio e maglia rasata in "Verdi". Taglie: S - XXXL.
DROPS 156-26 |
||||
|
M LEGACCIO (avanti e indietro sui f): Lavorare tutti i f a dir. 1 “costa” a m legaccio = 2 f dir. FERRI ACCORCIATI: * Lavorare 1 f sulle prime 10 m sul f, girare e tornare indietro. Lavorare 1 f sulle prime 31 m sul f, girare e tornare indietro. Lavorare 1 f sulle prime 52 m sul f, girare e tornare indietro. Lavorare 1 f su tutte le m, girare e tornare indietro *, ripetere *-*, cioè 8 f nel punto più ampio e 2 f nel punto più sottile in 1 ripetizione. ---------------------------------------------------------- DAVANTI/DIETRO DESTRO: Lavorato avanti e indietro sui f circolari. Avviare 64-70-76 m con i f circolari n° 7 mm con Verdi. Lavorare 1 “costa” a M LEGACCIO – leggere la spiegazione sopra. Poi lavorare a FERRI ACCORCIATI – leggere la spiegazione sopra (1° f = dal diritto del lavoro). Ogni ferro dei FERRI ACCORCIATI vanno lavorato come segue: 5 m a m legaccio, m rasata sulle 54-60-66 m e finire con 5 m a m legaccio. FARE ATTENZIONE ALLA TENSIONE DEL LAVORO! Continuare con i ferri accorciati fino a quando il lavoro misura 38-39-41 cm nel punto più sottile e 160-164-172 cm nel punto più ampio. Lavorare 1 “costa” a m legaccio e intrecciare. Cucire il bordo di avvio e di chiusura. DAVANTI/DIETRO SINISTRO: Lavorare come per il davanti/dietro destro. CONFEZIONE: Mettere le due parti una verso l’altra sul punto più ampio in modo che le 5 “coste” siano margine a margine, e cucire nel filo più esterno delle m di vivagno circa 30-35 cm al centro dietro – assicurarsi che la cucitura sulle parti sia al centro sotto la manica. |
||||
Spiegazioni del diagramma |
||||
|
||||
 |
||||
Avete terminato questo modello?Allora taggate le vostre foto con #dropspattern #gentlebreezecardigan o inviatele alla #dropsfan gallery. Avete bisogno di aiuto con questo modello?Troverete 18 video tutorial, una sezione per i commenti/domande e molto altro guardando il modello su www.garnstudio.com © 1982-2026 DROPS Design A/S. Ci riserviamo tutti i diritti. Questo documento, compreso tutte le sue sotto-sezioni, è protetto dalle leggi sul copyright. Potete leggere quello che potete fare con i nostri modelli alla fine di ogni modello sul nostro sito. |
||||


Con oltre 40 anni di esperienza nel design di modelli di maglia e uncinetto, DROPS Design offre la più estesa collezione di modelli gratuiti su internet - tradotti in 17 lingue. Ad oggi vi possiamo fornire 325 cataloghi e 12298 modelli - 9569 dei quali sono tradotti in Italiano.
Ci stiamo impegnando molto per darvi il meglio che vi possiamo offrire in termini di maglia e uncinetto, ispirazioni e consigli così come filati di grande qualità ad un prezzo incredibile! Volete utilizzare i nostri modelli per qualcosa d'altro oltre al vostro uso personale? Potete leggere tutto ciò che è consentito nel testo sul Copyright in basso su tutte le pagine dei nostri modelli. Buon lavoro!
Lasciare un commento sul modello DROPS 156-26
Noi saremmo felici di ricevere i tuoi commenti e opinioni su questo modello!
Se vuoi fare una domanda, fai per favore attenzione a selezionare la categoria corretta nella casella qui sotto per velocizzare il processo di risposta. I campi richiesti sono indicati da *.