
Popular categories
Looking for a yarn?
































Comments / Questions (13)
 Tina wrote:
How do you get the raised knit stitch in the front and back of the of the forest fall pattern. thank you
15.10.2026 - 20:57
Laura wrote:
I appreciate the reply to my question about the English Rib. However, why doesn’t the pattern for the Forest Fall Poncho say that? It clearly states English Rib, not False English Rib. So frustrating! I haven’t watched the video yet, so maybe that will also explain how to do increases in pattern as I can’t understand that.
12.10.2026 - 19:38
 Zoé wrote:
Bonjour, je ne comprend pas comment faire les côtes anglaises.. sur la vidéo d'explication, c'est des mailles endroit qui sont faites et non des mailles envers. De plus, je n'arrive pas à faire les augmentations, j'ai 2 jetés de suite (celui de l'augmentation et celui de la maille marquée). Ces deux jetés ne sont pas "accrochés", et me causent un trou, je ne peux pas tricoter selon les indications. Puis-je fiare des côtes 1/1 à la place ?
11.10.2026 - 10:09DROPS Design answered:
Bonjour Zoé, vous allez tricoter les mailles en côtes anglaises (la 1ère maille des tours 1 et 2) comme dans la vidéo des côtes anglaises en rond, vous glissez cette maille comme pour la tricoter à l'envers avec le fil devant l'ouvrage et vous faites 1 jeté au-dessus de cette maille, et vous tricotez au tour suivant cette maille glissée et son jeté ensemble à l'endroit - entre chacune de ces mailles en côtes anglaises vous aurez 1 maille envers. Les marqueurs doivent être chacun dans une maille (pas entre les mailles) ainsi quand vous augmentez de chaque côté d'un jeté vous aurez: 1 jeté, 1 m avec le marqueur, 1 jeté et vous pourrez les tricoter chacun dans leur sens. Bon tricot!
12.10.2026 - 09:03
Laura wrote:
I am trying to knit the Forest Fall Poncho and have referred to your video for knitting the English rib. However the video doesn’t match the printed instructions. In fact the video is captioned with ‘In this DROPS video we show how to work Fisherman’s rib in the round’. I have attempted a swatch using the printed instructions and it doesn’t look like the English rib. Please clarify.
09.10.2026 - 06:22DROPS Design answered:
Dear Laura, there are different types of English Rib, as explained in this lesson . In this pattern, we work a False English rib in the round (that is, a one sided English rib), so none of the instructions in the lesson, which are explained back and forth, match perfectly the one used for this pattern. Instead, you can use this video. e this video. Happy knitting!
11.10.2026 - 18:42
 S Järvinen wrote:
Laitoin kysymyksen 07.10.2026 - 16:04, johon tuli vastaus. Kiitos siitä. Tarkoitin voiko ponchon tehdä yhdellä langalla yksinkertaisena, ei 2-kertaisena?
08.10.2026 - 08:15DROPS Design answered:
Hei, valitettavasti et voi neuloa 1-kertaisella langalla, koska tällöin neuletiheys muuttuu ja ponchosta ei tule oikean kokoinen.
08.10.2026 - 13:43
S Järvinen wrote:
Forest fall ponchossa on käytetty kahta lankaa, eli kaksinkertaista lankaa (a ryhmästä). Toimiiko ohje, jos käyttää vain yhtä lankaa? Esim. Joko Fabel tai sitten Baby Merino lankaa, jotka ovat konepestäviä.
07.10.2026 - 16:04DROPS Design answered:
Kyllä, voit käyttää vain yhtä lankaa lankaryhmästä A, kunhan neulot työn 2-kertaisella langalla.
07.10.2026 - 17:50
 Susanne wrote:
Stämmer beskrivningen av halskanten resår i patent? Ska den stickas runt på rundstickor? Enligt AI är det en beskrivning för att sticka fram och tillbaka på vanliga stickor.
06.10.2026 - 16:59DROPS Design answered:
Hei Susanne. Stol aldri på AI når det gjelder strikking : ) Om du følger oppskriften til Forest Fall Poncho vil du få en resår i patent som vises på bildet. mvh DROPS Design
12.10.2026 - 11:14
Solveig wrote:
Hei, onko olemassa videota ohjeen joustoneule osuuden silmukoiden lisäämisestä.
04.10.2026 - 18:14DROPS Design answered:
Hei, lisäykset tehdään langankierroin, joten katso seuraavat videot: Langankierto + Lisääminen langankierroilla, lisätyt silmukat kääntyvät joko oikealle tai vasemmalle
05.10.2026 - 17:59
Dupin wrote:
Comment intègre t'on l'augmentation avant la maille endroit étant donné qu'avant la 2ème maille c'est un jeté et après le jeté qui suit la 29ème maille quel est le point ?
27.09.2026 - 15:03DROPS Design answered:
Bonjour Mme Dupin, la maille avec le marqueur doit toujours rester une maille endroit, les augmentations vont se tricoter en côtes anglaises de sorte que les côtes anglaises s'élargissent, la 1ère augmentation se tricote ainsi comme 1 maille endroit des côtes anglaises, la suivante se tricote à l'envers, ainsi après 2 augmentations, les côtes anglaises tombent de nouveau juste tout le tour. Bon tricot!
28.09.2026 - 09:53
Kari wrote:
The increases are over 2 rounds: 1) yarn over and 2) twist the yarn over/left/right to knit. In the sections mid-front/mid back it says to increase every second round. Question: does this mean the yarn over round and the 2nd and then a round in between these two rounds before starting the yarn over round again OR do you just alternate the two rounds yarn over and twist/knit rounds?
23.09.2026 - 12:53DROPS Design answered:
Dear Kari, when you increase every round you will make the yarn over every round the number of times for your size, so that you will have from 1st round with increase: round 1: increase with a yarn over; round 2, increase with a yarn over on the correct place and work the yarn over from previous round twisted. Happy knitting!
24.09.2026 - 07:53
|
|
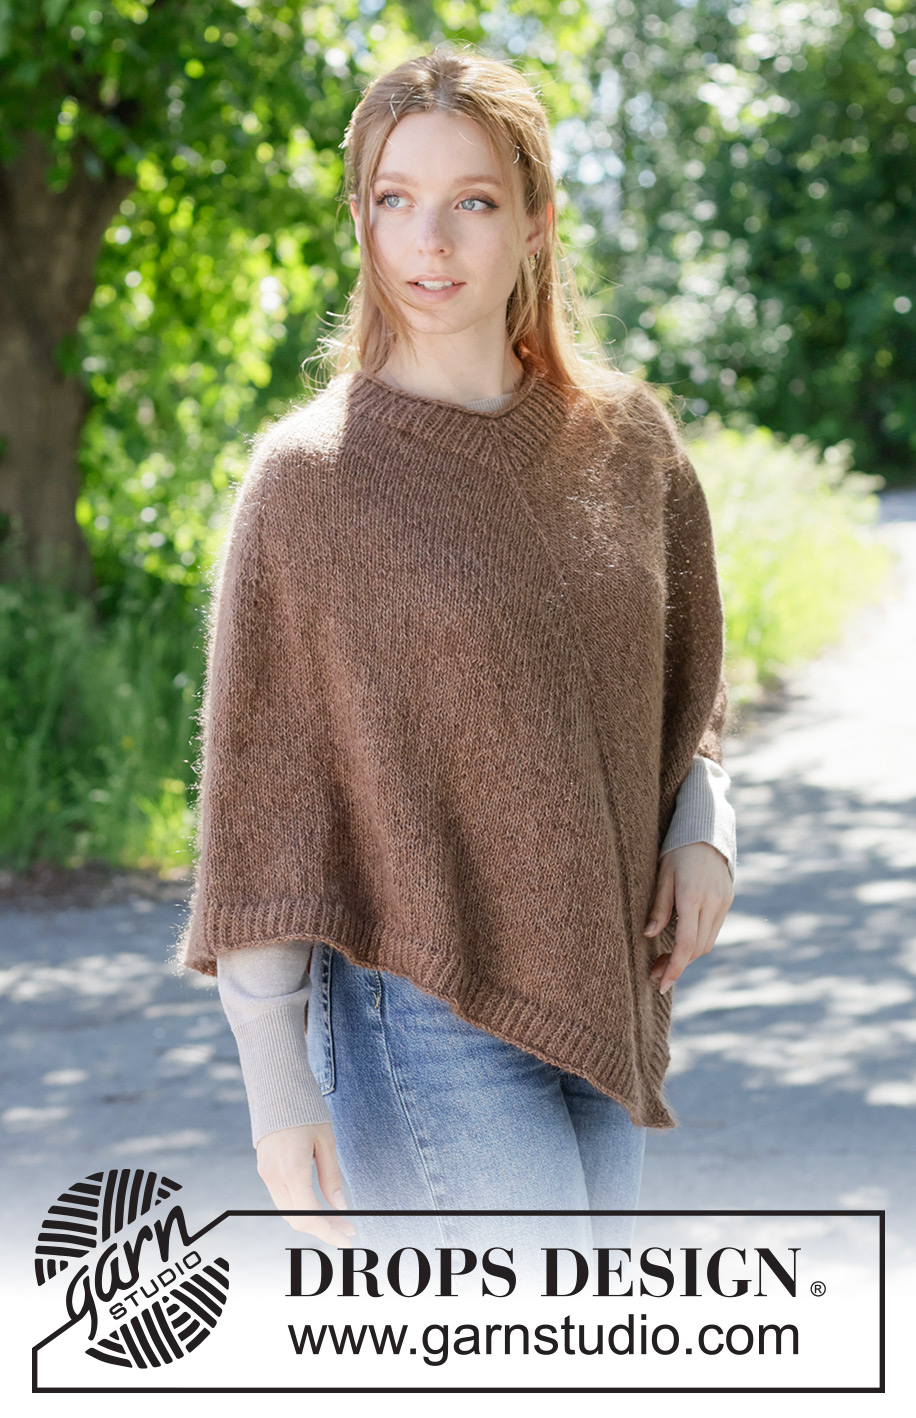
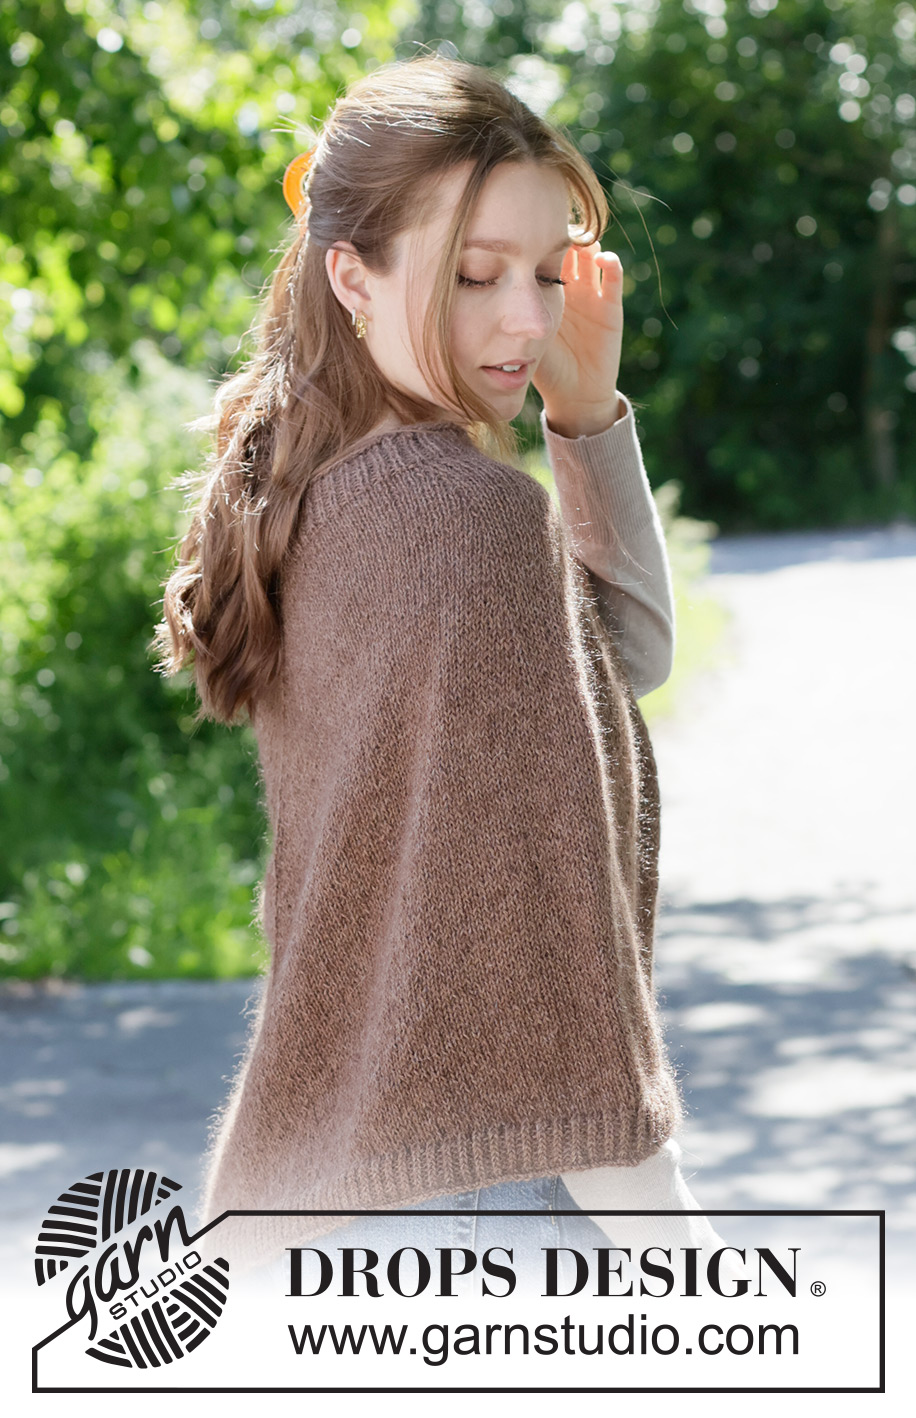
Forest Fall Poncho#forestfallponcho |
|
 |
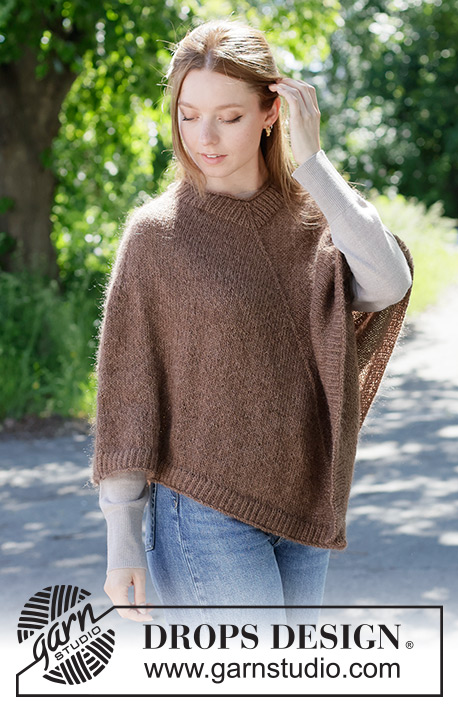 |
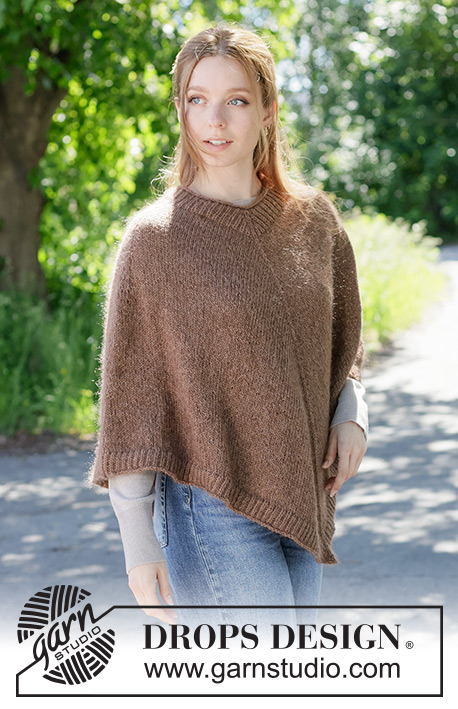
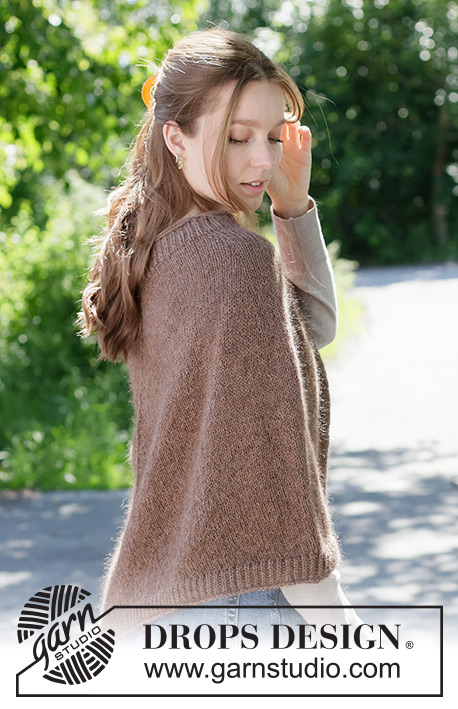
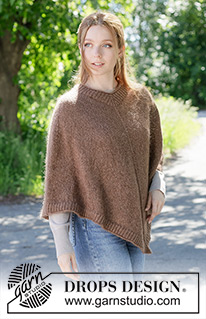
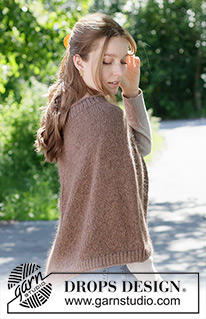
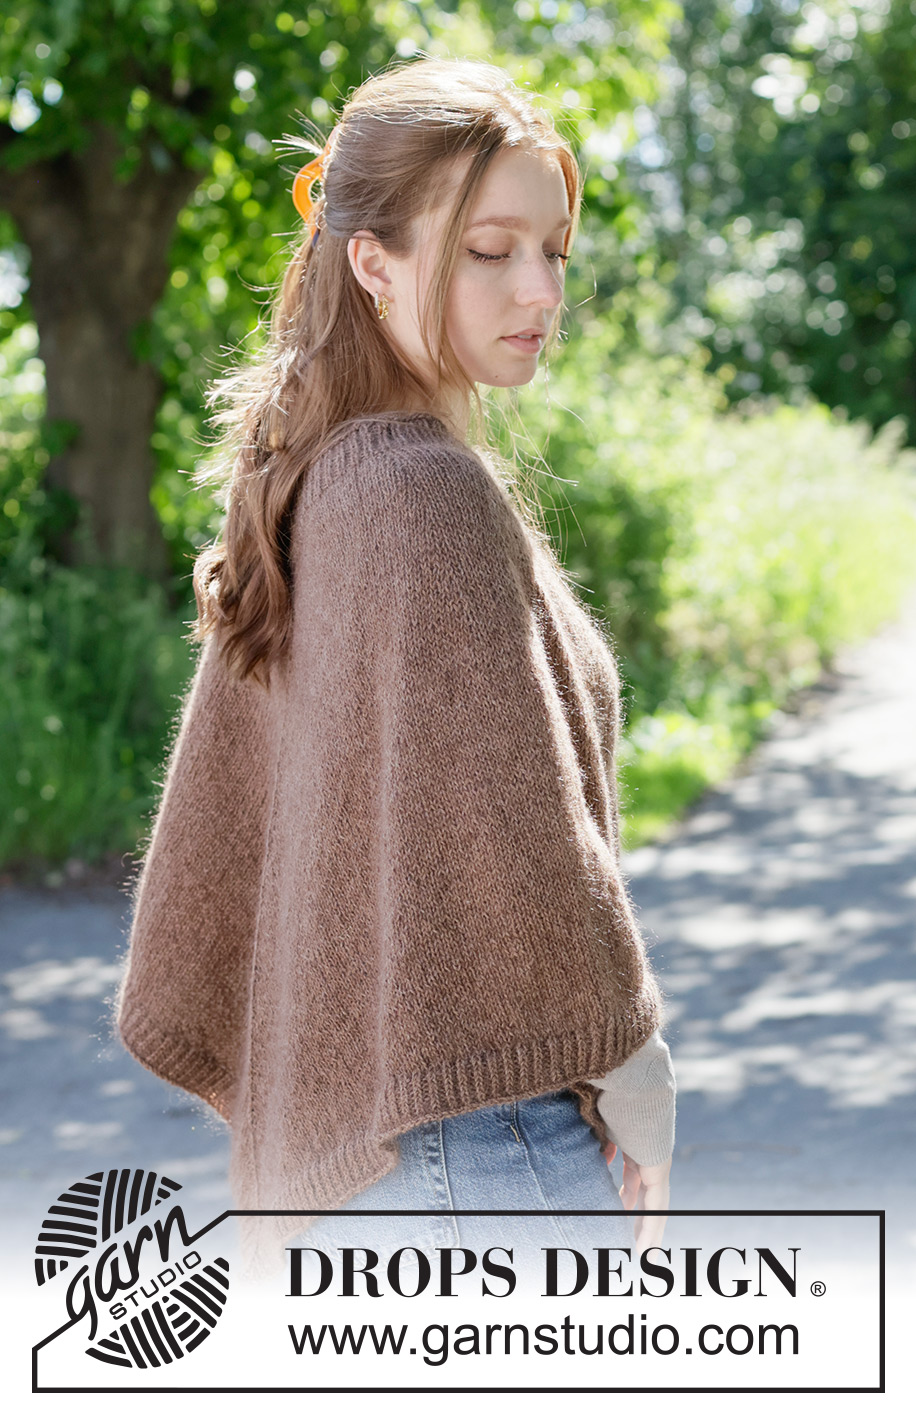
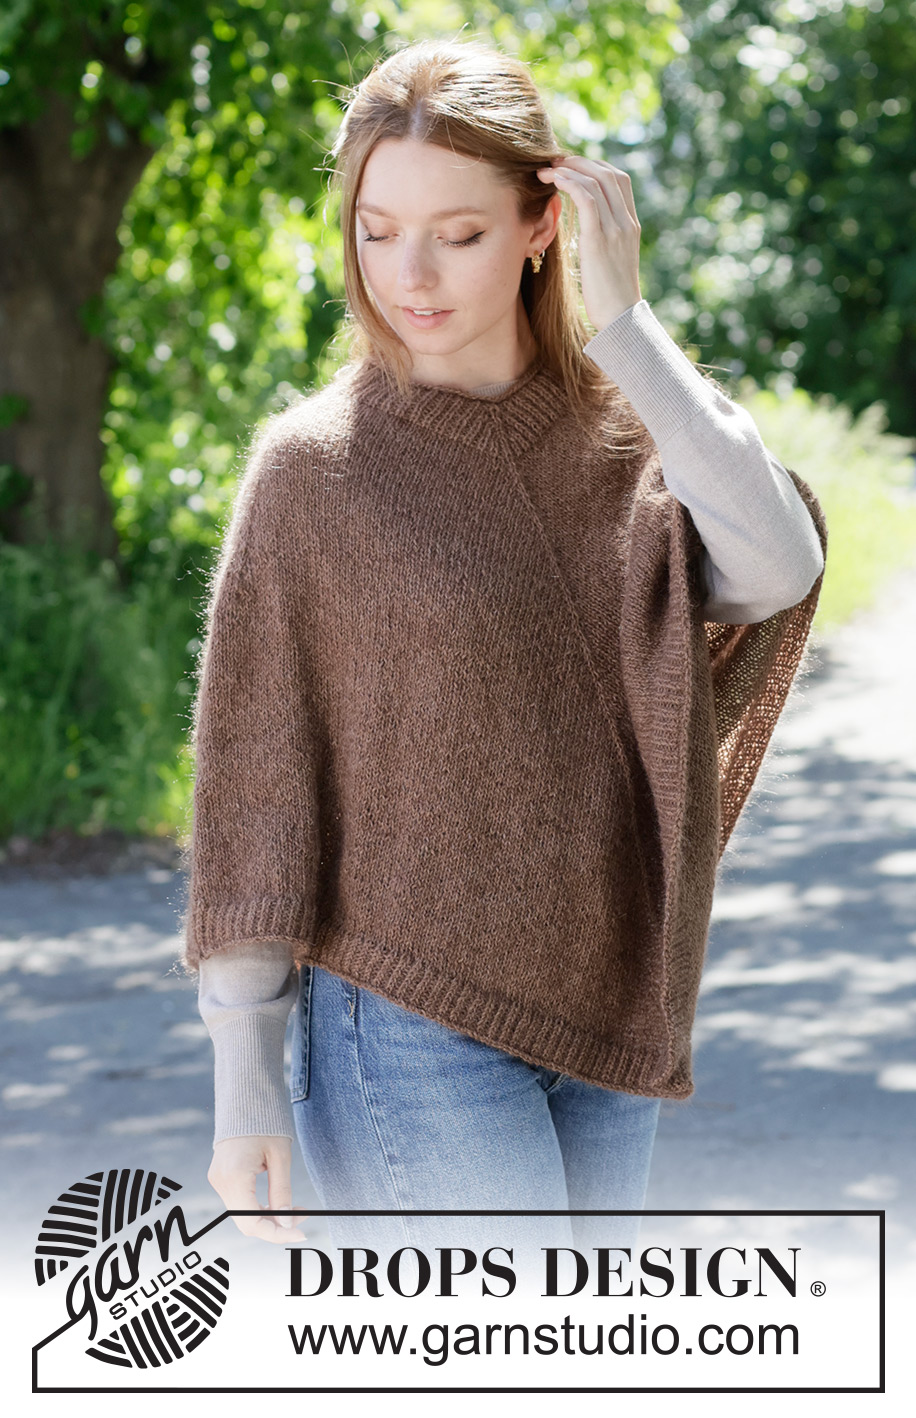
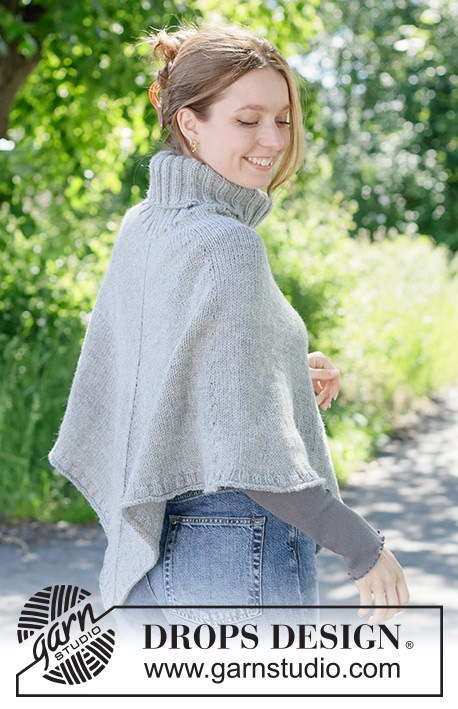
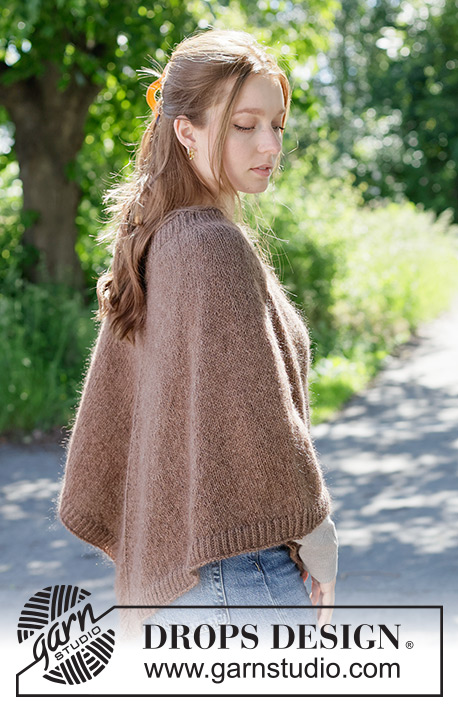
Knitted poncho in DROPS Alpaca and DROPS Kid-Silk. The piece is worked top down in stocking stitch and with rolled edges. Sizes XS - XXXL.
DROPS 272-19 |
|
|
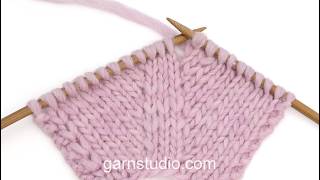
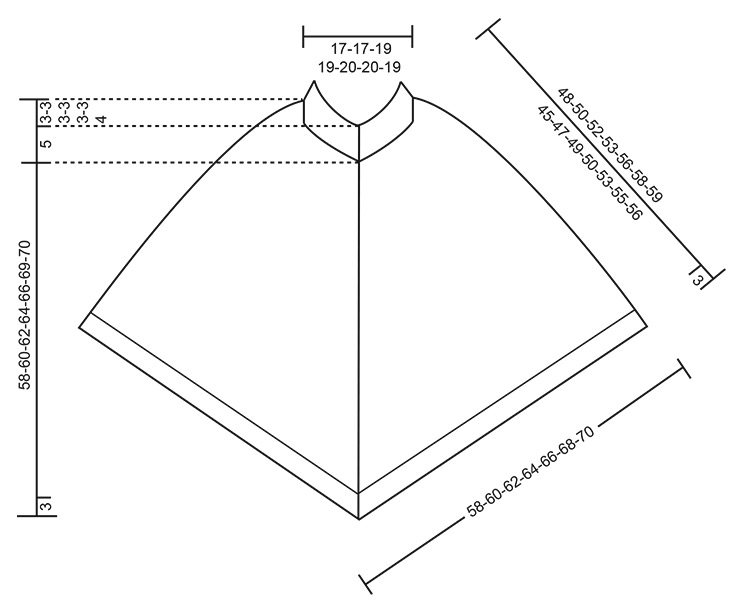
------------------------------------------------------- EXPLANATIONS FOR THE PATTERN: ------------------------------------------------------- ENGLISH RIB: ROUND 1: * Make 1 yarn over, slip 1 stitch purl-wise, purl 1 *, work from *-* to end of round. ROUND 2: * Knit together the yarn over and slipped stitch, purl 1 *, work from *-* to end of round. Repeat ROUNDS 1 and 2 onwards. INCREASE TIP: Increase 1 stitch by making 1 yarn over. On the next round work the yarn over as follows: BEFORE MARKER (yarn over twists to the right): Slip the yarn over purl-wise from the left to the right needle, then replace it by inserting the left needle through the back (the yarn over is the other way round). Knit through the stitch loop which lies on the front of the needle to avoid a hole. Work the new stitch into the English rib when increasing for the neckline and in stocking stitch when increasing on the poncho. AFTER MARKER (yarn over twists to the left): Knit through the stitch loop which lies on the back of the needle to avoid a hole. Work the new stitch into the English rib when increasing for the neckline and in stocking stitch when increasing on the poncho. ------------------------------------------------------- START THE PIECE HERE: ------------------------------------------------------- PONCHO - SHORT OVERVIEW OF THE PIECE: The pattern uses both long and short needles; start with the length which fits the number of stitches and change when necessary. The piece is worked in the round and top down, from the right back shoulder, while increasing. If there is a «0» in your chosen size, skip the information and go straight to the next instruction. NECK: Cast on 88-88-96-96-100-100-104 stitches with circular needle size 4.5 mm, 1 strand DROPS Alpaca and 1 strand DROPS Kid-Silk (2 strands). Change to circular needle size 3 mm. Knit 3 rounds (= rolled edge). Then continue with ENGLISH RIB – read explanation above. The round begins on the right back shoulder. After you have worked 2 rounds of rib, insert 2 markers as follows: Marker-1 is inserted in the 27th-27th-29th-29th-31st-31st-33rd stitch (knitted stitch mid-front), marker-2 is inserted in the 71st-71st-77th-77th-81st-81st-85th stitch (knitted stitch mid-back). Continue English rib in the round and increase 1 stitch on each side of the marker-stitches – read INCREASE TIP (4 increased stitches). On the next round, work the yarn overs as described under INCREASE TIP. Increase like this every 2nd round 6 times = 112-112-120-120-124-124-128 stitches, finishing after round-2 in the English rib. The neck measures 5 cm without the rolled edge. YOKE: Change to circular needle size 4.5 mm. Knit 1 round. Now insert 4 markers, without working the stitches, and inserting the markers on each side of 9-9-9-9-11-11-13 shoulder-stitches as described below. There are now 6 markers, all of which are carried onwards. Insert marker-1 before the first stitch, count 9-9-9-9-11-11-13 stitches (= shoulder), insert marker-2 before the next stitch, count 23-23-25-25-25-25-25 stitches (= right front piece), keep the marker in the next stitch (= marker-3 in the knitted stitch mid-front), count 23-23-25-25-25-25-25 stitches (= left front piece), insert marker-4 before the next stitch, count 9-9-9-9-11-11-13 stitches (= shoulder), insert marker-5 before the next stitch, count 23-23-25-25-25-25-25 stitches (= left back piece), keep the marker in the next stitch (= marker-6 in the knitted stitch mid-back), there are 23-23-25-25-25-25-25 stitches left (= right back piece). Work stocking stitch in the round and increase by each marker as follows. Remember to maintain the knitting tension! NOTE: You increase differently on the shoulders and mid-front and mid-back. Read the next 2 sections before continuing and remember INCREASE TIP describing how to increase. SHOULDER: Increase AFTER marker-2, BEFORE marker-4, AFTER marker-5 and BEFORE marker-1 (4 increased stitches). Increase like this every 2nd round 0-0-0-1-4-6-6 times, then every 4th round 6-10-10-10-10-12-12 times, every 6th round 8-6-6-6-4-2-2 times and every 8th round 4 times. A total of 18-20-20-21-22-24-24 increases in height on each side of the shoulders. MID-FRONT/MID-BACK: Increase on each side of marker-3 and marker-6 (4 increased stitches) every 2nd round, 54-56-59-60-64-66-67 times or to desired length. When all the increases are finished, the piece measures approx. 45-47-49-50-53-55-56 cm after the neck and measured in the knitting direction = 400-416-436-444-468-484-492 stitches. Now work an edge as follows. EDGE: Change to circular needle size 3mm. Work English rib, adjusting the stitch count if necessary so the rib fits on the round; you should have 1 knitted stitch mid-front and mid-back as before. AT THE SAME TIME continue increasing on each side of marker-3 and marker-6 every 2nd round as before, with the new stitches worked into the rib. Work like this for 3 cm. Knit 1 round. Using circular needle size 4.5 mm, cast off slightly loosely with knit. The poncho measures approx. 58-60-62-64-66-69-70 cm measured mid-front from the neck. |
|
 |
|
Have you finished this pattern?Tag your pictures with #dropspattern #forestfallponcho or submit them to the #dropsfan gallery. Do you need help with this pattern?You'll find 12 tutorial videos, a Comments/Questions area and more by visiting the pattern on garnstudio.com. © 1982-2026 DROPS Design A/S. We reserve all rights. This document, including all its sub-sections, has copyrights. Read more about what you can do with our patterns at the bottom of each pattern on our site. |
|






With over 40 years in knitting and crochet design, DROPS Design offers one of the most extensive collections of free patterns on the internet - translated to 17 languages. As of today we count 333 catalogues and 12532 patterns translated into English (UK/cm). 12532
We work hard to bring you the best knitting and crochet have to offer, inspiration and advice as well as great quality yarns at incredible prices! Would you like to use our patterns for other than personal use? You can read what you are allowed to do in the Copyright text at the bottom of all our patterns. Happy crafting!
Post a comment to pattern DROPS 272-19
We would love to hear what you have to say about this pattern!
If you want to leave a question, please make sure you select the correct category in the form below, to speed up the answering process. Required fields are marked *.