
Popular categories
Looking for a yarn?


Comments / Questions (29)
![]() Darlene wrote:
Darlene wrote:
When it says you need 200 gms for size XXL does that mean of each strand for a combined total of 400 gms or is that for the total strands
30.04.2026 - 00:12DROPS Design answered:
Dear Darlene, you need only 200 g DROPS Kid-Silk (-= 8 balls) for XXL and you will work with 2 strands together. You don't have to double the amount of yarn so you don't need 400 g. Happy knitting!
30.04.2026 - 09:12
![]() Chantal wrote:
Chantal wrote:
Bonjour J'adore ce modèle et le coloris, mais je n'ai jamais utilisé d'aiguilles circulaires. Puis je tricoter ce modèle avec des aiguilles droites ? quel sera alors le nombre de mailles à monter et mes diminutions épaules, col seront elles les mêmes ? merci de vos précieux conseils. Bonne journée à tous Bien cordialement Une passionnée de tricot mais qui a encore besoin de conseils !!
07.04.2026 - 08:59DROPS Design answered:
Bonjour Chantal, vous trouverez ici comment adapter un modèle sur aiguilles droites; pour le col, faites d'abord la couture de l'une des épaules, tricotez le col et terminer par la couture du col et de la 2ème épaule. Bon tricot!
08.04.2026 - 13:36
![]() Gosia wrote:
Gosia wrote:
Cześć, odnośnie główki rękawa - zamykanie oczek tak naprawdę to np. dla roz. S : 4 razy 2 oczka, 10 razy 1 oczko, 4 razy 2 oczka i 2 razy 3 oczka (razem 32 oczka). Dla mnie opis nie był oczywisty i dopiero za drugim podejściem rękaw wyszedł tak jak powinien. Może komuś pomoże mój komentarz. Pozdrawiam :)
14.02.2026 - 13:20
![]() Birgitta Bergqvist wrote:
Birgitta Bergqvist wrote:
Angående halskanten. På mönstret står att man ska sticka 4 varv rätstickning med rundsticka. Då man förstorar bilden ser de ut som rät och aviga varv. Men om man stickar med rundsticka blir ju alla varv räta?
02.02.2026 - 18:34DROPS Design answered:
Hej Birgitta, det skal vi få rettet på den svenske - tak for info :)
05.02.2026 - 12:16
![]() Renata wrote:
Renata wrote:
Zrobiłam rękaw i nie pasuje główka do podkroju . Jest za mała w stosunku do obwodu podkroju w swetrze. Jak zrobiç główkę rękawa.
03.01.2026 - 22:50DROPS Design answered:
Witaj Renato, sprułabym główkę rękawa i wykonała ją jeszcze raz, zamykając oczka rzadziej niż w opisie, np. 2 razy na początku każdego rzędu, 1 raz co 2 rzędy, itd. Wtedy otrzymasz dłuższą główkę, która powinna pasować do podkroju. Musisz popróbować z jaką częstotliwością zamykać te oczka, trudno mi powiedzieć nie znając parametrów Twojej próbki. Na pewno da się to poprawić. W razie dodatkowych pytań pisz. Pozdrawiam!
04.01.2026 - 10:53
![]() Debora wrote:
Debora wrote:
Buongiorno, come posso fare per la manica lunga?
22.12.2025 - 15:12DROPS Design answered:
Buonasera Debora, per un'assistenza così personalizzata può rivolgersi al suo rivenditore DROPS di fiducia. Buon lavoro!
22.12.2025 - 23:33
![]() Betty wrote:
Betty wrote:
Bij verdelen voor de armsgaten heb ik een probleem Na 6 st afkanten kloppen de overgebleven steken niet Heb 82 st dan 3 st afkanten aan beide inde dus 76 st . Dan staat er 6 st afkanten en hou je ook &76 st over Lees ik verkeerd of staat het verkeerd Bedankt alvast groet Betty
21.12.2025 - 19:43DROPS Design answered:
Dag Betty,
Je kant 3 steken af, je breit 76 steken, je kant 6 steken af, je breit 76 steken en je kant 3 steken af. Je hebt nu op het voorpand 76 steken en op het achterpand 76 steken.
07.01.2026 - 18:21
![]() Renata wrote:
Renata wrote:
TYŁ: = 68-76-82-90-98-104 oczka. Dalej przerabiać w tę i z powrotem dżersejem jak wcześniej. Zamykać na podkroje rękawów z każdej strony co 2 rzędy: 0-0-0-1-1-1 raz 3 oczka, 1-2-2-3-4-5 razy 2 oczka i 2-3-6-4-5-4 razy 1 oczko = zostaje 60-62-62-64-66-70 oczek. Gdy dł. robótki wynosi 48-50 . Robię rozmiar S po przeobieniu dlugość swetra mam okolo 39 cm Czy dalej mam bez zamykania oczek przerabiać jersejem do 50 cm tył.
26.11.2025 - 09:06DROPS Design answered:
Witaj Renato, sweter jest przerabiany od dołu, przerabiałaś prosto, następnie zamknęłaś oczka na formowanie podkrojów rękawów i dalej musisz przerabiać dżersejem bez zamykania oczek do wys. 50 cm. Teraz zaczynasz formować dekolt. Pozdrawiamy!
27.11.2025 - 11:56
![]() Monica wrote:
Monica wrote:
Avm till ärmhål strl M Har totalt 176m (88 framstycke o 88 bakstycke. Avm 3 sticka 82 avm 3 Nästa: Avm 6 sticka 82!!!avm 6 (Har ju inte så många maskor då) Sen avm de 3 sista! Kan fu förklara för mig , tack!
10.11.2025 - 22:17DROPS Design answered:
Hej Monica. Du har 88 maskor på framstycket och 88 maskor på bakstycket. Nu avmaskar du 3 maskor i början av varvet, stickar 82 maskor och avmaskar 6 maskor (av dessa tillhör 3 framstycket och 3 bakstycket), stickar 82 maskor och avmaskar de sista 3 maskorna på varvet. Du har nu avmaskat 6 maskor i varje sida till ärmhål. 3+82+6+82+3= 176 m. Mvh DROPS Design
19.11.2025 - 11:36
![]() Renata wrote:
Renata wrote:
PODZIAŁ ROBÓTKI NA PODKROJE RĘKAWÓW. Jak zamykamy 3 pierwsze oczka. Czy przerobić razem na prawo te 3 oczka?
02.11.2025 - 14:29DROPS Design answered:
Witaj Renato, zamykaj oczka w sposób podany na filmie TUTAJ. Pozdrawiamy!
02.11.2025 - 19:06
|
|
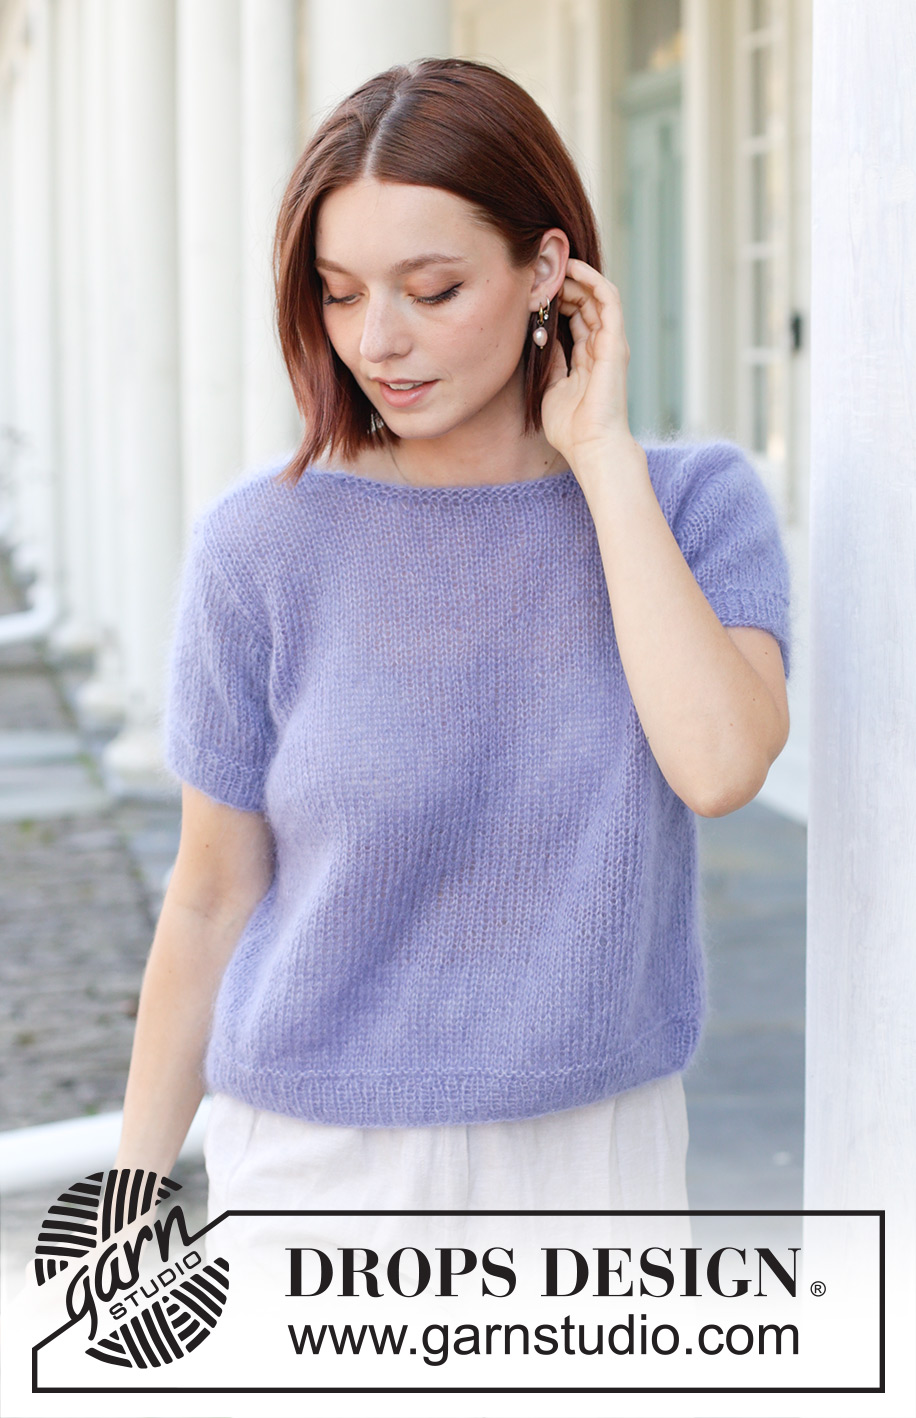
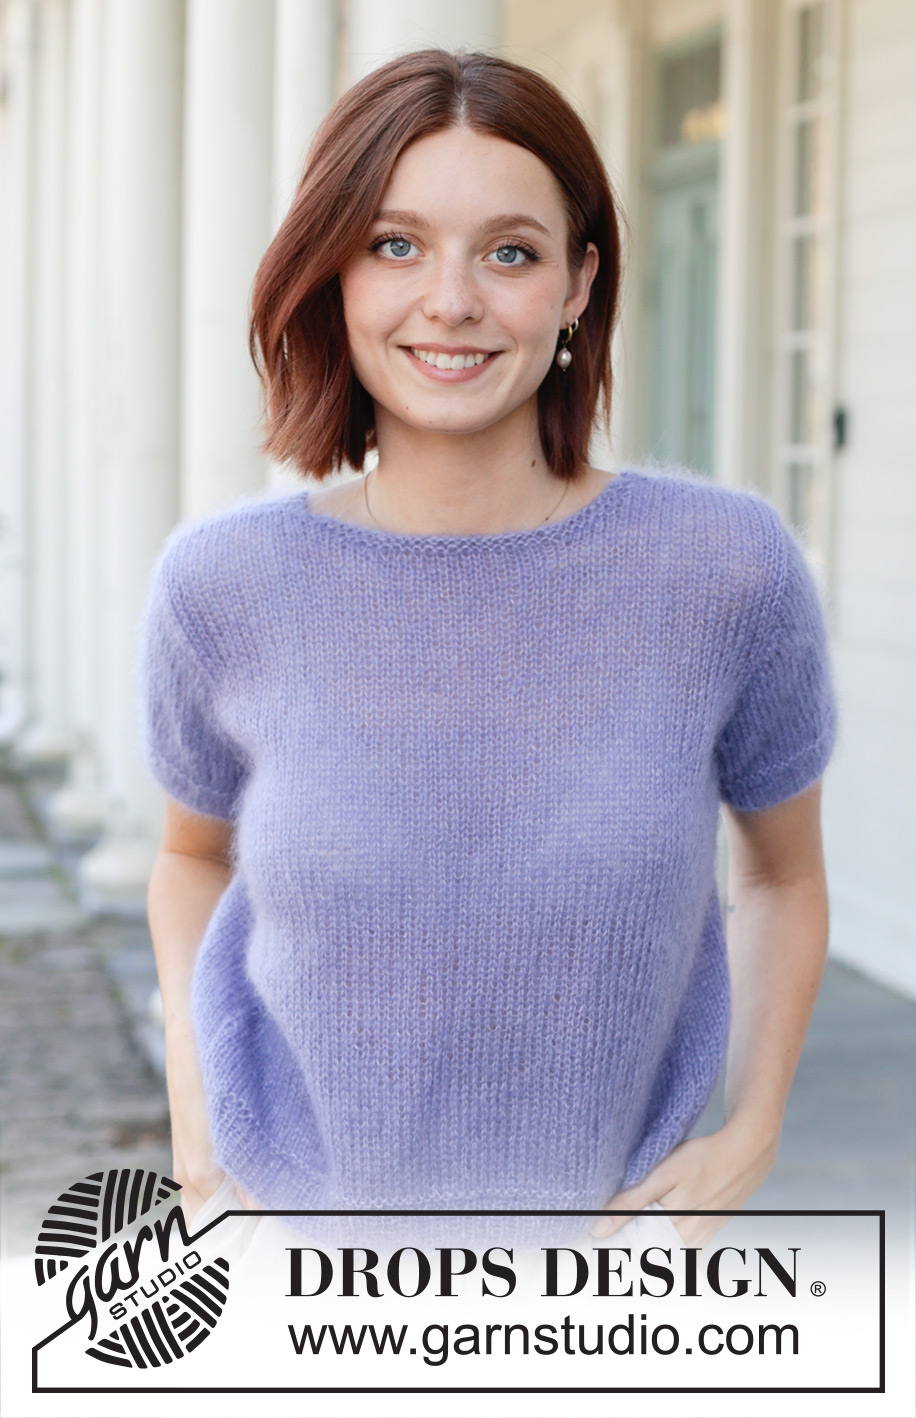
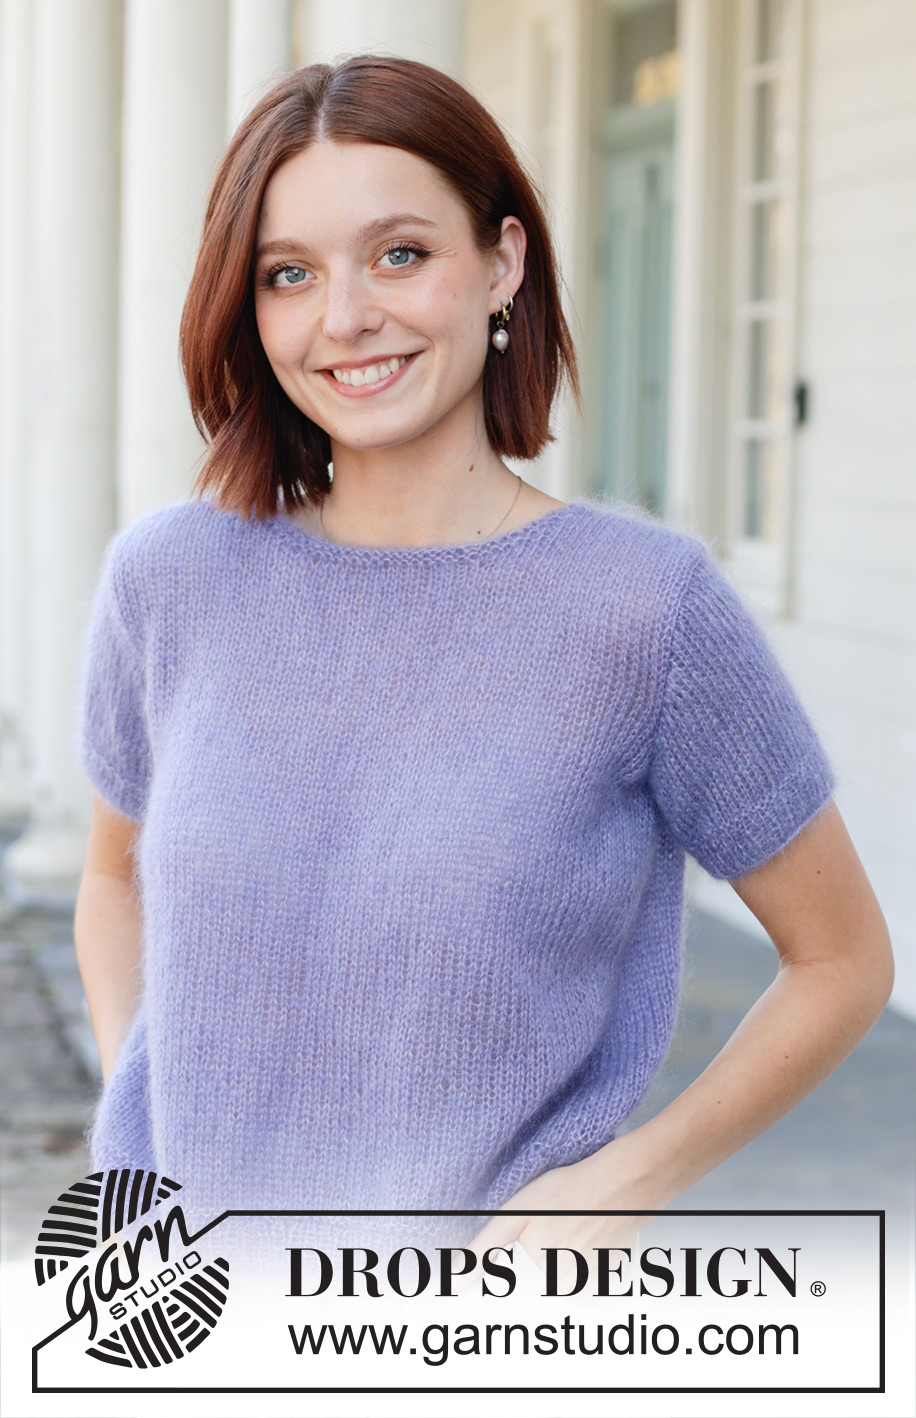
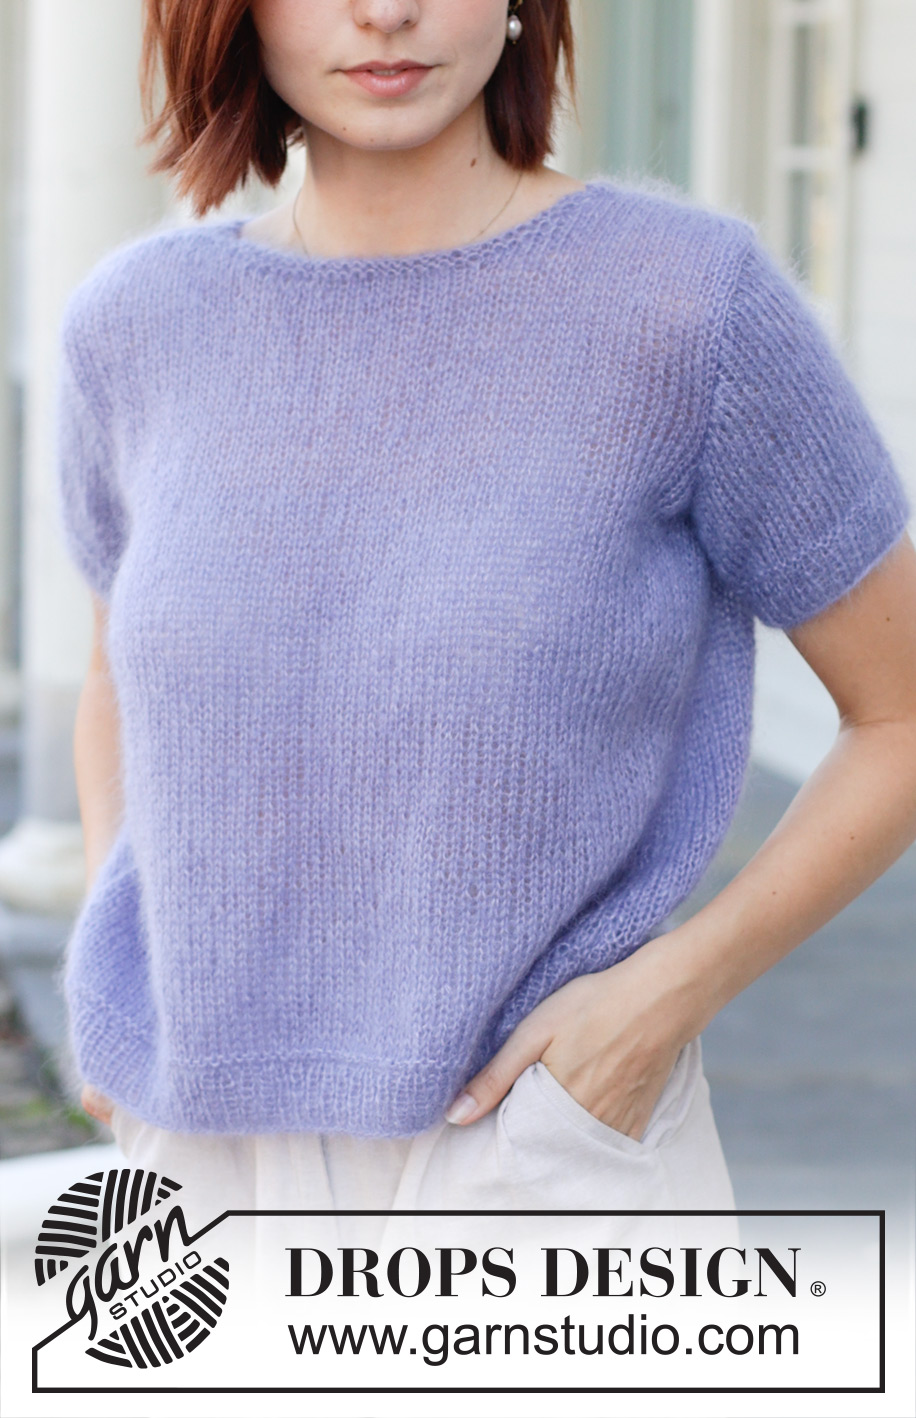
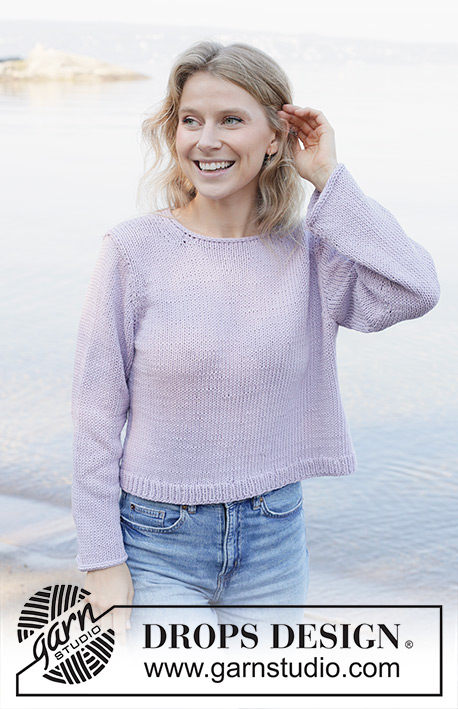
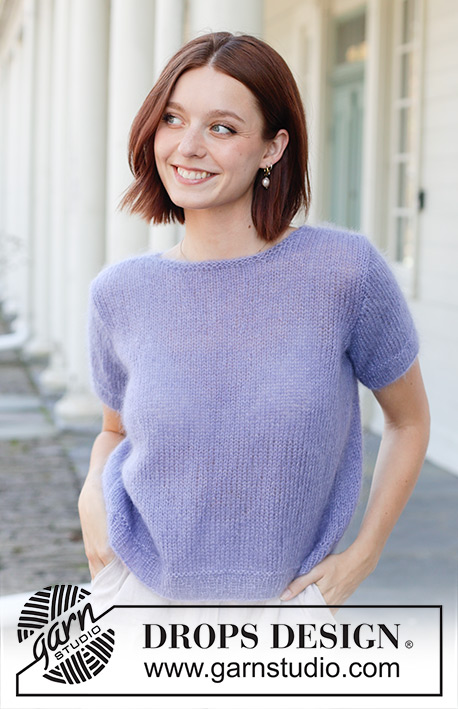
Violet Reverie#violetreveriesweater |
|
 |
 |
Knitted jumper in 2 strands DROPS Kid-Silk. Piece is knitted bottom up, in stocking stitch with short sewn-in sleeves. Size XS – XXXL.
DROPS 259-3 |
|
|
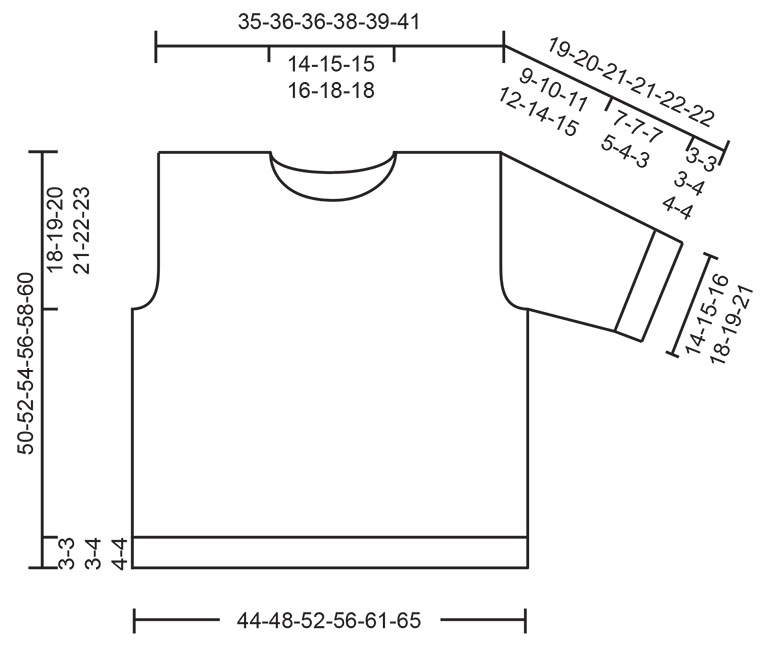
---------------------------------------------------------- EXPLANATION FOR THE PATTERN: ---------------------------------------------------------- GARTER STITCH (when working in the round): Alternately knit 1 round and purl 1 round. 1 ridge vertically = 2 rounds. DECREASE TIP (evenly): To calculate how to decrease evenly, use the total number of stitches on row (e.g. 164 stitches) and divide stitches by number of decreases to be done (e.g. 16) = 10.3. In this example decrease by knitting approx. every 9th and 10th stitch together. INCREASE TIP: Increase 1 stitch on each side of marker thread as follows: Work until 1 stitch remains before marker thread, make 1 yarn over, knit 2 (marker thread is between these 2 stitches), make 1 yarn over. On next round knit yarn overs twisted to avoid holes. Then work the new stitches in stocking stitch. ---------------------------------------------------------- START THE PIECE HERE: ---------------------------------------------------------- JUMPER - SHORT OVERVIEW OF THE PIECE: In this pattern needles of different length have been used, begin with fitting length for number of stitches and switch as needed. Piece is worked in the round on circular needle, from the bottom and up to armholes. Then divide the piece for front piece and back piece, and finish each part separately back and forth. Work sleeves bottom up, and work in the round on needle until armhole, then work sleeve back and forth on row. Sew parts together. Finish by picking up stitches around the neck and work a neck edge in the round. If 0 is given for the chosen size, it means that you skip the information until next information. BODY: Cast on 166-184-198-214-232-246 stitches on circular needle size 4 mm with 2 strands DROPS Kid-Silk. Work rib (= knit 1/purl 1) for 3-3-3-4-4-4 cm. Work 1 ridge in GARTER STITCH - read explanation above. Switch to circular needle size 5 mm and work in the round in stocking stitch while AT THE SAME TIME on 1st round decreasing 18-20-22-22-24-26 stitches evenly - read DECREASE TIP = 148-164-176-192-208-220 stitches. Insert a marker thread at beginning of round and a marker thread after 74-82-88-96-104-110 stitches (= in the sides), move the marker thread when working. Remember to follow the knitting tension! Work until piece measures 32-33-34-35-36-37 cm. Now divide the piece for front piece and back piece. DIVIDING FOR ARMHOLES: At the same time on next round divide piece for front piece and back piece as follows: Cast off the first 3-3-3-3-3-3 stitches at the beginning of round for armhole, work the next 68-76-82-90-98-104 stitches, cast off the next 6-6-6-6-6-6 stitches for armhole, work the next 68-76-82-90-98-104 stitches, cast off the last 3-3-3-3-3-3 stitches for armhole. Cut the yarn. Now work front piece and back piece back and forth on needle until finished measurements. BACK PIECE: = 68-76-82-90-98-104 stitches. Continue back and forth in stocking stitch as before. In each side cast off stitches for armholes on every other row as follows: Cast off 3 stitches 0-0-0-1-1-1 time in each side, 2 stitches 1-2-2-3-4-5 times in each side, and 1 stitch 2-3-6-4-5-4 times in each side = 60-62-62-64-66-70 stitches remain. When piece measures 48-50-52-54-56-58 cm, cast off the middle 22-24-24-26-28-28 stitches for neck, and finish each shoulder separately. SHOULDER: Now cast off 1 stitch for neck on next row from the neck = 18-18-18-18-18-20 stitches remain on each shoulder. Cast off when piece measures 50-52-54-56-58-60 cm. FRONT PIECE: = 68-76-82-90-98-104 stitches. Continue back and forth in stocking stitch as before. In each side cast off stitches for armholes on every other row as follows: Cast off 3 stitches 0-0-0-1-1-1 time in each side, 2 stitches 1-2-2-3-4-5 times in each side, and 1 stitch 2-3-6-4-5-4 times in each side = 60-62-62-64-66-70 stitches remain. When piece measures 46-48-49-50-51-52 cm, slip the middle 16-18-18-18-20-20 stitches on a thread for neck, and finish each shoulder separately. SHOULDER: Now cast off stitches for neck on every other row as follows: Cast off 2 stitches 1 time and 1 stitch 2-2-2-3-3-3 times = 18-18-18-18-18-20 stitches remain on each shoulder. Cast off when piece measures 50-52-54-56-58-60 cm. SLEEVES: Work sleeve in the round on needle, then finish sleeve cap back and forth on needle. Cast on 52-56-62-68-74-82 stitches on double pointed needles size 4 mm. Work in the round in rib (= knit 1/purl 1) until rib measures 3-3-3-4-4-4 cm. Work 1 ridge. On next round switch to double pointed needles size 5 mm and knit 1 round while AT THE SAME TIME decreasing 6-6-8-8-8-10 stitches evenly on round - remember DECREASE TIP = 46-50-54-60-66-72 stitches. Insert 1 marker thread mid under sleeve, this is used when increasing stitches under sleeve. Move marker thread upwards when working. Work in stocking stitch in the round. When sleeve measures 4-4-4-5-5-5 cm, increase stitches mid under sleeve – read INCREASE TIP and increase as follows: Increase 2 stitches every 1½-2-2-2-2-1 cm 4-3-3-2-2-1 times in total = 54-56-60-64-70-74 stitches. Work in stocking stitch until sleeve measures 10-10-10-9-8-7 cm. Now work sleeve cap as explained below. SLEEVE CAP: On next round cast off 6 stitches mid under sleeve but to avoid cutting the yarn at begin cast-off 3 stitches before marker thread mid under sleeve, cast off and then work as before the rest of row. Then work back and forth on needle in stocking stitch while AT THE SAME TIME casting off for sleeve cap in each side, cast off at the beginning of row as follows: Cast off 2 stitches 2-2-2-3-3-3 times in each side, 1 stitch 4-5-7-5-7-8 times in each side, 2 stitches 2-2-2-3-3-3 times in each side and 3 stitches 1-1-1-1-1-1 times in each side = 18-18-18-18-20-22 stitches remain. Cast off the remaining stitches. Sleeve measures approx. 19-20-21-21-22-22 cm. ASSEMBLY: Sew the shoulder seams. Sew sleeve in armhole. NECK EDGE: Use circular needle size 4 mm and 2 strand DROPS Kid-Silk (= 2 strands), pick up stitches around the neck from right side as follows: Begin at one shoulder seam and pick up approx. 60-64-66-72-82-84 stitches (including stitches on thread mid front). Switch to circular needle size 5 mm and work 2 ridges. Loosely cast off. |
|
 |
|
Have you finished this pattern?Tag your pictures with #dropspattern #violetreveriesweater or submit them to the #dropsfan gallery. Do you need help with this pattern?You'll find 31 tutorial videos, a Comments/Questions area and more by visiting the pattern on garnstudio.com. © 1982-2026 DROPS Design A/S. We reserve all rights. This document, including all its sub-sections, has copyrights. Read more about what you can do with our patterns at the bottom of each pattern on our site. |
|


With over 40 years in knitting and crochet design, DROPS Design offers one of the most extensive collections of free patterns on the internet - translated to 17 languages. As of today we count 325 catalogues and 12298 patterns translated into English (UK/cm). 12298
We work hard to bring you the best knitting and crochet have to offer, inspiration and advice as well as great quality yarns at incredible prices! Would you like to use our patterns for other than personal use? You can read what you are allowed to do in the Copyright text at the bottom of all our patterns. Happy crafting!
Post a comment to pattern DROPS 259-3
We would love to hear what you have to say about this pattern!
If you want to leave a question, please make sure you select the correct category in the form below, to speed up the answering process. Required fields are marked *.