
Popular categories
Looking for a yarn?


Comments / Questions (35)
![]() Monika wrote:
Monika wrote:
Ile włóczki jest potrzebne na wykonanie tego projektu
28.03.2026 - 17:19DROPS Design answered:
Witaj Moniko, w 4 pierwszych rozmiarach będziesz potrzebować 4 motki, w 2 większych 5 motków włóczki Drops Safran. Pozdrawiamy!
30.03.2026 - 15:08
![]() Zoe Mason-Chard wrote:
Zoe Mason-Chard wrote:
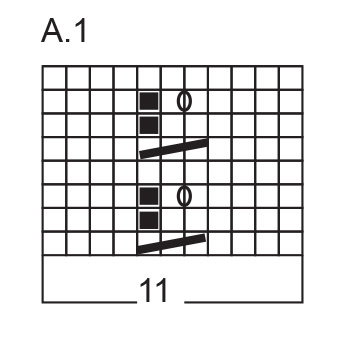
Has the english pattern been corrected since Judy St Lawrence pointed out that the third stitch is incorrect please , cannot find any instructions that include Dear Judy, that's right, it seems to be a mistake in the English version. It should be: "slip 1 stitch as if to knit, knit 2, passed the slipped stitch over the knitted stitches". Happy knitting! 31.05.2025 - 22:47
22.10.2025 - 18:11DROPS Design answered:
Hi Zoe, it is not. We will fix it as soon as possible. Thank you!
04.11.2025 - 08:20
![]() Akemi wrote:
Akemi wrote:
I don’t understand the A.1 chart. Do you have a tutorial on it? Or instructions in words?
22.09.2025 - 01:14DROPS Design answered:
Hi, Akemi, there are written instructions for each of the symbols just above the diagram. Happy knitting!
31.10.2025 - 11:00
![]() Daniela wrote:
Daniela wrote:
Grazie
31.08.2025 - 09:33
![]() Daniela wrote:
Daniela wrote:
Dietro: quando il lavoro misura 40-42-44-46-48-50 cm, lavorare 2 coste a maglia legaccio sulle 53-52-63-64-63-64 maglie Buongiorno non capisco questo passaggio. Le maglie a legaccio vanno lavorate nella parte centrale dove si chiuderanno poi le maglie per lo scollo? Grazie
29.08.2025 - 17:17DROPS Design answered:
Buonasera Daniela, si, è corretto: dopo le 2 coste a maglia legaccio si intrecciano le maglie per il collo e si prosegue separatamente ai due lati. Buon lavoro!
30.08.2025 - 20:01
![]() Irene wrote:
Irene wrote:
The third symbol in the key for the chart doesn't make sense. The 3 squares with the line through it usually means cable but here it says that the stitch does not exist,but it also says this for the previous symbol?
13.08.2025 - 08:42DROPS Design answered:
Dear Irene, on first row in A.1 you slip 1 stitch, knit the next 2 stitches, then pass the slipped stitch over the 2 knitted stitches = 2 sts remain, on next row there are 1 stitch less (10 sts in each A.1); then on 3rd row you will work 1 yarn over between the 2 knitted stitches to get 3 stitches again. See in this video how to work a similar cable. Happy knitting!
13.08.2025 - 14:18
![]() Bibiche wrote:
Bibiche wrote:
Bonjour , je tricote ce modèle avec des aiguilles droites ,j'ai fait les côtes 4 cm après je ne comprends plus vos explications , merci de m'éclairer ( j'ai monté 144 mailles avec des aiguilles n° 2 doit aussi changer d'aiguilles après mes côtes .merci pour votre retour.
10.08.2025 - 18:40DROPS Design answered:
Bonjour Bibiche, après les 4 cm de côtes, vous allez tricoter les mailles centrales en jersey (on va devoir diminuer pour conserver la bonne largeur) avec 8 mailles en côtes + 2 m point mousse de chaque côté, tricotez bien le rang comme indiqué, ajustez en fonction de votre nombre de mailles/tension pour conserver la bonne largeur. Après ce rang, on continue avec l'aiguille circulaire 3,5 (ici) en jersey avec 2 m point mousse + 8 m en côtes de chaque côté. Bon tricot!
11.08.2025 - 08:17
![]() Petra wrote:
Petra wrote:
Hallo, Sind bei den cm wann mit dem Muster begonnen wird, ab dem Bündchen oder inklusive Bündchen gemeint? Danke für die Antwort 🙏
11.07.2025 - 11:53
![]() Petra wrote:
Petra wrote:
Hallo, Sind bei den cm wann mit dem Muster begonnen wird, ab dem Bündchen oder inklusive Bündchen gemeint? Danke für die Antwort 🙏
09.07.2025 - 19:44
![]() FRANÇOISE wrote:
FRANÇOISE wrote:
Bonjour, vous dites de prendre les 154 M du dos +les 154 M du devant et les 20 M de chaque côté non en fait quoi. MERCI
29.06.2025 - 18:20DROPS Design answered:
Bonjour Françoise, en taille XXXL vous avez tricotez 4 cm de côtes sur 154 mailles pour le devant et de même pour le dos. Lorsque vous tricotez la partie TOP vous réunissez ces 2 parties soit 154x2 = 308 mailles au total. Ou bien ai-je mal compris votre question?
30.06.2025 - 09:07
|
|||||||||||||
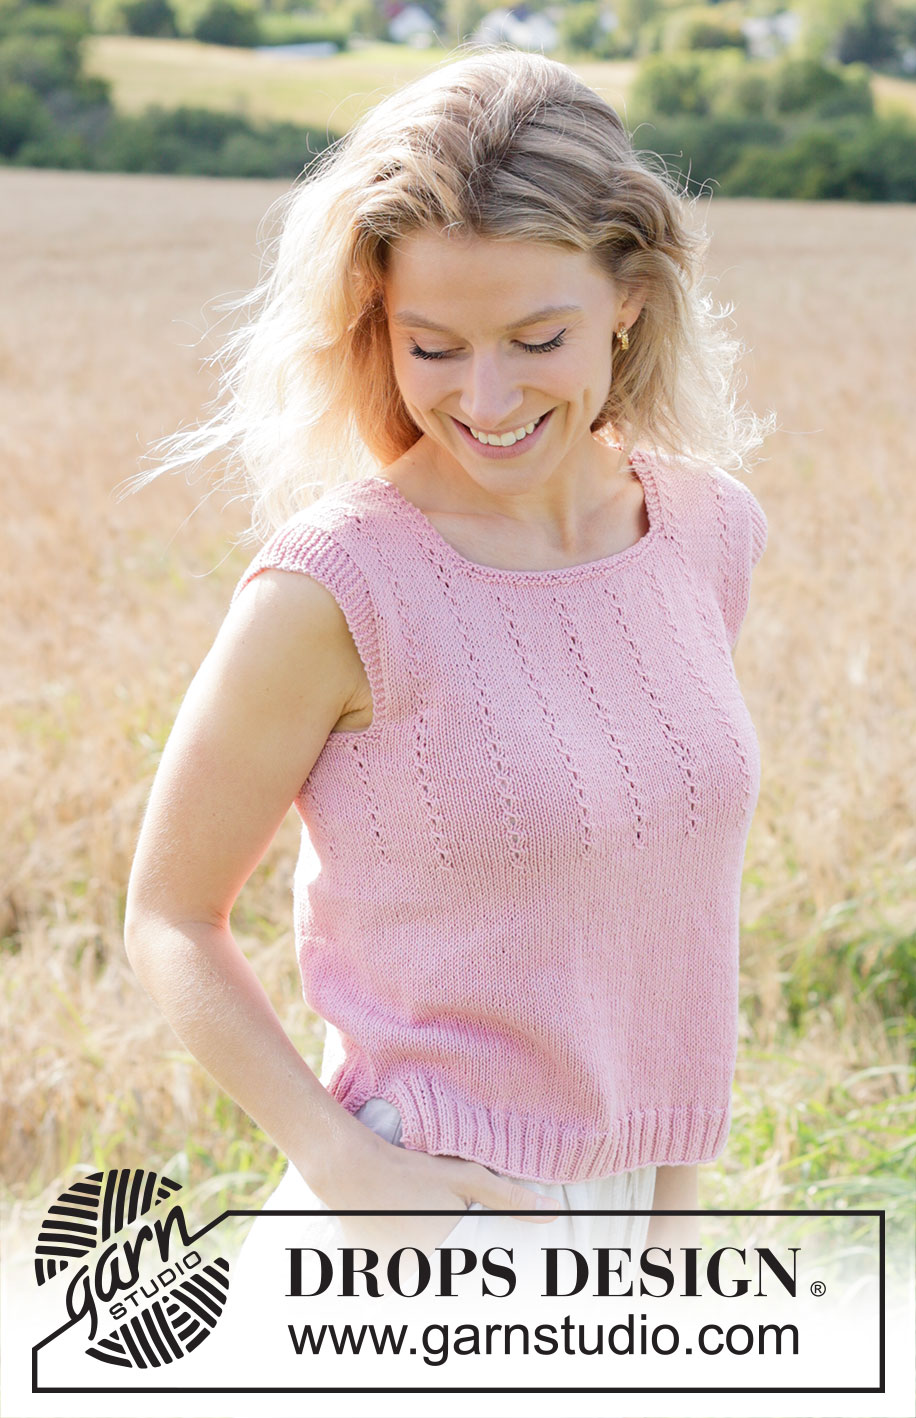
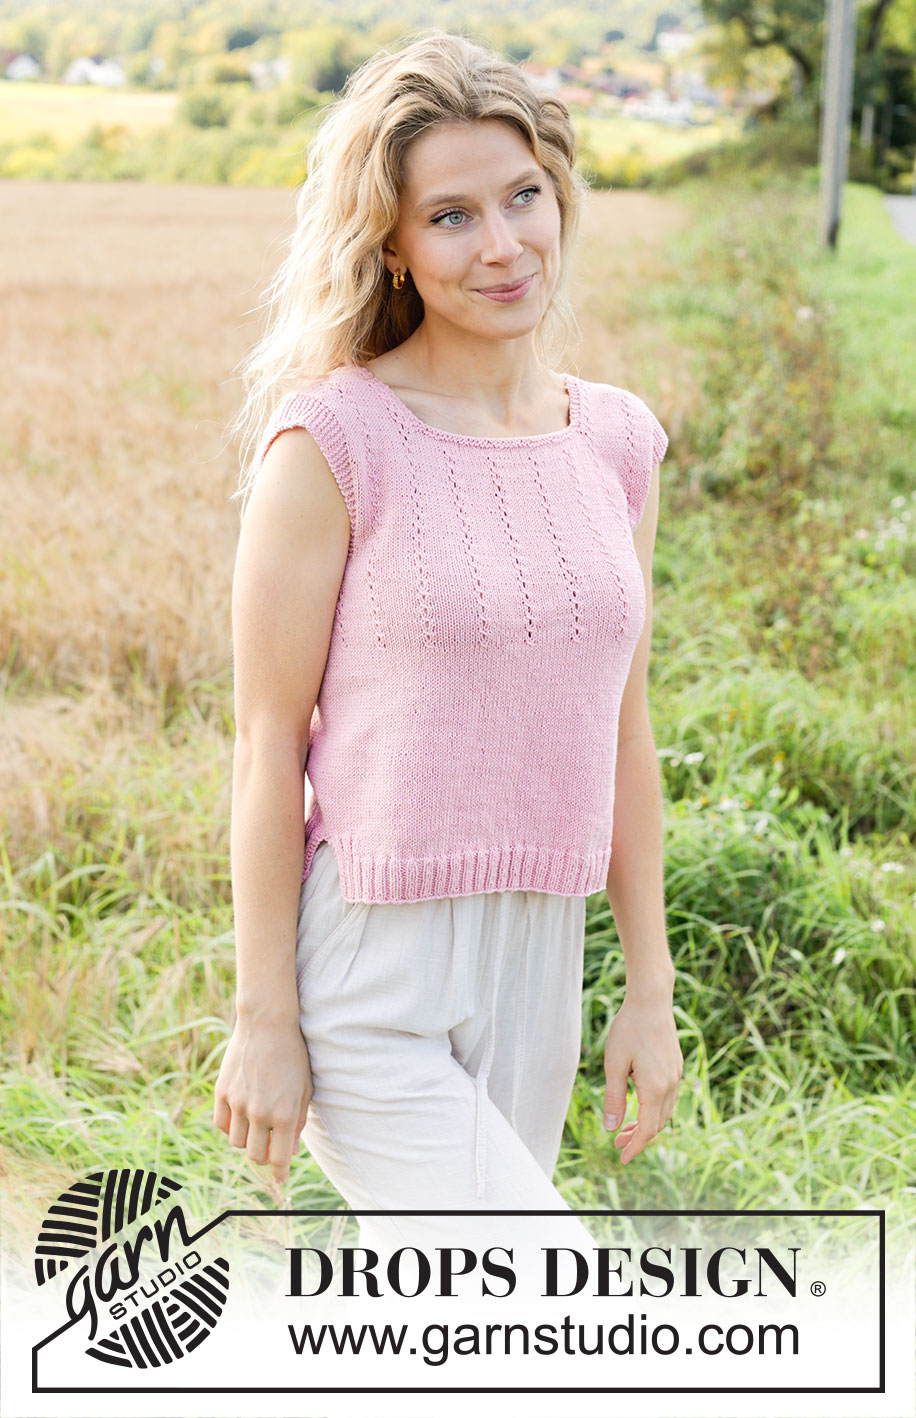
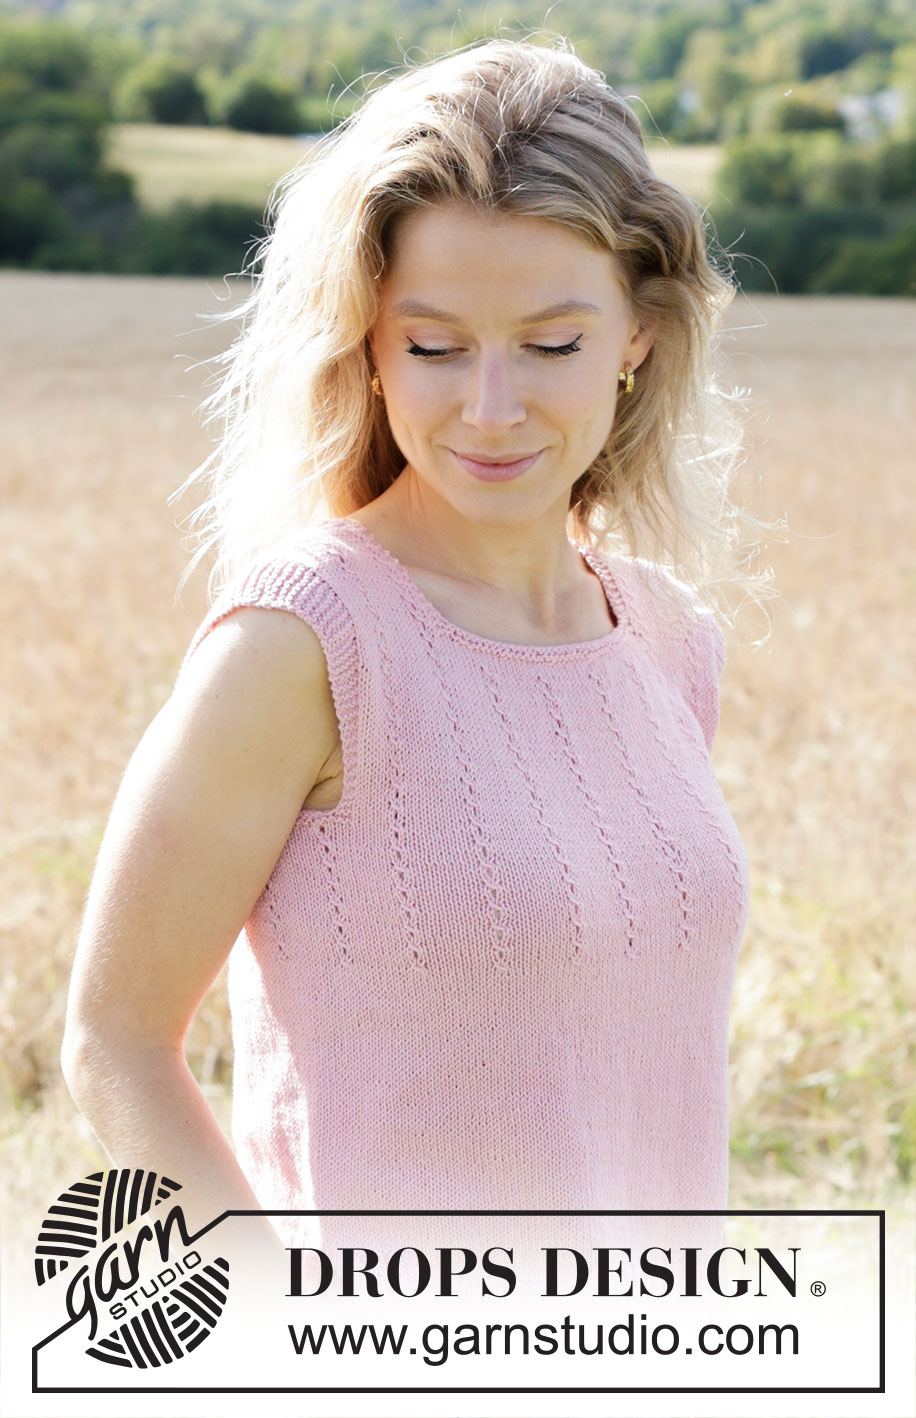
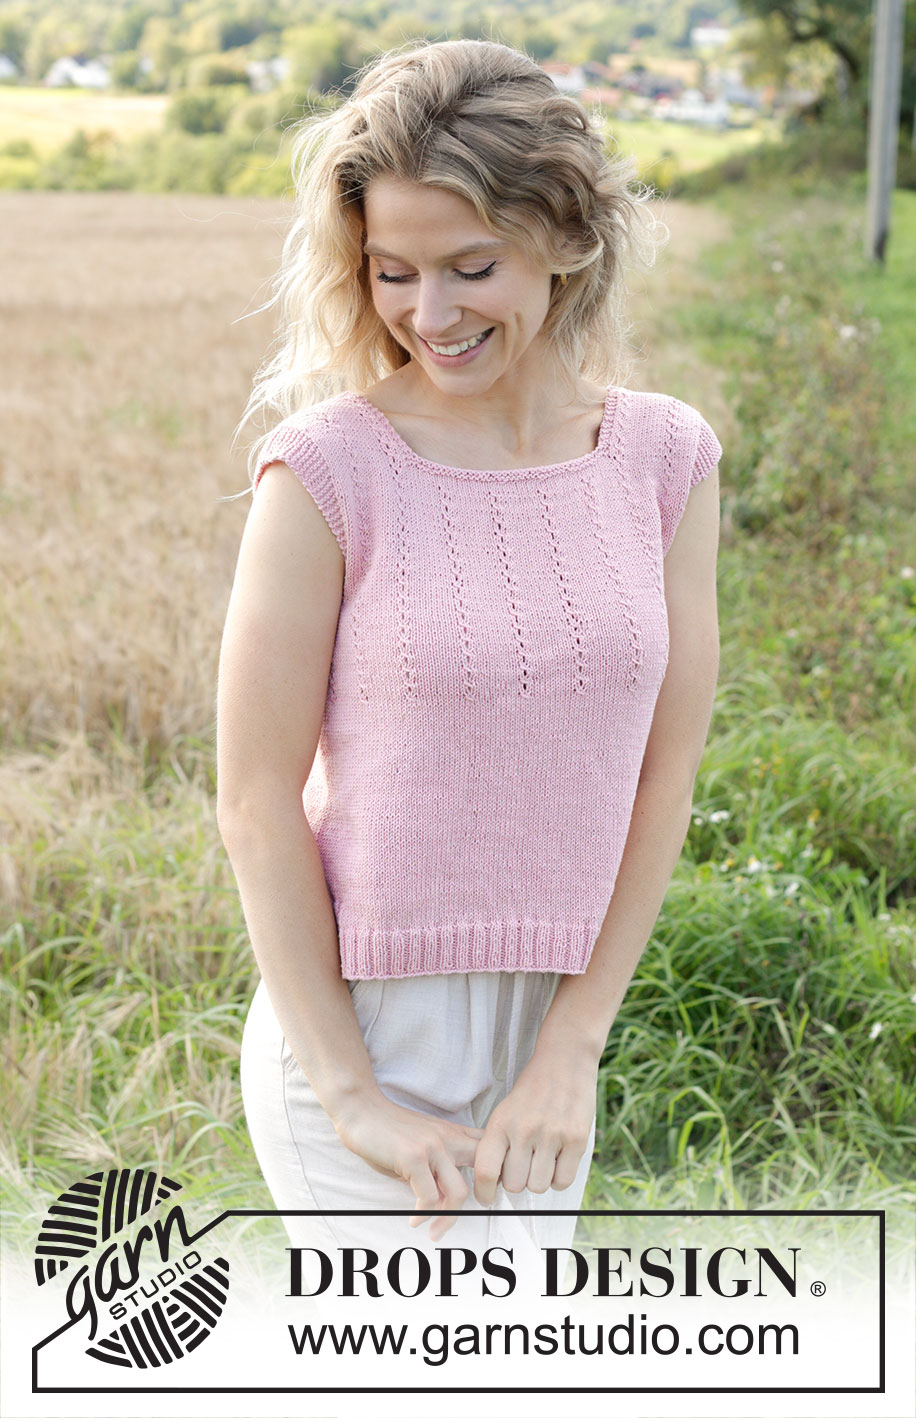
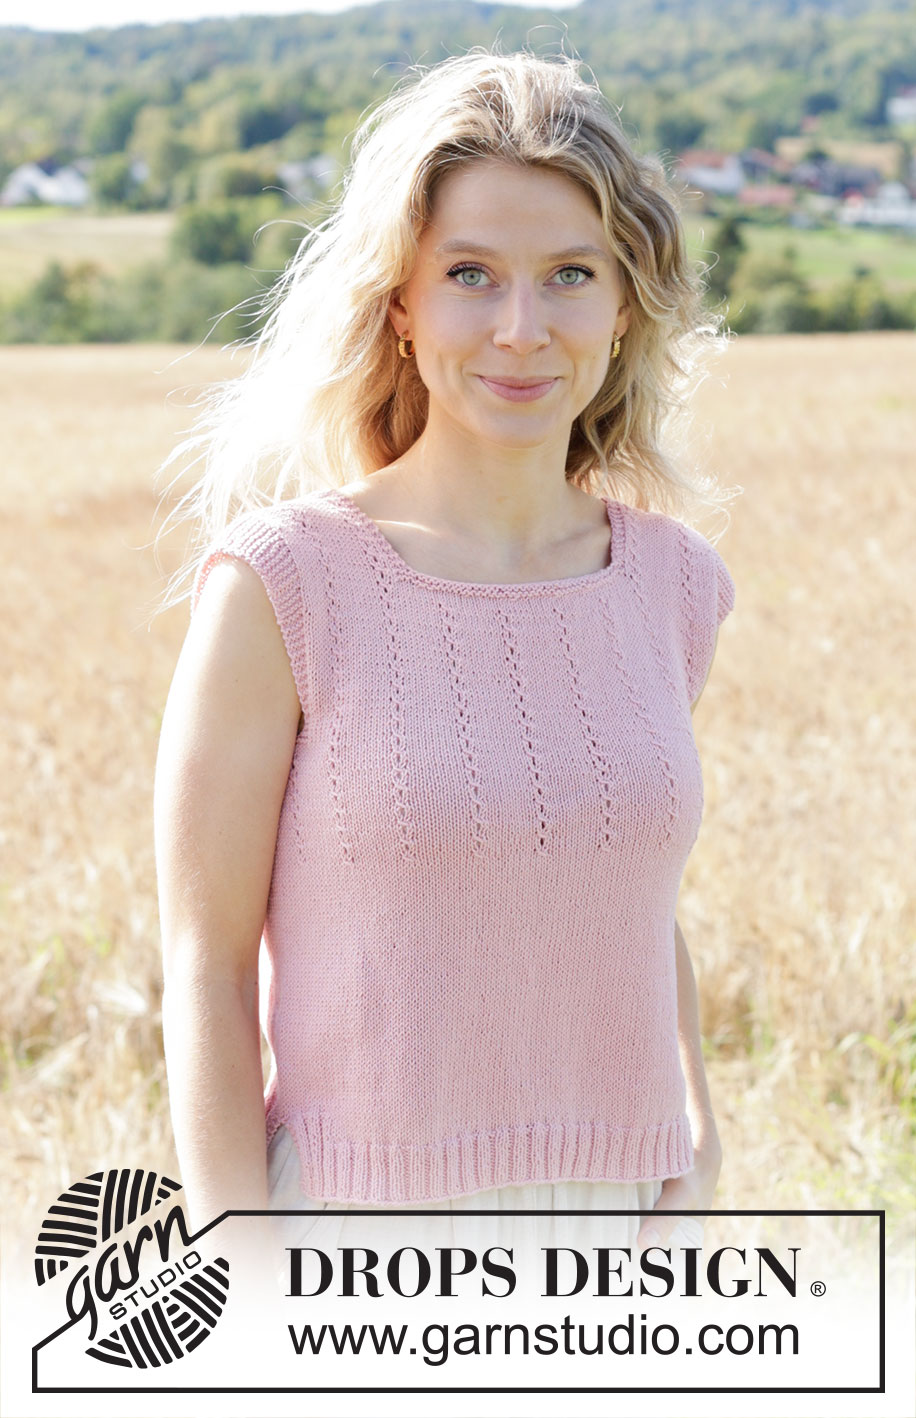
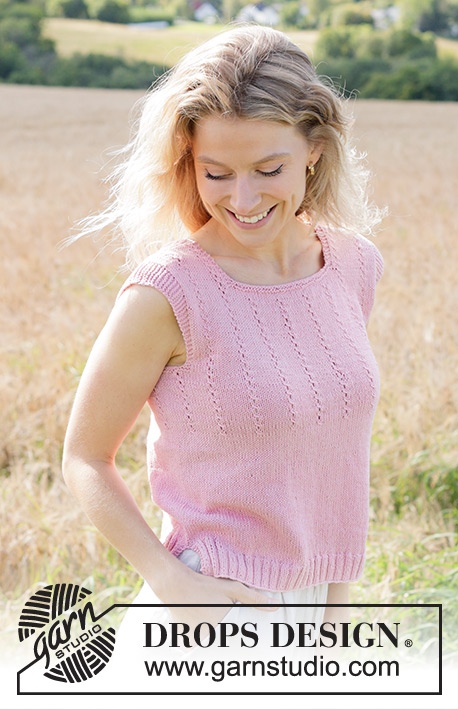
Rosewater Rain#rosewaterraintop |
|||||||||||||
 |
 |
||||||||||||
Knitted top in DROPS Safran. Piece is knitted bottom up with lace cables. Size XS – XXXL.
DROPS 250-15 |
|||||||||||||
|
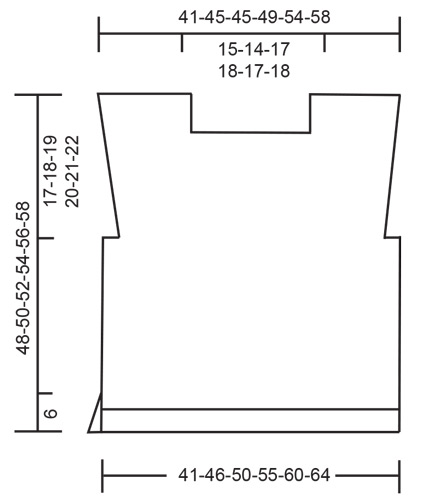
---------------------------------------------------------- EXPLANATION FOR THE PATTERN: ---------------------------------------------------------- GARTER STITCH (back and forth): Knit all rows. 1 ridge vertically = knit 2 rows. GARTER STITCH (worked in the round): 1 ridge vertically = 2 rounds, i.e. knit 1 round and purl 1 round. PATTERN: See diagram A.1. Diagrams show all rows seen from the right side. INCREASE TIP: Increase 1 stitch by making 1 yarn over inside stitches in garter stitch. On next row knit yarn over twisted to avoid hole. Work the increased stitches in garter stitch. ---------------------------------------------------------- START THE PIECE HERE: ---------------------------------------------------------- TOP - SHORT OVERVIEW OF THE PIECE: Work front piece and back piece first back and forth, bottom up separately to make a vent at the bottom. Then put the parts together, and finish in the round, before dividing the piece for armholes. Finish each part separately. Sew the shoulder seams. BACK PIECE: Cast on 114-126-138-154-166-178 stitches on circular needle size 2.5 mm with DROPS Safran. Purl 1 row from wrong side, then work rib, begin from right side as follows: 2 stitches in GARTER STITCH - read explanation above - * knit 2, purl 2 *, work from *-* until 4 stitches remain, knit 2 and finish with 2 stitches in garter stitch. Continue rib like this for 4 cm, work next row as follows from right side: 2 stitches in garter stitch, knit 2, purl 2, knit 2, purl 2, knit the next 94-106-118-134-146-158 stitches, and decrease 15-16-17-22-23-24 stitches evenly over these stitches, purl 2, knit 2, purl 2, knit 2 and 2 stitches in garter stitch = 99-110-121-132-143-154 stitches. Switch to circular needle size 3.5 mm and work in stocking stitch with 8 stitches rib + 2 stitches in garter stitch in each side until piece measures 6 cm, finish with a row from wrong side. Put back piece aside, and work the front piece. FRONT PIECE: Cast on the same number of stitches and work the same way as back piece. Then place the parts together as explained below. TOP: Now slip parts together as follows: Knit over the 99-110-121-132-143-154 stitches from front piece, and knit over the 99-110-121-132-143-154 stitches from back piece = 198-220-242-264-286-308 stitches. Work in stocking stitch in the round over all stitches. When piece measures 21-22-23-24-25-26 cm, work A.1 over all stitches (= 18-20-22-24-26-28 repetitions). Insert 2 marker threads in piece, after 9-10-11-12-13-14 repetitions of A.1 and after last stitch on round. Continue with A.1 vertically. When piece measures 30-31-32-33-34-35 cm, work 2 ridges in GARTER STITCH - read explanation above - over the 20-20-30-30-30-30 stitches in each side (= 10-10-15-15-15-15 stitches in garter stitch on each side of marker thread in each side) while AT THE SAME TIME on first round decreasing 2-2-4-4-4-4 stitches evenly over these stitches in garter stitch in each side (= 18-18-26-26-26-26 stitches in garter stitch and 194-216-234-256-278-300 stitches in total), work the remaining stitches in pattern as before. When 2 ridges in garter stitch have been worked vertically over the 18-18-26-26-26-26 stitches in each side, cast off the middle 12-12-20-20-20-20 stitches in each side for armholes and finish each piece separately. BACK PIECE: = 85-96-97-108-119-130 stitches. Work piece back and forth on needle from here. Continue with pattern and 3 stitches in garter stitch in each side. When piece measures 2 cm from where body was divided for armholes, increase 1 stitch in each side for shoulder - read INCREASE TIP! Repeat increase in each side on every 6th-8th-8th-12th-12th-12th row 7-6-6-5-5-5 times in total = 99-108-109-118-129-140 stitches. AT THE SAME TIME when piece measures 40-42-44-46-48-50 cm, work 2 ridges in garter stitch over the middle 53-52-63-64-63-64 stitches while AT THE SAME TIME on 1st row decreasing 12-12-16-16-16-16 stitches evenly over these stitches in garter stitch (= 41-40-47-48-47-48 stitches in garter stitch), work the remaining stitches in pattern as before. When 2 ridges in garter stitch have been worked vertically over the 41-40-47-48-47-48 stitches in garter stitch, cast off the middle 35-34-41-42-41-42 stitches for neck and finish each piece separately = 26-31-26-30-36-41 stitches remain on each shoulder. Continue with pattern, 10-9-9-8-8-8 stitches in garter stitch towards the armholes and 3 stitches in garter stitch towards the neck. Cast off when piece measures 48-50-52-54-56-58 cm. Work the other shoulder the same way. FRONT PIECE: = 85-96-97-108-119-130 stitches. Work as on back piece. ASSEMBLY: Sew the shoulder seams. |
|||||||||||||
Diagram explanations |
|||||||||||||
|
|||||||||||||
 |
|||||||||||||
 |
|||||||||||||
Have you finished this pattern?Tag your pictures with #dropspattern #rosewaterraintop or submit them to the #dropsfan gallery. Do you need help with this pattern?You'll find 19 tutorial videos, a Comments/Questions area and more by visiting the pattern on garnstudio.com. © 1982-2026 DROPS Design A/S. We reserve all rights. This document, including all its sub-sections, has copyrights. Read more about what you can do with our patterns at the bottom of each pattern on our site. |
|||||||||||||


With over 40 years in knitting and crochet design, DROPS Design offers one of the most extensive collections of free patterns on the internet - translated to 17 languages. As of today we count 324 catalogues and 12290 patterns translated into English (UK/cm). 12290
We work hard to bring you the best knitting and crochet have to offer, inspiration and advice as well as great quality yarns at incredible prices! Would you like to use our patterns for other than personal use? You can read what you are allowed to do in the Copyright text at the bottom of all our patterns. Happy crafting!
Post a comment to pattern DROPS 250-15
We would love to hear what you have to say about this pattern!
If you want to leave a question, please make sure you select the correct category in the form below, to speed up the answering process. Required fields are marked *.