
Popular categories
Looking for a yarn?






























Comments / Questions (5)
 Cri wrote:
Per il davanti finiti gli aumenti dello scalfo si mette il lavoro in sospeso, ma quindi devono essere finiti anche gli aumenti per lo scollo? Se fosse così in 4cm andrebbero fatti 22 aumenti (TG1/3m) ma sul dietro in 4cm risultano solo 11 aumenti. Bisogna quindi iniziare gli aumenti dello scalfo oltre i 10cm per finire insieme a quelli dello scollo oppure si parte a 10cm e poi si proseguono gli aumenti dello scollo prima di mettere il lavoro in sospeso?
01.11.2026 - 12:50DROPS Design answered:
Buonasera Cri, se prosegue con la lettura del modello, viene indicato che gli aumenti per il collo continuano più avanti. Buon lavoro!
01.11.2026 - 21:53
 Janet wrote:
Warum findet man die Anleitung nicht in Ravelry?
26.10.2026 - 11:05DROPS Design answered:
Liebe Janet, dieses Modell wird in Kürze auf Ravelry hinzugefügt. Vielen Dank im Voraus für Ihre Geduld.
27.10.2026 - 08:11
Sabine wrote:
Hallo, wann muss ich die mittleren Maschen des Rückenteils/ Halsausschnitt abketten? Das taucht nirgendwo auf Liebe Grüße Sabine
26.10.2026 - 06:54DROPS Design answered:
Liebe Sabine, die Maschen für den Halsausschnitt am Rückenteil werden nicht abgekettet da Rückenteil von oben nach unten gestrickt wird, - siehe KURZBESCHREIBUNG DER ARBEIT dh die angeschlagenen Maschen sind hier für die ganze Breite vom Rückenteil: Schulter + Halsausschnitt. Die Maschen für die beide Vorderteile werden dann beidseitig von diesen Maschen aufgefasst. Viel Spaß beim Stricken!
27.10.2026 - 08:08
 Christine wrote:
In de Nederlandse vertaling staat niet hoeveel wol er nodig is en welke breipennen gebruikt worden. Kan die informatie toegevoegd worden?
12.10.2026 - 17:15DROPS Design answered:
Dag Christine,
Oeps, daar was iets niet goed gegaan. De informatie over het garen en de naalden is nu toegevoegd. Misschien is het nodig om de pagina te verversen om de informatie in beeld te krijgen.
13.10.2026 - 16:18
 Anne wrote:
Increase for the armhole at the back is confusing- ‘increase one stitch on each side of each row from the right side’ 10 times. Should be each side of every right side row? That would mean the increases would be done over 20 rows rather than 10?
07.10.2026 - 18:24DROPS Design answered:
Hi Anne, Yes, you are right and the 2 sentences are the same, just worded slightly differently. So the increases are worked over 20 rows (10 increase rows from the right side and 10 rows without increases from the wrong side). Regards, Drops Team.
08.10.2026 - 05:29
|
|
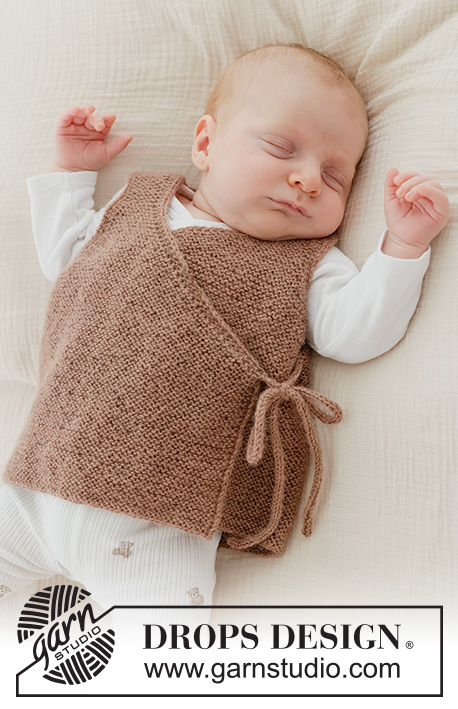
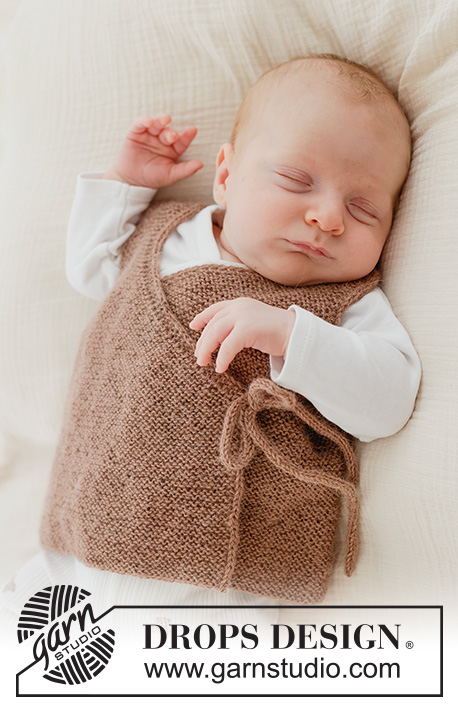
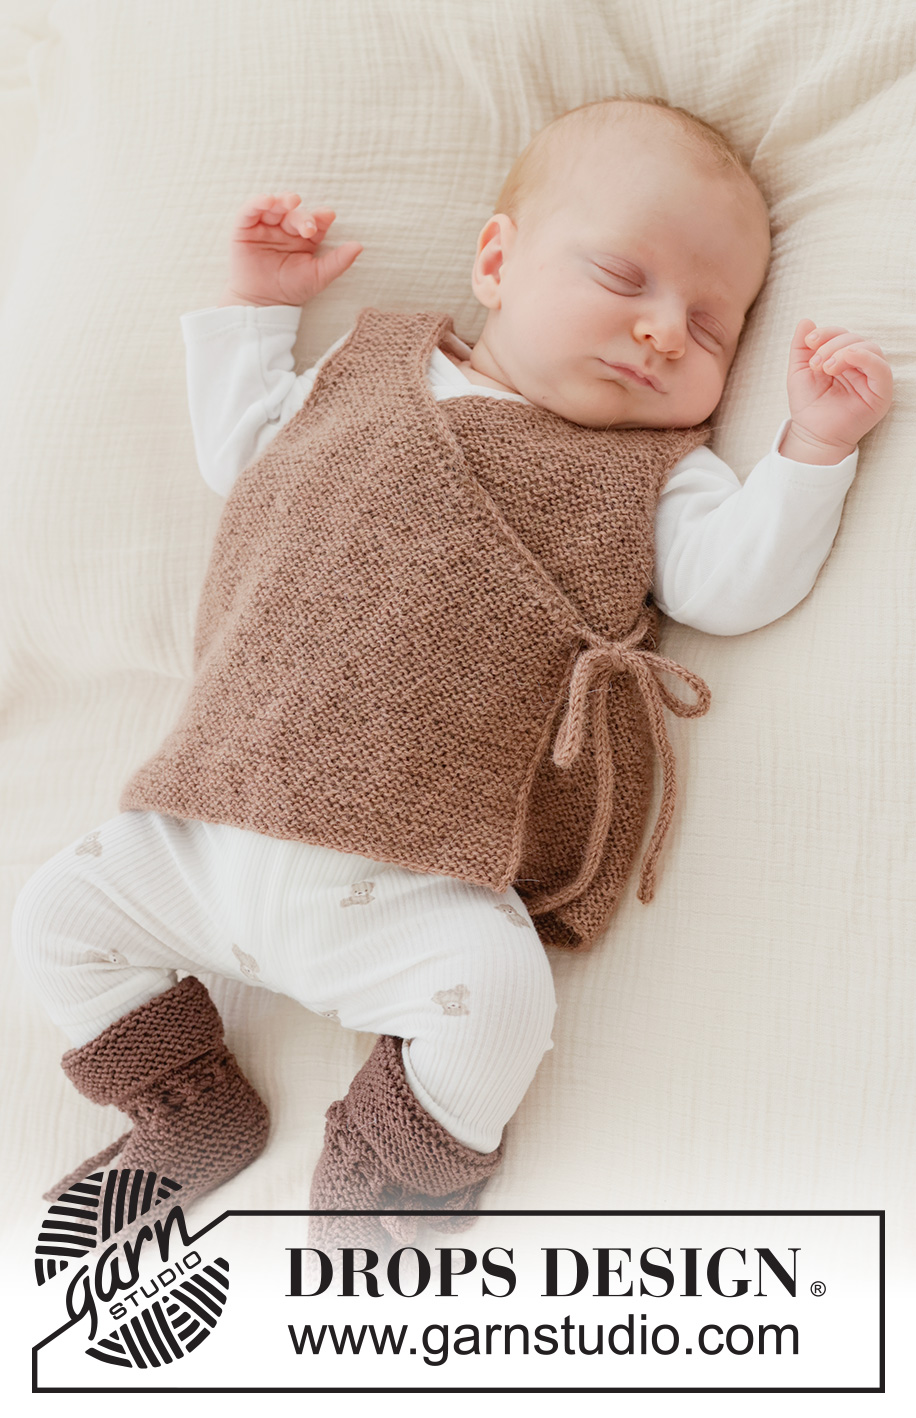
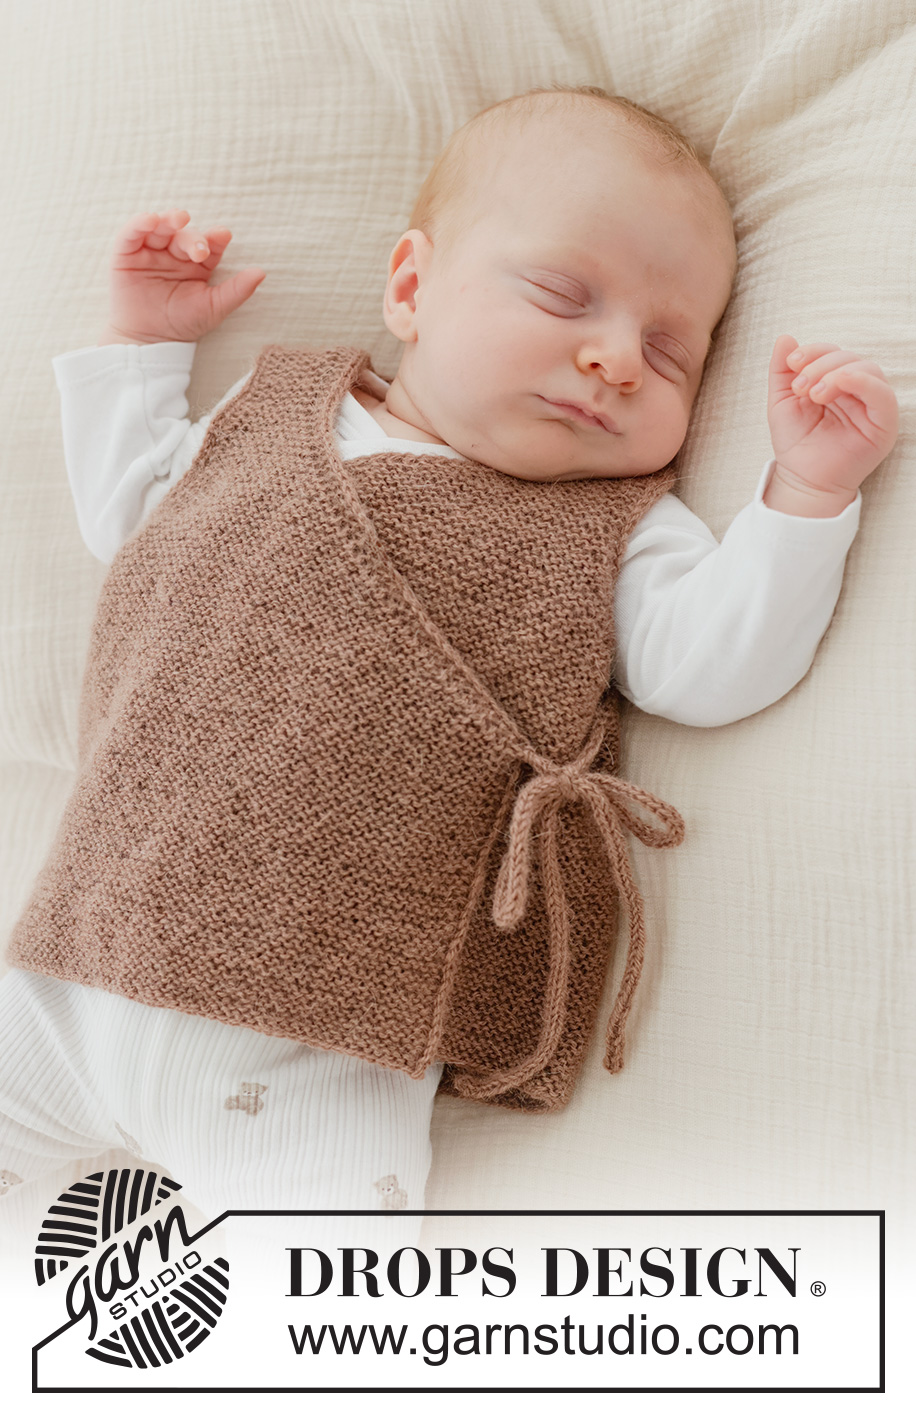
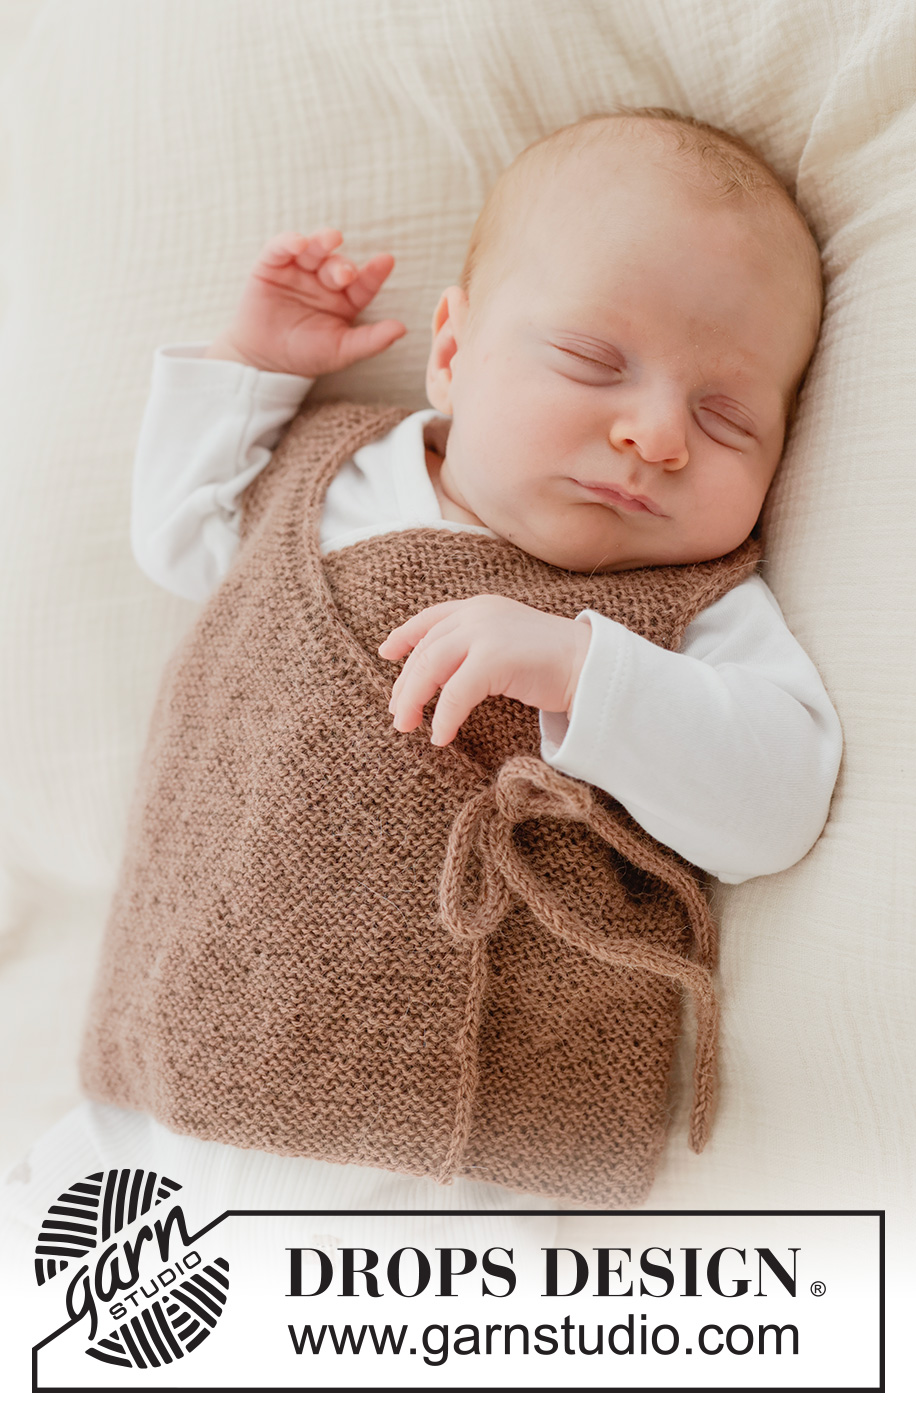
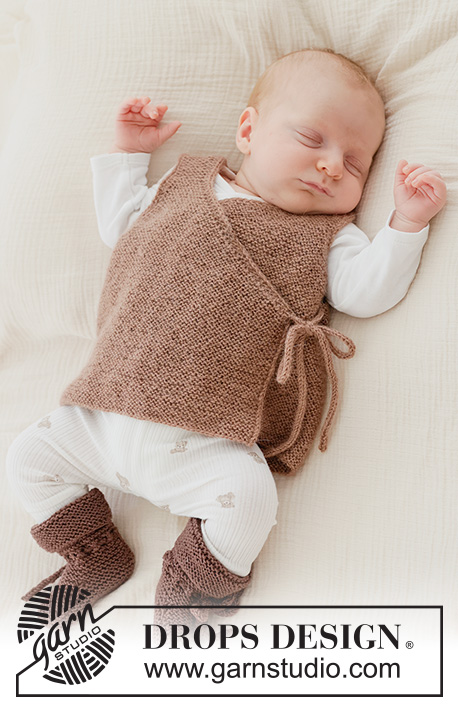
Woodland Adventure Vest#woodlandadventurevest |
|
 |
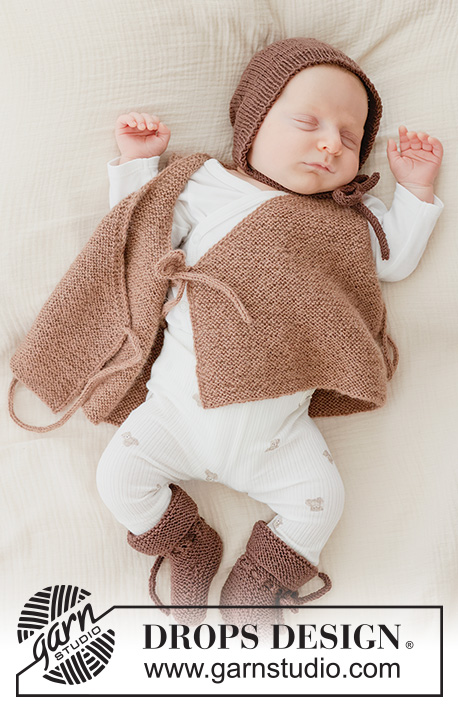 |
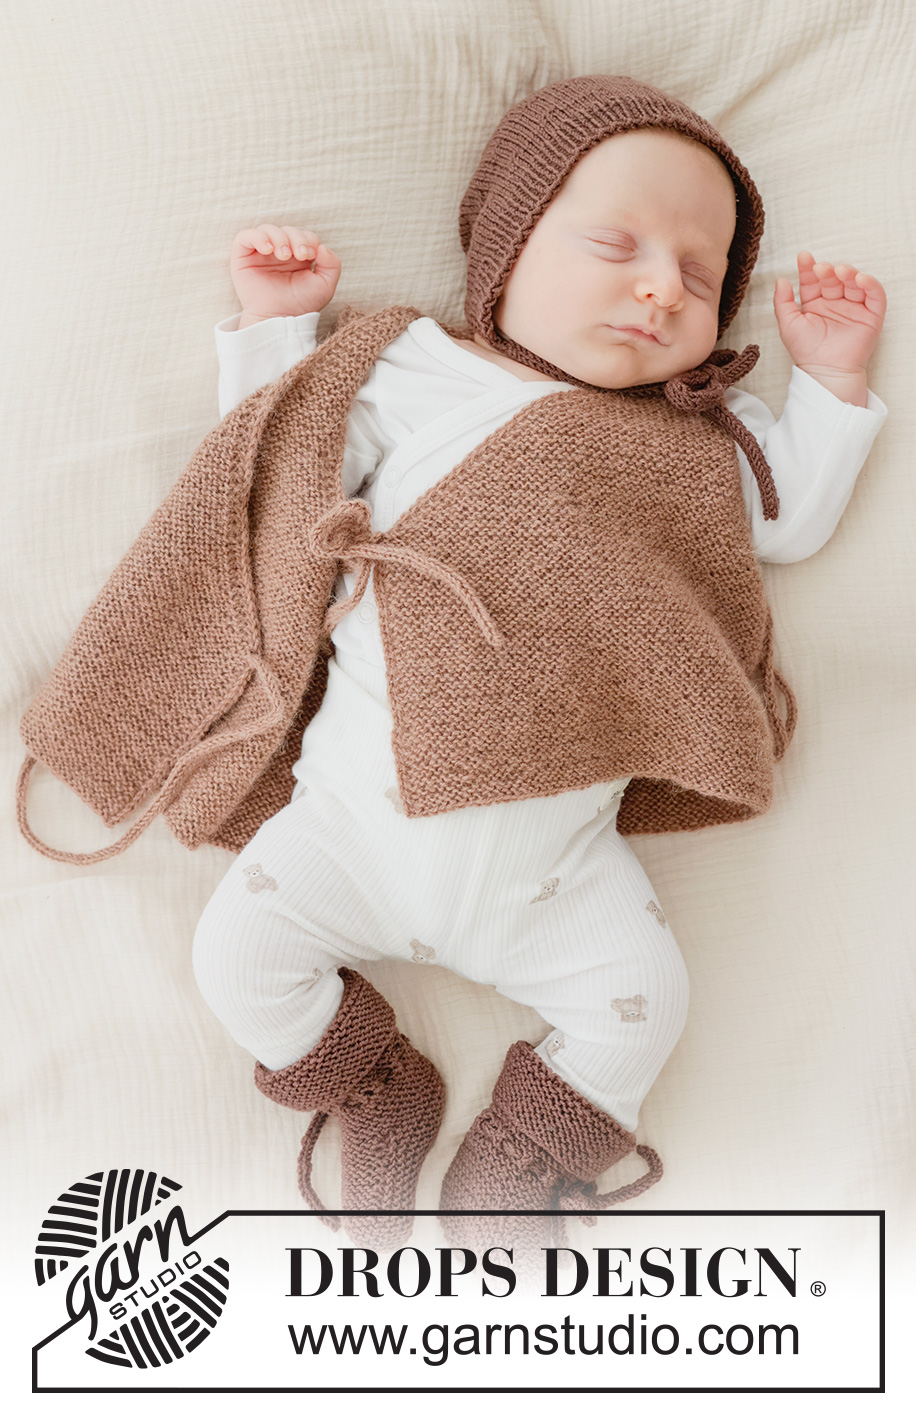
Knitted vest for babies and children in DROPS Alpaca. The piece is worked top down in garter stitch with wrap-around and I-cord. Sizes 0 - 4 years.
DROPS Baby 53-3 |
|
|
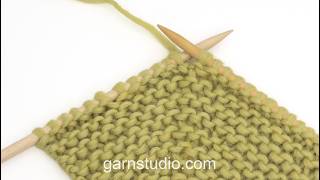
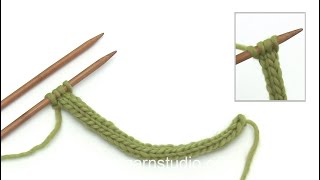
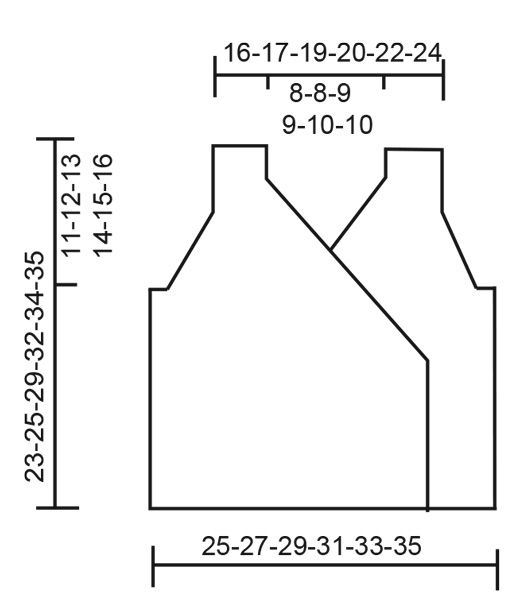
------------------------------------------------------- EXPLANATIONS FOR THE PATTERN: ------------------------------------------------------- GARTER STITCH (back and forth): Knit all rows, from both the right and wrong side. 1 ridge in height = knit 2 rows. I-CORD: BEGINNING OF ROW: Slip 1 stitch purl-wise with the strand in front, knit 1. END OF ROW: Work until there are 2 stitches left on the row, slip 1 stitch purl-wise with the strand in front, knit 1. Work in the same way from both the right and wrong side. INCREASE TIP: Increase by making 1 yarn over inside 3 stitches (2 stitches I-cord + 1 garter stitch). On the next row work the yarn over twisted to avoid a hole. ------------------------------------------------------- START THE PIECE HERE: ------------------------------------------------------- VEST - SHORT OVERVIEW OF THE PIECE: Stitches are cast on for the back piece, which is worked back and forth, top down as far as the armholes. Stitches are knitted up along the shoulders on the back piece and the front pieces are worked top down, back and forth, increasing for the wrap-around and the armholes. The sections are joined after the armholes and the piece is finished back and forth from mid-front, continuing the increases for the wrap-around. 4 cords are worked to fasten the vest. The whole vest is worked in garter stitch. BACK PIECE: Cast on 44-48-52-56-62-68 stitches with circular needle size 2.5 mm and DROPS Alpaca. Work GARTER STITCH back and forth with 2 stitches I-CORD on each side until the piece measures 5½-6-7-8-9-10 cm – read explanations above. Now begin increasing for the armholes – read INCREASE TIP, increasing 1 stitch on each side of each row from the right side, 10-11-12-12-12-12 times = 64-70-76-80-86-92 stitches. Remember to maintain the knitting tension. When the increases are finished, the piece measures approx. 9-10-11-12-13-14 cm from the cast-on edge. Finish after a row from the wrong side. Put aside. Now work the front pieces. RIGHT FRONT PIECE: From the right side on the back piece, knit up 1 stitch in each of the first 11-11-13-15-17-20 stitches starting on the right-hand side of the back piece. Work garter stitch back and forth with 2 stitches I-cord on each side. Now increase for the V-neck and for the armhole at the same time; read the next 2 sections before continuing. V-NECK: When the front piece measures 6-6-6-6-7-7 cm from the knitted-up row, begin increasing for the V-neck: Increase 1 stitch at the end of each row from the right side (before the last 3 stitches - remember INCREASE TIP). Increase a total of 28-33-34-36-38-39 times. ARMHOLE: When the piece measures 9½-10-11-12-13-14 cm from the knitted-up row, begin increasing for the armhole. NOTE! The front piece will be 4 cm longer than the back piece to give a neckline at the back. Increase 1 stitch at the beginning of each row from the right side (after the first 3 stitches - remember INCREASE TIP) a total of 10-11-12-12-12-12 times. When the increases for the armhole are finished put aside (after a row from the wrong side), and work now the left front piece: LEFT FRONT PIECE: From the right side, knit up 1 stitch in each of the last 11-11-13-15-17-20 stitches on the left-hand side of the back piece. Work garter stitch back and forth with 2 stitches I-cord on each side. Now increase for the V-neck and for the armhole at the same time; read the next 2 sections before continuing. V-NECK: When the front piece measures 6-6-6-6-7-7 cm from the knitted-up row, begin increasing for the V-neck: Increase 1 stitch at the beginning of each row from the right side (after the first 3 stitches) a total of 28-33-34-36-38-39 times. Remember INCREASE TIP. ARMHOLE: When the piece measures 9½-10-11-12-13-14 cm from the knitted-up row, begin increasing for the armhole by increasing 1 stitch at the end of each row from the right side (before the last 3 stitches – remember INCREASE TIP) a total of 10-11-12-12-12-12 times. When the increases for the armhole are finished the pieces are joined for the body as follows: From the right side, work across the left front piece (continue increasing for the V-neck), cast on 6 stitches (under the armhole), knit the 64-70-76-80-86-92 stitches on the back piece, cast on 6 stitches (under the armhole), knit the stitches on the right front piece (continue increasing for the V-neck). BODY: Continue with garter stitch and 2 stitches I-cord on each side (mid-front). Continue increasing for the V-neck. When all the increases are finished, there are 174-192-206-218-232-246 stitches. Continue working until the piece measures 23-25-29-32-34-35 cm (measured from the top of the shoulder when the garment lies flat). Cast off with knit. CORDS: Work a tube with double pointed needles size 2.5 mm as follows: Cast on 3 stitches. Knit 1 row, then work as follows: * Push all the stitches to the right-hand end of the needle without turning, tighten the strand, knit all 3 stitches *, work from *-* until the cord measures 25-35 cm. Cut and fasten the strand. Work 3 more cords in the same way. Fasten 1 cord in each corner of the front pieces and 1 cord in the middle of the 6 cast-on stitches on each side. Use these cords when closing the vest. |
|
 |
|
Have you finished this pattern?Tag your pictures with #dropspattern #woodlandadventurevest or submit them to the #dropsfan gallery. Do you need help with this pattern?You'll find 15 tutorial videos, a Comments/Questions area and more by visiting the pattern on garnstudio.com. © 1982-2026 DROPS Design A/S. We reserve all rights. This document, including all its sub-sections, has copyrights. Read more about what you can do with our patterns at the bottom of each pattern on our site. |
|






With over 40 years in knitting and crochet design, DROPS Design offers one of the most extensive collections of free patterns on the internet - translated to 17 languages. As of today we count 333 catalogues and 12525 patterns translated into English (UK/cm). 12525
We work hard to bring you the best knitting and crochet have to offer, inspiration and advice as well as great quality yarns at incredible prices! Would you like to use our patterns for other than personal use? You can read what you are allowed to do in the Copyright text at the bottom of all our patterns. Happy crafting!
Post a comment to pattern DROPS Baby 53-3
We would love to hear what you have to say about this pattern!
If you want to leave a question, please make sure you select the correct category in the form below, to speed up the answering process. Required fields are marked *.