Clue #3 - The body
Now that our neck and yoke are ready it’s time to continue with the body and advance on our sweater!
Need help? Scroll down to the bottom of the page for resources and a comments section.
Children/Women:
PATTERN:
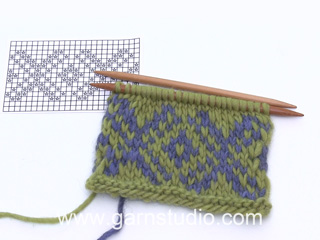
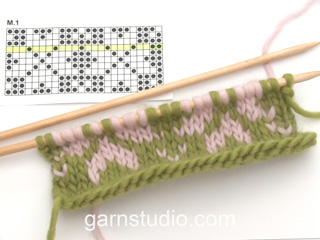
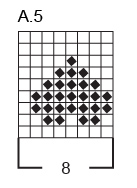
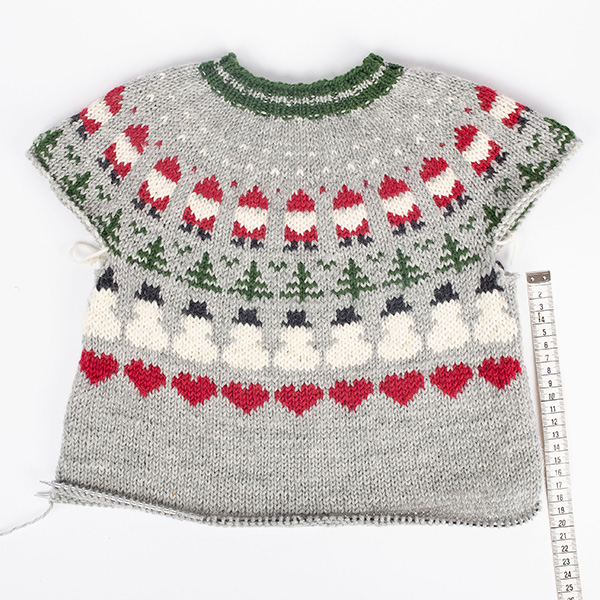
See diagrams A.4 og A.5. The patterns are worked in stocking stitch
KNITTING TIP-2:
If you want more pattern on body continue with the diagrams in your desired order but remember this will affect the yarn amounts.
Let’s get started!
BODY:
Children:
Start the round on one side – in the middle of the 8 cast-on stitches and continue the pattern from the yoke – repeats (A.4) will not fit under the sleeves so work them as far as they fit then work the remaining stitches under each sleeve with light grey.
Women:
Start the round on one side – in the middle of the 8 cast-on stitches and continue the pattern from the yoke – repeats (A.4) will not fit under the sleeves so work them as far as they fit then finish with light grey under each sleeve.

Children:
When A.4 is finished, work A.5, 17-18-19-20-21-22-23 times on the round.
Diagram
 |
= | light grey |
 |
= | wine red |

Women:
When A.4 is finished, work A.5, 25-27-29-32-35-38 times on the round.
Diagram
 |
= | light grey |
 |
= | wine red |

Children:
When A.5 is finished continue with stocking stitch and colour light grey – read KNITTING TIP-2
Work until the body measures 15-18-21-24-25-26-27 cm from the division.
Women:
When A.5 is finished continue with stocking stitch and colour light grey – read KNITTING TIP-2
Work until the body measures 21-21-22-22-22-22 cm from the division.
Children:
Knit 1 round and increase 12-16-16-16-20-20-20 stitches evenly spaced = 148-160-168-176-188-196-204 stitches.
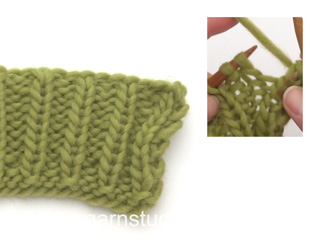
Change to circular needle size 3 mm. Work rib (knit 2, purl 2) for 4 cm. Cast off slightly loosely.
Women:
Knit 1 round and increase 40-40-44-52-56-60 stitches evenly spaced = 240-256-276-308-336-364 stitches.
Change to circular needle size 3 mm. Work rib (knit 2, purl 2) for 7 cm. Cast off slightly loosely.

Children:
The jumper measures approx. 36-40-44-48-50-52-54 cm from the shoulder down.
Women:
The jumper measures approx. 54-56-58-60-62-64 cm from the shoulder down.

And the body is now finished!
We have now finished the body! And that means Clue #3 has now been solved. Are you ready to continue? Then click below on Next > to get to the next step of the jumper.
Remember to send pictures of your progress to our gallery. Click here to submit a link!
Need some help?
Below you'll find a list of resources to help you with the body of your Christmas jumper.
Still have doubts? You can leave questions using the form at the bottom of the page and one of our knitting experts will then try to help you!


