
Popular categories
Looking for a yarn?


Comments / Questions (35)
![]() Kirsten Jensen wrote:
Kirsten Jensen wrote:
Dejligt sjal - for at lukke meget løst af, gjorde jeg det ved at strikke 2 masker og tage 1. Maske over, så strikkede jeg masken under den næste maske og tog 1 over. På den måde får man næsten dobbelt antal masker at lukke af, men sikke en forskel det gjorde.
30.05.2025 - 14:23
![]() Grete Heyn wrote:
Grete Heyn wrote:
Jeg kan ikke se at det står hvor mange masker man legger opp.
17.03.2025 - 16:21DROPS Design answered:
Hei Grete. Legg opp 2 m på rundp 4 med Kid-Silk. Mvh DROPS Design
18.03.2025 - 07:53
![]() Tiziana wrote:
Tiziana wrote:
Buongiorno, scusate ma le informazioni in italiano per la realizzazione di questo modello non sono chiare . È possibile avere uno schema semplice e chiaro per poterlo realizzare? Anche le informazioni che avete riportato per altri modelli di scialli, non sono chiare e sufficienti per capire quali passi di esecuzione vadano compiuti. Grazie mille e buona giornata
15.01.2025 - 09:32DROPS Design answered:
Buonasera Tiziana, ci può indicare quale parte delle spiegazioni le crea problemi? Buon lavoro!
15.01.2025 - 17:30
![]() Nathalie wrote:
Nathalie wrote:
Il s'agit probablement d'un problème de traduction mais je ne comprends pas ce qui est indiqué dans les explications des points fantaisie (voir partie entre ""): Tricoter et augmenter "comme avant au-dessus des 4 premières m", tricoter à l'end jusqu'à ce qu'il reste 4 m, 4 m end.
13.01.2025 - 16:37DROPS Design answered:
Bonjour Nathalie, tricotez simplement les 4 premières mailles comme avant en augmentant comme vous l'avez fait auparavant, tricotez ensuite à l'endroit jusqu'à ce qu'il reste 4 mailles avant la fin du rang et tricotez les 4 dernières mailles à l'endroit. Bon tricot!
13.01.2025 - 16:50
![]() Jan Whiting wrote:
Jan Whiting wrote:
How many balls of 25g do I need for this please. I can't seem to find where it is stated. Thanks
22.07.2024 - 16:42DROPS Design answered:
Hi Jan, for whole shawl you need 75g of DROPS Kid Silk, that means 3 balls. See material list in the header next to main photo. Happy knitting!
22.07.2024 - 18:29
![]() Carmen wrote:
Carmen wrote:
Buonasera, vorrei sapere cortesemente se il ferro 2 del punto con buchini va lavorato così: 1 maglia a dritto, 1 gettato, 1 maglia dritta e un gettato, poi a rovescio fino alle ultime 4 maglie, poi 4 maglie dritte. Oppure si lavora 1 maglia a rovescio, 1 gettato, 1 rovescio, 1 gettato poi a rovescio fino alle ultime 4 maglie, poi 4 maglie dritte? Grazie
09.03.2024 - 21:16DROPS Design answered:
Buonasera Carmen, deve lavorare come indicato, quindi a diritto. Buon lavoro!
17.03.2024 - 21:19
![]() Ieva wrote:
Ieva wrote:
Hallo, verstehe ich es richtig, dass bei Krausrippe in allen 4 Reihen je 6 Maschen zugenommen werden (je 3 an jeder Seite) = in 32 Reihen werden 48 Maschen zugenommen? Bei Lochmusster jedoch in allen 4 Reihen am Anfang werden insgesammt 8 Maschen zugenommen (4 M an jeder Seite) (1M re, 1 Umschlag, 1 M re, 1 Umschlag)? Ist das korrekt? Danke!
29.12.2021 - 09:08DROPS Design answered:
Liebe Ieva, also ja es wird nach den 4 Muster-Reihen 6 Maschen zugenommen und das Lochmuster wird innerhalb 4 Maschen gestrickt - diese 4 Maschen stricken Sie wie zuvor mit jeweils 1 oder 2 Umschläge wie bei der 1./2. und bei der 3./4. Reihe. = abwechslungsweise mit 1 oder 2 Umschläge. Viel Spaß beim stricken!
03.01.2022 - 09:39
![]() Noreen wrote:
Noreen wrote:
Hi, I have a question on the Eyelet Row - "inc as before over the outermost 4 sts" - does this mean u do K1, 1 YO, K1, 1 YO as in Row 1 and Row 2? What do you do in row 3 eyelet row - inc as before over the outermost 4 sts. Thanks
17.03.2021 - 19:36DROPS Design answered:
Dear Noreen, you will simply increase on rows 1-2 and 3-4 as explained before under SHAWL, and, at the same time, work the pattern- and -2. Happy knitting!
18.03.2021 - 09:18
![]() Monika wrote:
Monika wrote:
Wie kann ich das Muster ändern, wenn ich den Schal in einer Breite von unten nach oben stricke? Vielen Dank
09.02.2021 - 16:45DROPS Design answered:
Liebe Monika, dieser Schal wird von unten nach unten gestrickt, Sie fangen mit 2 Maschen an und nehmen wie bei Reihe 1-4 zu bis er 57 cm von der Spitze bis Maschen auf der Nadel mist. Viel Spaß beim stricken!
10.02.2021 - 06:42
![]() Babsi wrote:
Babsi wrote:
Hallo, ist es korrekt, dass in R 1&2 je 1 (also in Summe 2) und in 3&4 je 2 Maschen (also in Summe 4) zugenommen werden und diese bis zum Ende des Strickstückes wiederholt werden? Viele Grüße
21.01.2021 - 15:32DROPS Design answered:
Liebe Babsi, ja ganz genau, so wird es gestrickt. Nach diesen 4 Reihen haben Sie je 3 Maschen auf beiden Seiten (jeweils am Anfang der Reihen) zugenommen. Viel Spaß beim stricken!
21.01.2021 - 16:49
|
|
Freestyle |
|
 |
 |
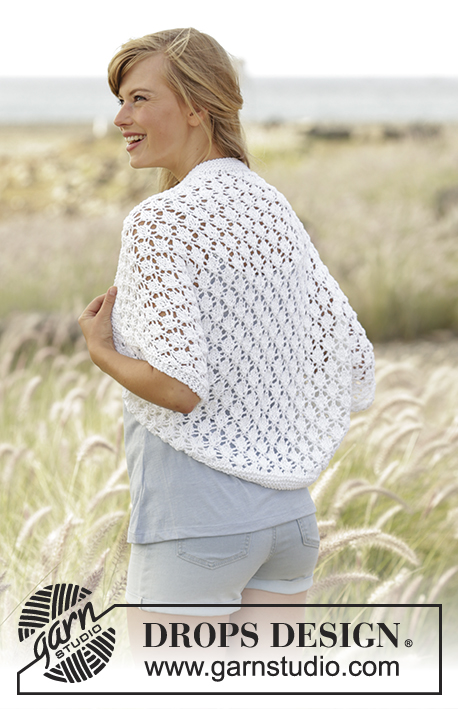
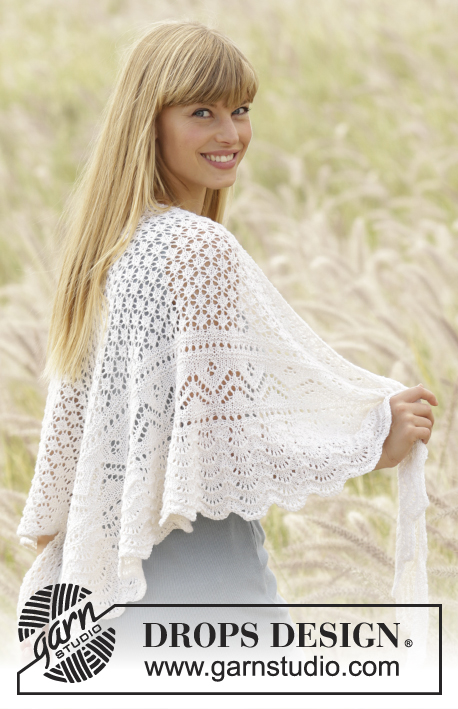
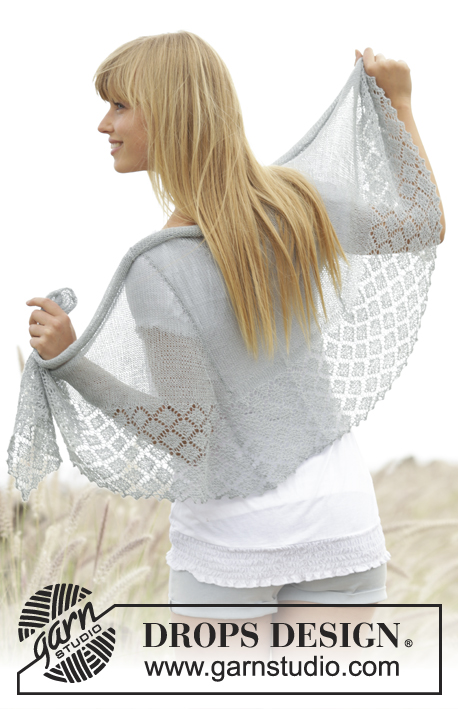
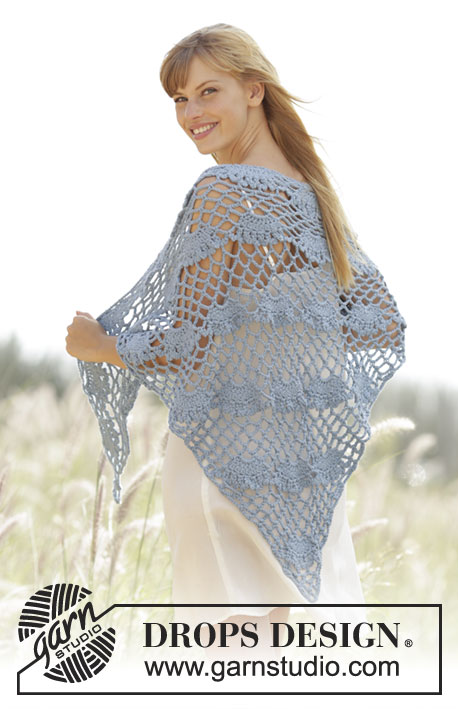
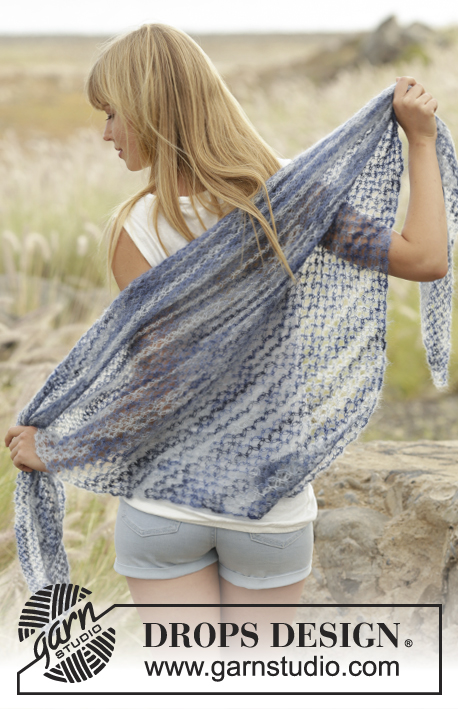
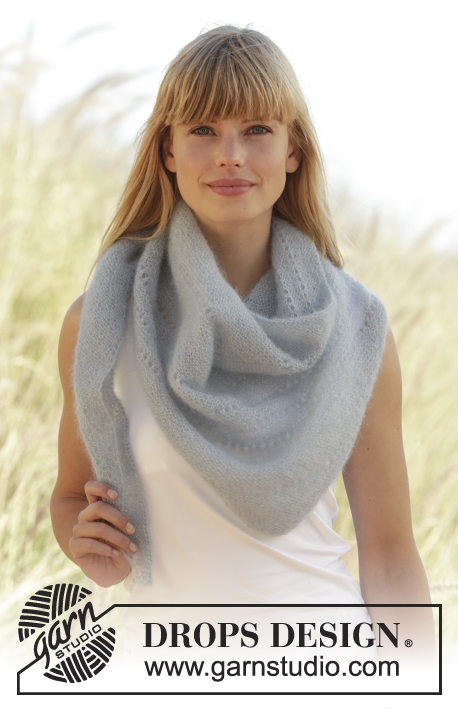
Knitted DROPS shawl in garter st with eyelet row in ”Kid-Silk”.
DROPS Extra 0-1269 |
|
|
GARTER ST (back and forth): K all rows. 1 ridge = 2 rows K. EYELET ROW: ROW 1 (= RS): Work and inc as before over the outermost 4 sts, K until 4 sts remain, K 4. ROW 2 (= WS): Work and inc as before over the outermost 4 sts, P until 4 sts remain, K 4. ROW 3 (= RS): Work and inc as before over the outermost 4 sts, * K 2 tog, 1 YO *, repeat from *-* until 4 sts remain, K 4. ROW 4 (= WS): As 2nd row. PATTERN-1: * Work 16 ridges in GARTER ST - see explanation above, and 1 EYELET ROW *, repeat from *-* 2 times in total. PATTERN-2: * Work 4 ridges and 1 EYELET ROW - see explanation above *, repeat from *-* 2 times in total and work 8 ridges and 1 EYELET ROW. KNITTING TIP: If you want a bigger shawl work entire pattern 2, then continue with pattern 1 until desired size - adjust to avoid casting off straight after an eyelet row. ---------------------------------------------------------- SHAWL: Worked back and forth on circular needle to make room for all the sts. Cast on 2 sts on circular needle size 4 mm with Kid-Silk. Then work PATTERN-1 - see explanation above - while AT THE SAME TIME inc in the sides as follows: ROW 1-2: K 1, 1 YO and K rest of row. ROW 3-4: K 1, 1 YO, K 1, 1 YO and K rest of row. REMEMBER THE KNITTING TENSION Repeat the 4 inc rows until finished measurements. NOTE: Make sure to always work eyelet row from the same side of piece. When pattern-1 is done, work PATTERN-2 - see explanation above. Repeat pattern-1 and pattern-2 1 more time in total but on last repetition do not work the last eyelet row in pattern-2. Piece now measures approx. 57 cm measured in knitting direction - READ KNITTING TIP. Loosely cast off with double yarn. |
|
Have you finished this pattern?Tag your pictures with #dropspattern or submit them to the #dropsfan gallery. Do you need help with this pattern?You'll find 9 tutorial videos, a Comments/Questions area and more by visiting the pattern on garnstudio.com. © 1982-2025 DROPS Design A/S. We reserve all rights. This document, including all its sub-sections, has copyrights. Read more about what you can do with our patterns at the bottom of each pattern on our site. |
|


With over 40 years in knitting and crochet design, DROPS Design offers one of the most extensive collections of free patterns on the internet - translated to 17 languages. As of today we count 314 catalogues and 11822 patterns translated into English (UK/cm).
We work hard to bring you the best knitting and crochet have to offer, inspiration and advice as well as great quality yarns at incredible prices! Would you like to use our patterns for other than personal use? You can read what you are allowed to do in the Copyright text at the bottom of all our patterns. Happy crafting!
Post a comment to pattern DROPS Extra 0-1269
We would love to hear what you have to say about this pattern!
If you want to leave a question, please make sure you select the correct category in the form below, to speed up the answering process. Required fields are marked *.