
Categorie popolari
State cercando un filato?


Commenti / Domande (166)
![]() Jenny Worthy ha scritto:
Jenny Worthy ha scritto:
Hi I am having trouble with the pattern for the romantic twist DROPS design. I have casted on 240 stitches. I am doing the L size and i have done the two rows garter st. Then Ii followed the pattern and number of stitches for the design on the next row but it just does not work out. I have done this twice now and still cannot get it out. What am i doing wrong or is it the pattern. Please help. Thanks Jenny
12.06.2021 - 08:02DROPS Design ha risposto:
Dear Mrs Worthy, work these 240 sts as follows: 5 sts in garter st, (P8,K8)x2 (= 32 sts), P8, 39 sts stocking st, (P8,K8)x4 (= 64sts), P8, 39 sts in stocking st, (P8,K8)x2 (= 32sts), P8, 5 sts in garter st = 5+32+8+39+64+8+39+32+8+5 =240. Happy knitting!
14.06.2021 - 08:34
![]() Cristina ha scritto:
Cristina ha scritto:
O que significa aumentos de 2 ½?
03.05.2021 - 11:03DROPS Design ha risposto:
Hola Cristina, debes repetir los aum cada 2.5 cm en altura. Buen trabajo!
03.05.2021 - 16:04
![]() Maudetmonique ha scritto:
Maudetmonique ha scritto:
Comment transformer une veste cintre en taille S fille 6ans
30.08.2020 - 15:47DROPS Design ha risposto:
Bonjour Mme Maudet, nous ne sommes malheureusement pas en mesure de pouvoir adapter chacun de nos modèles à chaque demande, merci de bien vouloir contacter votre magasin ou un forum spécialisé pour toute assistance. Merci pour votre compréhension, bon tricot!
31.08.2020 - 09:52
![]() Lisbeth Hornbøll ha scritto:
Lisbeth Hornbøll ha scritto:
I str XXXL slår man op 306 m efter indtagninge (12 m) i alt 5 gange står der i opskriften man har 234 m, men 12 x5 er 60 m når man trækker detfra 306 m har man 246 m ??????????
08.07.2020 - 13:38DROPS Design ha risposto:
Hej Lisbeth. Du ska gentage på hver 3. cm 5 gange til, dvs 6 ganger totalt. 306-(6x12) = 234 m. Mvh DROPS Design
09.07.2020 - 07:45
![]() JOLYfrancoise ha scritto:
JOLYfrancoise ha scritto:
Je me comprend pas ses diminutions manche devant dos dur dur merci de de aide je vous remercie
27.06.2020 - 14:00DROPS Design ha risposto:
Bonjour Mme Joly, les diminutions du raglan vont se faire à un rythme différemment sur le dos/les devants et sur les manches, par ex en S vous diminuez pour les manches 16 x tous les 2 rangs puis 4 x tous les rangs, et, en même temps, vous diminuerez pour le devant/le dos: 4x tous les 4 rangs et 11 fois tous les 2 rangs. Vous diminuerez donc soit 4 mailles (manches seulement), soit 8 mailles (manches, dos et devants) en fonction des rangs. Bon tricot!
29.06.2020 - 08:02
![]() Katarina ha scritto:
Katarina ha scritto:
Sorry, now I don't understand at all. I start with A1 when piece measures 21cm and at the same time I inc when the piece measures 23cm. When do I start to increase for the first time? at 21 cm OR when the piece measures 23 cm? The video shows to inc 1st at each side of marker, you are writing to inc 1 st fo each front piece and 2sts fot back piece. How?
07.05.2020 - 09:56DROPS Design ha risposto:
Dear Katarina, you start to increase on each side when piece measures 23 cm. You inserted 2 markers that were to mark front and back pieces, increasing each side of each marker will make you increase 1 stitch on front piece (before 1st marker) + 1 st at the beg of back piece (after 1st marker) + 1 stitch at the end of back piece (before 2nd marker) + 1 stitch at the beg of front piece (after 2nd marker). Happy knitting!
07.05.2020 - 10:20
![]() Katarina ha scritto:
Katarina ha scritto:
Hi. My piece measures 21cm. I now start knitting with A1. But when do I inc markers - at the same row as I start with A1? If it is so, why is it written to include 1 st on each side of marker when piece measures 23 cm?
06.05.2020 - 20:05DROPS Design ha risposto:
Dear Katarina, you start working A.1 when piece measures 21 cm, and at the same time you will increase on each side of both markers on the sides when piece measures 23 cm and repeat these increases 5 more times (continue working A.1 as before, you increase only on the sides of jacket: 1 st for each front piece + 2 sts for back piece). Hope this helps, happy knitting!
07.05.2020 - 09:30
![]() Katarina ha scritto:
Katarina ha scritto:
I don't understand the decreasing. At the "decrease tip" you write: "Dec 1st by P2 tog. Dec alternately at beg and end of P section". What does it mean? Do I knit together 1st an 2nd st or 7th and 8t st?
02.05.2020 - 15:09DROPS Design ha risposto:
Dear Katarina, on first decrease row purl together the first and the 2nd purl stitch in the purl-sections - on next decrease row, purl together the next to last + the last purl stitch in the purl-sections and repeat these 2 decreases, so that you will once decrease at the beg then at the end of the P-section but always 1 stitch will be decreased at a time in each section. Happy knitting!
04.05.2020 - 11:56
![]() Beverley ha scritto:
Beverley ha scritto:
I am quite new to knitting a but attempted to do this. I have casted on my stitches and knitted 2 rows of Knit stitches (1 garter st), my next row is the pattern stitch for the RIGHT SIDE, please tell me what the next row is for WRONG SIDE ?
19.02.2020 - 17:03DROPS Design ha risposto:
Hi Beverley, You work back in reverse; i.e. 5 garter stitches, knit 8, (purl 8, knit 8) x 2, 27-33-39-44-54-64 stitches in stocking stitch, knit 8, (purl 8, knit 8) x 4-4-4-5-5-5,27-33-39-44-54-64 stitches in stocking stitch, (purl 8, knit 8) x 2 and 5 stitches in garter stitch. Happy knitting!
20.02.2020 - 07:28
![]() Suzanne Cullen ha scritto:
Suzanne Cullen ha scritto:
What are the UK measurements for the jacket? eg xl and xxl
15.02.2020 - 23:10DROPS Design ha risposto:
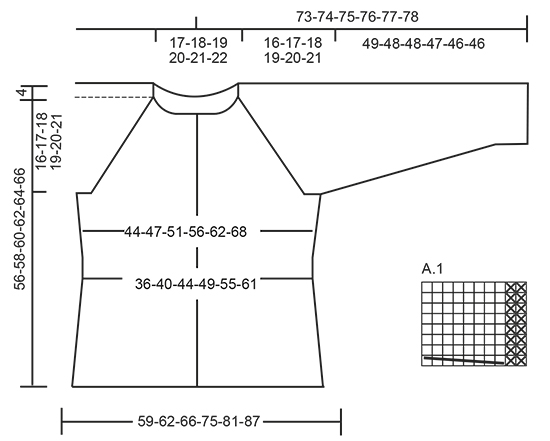
Dear Suzanne, for the measurements of the jacket please refer to th eschematics drawing at the bottom of the page. It gives you the major measurements that will help you decide which size would be the best to knit. Happy Crafting!
16.02.2020 - 01:58
|
||||||||||
Romantic Twist#romantictwistcardigan |
||||||||||
 |
 |
|||||||||
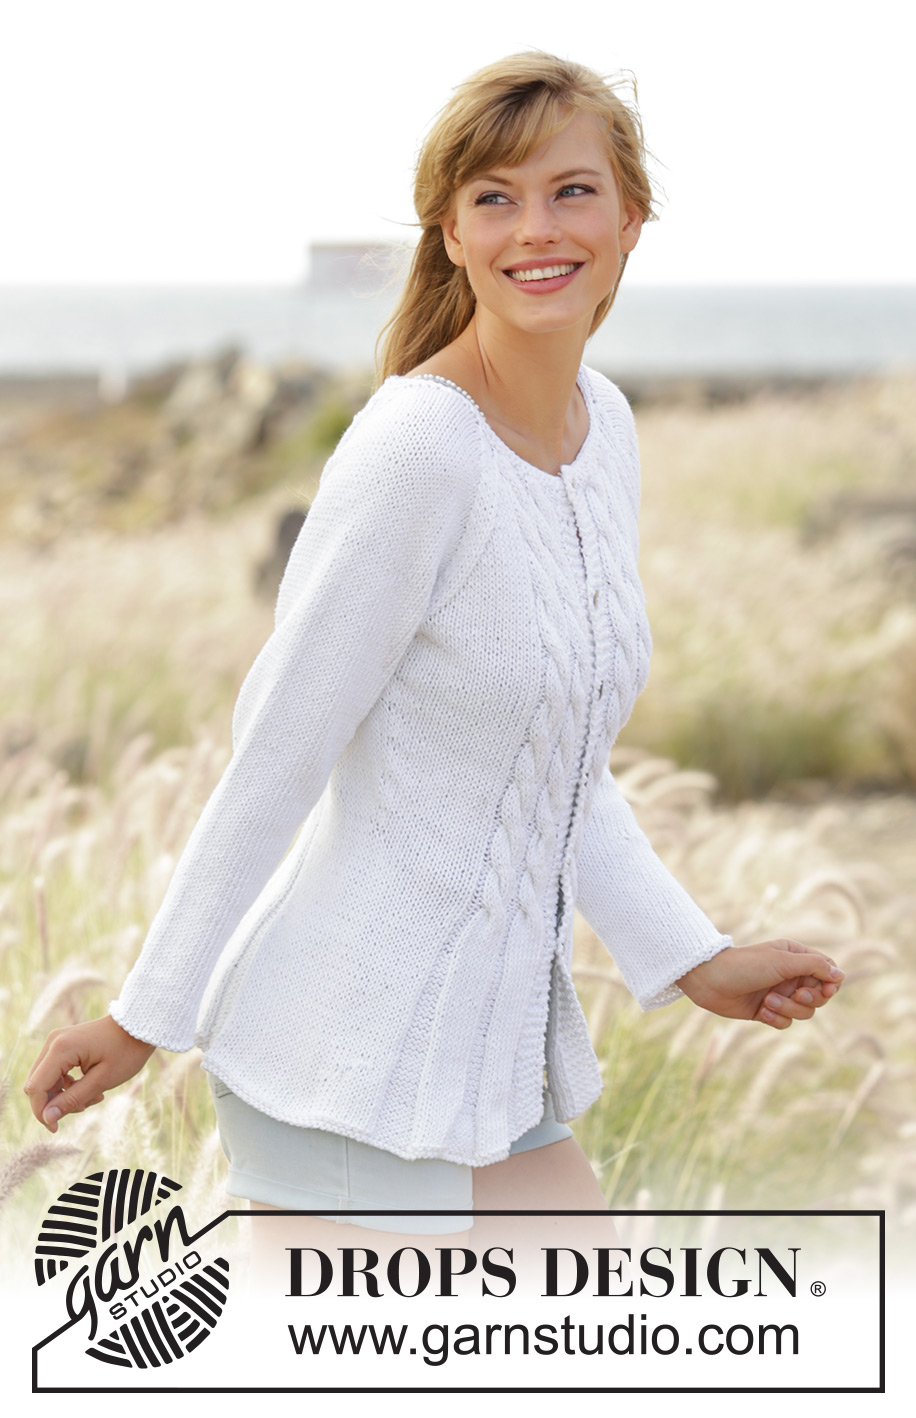
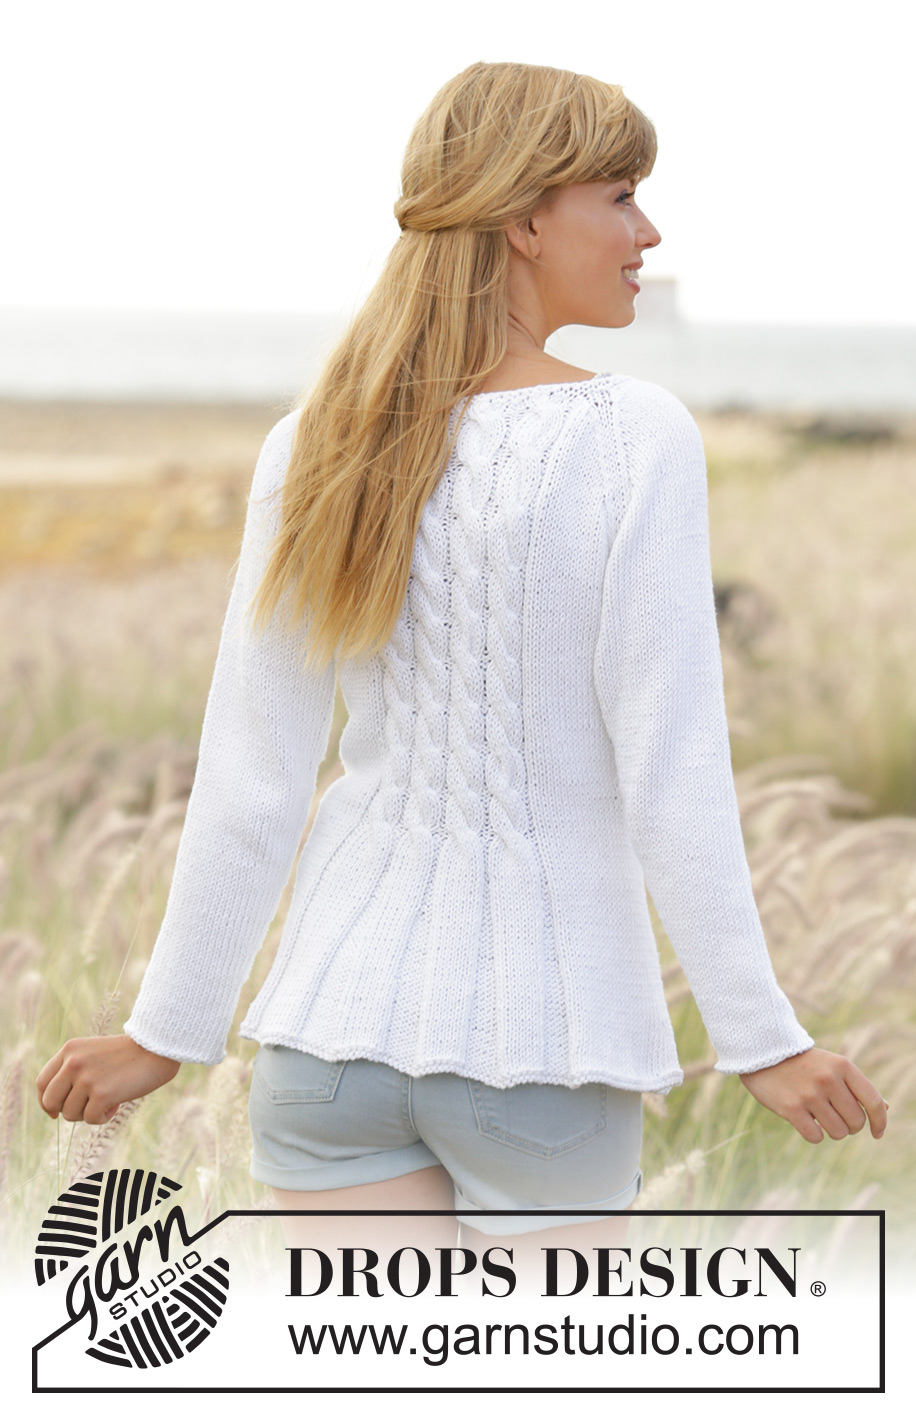
Cardigan aderente DROPS lavorato ai ferri con trecce e raglan in ”Paris”. Taglie: S - XXXL.
DROPS 169-1 |
||||||||||
|
M LEGACCIO (avanti e indietro): Lavorare tutti i f a dir. 1 “costa” a m legaccio = 2 f dir. M LEGACCIO (lavorata in tondo): 1 “costa” a m legaccio = 2 giri. * 1 giro dir e 1 giro rov *, ripetere *-*. SUGGERIMENTO PER LE DIMINUZIONI: Diminuire 1 m lavorando 2 m insieme a rov. Diminuire in modo alternato all’inizio e alla fine delle sezioni a rov. MOTIVO: Vedere il diagramma A.1. Il diagramma mostra tutti i f del motivo visti dal diritto del lavoro. RAGLAN: Diminuire 2 m in ogni punto di passaggio tra il corpo e le maniche. Diminuire come segue dal diritto del lavoro: lavorare 2 m insieme a dir, 2 m dir (il segnapunti è tra queste m), passare 1 m a dir senza lavorarla, 1 m dir, accavallare la m passata sopra quella appena lavorata. Diminuire come segue dal rovescio del lavoro: 2 m insieme a rov ritorto, 2 m rov (il segnapunti è tra queste m), 2 m insieme a rov. SUGGERIMENTO PER IL LAVORO: Se la tensione del lavoro non è corretta in altezza e il lavoro risulta troppo tirato, le diminuzioni del raglan saranno troppo corte e lo scalfo troppo piccolo. Ciò può essere aggiustato lavorando 1 ferro in più senza diminuzioni distribuito in modo uniforme tra le diminuzioni. ASOLE: Diminuire per le asole sul bordo destro. 1 asola = lavorare insieme a dir la 2° e la 3° m dal centro davanti, poi fare 1 gettato. Diminuire per le asole quando il lavoro misura: TAGLIA S: 19, 26, 33, 40, 47 e 54 cm. TAGLIA M: 19, 26, 33, 40, 48 e 56 cm. TAGLIA L: 19, 26, 34, 42, 50 e 58 cm. TAGLIA XL: 19, 28, 36, 44, 52 e 60 cm. TAGLIA XXL: 19, 26, 33, 40, 47, 54 e 62 cm TAGLIA XXXL: 19, 26, 33, 40, 48, 56 e 64 cm ---------------------------------------------------------- CORPO: Lavorato avanti e indietro sui f circolari dal centro davanti. Avviare 216-228-240-266-286-306 m (comprese 5 m per il bordo a ogni lato verso il centro davanti) con i f circolari n° 5 mm con Paris. Lavorare 1 “costa” a M LEGACCIO – leggere la spiegazione sopra, poi lavorare come segue – dal diritto del lavoro: 5 m a m legaccio, * 8 m rov, 8 m dir *, ripetere *-* 2 volte in totale, 8 m rov, 27-33-39-44-54-64 m a m rasata, * 8 m rov, 8 m dir *, ripetere *-* 4-4-4-5-5-5 volte in totale, 8 m rov, 27-33-39-44-54-64 m a m rasata, * 8 m rov, 8 m dir *, ripetere *-* 2 volte in totale, 8 m rov, 5 m a m legaccio. Ripetere questo motivo verso l’alto. FARE ATTENZIONE ALLA TENSIONE DEL LAVORO! Quando il lavoro misura 5 cm, diminuire 1 m in tutte le sezioni a rov (= 11-11-11-12-12-12 diminuzioni per giro di diminuzioni) – LEGGERE IL SUGGERIMENTO PER LE DIMINUZIONI. Ripetere le diminuzioni ogni 3 cm altre 5 volte = 150-162-174-194-214-234 m. Diminuire per le ASOLE sul bordo destro – leggere la spiegazione sopra. Quando il lavoro misura 21 cm, lavorare come segue: 5 m a m legaccio, A.1 2 volte, 2 m rov, m rasata sulle 27-33-39-44-54-64 m successive, A.1 4-4-4-5-5-5 volte, 2 m rov, m rasata sulle 27-33-39-44-54-64 m successive, A.1 2 volte, 2 m rov, 5 m a m legaccio. Inserire 2 segnapunti nel lavoro; 40-43-46-51-56-61 m all’interno di ogni lato (dietro = 70-76-82-92-102-112 m). Quando il lavoro misura 23 cm, aumentare 1 m a ogni lato di tutti i segnapunti (= 4 aumenti), ripetere gli aumenti ogni 2½-3-3-3½-3½-4 cm altre 5 volte = 174-186-198-218-238-258 m. Quando il lavoro misura 40-41-42-43-44-45 cm, lavorare il f successivo (dal diritto del lavoro) come segue: lavorare 43-46-49-54-59-64 m, intrecciare le 6 m successive, lavorare 76-82-88-98-108-118 m, intrecciare le 6 m successive e lavorare le 43-46-49-54-59-64 m rimaste. Mettere il lavoro da parte e lavorare le maniche. MANICA: Lavorata in tondo con i f a doppia punta. Avviare 32-34-36-38-40-42 m con i f a doppia punta n° 5 mm con Paris. Lavorare 1 “costa”, poi lavorare a m rasata. Inserire 1 segnapunti all’inizio del giro (= centro sotto la manica). Quando il lavoro misura 8 cm, aumentare 2 m al centro sotto la manica. Aumentare ogni 3-2½-2½-2½-2-2 cm altre 13-13-14-15-16-16 volte = 60-62-66-70-74-76 m. Quando il lavoro misura 49-48-48-47-46-46 cm (misure più corte per le taglie più grandi a causa dell’arrotondamento della manica più lungo), intrecciare 6 m al centro sotto la manica = 54-56-60-64-68-70 m. Mettere il lavoro da parte e lavorare l’altra manica. SPRONE: Trasferire le maniche sullo stesso f circolare del corpo dove sono state intrecciate le m per gli scalfi = 270-286-306-334-362-386 m. Inserire un segnapunti in tutti i punti di passaggio tra le maniche e il corpo. Continuare il motivo come prima, ALLO STESSO TEMPO diminuire per il RAGLAN – leggere la spiegazione sopra. Diminuire in modo diverso sul corpo e sulle maniche. RAGLAN SULLE MANICHE: Diminuire a f alterni 16-17-17-18-18-19 volte, poi su ogni f 4-4-6-7-9-9 volte (= 20-21-23-25-27-28 volte in totale). RAGLAN SUL CORPO: Diminuire ogni 4 f 4-2-0-0-0-0 volte, a f alterni 11-16-19-21-19-16 volte, poi su ogni f 0-0-2-0-7-15 volte (= 15-18-21-21-26-31 volte in totale). Alla fine di tutte le diminuzioni, rimangono 130-130-130-150-150-150 m sul f. Sul f successivo diminuire 2 m su ogni treccia in A.1 = 114-114-114-132-132-132 m. Lavorare 2 “coste” su tutte le m, sul 1° f distribuire 20-16-12-26-22-18 diminuzioni in modo uniforme = 94-98-102-106-110-114 m. Intrecciare. CONFEZIONE: Cucire le aperture al centro sotto le maniche. Attaccare i bottoni sul bordo sinistro. |
||||||||||
Spiegazioni del diagramma |
||||||||||
|
||||||||||
 |
||||||||||
Avete terminato questo modello?Allora taggate le vostre foto con #dropspattern #romantictwistcardigan o inviatele alla #dropsfan gallery. Avete bisogno di aiuto con questo modello?Troverete 26 video tutorial, una sezione per i commenti/domande e molto altro guardando il modello su www.garnstudio.com © 1982-2026 DROPS Design A/S. Ci riserviamo tutti i diritti. Questo documento, compreso tutte le sue sotto-sezioni, è protetto dalle leggi sul copyright. Potete leggere quello che potete fare con i nostri modelli alla fine di ogni modello sul nostro sito. |
||||||||||


Con oltre 40 anni di esperienza nel design di modelli di maglia e uncinetto, DROPS Design offre la più estesa collezione di modelli gratuiti su internet - tradotti in 17 lingue. Ad oggi vi possiamo fornire 324 cataloghi e 12284 modelli - 9555 dei quali sono tradotti in Italiano.
Ci stiamo impegnando molto per darvi il meglio che vi possiamo offrire in termini di maglia e uncinetto, ispirazioni e consigli così come filati di grande qualità ad un prezzo incredibile! Volete utilizzare i nostri modelli per qualcosa d'altro oltre al vostro uso personale? Potete leggere tutto ciò che è consentito nel testo sul Copyright in basso su tutte le pagine dei nostri modelli. Buon lavoro!
Lasciare un commento sul modello DROPS 169-1
Noi saremmo felici di ricevere i tuoi commenti e opinioni su questo modello!
Se vuoi fare una domanda, fai per favore attenzione a selezionare la categoria corretta nella casella qui sotto per velocizzare il processo di risposta. I campi richiesti sono indicati da *.