Commenti / Domande (20)
![]() Marie Mansi ha scritto:
Marie Mansi ha scritto:
I don’t understand the first instruction “bund odd 1 st at beginning of every row on each side. Does that mean bind off 2 stitches on each row
05.11.2020 - 00:59DROPS Design ha risposto:
Hi Marie, This means you bind off 1 stitch at the beginning of the first row, then bind off 1 stitch at the beginning of the next row, when you turn and work back and continue like this. Happy knitting!
05.11.2020 - 07:11
![]() Jacqueline Briscoe ha scritto:
Jacqueline Briscoe ha scritto:
What changes are required if using bernat blanket yarn?
21.01.2020 - 19:08DROPS Design ha risposto:
Dear Mrs Briscoe, We are able to provide free patterns thanks to our yarns sold throughout the world. You will therefore understand that we can only recomand you to contact your DROPS Store in Canada for any further help & assistance. Thank you for your comprehension.
22.01.2020 - 08:16
![]() Patricia Bauer ha scritto:
Patricia Bauer ha scritto:
Sorry--still confused. To assemble, A and B are stitched together--but A has the extra edge stitch (seam allowance)on both sides on ALL rows, whereas last row of B the 2 edge stitches have been bound off--is this last row of B not part of the assembly seam?
03.12.2013 - 16:42DROPS Design ha risposto:
Dear Mrs Bauer, A and B are sewn together on each side (armholes), so that 1 st at beg of row + 1 st at end of row will be used for seam both armholes. Happy knitting!
04.12.2013 - 09:56
![]() Patricia Bauer ha scritto:
Patricia Bauer ha scritto:
88-96-102-110-120 sts. Piece now measures approx. 18-20-22-24-26 cm / 7"-8"-8 3/4"-9½"-10 1/4". On next row bind off 1 st at beg and end of row, then slip sts on a stitch holder. Why is the seam allowance (2 edge stitches) bound off as described above (to make 94 st on the size 5/6), when that is not done on the starting row that it will meet (96 st)?
03.12.2013 - 13:46DROPS Design ha risposto:
Dear Mrs Bauer, in size 5/6 you have 94 sts left at the end of body and pick up 94 sts in the 96 sts from cast on row so that you have again 1 st each side for seam = a total of 188 sts. Happy knitting!
03.12.2013 - 14:26
![]() Annetta Kerans ha scritto:
Annetta Kerans ha scritto:
Thank you so much for your reply and the video. I actually found the answer from someone else's question. It's always nice to know there is someone who can answer questions.
09.04.2013 - 22:31
![]() Riet ha scritto:
Riet ha scritto:
Zo heb ik het ook gedaan, maar dan krult het niet om! Op de foto is goed te zien,dat het het omgekrulde randje ribbelsteek en geen boordsteek is.
14.02.2013 - 15:00DROPS Design ha risposto:
Het is een rand van 1 r/1 av. Kijk op de foto van dichtbij, dat is geen ribbelst.
14.02.2013 - 15:33
![]() Riet Moraal ha scritto:
Riet Moraal ha scritto:
De beschrijving van de rand is anders dan op de foto staat. Ik heb de rand,( 8 cm.) in patroon M1 gebreid, maar dan krult hij niet om, zoals op de foto.volgens mij moeten de laatste naalden weer in ribbelsteek gebreid worden? Met vr. grt. Riet Moraal
29.01.2013 - 16:37DROPS Design ha risposto:
Het patroon klopt. Je moet niet de laatste nld in ribbelsteken breien, maar heel LOSJES afkanten met r boven r en av boven av.
06.02.2013 - 18:32
![]() Laura Graciani ha scritto:
Laura Graciani ha scritto:
Entiendo que para seguir la secuencia del diagrama M.1,es necesario que el número de puntos a tejer sea impar.Tenemos que terminar la secuencia con 1YO + slip 1 st, para que en la 2º vuelta poder K tog YO and slipped st. Gracias.
29.12.2012 - 08:06DROPS Design ha risposto:
Hola Laura, el diagrama M.1 se teje así: 1a vuelta: * 1 HEB + deslizar 1 pt de derecho, 1 revés *, repetir de *a* en toda la vta. 2a vuelta: * Tejer juntos de derecho la HEB y el pt desl, 1 revés *, repetir de *a* en toda la vta. Repetir la 1a y 2a vuelta.
29.12.2012 - 10:07Helen ha scritto:
I am almost finished this little vest but am not sure how to work the M1 diagram. Is it possible to get the instructions as words. Is the purl stitch every second round or every second stitch in a round row?
20.08.2012 - 04:13DROPS Design ha risposto:
Work 1st round in M1: *1 YO + slip 1 st as if to K, P1*, rep *-* around. 2nd round: *K tog YO and slipped st, P1*, rep *-* around. Repeat 1st and 2nd round.
25.08.2012 - 02:47Jill Forward ha scritto:
I've had 2attempts at this pattern & it still doesn't make sense. Cast off -does this mean knit to end and slip one over last stitch? The decline seems too rapid. Is the pattern grid illustrated referring to this pattern and in what way? Can't see the relevance of the 13, 48, 13 written at top of drawing. Help, I really want to make this.
20.04.2012 - 11:02DROPS Design ha risposto:
You bind off in beg of every row, which is not as how you write it above. Gauge in both width and height is just as important for correct measures. Numbers in chart are measures in centimeters.
23.04.2012 - 20:00
Pixie#pixievestbolero |
||||||||||
 |
 |
|||||||||
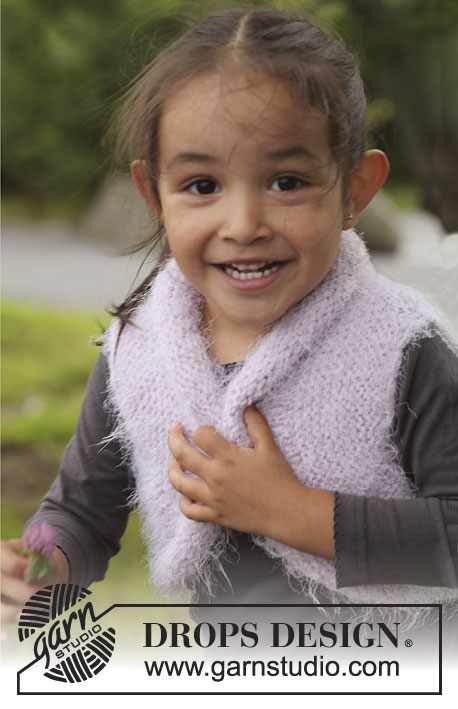
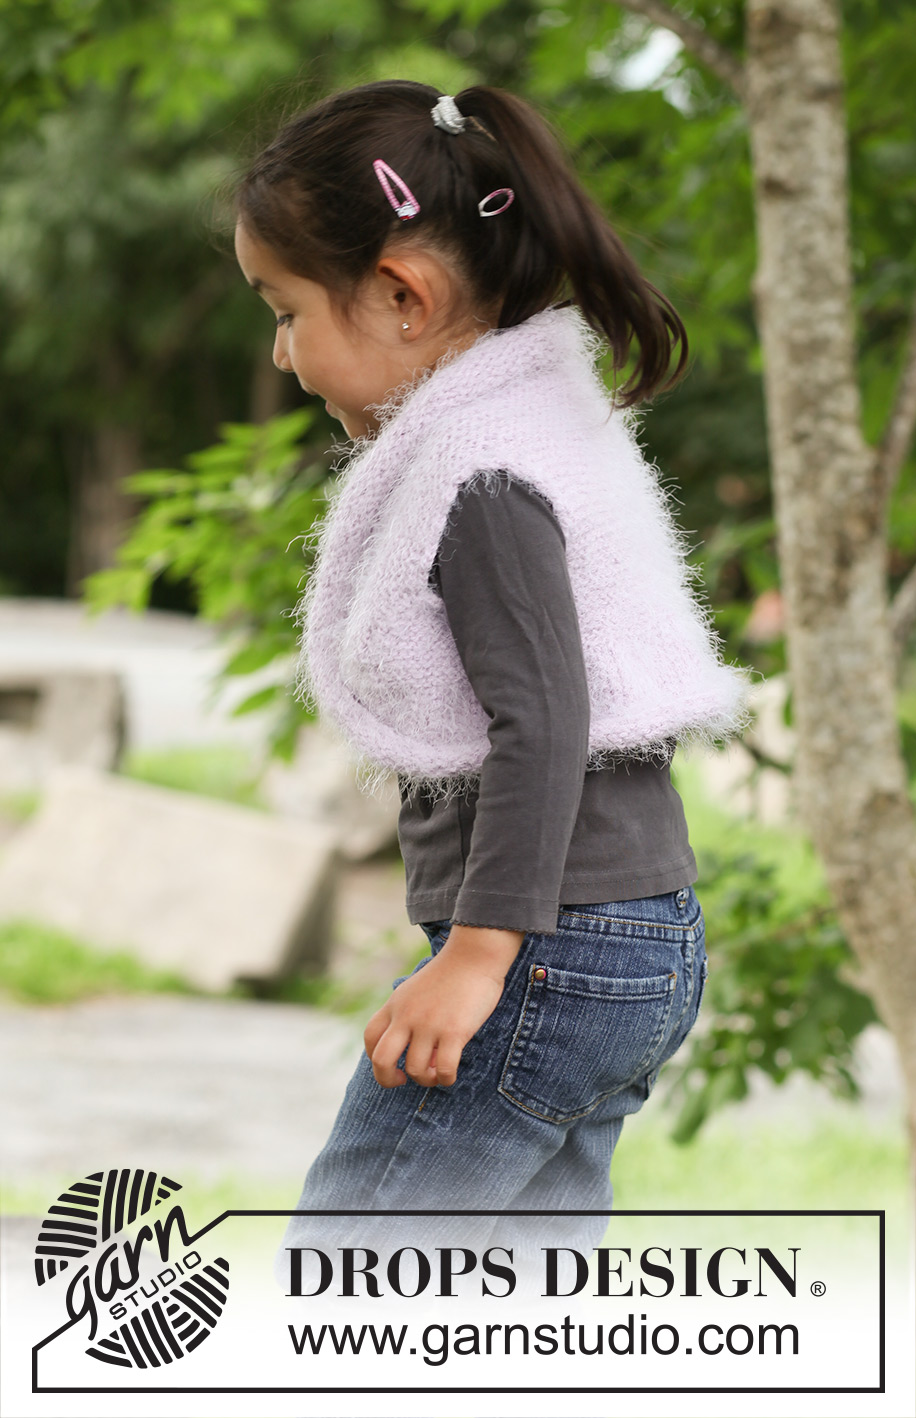
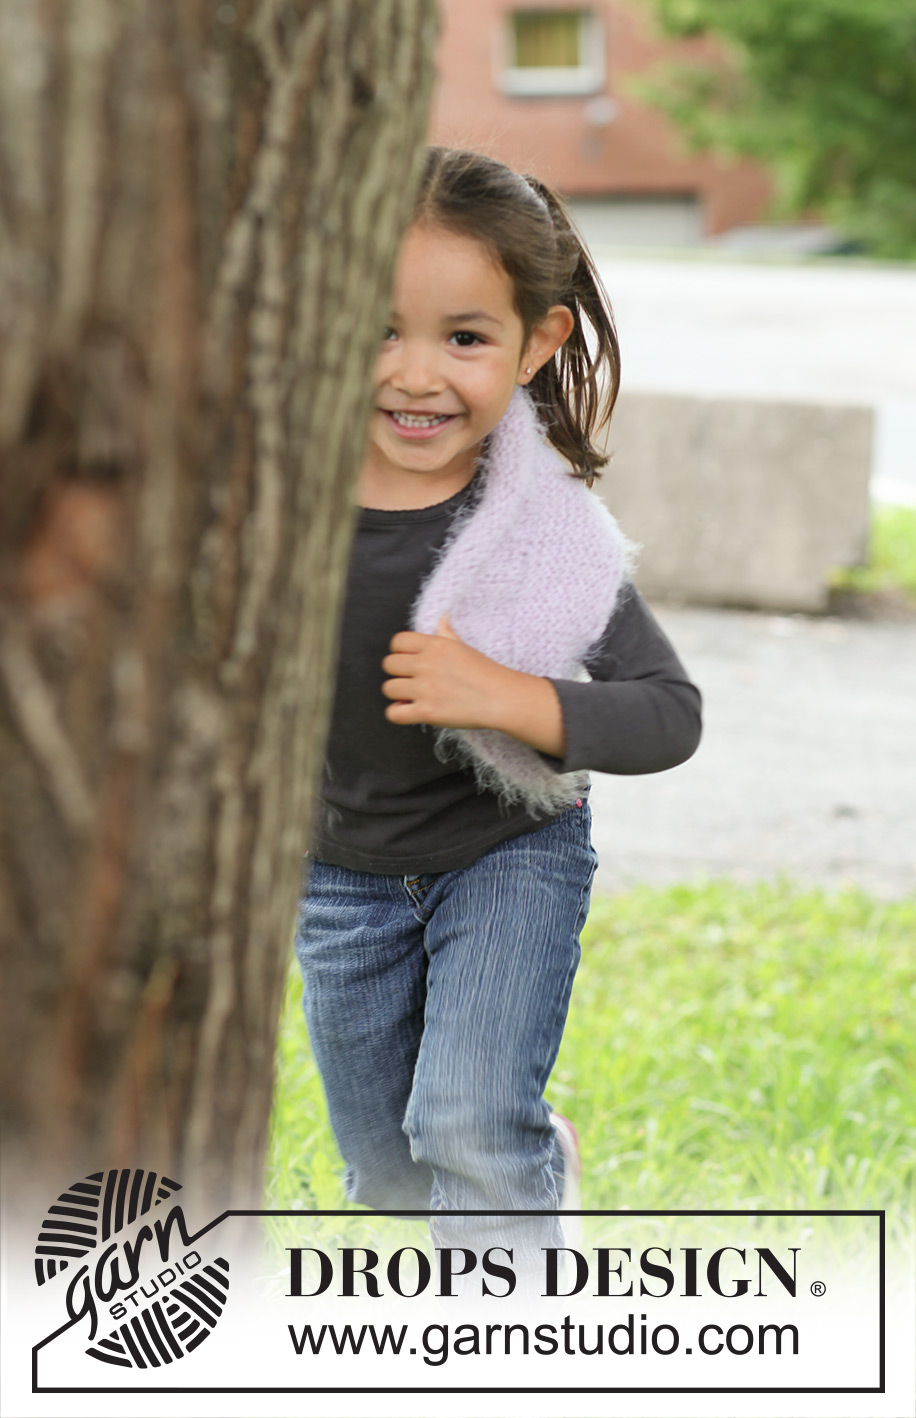
Piccolo gilet a bolero DROPS in "Symphony". Taglie: dai 3 ai 12 anni.
DROPS Children 22-19 |
||||||||||
|
--------------------------------------------------------- M. A LEGACCIO (avanti e indietro sul ferro): lavorare a dir. tutti i f. MOTIVO: Vedere il diagramma M.1. --------------------------------------------------------- CORPO: Lavorato avanti e indietro sui ferri circolari. Con i ferri circolari misura 4,5 mm e il filato Symphony avviare 88-96-102-110-120 m. (compresa 1 m. di vivagno per lato). Lavorare a M. LEGACCIO su tutte le m. – leggere la spiegazione sopra – ALLO STESSO TEMPO sul secondo f., intrecciare 1 m. all’inizio di ogni f. 9-11-12-14-16 volte per lato, e poi intrecciare 15-15-16-16-17 m. 1 volte per lato = 40-44-46-50-54 m. rimaste sul ferro. Continuare a lavorare a m. legaccio fino a quando il lavoro misura 12-13-14-15-16 cm. Ora avviare senza stringere delle nuove m. alla fine di ogni f.: 15-15-16-16-17 m. 1 volta per ogni lato e poi 1 m. 9-11-12-14-16 volte per ogni lato = 88-96-102-110-120 m. Il lavoro ora misura circa 18-20-22-24-26 cm. Sul f. successivo intrecciare 1 m. all’inizio e alla fine del f., poi trasferire le m. su un ferro ausiliario. CONFEZIONE: Mettere A contro B – vedere lo schema – e cucire all’interno della m. di vivagno. Da fare su entrambi i lati del lavoro. BORDO: Lavorato in tondo sui ferri circolari. Trasferire le m. dal ferro ausiliario sul ferro circolare e riprendere 86-94-100-108-118 m. (1 m. in ogni m.) lungo il margine di avvio = 172-188-200-216-236 m. Lavorare il primo giro come segue: * 1 dir., 1 rov. *, ripetere da *-* per l’intero giro. Poi lavorare il diagramma M.1. Quando il margine misura 8-9-9-10-10 cm, intrecciare SENZA STRINGERE con dir. su dir. e rov. su rov. BORDO ALL’UNCINETTO: Lavorare con l’uncinetto misura 5 mm lungo l’intero bordo del bolero + lungo gli scalfi come segue: 1 m.b. nella 1° m., * 3 catenelle, saltare circa 1 cm, 1 m.b. nella m. successiva *, ripetere da *-* e finire con 1 m.bss. nella m.b. dall’inizio del giro. |
||||||||||
Spiegazioni del diagramma |
||||||||||
|
||||||||||
 |
||||||||||
Avete terminato questo modello?Allora taggate le vostre foto con #dropspattern #pixievestbolero o inviatele alla #dropsfan gallery. Avete bisogno di aiuto con questo modello?Troverete 12 video tutorial, una sezione per i commenti/domande e molto altro guardando il modello su www.garnstudio.com © 1982-2026 DROPS Design A/S. Ci riserviamo tutti i diritti. Questo documento, compreso tutte le sue sotto-sezioni, è protetto dalle leggi sul copyright. Potete leggere quello che potete fare con i nostri modelli alla fine di ogni modello sul nostro sito. |
||||||||||










Lasciare un commento sul modello DROPS Children 22-19
Noi saremmo felici di ricevere i tuoi commenti e opinioni su questo modello!
Se vuoi fare una domanda, fai per favore attenzione a selezionare la categoria corretta nella casella qui sotto per velocizzare il processo di risposta. I campi richiesti sono indicati da *.