
Categorie popolari
State cercando un filato?














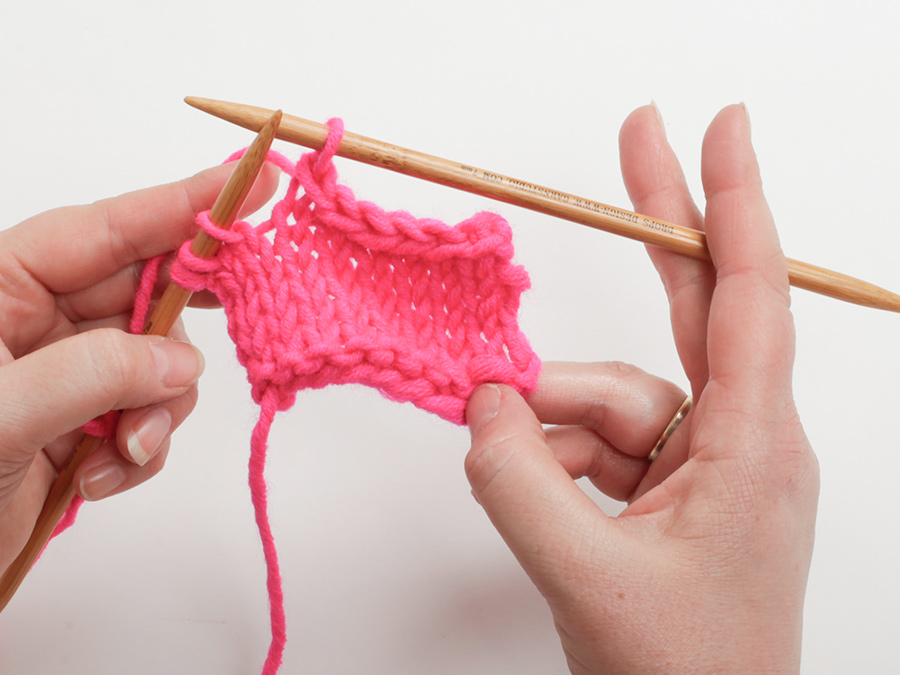
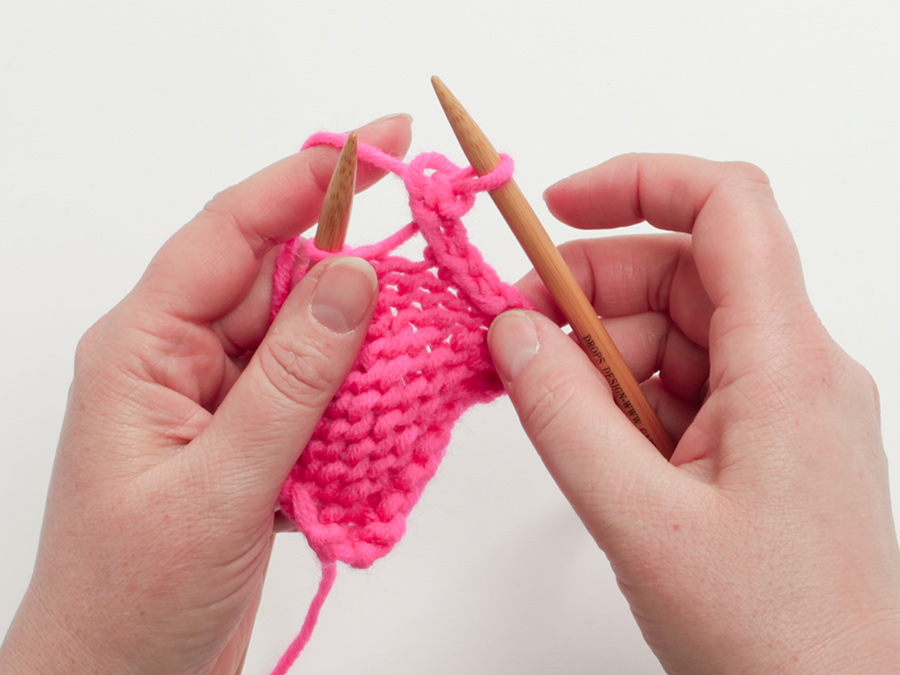
Commenti / Domande (107)
 Linnéa ha scritto:
Hej! När fram- och bakstycket är klart är framstyckets axlar som ska monteras ihop mer än dubbelt så breda som bakstyckets. Stämmer det eller skulle jag ha minskat för armhål även på framstycket? Tack!
04.10.2026 - 20:49DROPS Design ha risposto:
Hei Linnéa. Ja, framstycket skal strikkes som bakstycket frem til arbeidet måler 45-47-48-50-51-53 cm. Det vil si at når framstycket måler 24-25-26-27-28-29 cm, maskas det av till ärmhål på vartannat varv (i början av varje varv) i varje sida så här: Maska av 3 maskor 1-1-1-1-1-2 gånger, 2 maskor 0-1-2-2-3-3 gånger och 1 maska 5-4-3-5-6-5 gånger = 36-38-40-42-44-48 maskor. Sticka slätstickning. Men når arbetet mäter 45-47-48-50- 51-53 cm, så maskas de mittersta 8-8-8-10-10-10 maskorna av till hals och varje axel stickas färdig för sig. mvh DROPS Design
05.10.2026 - 09:49
 Susan ha scritto:
Do you recommend washing and blocking the gauge before measuring?
27.09.2026 - 10:13DROPS Design ha risposto:
Dear Susan, yes, you soak and block the swatch before measuring. Happy knitting!
28.09.2026 - 01:11
Joanna ha scritto:
If you don't want bottom ribbing, can you just cast on number of stitches given after the decrease when transitioning from ribbing to stockinette?Don't understand why you have to decrease stitches.
09.09.2026 - 23:14DROPS Design ha risposto:
Hi Joanna, You can of course leave out the ribbing and cast on the number of stitches given after the decreases. The decreases after the rib are because there are extra stitches on the ribbing so it is not tight. Regards, Drops Team
10.09.2026 - 06:03
 Carole ha scritto:
Why the need for a circular needle? Can I knit this on straight needles??
17.08.2026 - 13:07DROPS Design ha risposto:
Dear Carole, we are using here circular needle for front and back piece to get enough room for all stitches, but then work back and forth, so that you can use straight needles instead. Only sleeve edges and neck are worked in the round, you would have then just to adapt the pattern (sew just one shoulder before picking up sts around neck; then pick up sts along armholes and finish with the side seam). Happy knitting!
17.08.2026 - 16:25
 Kerrie-Jane Hodgson ha scritto:
Hi there - loving your pattern for the tank top. I'm very new to knitting and only ever knitted with straight needles - I was just wondering if you have a similar pattern to use with straight needles please. Thankyou so much.
15.05.2026 - 11:55DROPS Design ha risposto:
Dear Kerrie, this is a vest pattern. Since it's worked back and forth you can simply use straight needles instead of circular needles. However, the round neck and sleeve-edges need to be worked in the round in circular needles. So you can work most of the pattern in straight needles and then try and work the edges with circular needles. Happy knitting!
17.05.2026 - 21:09
 Alicia ha scritto:
Hola, al empezar la primera decís que en el lado del derecho hemos de dejar 2 punto musgo y luego 1 revés, 1derecho hasta que queden tres puntos, eso lo entiendo, lo que no se es cómo proceder en la vuelta del revés. Sería 2 puntos musgo y hago los puntos tal y como me los encuentre hasta los 2 últimos puntos musgo? Lo siento pero no lo entiendo. Gracias por su respuesta
14.05.2026 - 23:00
 Nora M ha scritto:
Hei, jeg har allerede bynnt å strikket denne vesten og kommet meg på god vei. Men jeg angrer meg å ønsker å strikke en genser..? Er dette mulig eller burde jeg starte på nytt? Har dere noen tips om jeg kan få det til?
21.04.2026 - 08:30DROPS Design ha risposto:
Hej Nora, de her strikkes med samme strikkefasthed (11 m på 10 cm) og nedenfra og op som vesten. Det vil sige at du kan vælge en af de her og fortsætte ifølge den nye opskrift på en genser: genser, nedenfra og op, 11masker=10 cm
21.04.2026 - 14:30
 Maria ha scritto:
Hej. Jeg vil gerne hvilken str pind der er brugt til at lave strikkeprøven. Er det 7 eller 8.
08.04.2026 - 16:51DROPS Design ha risposto:
Hej Maria. Det är den större pinden, dvs den du bruker til glatstrik. Mvh DROPS Design
10.04.2026 - 09:21
Melissa ha scritto:
My first major project will be the Isla Slipover vest in medium using either DROPS AIR or DROPS ANDES. The problem I have is not knowing just how many balls of yarn I will need to complete the vest?
20.03.2026 - 02:59DROPS Design ha risposto:
Hi Melissa, Drops Air is sold in 50 g balls and Drops Andes in 100 g balls. So you will need 6 balls of Air (and work with 2 strands) or 3 balls of Andes and work with a single strand). Regards, Drops Team.
20.03.2026 - 05:28
 Anna ha scritto:
Hi, I would like to use Merino Cotton yarn to make a more spring/summer-friendly version of the project. Would 2 strands of Merino Cotton be enough to substitute for 2 strands of DROPS Air? If so, should I use the same size needles as recommended for DROPS Air?
13.03.2026 - 11:50DROPS Design ha risposto:
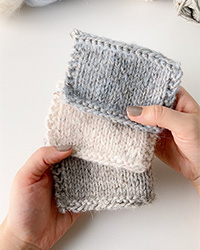
Dear Anna, Cotton Merino belongs to yarn group B while Air belongs to yarn group C, most of the time you can replace 1 strand yarn group E as Wish here with 2 strands yarn group C as Air here, but Cotton Merino might not be a good alternative even with 2 strands - see a swatch of 2 strands Cotton Merino worked together here. Happy knitting!
13.03.2026 - 15:33
|
|
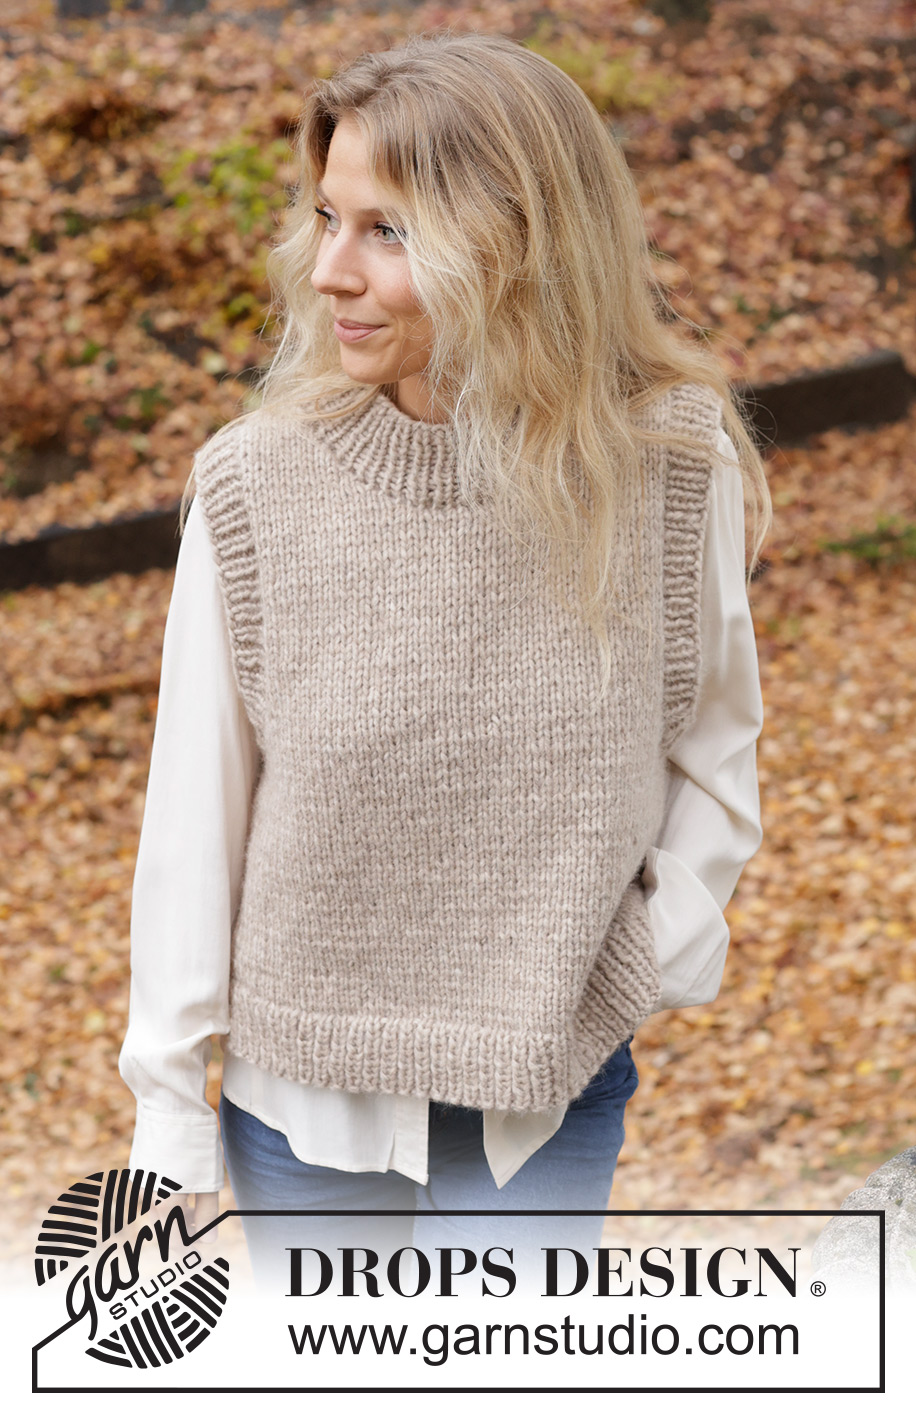
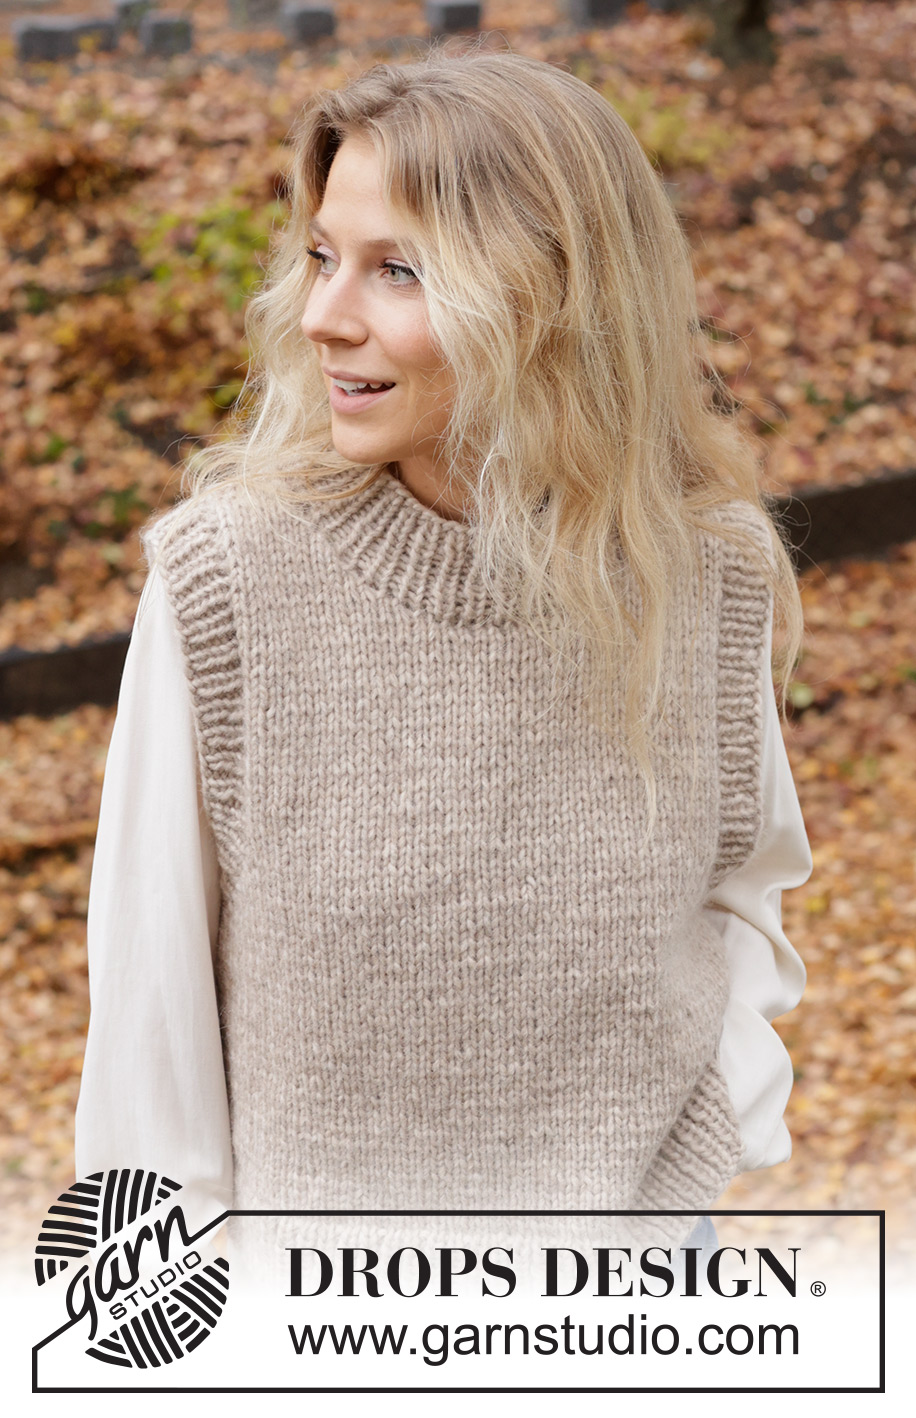
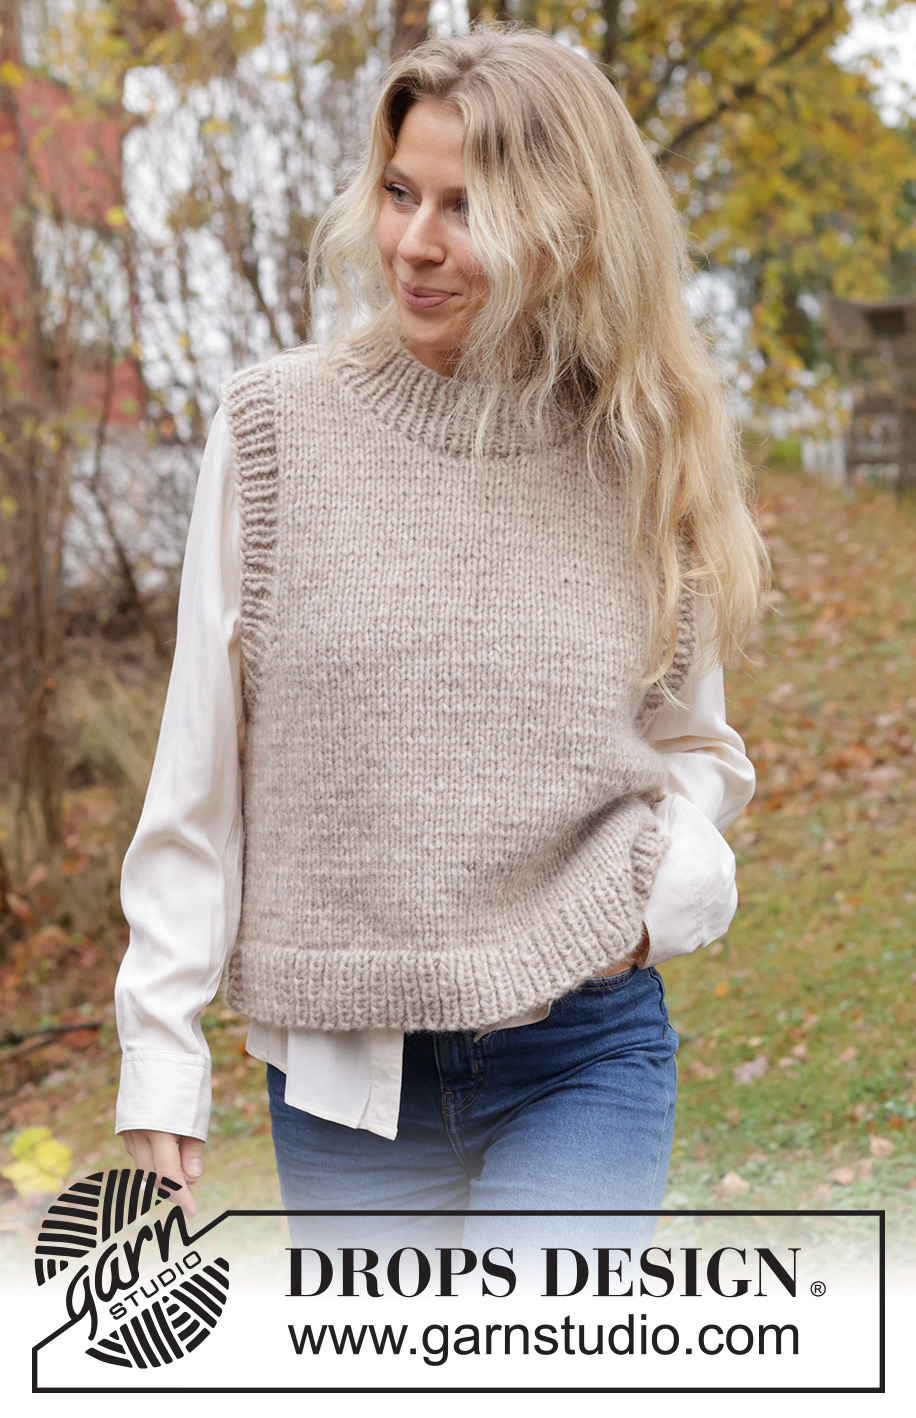
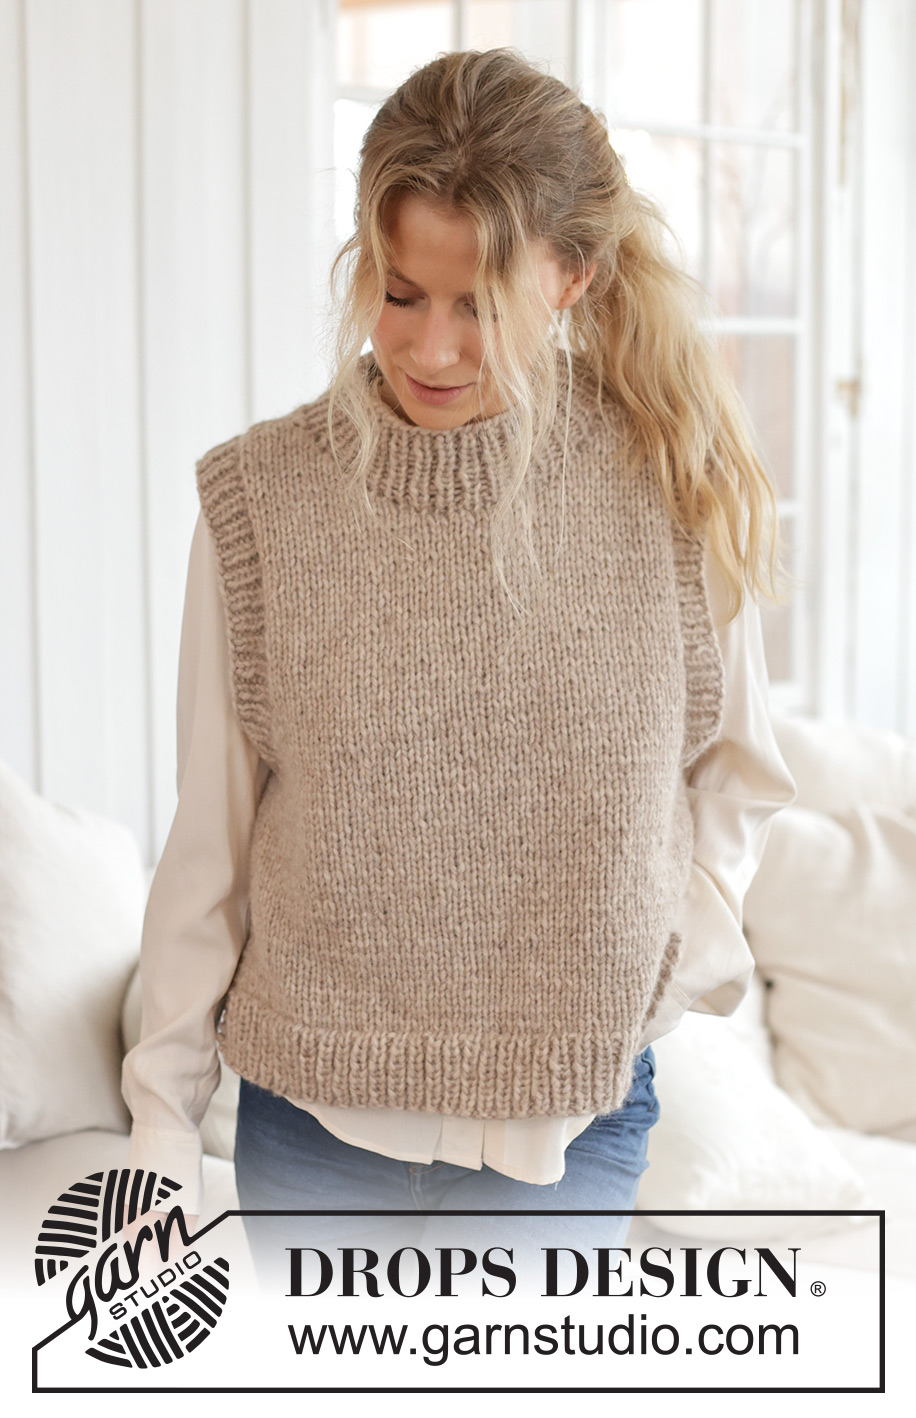
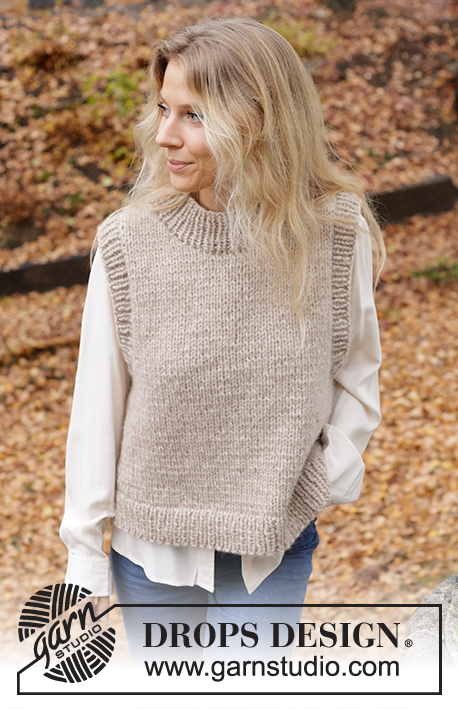
Isla Slipover#islaslipover |
|
 |
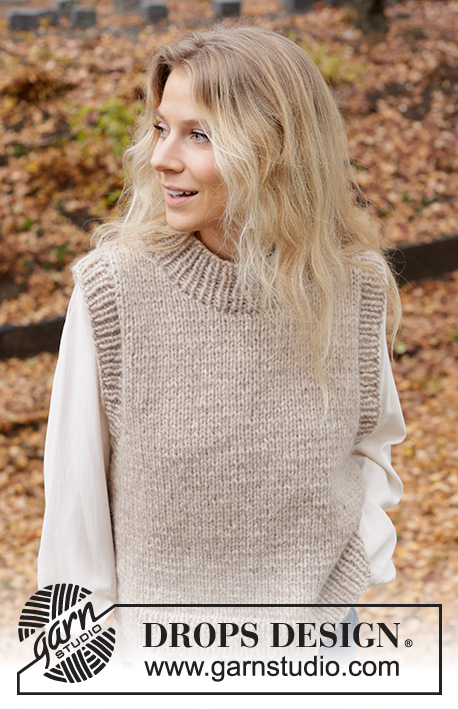 |
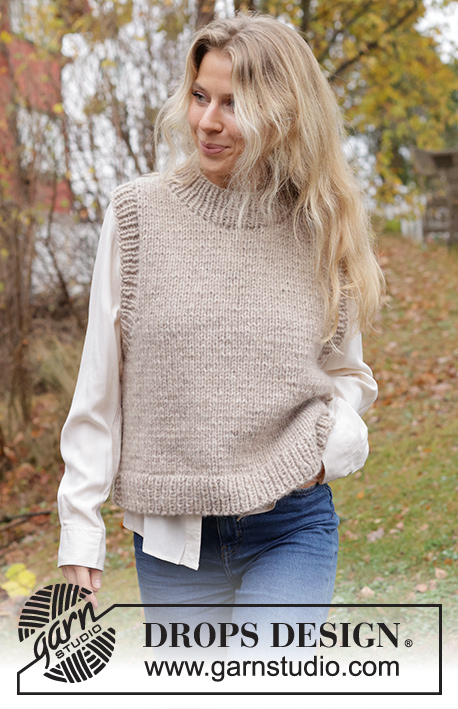
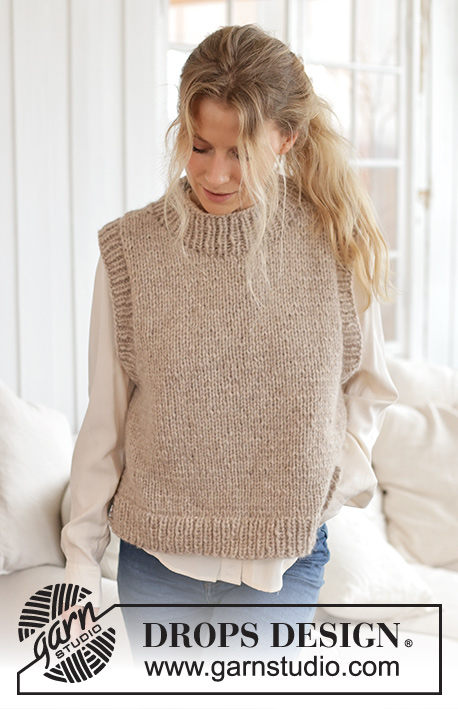
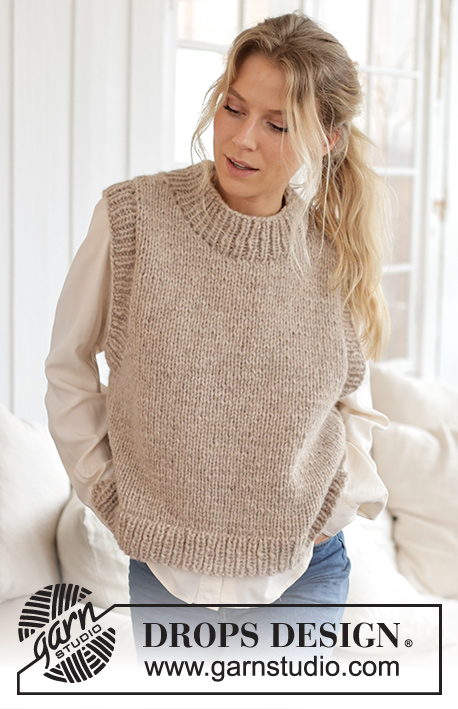
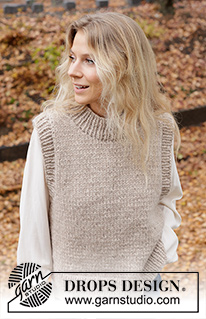
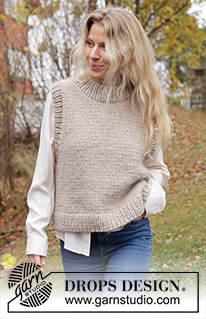
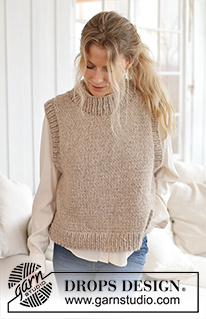
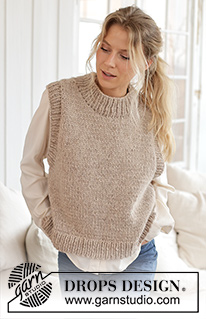
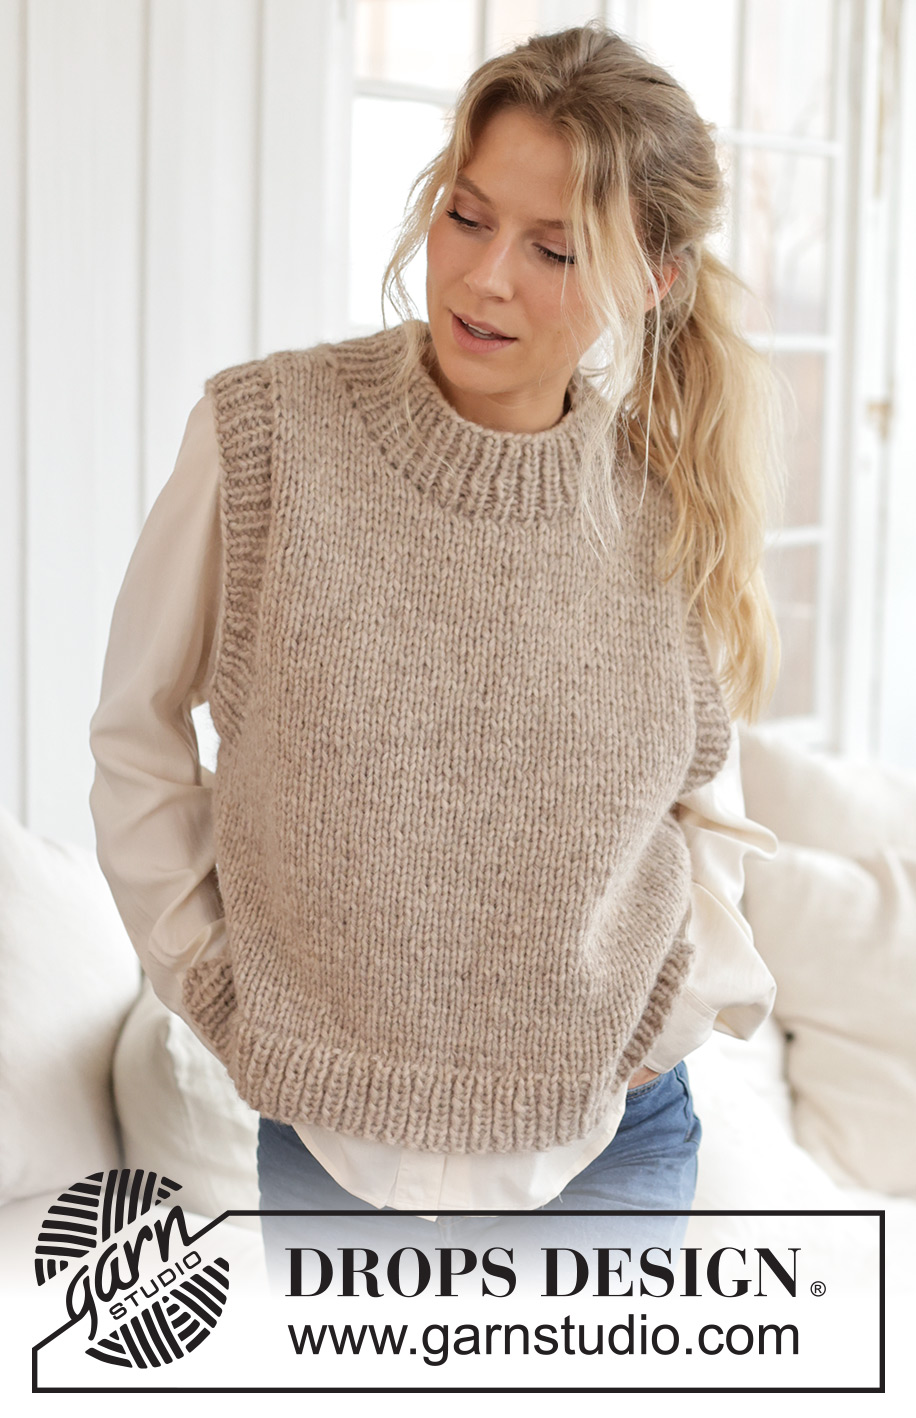
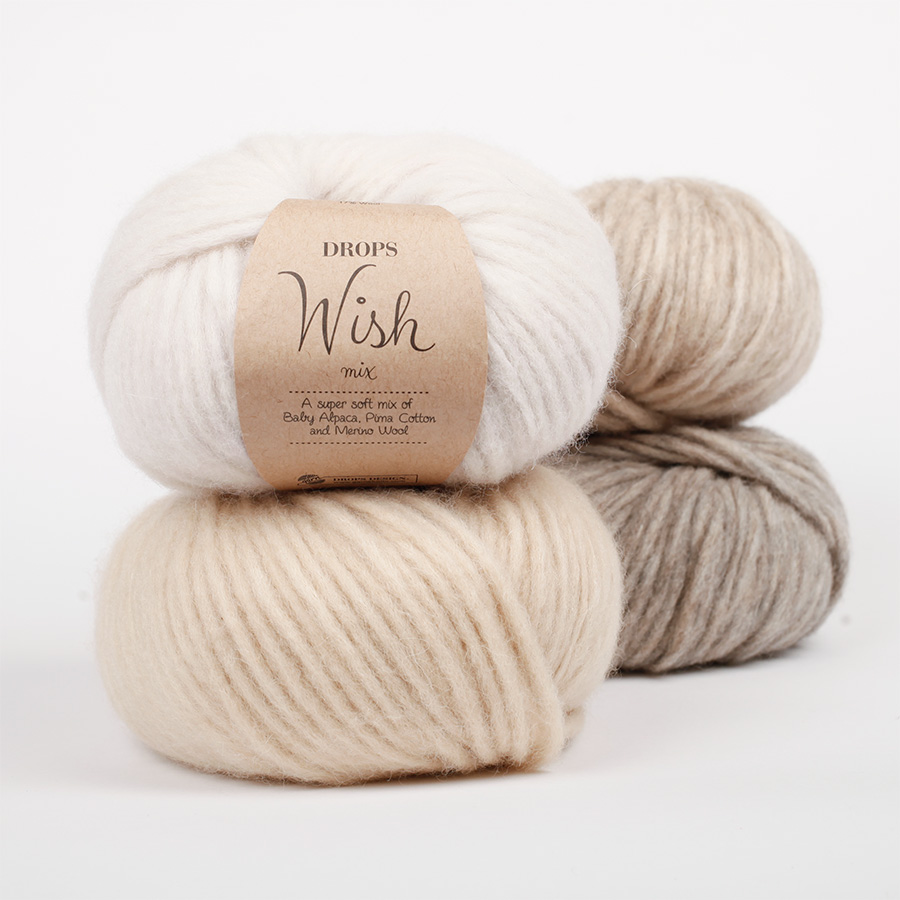
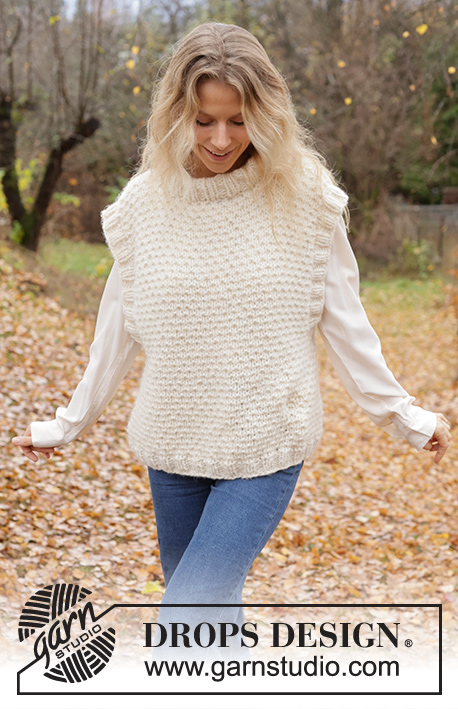
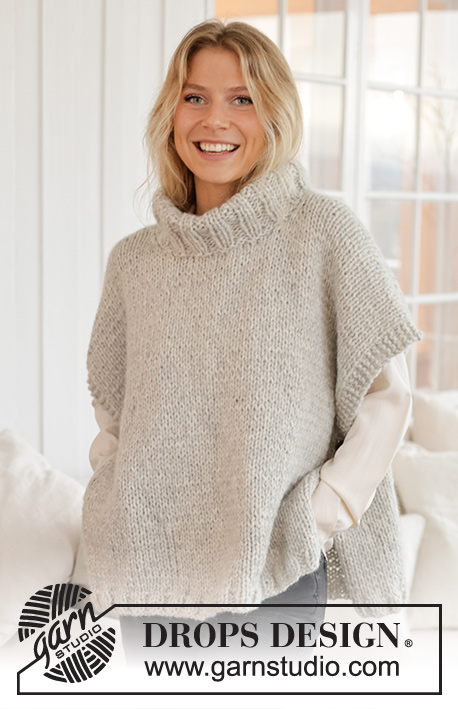
Gilet / smanicato lavorato ai ferri in DROPS Wish o 2 capi di DROPS Air. Lavorato a maglia rasata, con bordi a coste e spacchi laterali. Taglie: S - XXXL.
DROPS 226-58 |
|
|
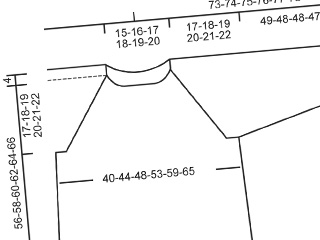
------------------------------------------------------- TECNICHE IMPIEGATE: ------------------------------------------------------- COSTA/MAGLIA LEGACCIO (avanti e indietro): Lavorare tutti i ferri a diritto. 1 costa in altezza = 2 ferri diritto. ------------------------------------------------------- INIZIO DEL LAVORO: ------------------------------------------------------- GILET – BREVE RIASSUNTO DEL LAVORO: Lavorare il davanti e il dietro in modo separato, in piano. Lavorare i bordi delle maniche e il collo in tondo alla fine. DIETRO: Avviare 69-73-77-85-93-103 maglie con i ferri circolari n° 7 mm e DROPS Wish o 2 capi di DROPS Air. Lavorare il 1° ferro come segue dal diritto del lavoro: 2 maglie di vivagno a MAGLIA LEGACCIO – leggere la descrizione sopra, lavorare a coste (1 maglia rovescio, 1 maglia diritto) fino a quando rimangono 3 maglie, 1 maglia rovescio e 2 maglie di vivagno a maglia legaccio. Continuare queste coste per 6 cm. Sul ferro successivo dal diritto del lavoro lavorare come segue: 1 maglia di vivagno a maglia legaccio, lavorare a maglia rasata e diminuire 17-17-17-19-19-21 maglie in modo uniforme sulle 67-71-75-83-91-101 maglie successive e 1 maglia di vivagno a maglia legaccio = 52-56-60-66-74-82 maglie. Passare ai ferri circolari n° 8 mm e continuare a maglia rasata e 1 maglia di vivagno a maglia legaccio a ogni lato. FARE ATTENZIONE ALLA TENSIONE DEL LAVORO! Quando il lavoro misura 24-25-26-27-28-29 cm, intrecciare le maglie per gli scalfi all’inizio di ogni ferro a ogni lato come segue: 3 maglie 1-1-1-1-1-2 volte, 2 maglie 0-1-2-2-3-3 volte e 1 maglia 5-4-3-5-6-5 volte = 36-38-40-42-44-48 maglie. Continuare a maglia rasata fino a quando il lavoro misura 51-53-55-57-59-61 cm. Intrecciare le 20-20-22-22-24-24 maglie centrali per il collo e finire ogni spalla in modo separato. Poi intrecciare 1 maglia sul ferro successivo dal collo = 7-8-8-9-9-11 maglie. Continuare a lavorare fino a quando il lavoro misura 54-56-58-60-62-64 cm. Intrecciare senza stringere a diritto dal diritto del lavoro. Lavorare l’altra spalla nello stesso modo. DAVANTI: Avviare e lavorare nello stesso modo del dietro fino a quando il lavoro misura 45-47-48-50-51-53 cm. Intrecciare le 8-8-8-10-10-10 maglie centrali per il collo e finire ogni spalla in modo separato. Intrecciare all’inizio di ogni ferro dal collo come segue: 2 maglie 2 volte e 1 maglia 3-3-4-3-4-4 volte = 7-8-8-9-9-11 maglie. Continuare a lavorare fino a quando il lavoro misura 54-56-58-60-62-64 cm. Intrecciare senza stringere a diritto dal diritto del lavoro. Lavorare l’altra spalla nello stesso modo. CONFEZIONE: Cucire i margini delle spalle. Cucire i margini laterali nel filo più esterno della costa più esterna, in modo che la cucitura sia piatta. Lasciare 6 cm sulla parte inferiore per lo spacco. BORDI DELLE MANICHE: Usare i ferri circolari corti n° 7 mm. Iniziare sulla parte inferiore dello scalfo e riprendere dal diritto del lavoro, all’interno di 1 maglia, circa 72-72-76-76-80-84 maglie attorno allo scalfo (il n° delle maglie dev’essere divisibile per 2). Lavorare a coste in tondo (1 maglia diritto, 1 maglia rovescio) per 4 cm. Intrecciare senza stringere con diritto su diritto e rovescio su rovescio. Lavorare l’altro bordo della manica nello stesso modo. COLLO: Usare i ferri circolari corti n° 7 mm. Iniziare in cima a una spalla e riprendere dal diritto del lavoro, all’interno di 1 maglia, circa 54-54-60-60-64-64 maglie attorno al collo (il n° di maglie dev’essere divisibile per 2). Lavorare a coste in tondo (1 maglia diritto, 1 maglia rovescio) per 6 cm. Intrecciare senza stringere con diritto su diritto e rovescio su rovescio. |
|
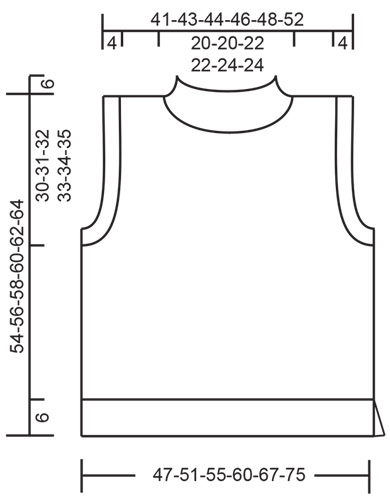 |
|
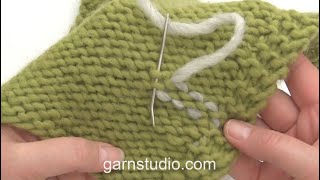
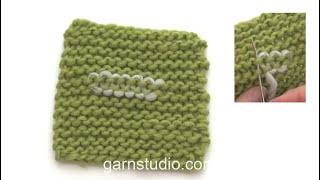
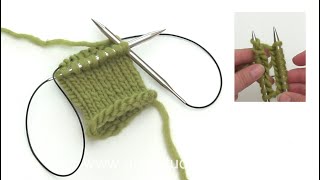
Avete terminato questo modello?Allora taggate le vostre foto con #dropspattern #islaslipover o inviatele alla #dropsfan gallery. Avete bisogno di aiuto con questo modello?Troverete 13 video tutorial, una sezione per i commenti/domande e molto altro guardando il modello su www.garnstudio.com © 1982-2026 DROPS Design A/S. Ci riserviamo tutti i diritti. Questo documento, compreso tutte le sue sotto-sezioni, è protetto dalle leggi sul copyright. Potete leggere quello che potete fare con i nostri modelli alla fine di ogni modello sul nostro sito. |
|

Con oltre 40 anni di esperienza nel design di modelli di maglia e uncinetto, DROPS Design offre la più estesa collezione di modelli gratuiti su internet - tradotti in 17 lingue. Ad oggi vi possiamo fornire 333 cataloghi e 12537 modelli - 9811 dei quali sono tradotti in Italiano.
Ci stiamo impegnando molto per darvi il meglio che vi possiamo offrire in termini di maglia e uncinetto, ispirazioni e consigli così come filati di grande qualità ad un prezzo incredibile! Volete utilizzare i nostri modelli per qualcosa d'altro oltre al vostro uso personale? Potete leggere tutto ciò che è consentito nel testo sul Copyright in basso su tutte le pagine dei nostri modelli. Buon lavoro!
Lasciare un commento sul modello DROPS 226-58
Noi saremmo felici di ricevere i tuoi commenti e opinioni su questo modello!
Se vuoi fare una domanda, fai per favore attenzione a selezionare la categoria corretta nella casella qui sotto per velocizzare il processo di risposta. I campi richiesti sono indicati da *.