
Categorie popolari
State cercando un filato?


Commenti / Domande (91)
![]() Nora M ha scritto:
Nora M ha scritto:
Hei, jeg har allerede bynnt å strikket denne vesten og kommet meg på god vei. Men jeg angrer meg å ønsker å strikke en genser..? Er dette mulig eller burde jeg starte på nytt? Har dere noen tips om jeg kan få det til?
21.04.2026 - 08:30DROPS Design ha risposto:
Hej Nora, de her strikkes med samme strikkefasthed (11 m på 10 cm) og nedenfra og op som vesten. Det vil sige at du kan vælge en af de her og fortsætte ifølge den nye opskrift på en genser: genser, nedenfra og op, 11masker=10 cm
21.04.2026 - 14:30
![]() Maria ha scritto:
Maria ha scritto:
Hej. Jeg vil gerne hvilken str pind der er brugt til at lave strikkeprøven. Er det 7 eller 8.
08.04.2026 - 16:51DROPS Design ha risposto:
Hej Maria. Det är den större pinden, dvs den du bruker til glatstrik. Mvh DROPS Design
10.04.2026 - 09:21
![]() Melissa ha scritto:
Melissa ha scritto:
My first major project will be the Isla Slipover vest in medium using either DROPS AIR or DROPS ANDES. The problem I have is not knowing just how many balls of yarn I will need to complete the vest?
20.03.2026 - 02:59DROPS Design ha risposto:
Hi Melissa, Drops Air is sold in 50 g balls and Drops Andes in 100 g balls. So you will need 6 balls of Air (and work with 2 strands) or 3 balls of Andes and work with a single strand). Regards, Drops Team.
20.03.2026 - 05:28
![]() Anna ha scritto:
Anna ha scritto:
Hi, I would like to use Merino Cotton yarn to make a more spring/summer-friendly version of the project. Would 2 strands of Merino Cotton be enough to substitute for 2 strands of DROPS Air? If so, should I use the same size needles as recommended for DROPS Air?
13.03.2026 - 11:50DROPS Design ha risposto:
Dear Anna, Cotton Merino belongs to yarn group B while Air belongs to yarn group C, most of the time you can replace 1 strand yarn group E as Wish here with 2 strands yarn group C as Air here, but Cotton Merino might not be a good alternative even with 2 strands - see a swatch of 2 strands Cotton Merino worked together here. Happy knitting!
13.03.2026 - 15:33
![]() Mathilde ha scritto:
Mathilde ha scritto:
Bonjour Combien faut il de pelotes de laine de drops snow pour ce modèle de pull sans manche en taille M Merci par avance :)
04.03.2026 - 06:53DROPS Design ha risposto:
Bonjour Mathilde, utilisez le convertisseur pour voir les quantités correspondantes en Snow. Bon tricot!
04.03.2026 - 08:08
![]() Rachael ha scritto:
Rachael ha scritto:
Hi, I’m attempting to pick up stitches around the armhole, but I’m unsure of the pick up rate, e.g. pick up 3, skip 1, pick up 3, skip 1… Pattern says to end up with approx 72 stitches. Could you advise please? Thanks!
21.02.2026 - 20:32DROPS Design ha risposto:
Hi Rachael, Her is a link to our video for knitting up stitches around the neck (the same method as you use for knitting up aound the armholes): https://www.garnstudio.com/video.php?id=1787&lang=en Regards, Drops Team.
23.02.2026 - 07:16
![]() Rachael ha scritto:
Rachael ha scritto:
Hi, I’m a beginner knitter and am attempting the pattern, however it’s a little ambiguous. I’ve cast on and completed 6 row rib for the back. The next instruction is to work st st from the right side. Does that mean I should start row 7 with a Knit row, or a Purl row?
12.02.2026 - 22:57DROPS Design ha risposto:
Hi Rachael, Stocking stitch is knitted from the right side and purled from the wrong side, so the 7th row is knitted. Regards, Drops Team.
13.02.2026 - 06:26
![]() Suzanne ha scritto:
Suzanne ha scritto:
Je ne comprends pas . Après avoir rabattu mes 22 mailles centrales. Rabattre ensuite 1 maille au début du rg suivant à partir de l’encolure = 8 mailles pour ma grandeur. Est- ce qu’ on rapetisse à chaque rang 1 maille Ce n’est pas clair pour moi svp
11.02.2026 - 22:38DROPS Design ha risposto:
Bonjour Suzanne, lorsque vous avez rabattu les 22 mailles centrales, il vous reste 9 mailles pour chaque épaule. (40 mailles au total - 22 m pour l'encolure = 18m soit 9 m pour chaque épaule ). Vous terminez chaque épaule séparément, et, au 1er rang à partir de l'encolure (sur l'endroit pour l'épaule gauche/sur l'envers pour l'épaule droite) vous rabattez 1 maille pour l'encolure = il reste 8 mailles pour l'épaule. Bon tricot!
12.02.2026 - 17:51
![]() Katharina ha scritto:
Katharina ha scritto:
Soll man oberhalb der abgeketten Maschen für die Armausschnitte weiterhin am Rand kraus rechts stricken oder die erste Masche der Reihe übernehmen?
03.02.2026 - 14:30DROPS Design ha risposto:
Liebe Katharina, Sie stricken die Randmaschen glatt rechts, also so wie die restlichen Maschen in der Hin-Reihe rechts und in der Rück-Reihe links. Aus dem glatt rechts gestrickten Rand lassen sich später die Maschen für die Armausschnittblenden gut auffassen. Viel Spaß beim Weiterstricken!
03.02.2026 - 19:23
![]() Anna ha scritto:
Anna ha scritto:
Hi, can I use two strands of yarn - drops Alaska and Drops Melody for this pattern ? I would like the vest to be really chunky but maybe it would be too much ?
02.02.2026 - 19:16DROPS Design ha risposto:
Hi Anna, Drops Alaska belongs to yarn group C and 2 strands from any yarn from yarn group C will be the same thickness as 1 strand of Drops Wish (belongs to yarn group E). However, Melody belongs to yarn group D, so the 2 strands will then be slightly thicker and you will need to adjust needle sizes and/or stitch numbers to get the correct measurements for the vest. Regards, Drops Team.
03.02.2026 - 07:22
|
|
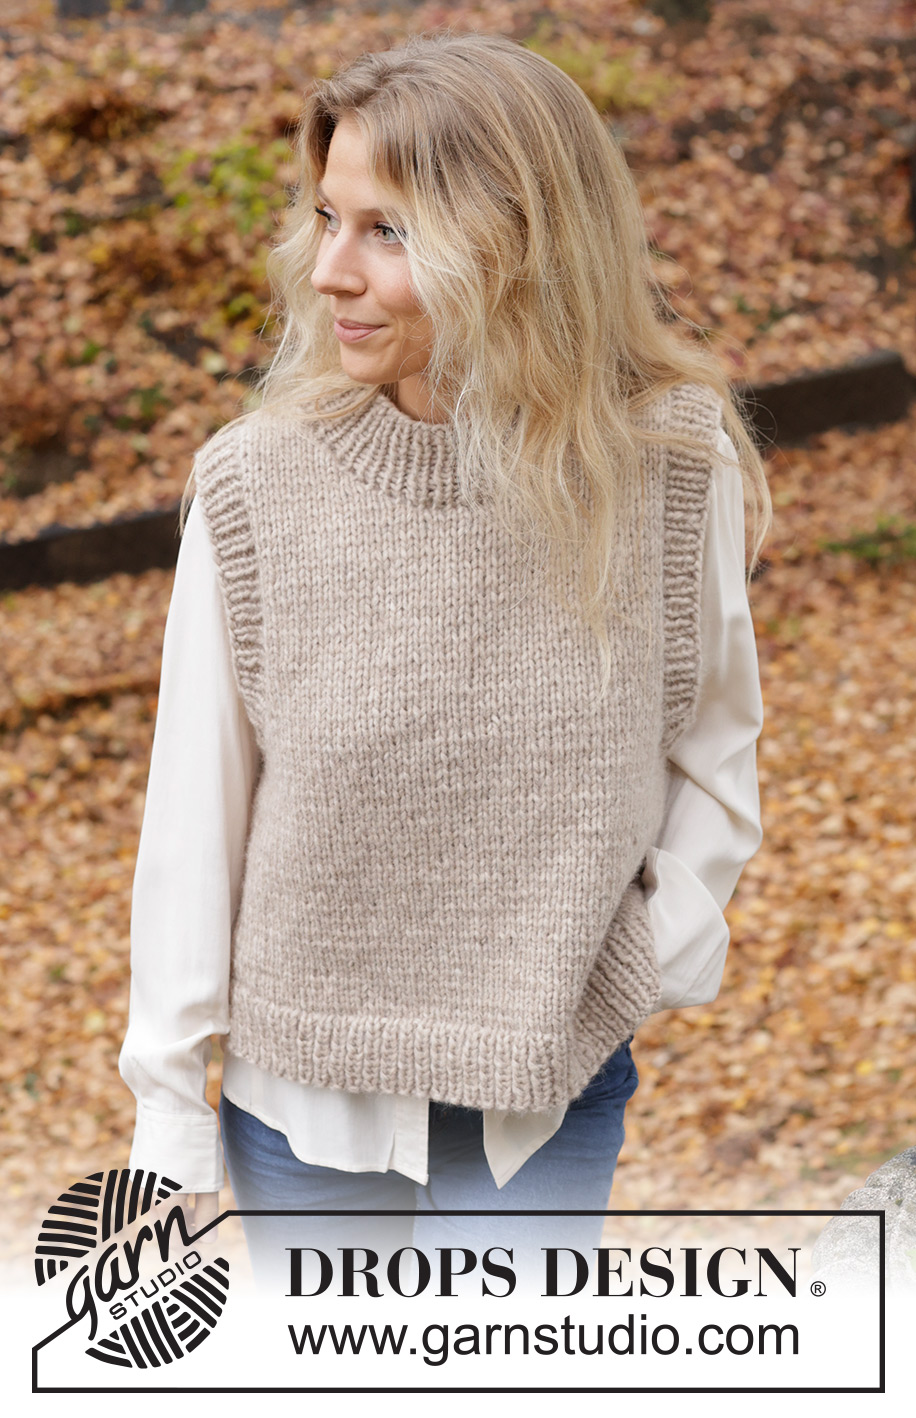
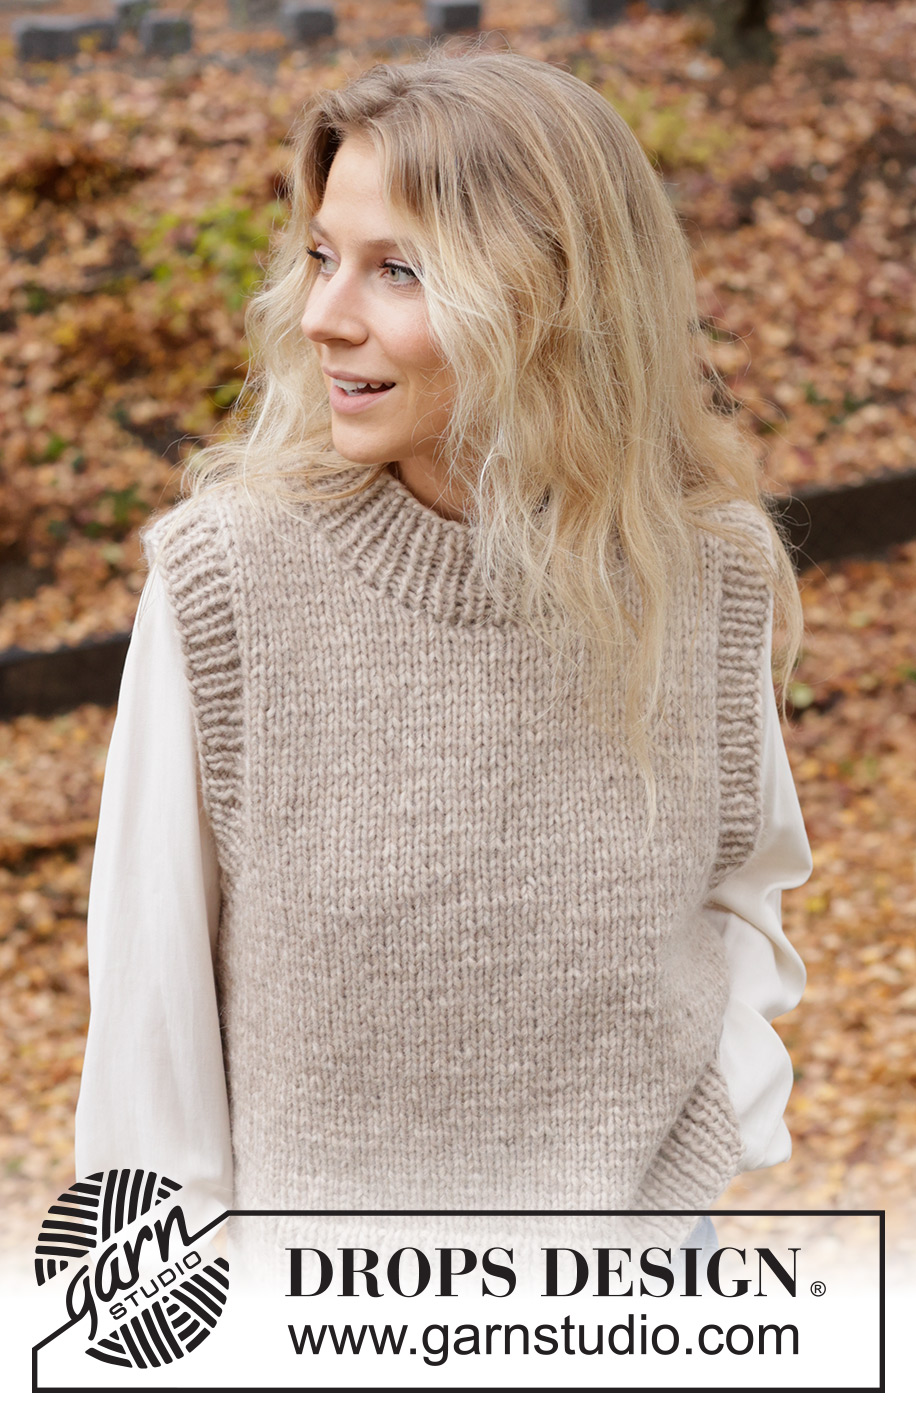
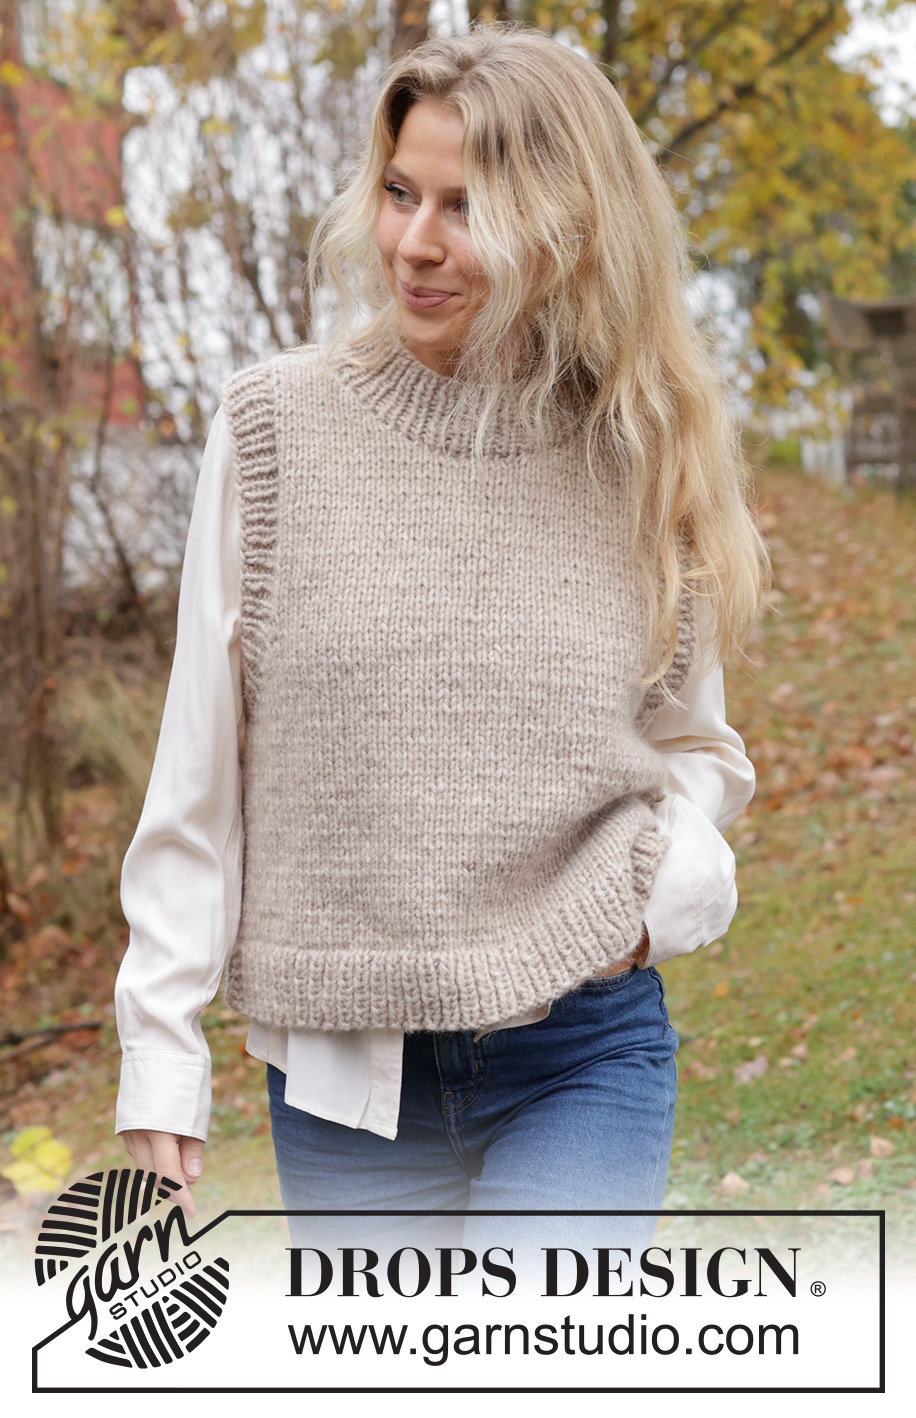
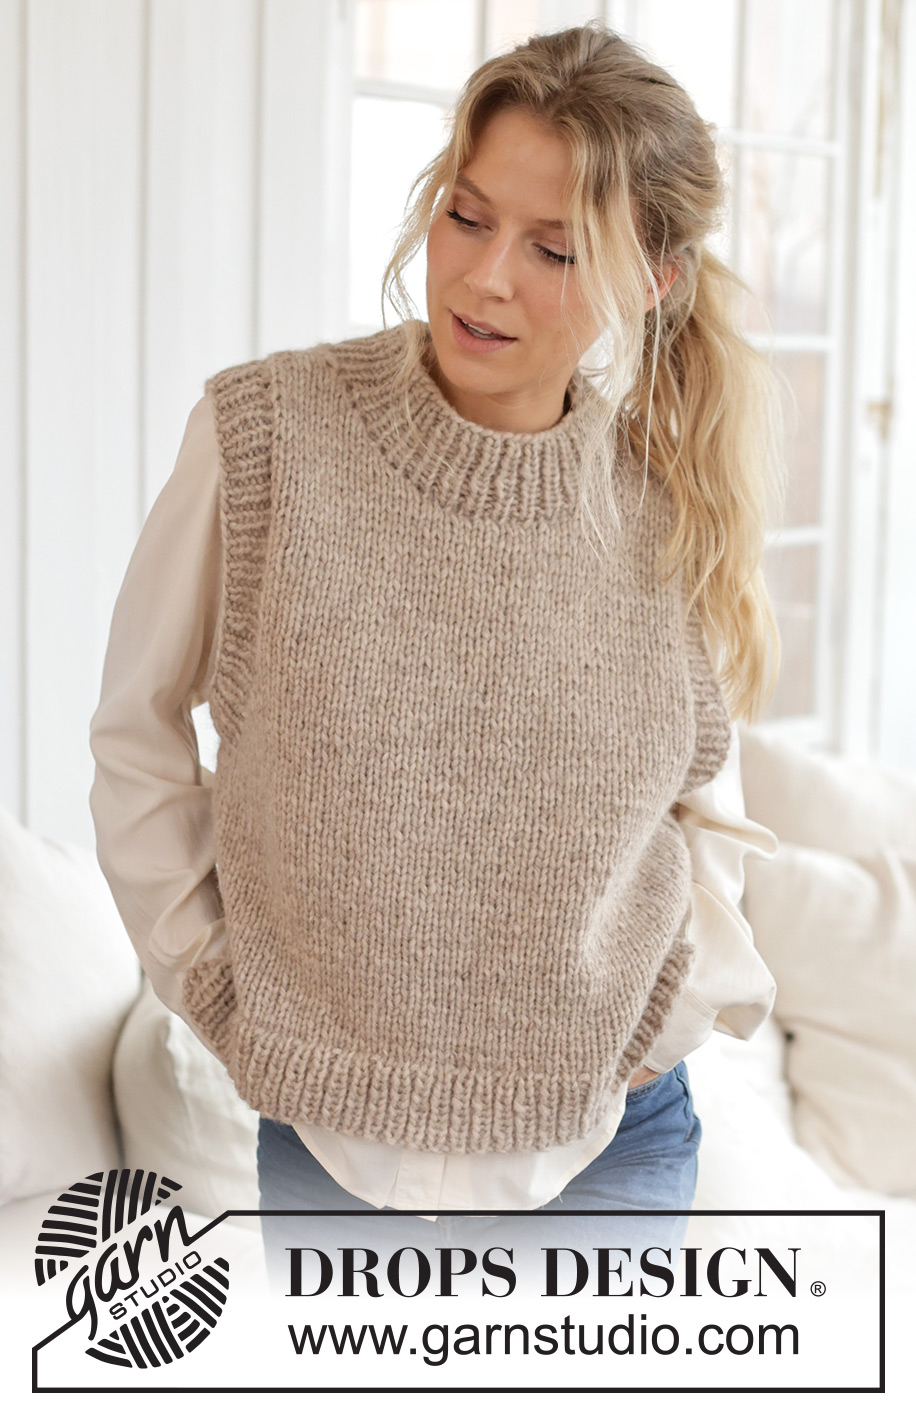
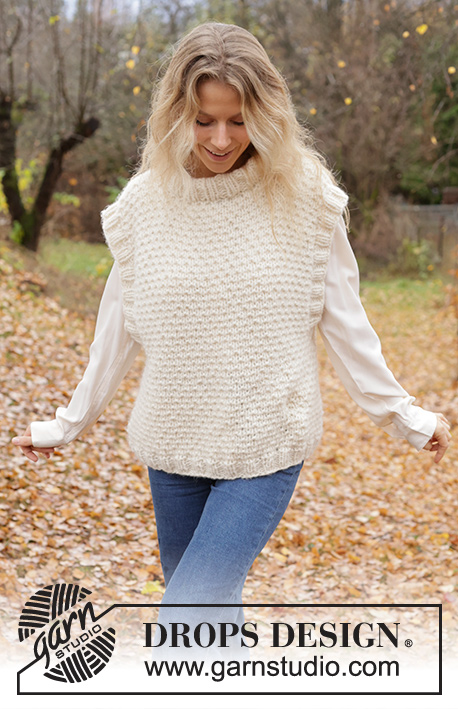
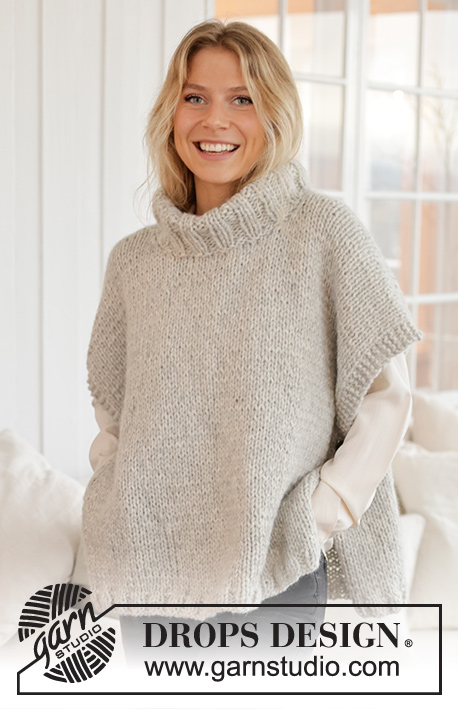
Isla Slipover#islaslipover |
|
 |
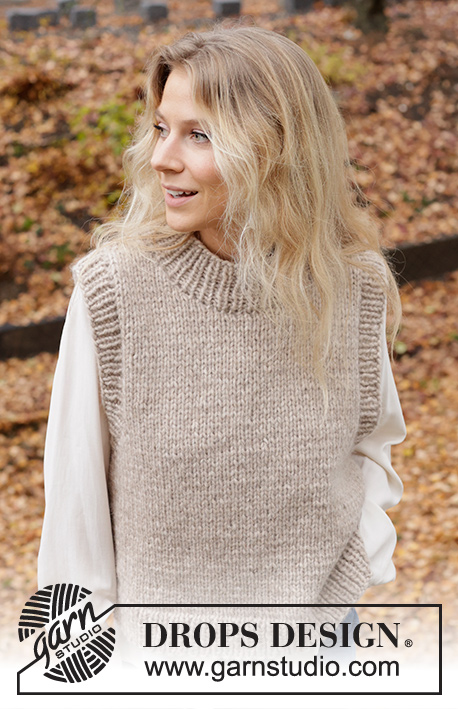 |
Gilet / smanicato lavorato ai ferri in DROPS Wish o 2 capi di DROPS Air. Lavorato a maglia rasata, con bordi a coste e spacchi laterali. Taglie: S - XXXL.
DROPS 226-58 |
|
|
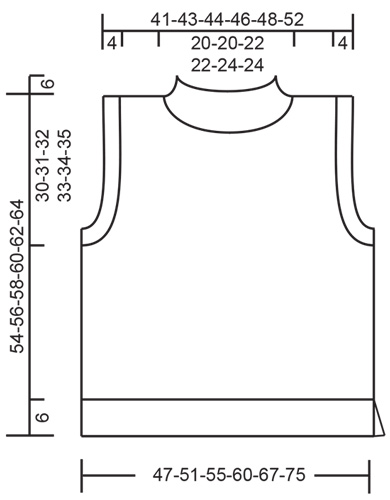
------------------------------------------------------- TECNICHE IMPIEGATE: ------------------------------------------------------- COSTA/MAGLIA LEGACCIO (avanti e indietro): Lavorare tutti i ferri a diritto. 1 costa in altezza = 2 ferri diritto. ------------------------------------------------------- INIZIO DEL LAVORO: ------------------------------------------------------- GILET – BREVE RIASSUNTO DEL LAVORO: Lavorare il davanti e il dietro in modo separato, in piano. Lavorare i bordi delle maniche e il collo in tondo alla fine. DIETRO: Avviare 69-73-77-85-93-103 maglie con i ferri circolari n° 7 mm e DROPS Wish o 2 capi di DROPS Air. Lavorare il 1° ferro come segue dal diritto del lavoro: 2 maglie di vivagno a MAGLIA LEGACCIO – leggere la descrizione sopra, lavorare a coste (1 maglia rovescio, 1 maglia diritto) fino a quando rimangono 3 maglie, 1 maglia rovescio e 2 maglie di vivagno a maglia legaccio. Continuare queste coste per 6 cm. Sul ferro successivo dal diritto del lavoro lavorare come segue: 1 maglia di vivagno a maglia legaccio, lavorare a maglia rasata e diminuire 17-17-17-19-19-21 maglie in modo uniforme sulle 67-71-75-83-91-101 maglie successive e 1 maglia di vivagno a maglia legaccio = 52-56-60-66-74-82 maglie. Passare ai ferri circolari n° 8 mm e continuare a maglia rasata e 1 maglia di vivagno a maglia legaccio a ogni lato. FARE ATTENZIONE ALLA TENSIONE DEL LAVORO! Quando il lavoro misura 24-25-26-27-28-29 cm, intrecciare le maglie per gli scalfi all’inizio di ogni ferro a ogni lato come segue: 3 maglie 1-1-1-1-1-2 volte, 2 maglie 0-1-2-2-3-3 volte e 1 maglia 5-4-3-5-6-5 volte = 36-38-40-42-44-48 maglie. Continuare a maglia rasata fino a quando il lavoro misura 51-53-55-57-59-61 cm. Intrecciare le 20-20-22-22-24-24 maglie centrali per il collo e finire ogni spalla in modo separato. Poi intrecciare 1 maglia sul ferro successivo dal collo = 7-8-8-9-9-11 maglie. Continuare a lavorare fino a quando il lavoro misura 54-56-58-60-62-64 cm. Intrecciare senza stringere a diritto dal diritto del lavoro. Lavorare l’altra spalla nello stesso modo. DAVANTI: Avviare e lavorare nello stesso modo del dietro fino a quando il lavoro misura 45-47-48-50-51-53 cm. Intrecciare le 8-8-8-10-10-10 maglie centrali per il collo e finire ogni spalla in modo separato. Intrecciare all’inizio di ogni ferro dal collo come segue: 2 maglie 2 volte e 1 maglia 3-3-4-3-4-4 volte = 7-8-8-9-9-11 maglie. Continuare a lavorare fino a quando il lavoro misura 54-56-58-60-62-64 cm. Intrecciare senza stringere a diritto dal diritto del lavoro. Lavorare l’altra spalla nello stesso modo. CONFEZIONE: Cucire i margini delle spalle. Cucire i margini laterali nel filo più esterno della costa più esterna, in modo che la cucitura sia piatta. Lasciare 6 cm sulla parte inferiore per lo spacco. BORDI DELLE MANICHE: Usare i ferri circolari corti n° 7 mm. Iniziare sulla parte inferiore dello scalfo e riprendere dal diritto del lavoro, all’interno di 1 maglia, circa 72-72-76-76-80-84 maglie attorno allo scalfo (il n° delle maglie dev’essere divisibile per 2). Lavorare a coste in tondo (1 maglia diritto, 1 maglia rovescio) per 4 cm. Intrecciare senza stringere con diritto su diritto e rovescio su rovescio. Lavorare l’altro bordo della manica nello stesso modo. COLLO: Usare i ferri circolari corti n° 7 mm. Iniziare in cima a una spalla e riprendere dal diritto del lavoro, all’interno di 1 maglia, circa 54-54-60-60-64-64 maglie attorno al collo (il n° di maglie dev’essere divisibile per 2). Lavorare a coste in tondo (1 maglia diritto, 1 maglia rovescio) per 6 cm. Intrecciare senza stringere con diritto su diritto e rovescio su rovescio. |
|
 |
|
Avete terminato questo modello?Allora taggate le vostre foto con #dropspattern #islaslipover o inviatele alla #dropsfan gallery. Avete bisogno di aiuto con questo modello?Troverete 23 video tutorial, una sezione per i commenti/domande e molto altro guardando il modello su www.garnstudio.com © 1982-2026 DROPS Design A/S. Ci riserviamo tutti i diritti. Questo documento, compreso tutte le sue sotto-sezioni, è protetto dalle leggi sul copyright. Potete leggere quello che potete fare con i nostri modelli alla fine di ogni modello sul nostro sito. |
|


Con oltre 40 anni di esperienza nel design di modelli di maglia e uncinetto, DROPS Design offre la più estesa collezione di modelli gratuiti su internet - tradotti in 17 lingue. Ad oggi vi possiamo fornire 324 cataloghi e 12290 modelli - 9561 dei quali sono tradotti in Italiano.
Ci stiamo impegnando molto per darvi il meglio che vi possiamo offrire in termini di maglia e uncinetto, ispirazioni e consigli così come filati di grande qualità ad un prezzo incredibile! Volete utilizzare i nostri modelli per qualcosa d'altro oltre al vostro uso personale? Potete leggere tutto ciò che è consentito nel testo sul Copyright in basso su tutte le pagine dei nostri modelli. Buon lavoro!
Lasciare un commento sul modello DROPS 226-58
Noi saremmo felici di ricevere i tuoi commenti e opinioni su questo modello!
Se vuoi fare una domanda, fai per favore attenzione a selezionare la categoria corretta nella casella qui sotto per velocizzare il processo di risposta. I campi richiesti sono indicati da *.