
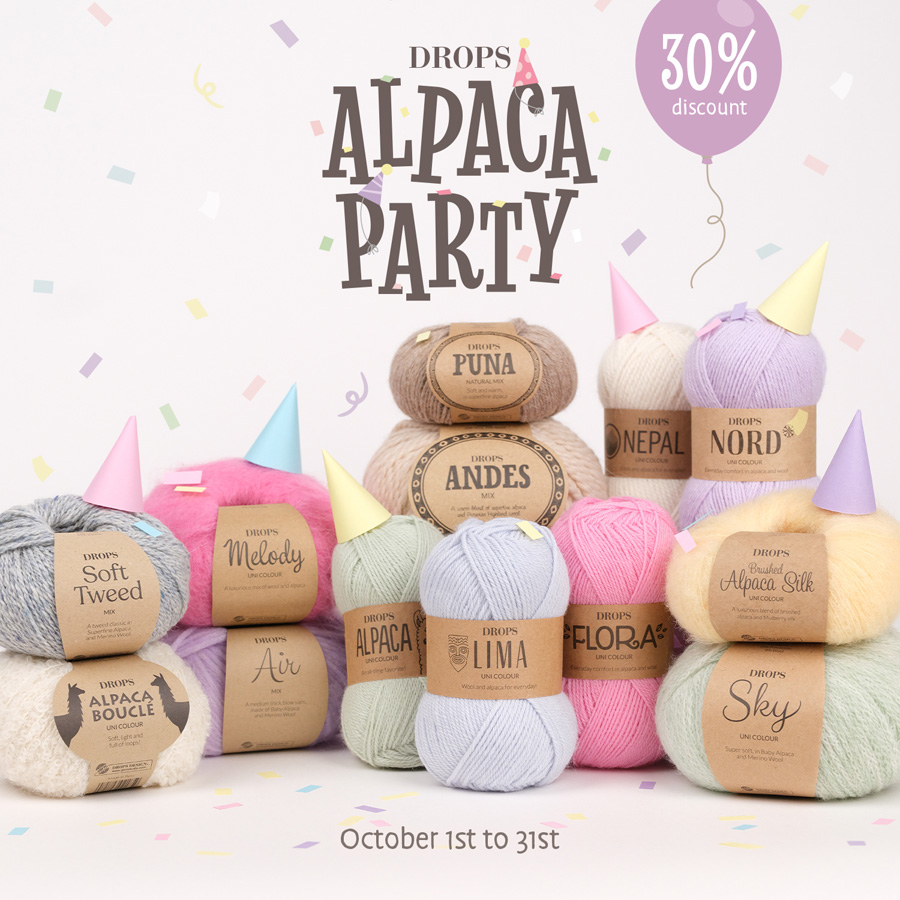
Looking for a yarn?


Comments / Questions (5)
![]() Alexandra wrote:
Alexandra wrote:
Om man använder stick mönstret ni har, får man säga det man tillverkat på Vinted?
14.10.2025 - 00:06DROPS Design answered:
Hej Alexandra. Försäljning av plagg/produkter baserade på DROPS design är tillåtet så länge det sker enskilt/på beställning, kommersiell försäljning utöver detta är inte tillåtet. Det skall tydligt framgå att plagget är tillverkat med utgångspunkt i design från DROPS DESIGN. Så länge försäljningen är i mindre skala och det framgår att det är design av DROPS Design går det alltså bra. Mvh DROPS Design
14.10.2025 - 07:21
![]() Emma wrote:
Emma wrote:
I can’t make sense of the increase instructions - Knit together the next yarn over and stitch but do not slip them off the left needle, make 1 yarn over and knit the yarn over together with the stitch 1 more time = 3 stitches (2 increased stitches). Slip the stitch from the left needle. Do you make a yarn over and then slip it onto the left needle to then knit it with a stitch again?
07.10.2025 - 14:37
![]() Claude wrote:
Claude wrote:
Je trouve que c'est mal expliqué : pour moi on ne fait pas un jeté, mais on passe le fil devant le travail. J'ai dû recommencer plusieurs fois, et j'ai fini par comprendre en regardant l'onglet vidéos. Il y a aussi quelques erreurs (il manque le rang 8 par exemple).
05.10.2025 - 14:03
![]() DANIELA wrote:
DANIELA wrote:
Salve, non ho capito come fare gli aumenti. Potete fare un video su come si deve fare? Grazie anche le diminuzioni
05.10.2025 - 11:06DROPS Design answered:
Buonasera Daniela, di fianco alla foto può trovare il link per accedere ai video delle tecniche contenute in questo modello. Buon lavoro!
05.10.2025 - 21:29
![]() DANIELA wrote:
DANIELA wrote:
E se uso i ferri normali?
01.10.2025 - 22:27DROPS Design answered:
Ciao Daniela, nessun problema :) Saluti!
02.10.2025 - 09:24
|
|
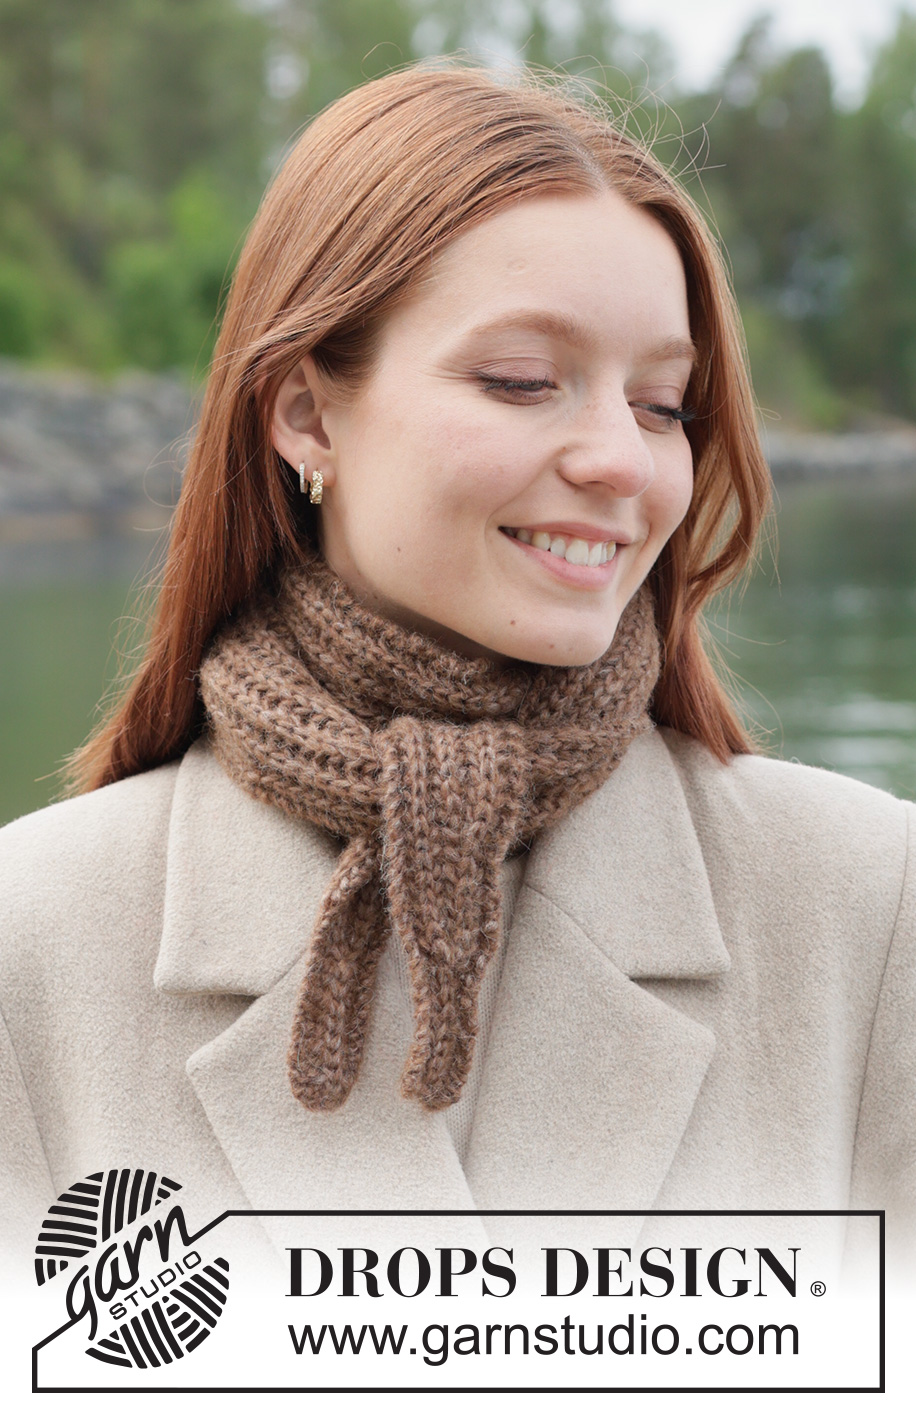
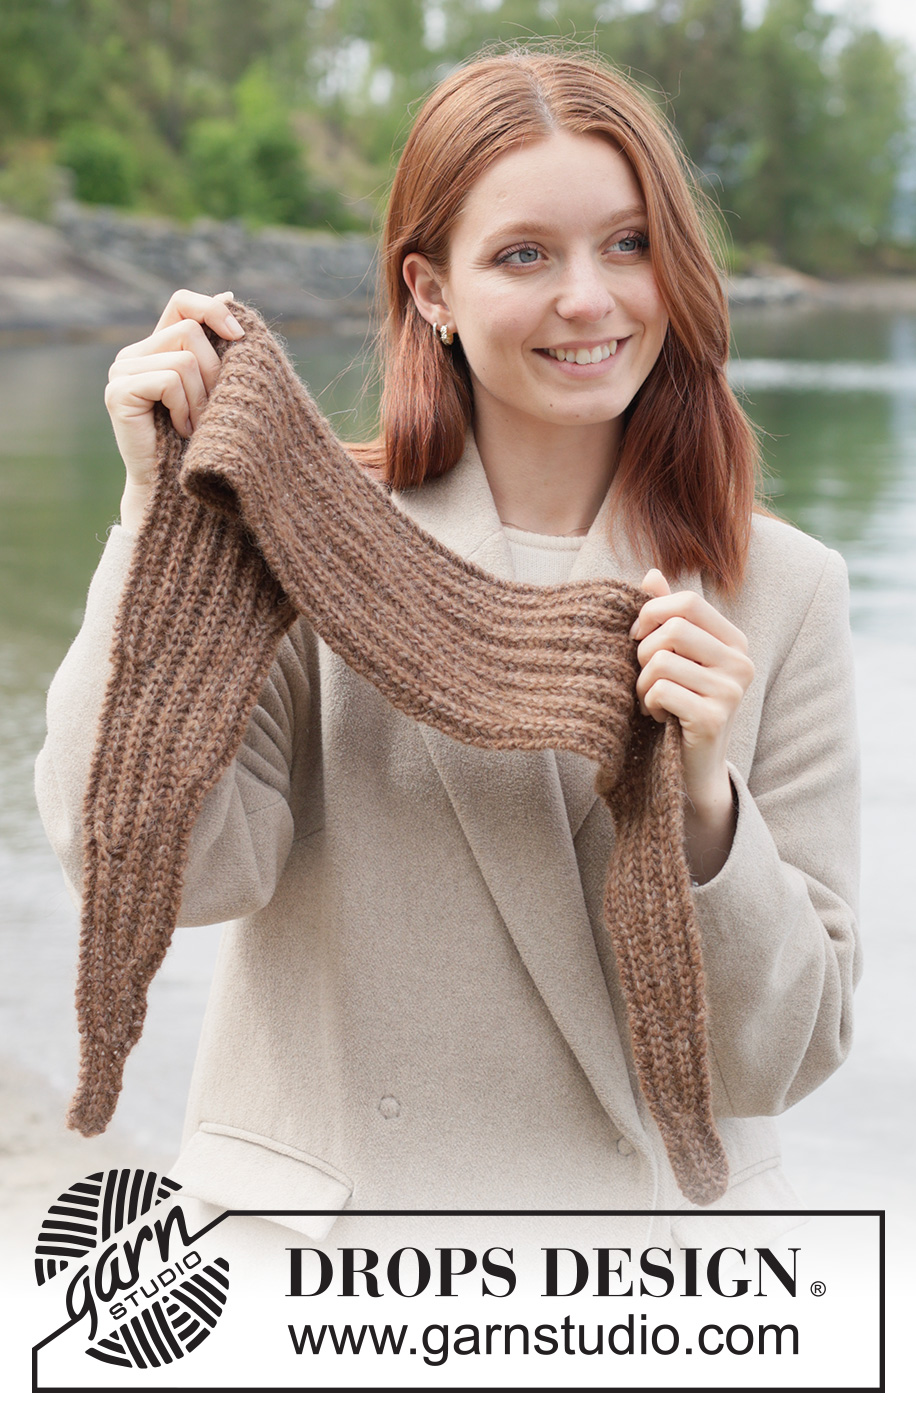
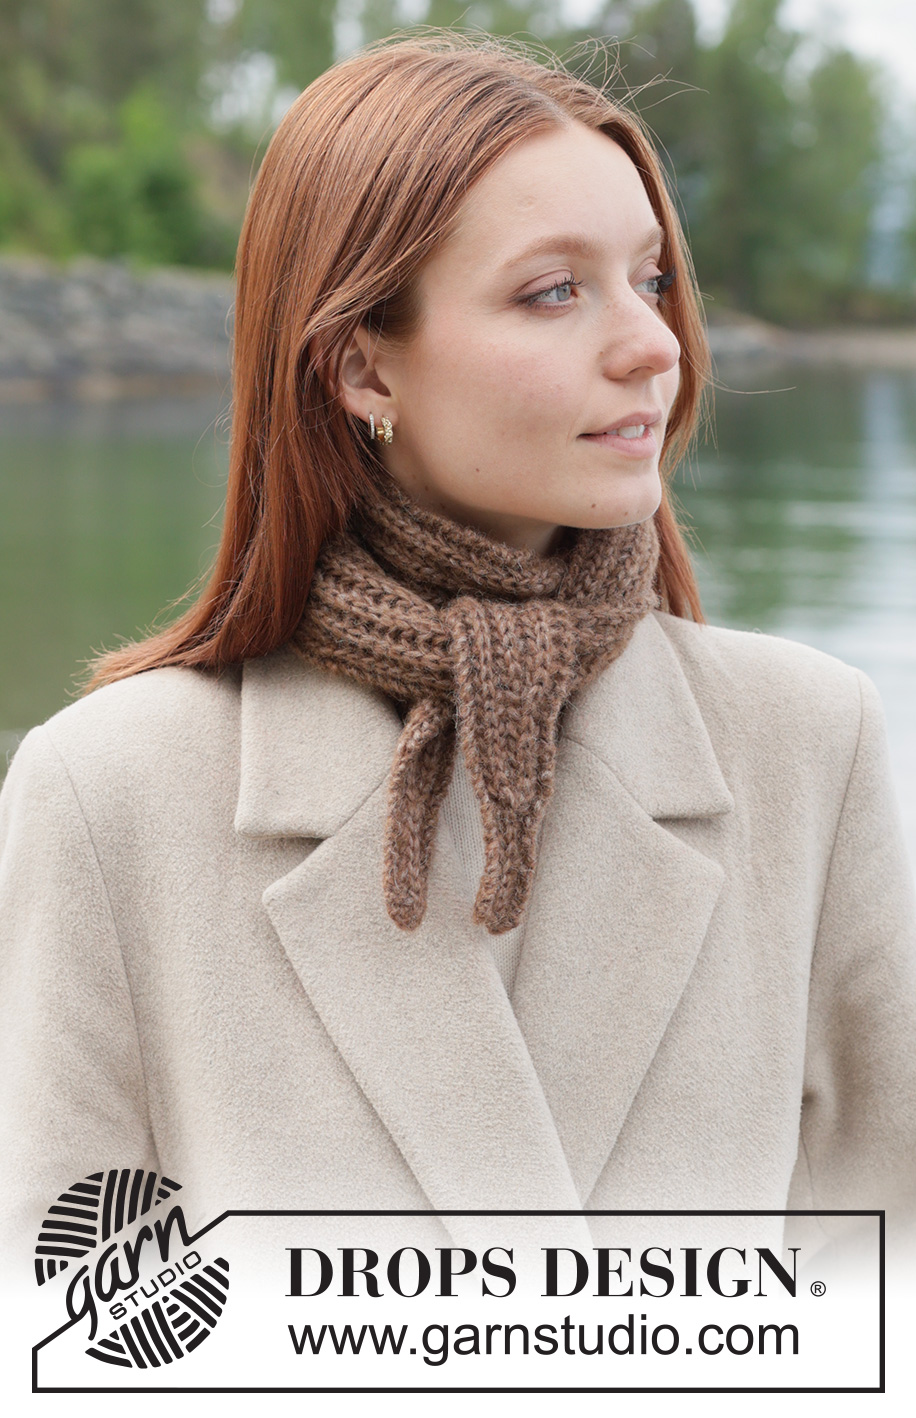
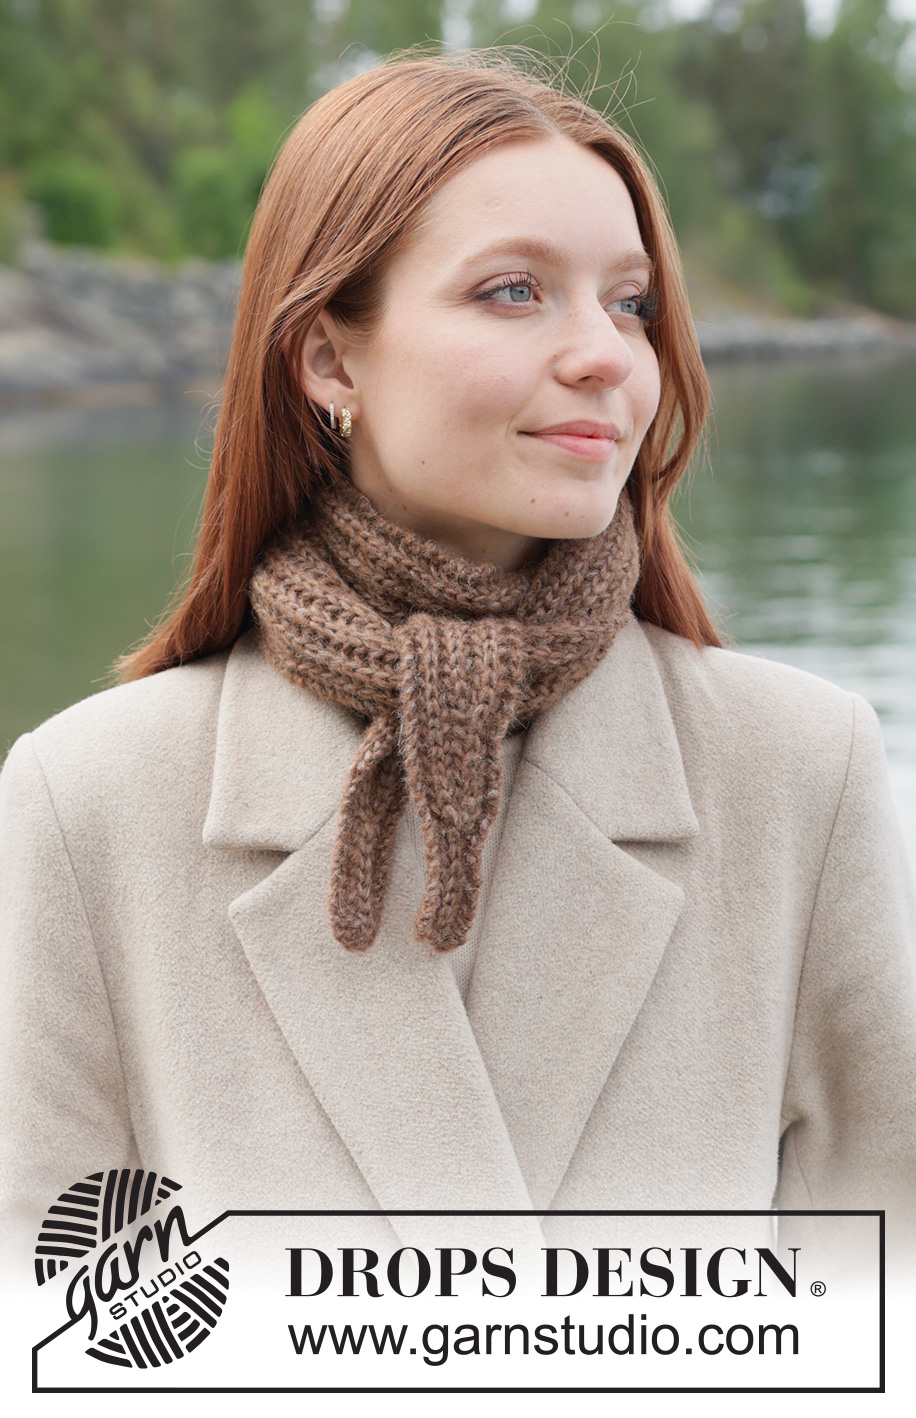
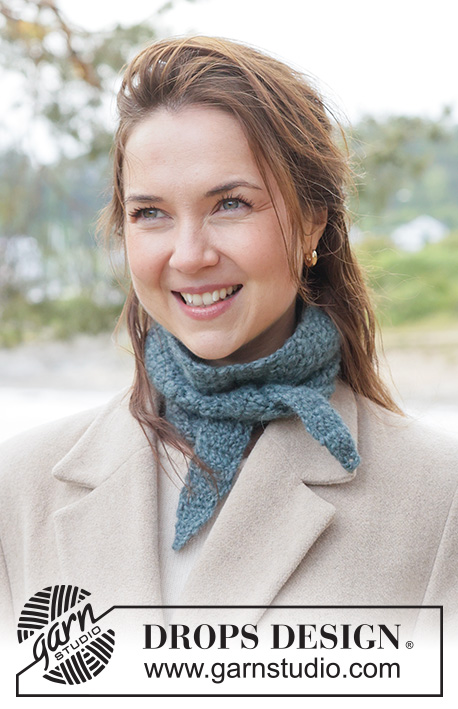
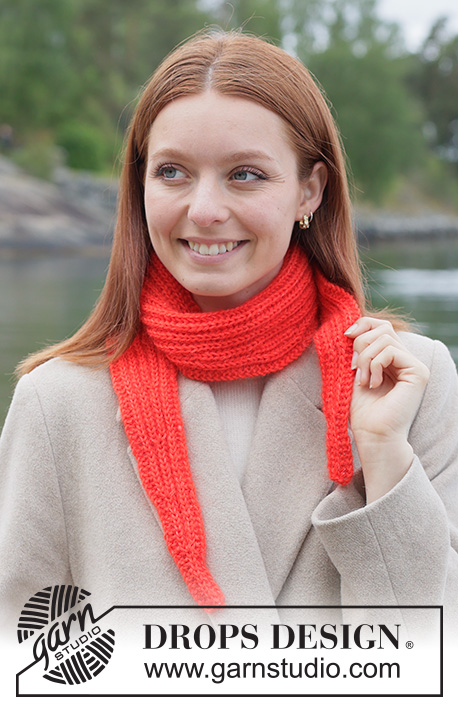
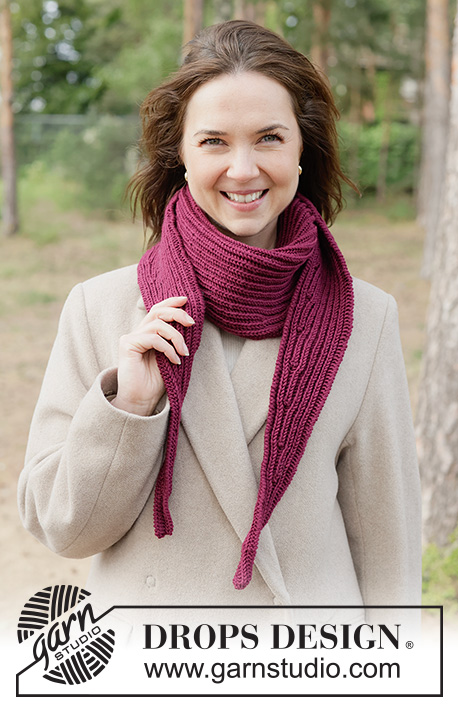
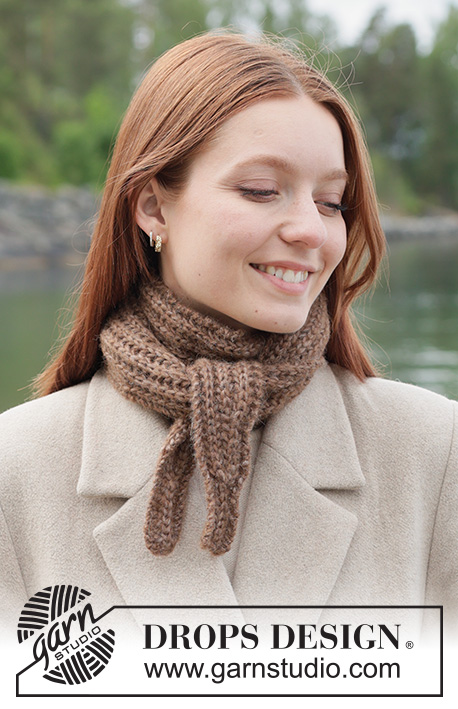
Walnut Whirl Shawl#walnutwhirlshawl |
|
 |
 |
Small knitted shawl in DROPS Air. The piece is worked sideways in English rib.
DROPS 261-54 |
|
|
------------------------------------------------------- EXPLANATIONS FOR THE PATTERN: ------------------------------------------------------- GARTER STITCH (worked back and forth): Knit all rows. INCREASE 2 STITCHES: All increases are worked from the right side! Knit together the next yarn over and stitch but do not slip them off the left needle, make 1 yarn over and knit the yarn over together with the stitch 1 more time = 3 stitches (2 increased stitches). Slip the stitch from the left needle. DECREASE 2 STITCHES: All decreases are worked from the right side! You decrease differently at the beginning and end of the row as follows: BEGINNING OF ROW: Work 1 garter stitch, make 1 yarn over, slip the next purled stitch purl-wise, then decrease as follows across the next 3 stitches: Slip the next knitted stitch (+ yarn over) onto the right needle as if to knit together, knit together the next purled stitch and knitted stitch (+ yarn over), pass the slipped stitch (+ yarn over) over the knitted together stitches (= 2 decreased stitches). END OF ROW: Work as before until there are 5 stitches left (yarn overs are not counted as they belong to the knitted stitches); the next stitch is a knitted stitch (+ yarn over). Knit together the knitted stitch (+ yarn over) and purled stitch, slip the knitted together stitches back onto the left needle, pass the next knitted stitch (+ yarn over) on the left needle over the knitted together stitches. Slip the outermost stitch on the left needle back onto the right needle (= 2 stitches decreased). Work the last 2 stitches as before. ------------------------------------------------------- START THE PIECE HERE: ------------------------------------------------------- SHAWL – SHORT OVERVIEW OF THE PIECE: The piece is worked back and forth in English rib, increasing stitches each side until the correct stitch count is reached. Then English rib is worked without increasing, then decreasing each side. SHAWL: Cast on 5-5 stitches with DROPS Air and circular needle size 5 mm. ROW 1 (wrong side): Work 1 GARTER STITCH – read explanation above, purl 1, make 1 yarn over, slip the next stitch purl-wise, purl 1, work 1 garter stitch. ROW 2 (right side): Work 1 garter stitch, make 1 yarn over, slip the next stitch purl-wise, knit together the next yarn over and knitted stitch, make 1 yarn over, slip the next stitch purl-wise, work 1 garter stitch. ROW 3 (wrong side): Work 1 garter stitch, knit together the next yarn over and stitch, make 1 yarn over, slip the next stitch purl-wise, knit together the next yarn over and knitted stitch, work 1 garter stitch. Repeat ROWS 2 and 3 until the piece measures 5-5 cm – with the next row from the right side. There is 1-1 knitted English rib stitch in the middle of the row (seen from the right side). Now increase in the middle stitch as follows: ROW 4 (right side): As ROW 2 but increasing 2 stitches in the middle stitch – read INCREASE 2 STITCHES in explanations above. ROW 5 (wrong side): As ROW 3 - NOTE! On the row after increasing, there is no yarn over around the increased stitches. These stitches are worked into the pattern as you go. There are 2-2 knitted English rib stitches (seen from the right side). ROW 6 (right side): Work 1 garter stitch, * make 1 yarn over, slip the next stitch purl-wise, knit together the next yarn over and stitch *, work from *-* until there are 2 stitches left. make 1 yarn over, slip the next stitch purl-wise, work 1 garter stitch. ROW 7 (wrong side): Work 1 garter stitch, * knit together the next yarn over and stitch, make 1 yarn over, slip the next stitch purl-wise *, work from *-* until there are 2 stitches left, knit together the next yarn over and stitch, work 1 garter stitch. Remember to maintain the knitting tension. Repeat ROWS 6 and 7 until the piece measures 5-5 cm from the previous increase – with the next row from the right side. Now increase in the first knitted English rib stitch as follows: ROW 8 (right side): As ROW 6 but in the first knitted English rib stitch increase 2 stitches. ROW 9 (wrong side): As ROW 7. There are 3-3 knitted English rib stitches (seen from the right side). Repeat ROWS 6 and 7 until the piece measures 5-5 cm from the previous increase (approx. 18 rows of English rib after the increase) – with the next row from the right side. Now increase in the last knitted English rib stitch as follows: ROW 10 (right side): As ROW 6 but in the last knitted English rib stitch increase 2 stitches. ROW 11 (wrong side): As ROW 7. There are 4-4 knitted English rib stitches (seen from the right side). Continue the English rib, increasing alternately in the first and last knitted English rib stitch, with 5-5 cm between each increase and until you have worked a total of 7-8 increases in height on each side. There are 19-21 stitches. There are 8-9 knitted English rib stitches (seen from the right side. After the last increase, the piece measures approx. 40-45 cm from the cast-on edge. Repeat ROWS 6 and 7 without increasing until the piece measures 36-36 cm from the last increase and approx. 76-81 cm from the cast-on edge, with the next row from the right side. Now decrease 2 stitches on the opposite side from the last increase, working as follows: ROW 12 (right side): As ROW 6 but DECREASE 2 STITCHES - read explanation above. ROW 13 (wrong side): As ROW 7. There is now 1 knitted English rib stitch less (seen from the right side). Repeat ROWS 6 and 7 until the piece measures 5-5 cm from the previous decrease – with the next row from the right side. Now decrease 2 stitches on the opposite side from the previous decrease, working as follows: ROW 14 (right side): As ROW 6 but decrease 2 stitches. ROW 15 (wrong side): As ROW 7. There is now 1 knitted English rib stitch less (seen from the right side). Continue the English rib, decreasing alternately in the first and last knitted English rib stitch, with 5-5 cm between each decrease and until you have worked a total of 7-8 decreases in height on each side. There are 5-5 stitches left. There is 1 knitted English rib stitch in the middle of the row (seen from the right side). Continue the English rib without decreasing until the piece measures 5-5 cm from the last decrease. Cast off. The piece measures approx. 116-126 cm from the cast-on edge. |
|
Have you finished this pattern?Tag your pictures with #dropspattern #walnutwhirlshawl or submit them to the #dropsfan gallery. Do you need help with this pattern?You'll find 15 tutorial videos, a Comments/Questions area and more by visiting the pattern on garnstudio.com. © 1982-2025 DROPS Design A/S. We reserve all rights. This document, including all its sub-sections, has copyrights. Read more about what you can do with our patterns at the bottom of each pattern on our site. |
|
With over 40 years in knitting and crochet design, DROPS Design offers one of the most extensive collections of free patterns on the internet - translated to 17 languages. As of today we count 319 catalogues and 12007 patterns translated into English (UK/cm).
We work hard to bring you the best knitting and crochet have to offer, inspiration and advice as well as great quality yarns at incredible prices! Would you like to use our patterns for other than personal use? You can read what you are allowed to do in the Copyright text at the bottom of all our patterns. Happy crafting!
Post a comment to pattern DROPS 261-54
We would love to hear what you have to say about this pattern!
If you want to leave a question, please make sure you select the correct category in the form below, to speed up the answering process. Required fields are marked *.