
Popular categories
Looking for a yarn?




















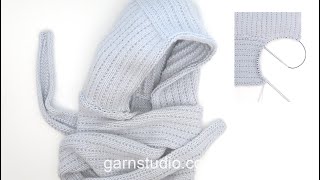














Comments / Questions (39)
 Christine wrote:
Ah ! Tout s'éclaire ! Merci beaucoup pour cette réponse rapide !
03.11.2026 - 10:23
Christine wrote:
Bonjour\J\'en suis arrivée à \"Echarpe côté gauche\" et ensuite je suis perdue. Où met-on les \"30 mailles de montage\" ? Comment les raccorder au tricot ? Merci de m\'aider
01.11.2026 - 18:18DROPS Design answered:
Bonjour Christine, vous montez vos 30 mailles pour l'écharpe et vous tricotez le 1er rang sur l'envers comme indiqué, puis au début du 2ème rang, avant de tricoter ces 30 mailles sur l'endroit, prenez les 2 mailles en attente du côté gauche (en commençant par le milieu dos) sur l'aiguille gauche, et tricotez les 3 premières mailles ensemble à l'endroit (= 2 des mailles en attente + la 1ère des 30 mailles), terminez le rang comme avant. Tricotez le rang suivant sur l'envers puis au début du rang suivant sur l'endroit, mettez 1 seule maille en attente sur l'aiguille gauche et tricotez 2 m ens à l'endroit et terminez le rang. Répétez ces 4 rangs, autrement dit vous allez tricoter en début de rang sur l'endroit alternativement 2 mailles et 1 maille des mailles en attente avec la 1ère maille de l'écharpe. Bon tricot!
02.11.2026 - 09:43
 Lisette wrote:
Ik ben de Misty Fjord Hood aan het breien. Ben nu bij de rechter Sjaal, Naald 1,2 en 4 snap ik maar bij naald 3 begrijp ik het niet meer, wat moet ik daar anders doen dan bij naald 1 Hopelijk kunt u helpen. Alvast bedankt
26.10.2026 - 09:45DROPS Design answered:
Dag Lisette,
Het verschil met de 1e naald is dat je op de 3e naald 1 steek recht breit (in plaats van 2 steken recht samen) van de muts, voordat je de afgehaalde steek overhaalt.
01.11.2026 - 10:26
 Jone wrote:
Hello, I do not understand from where we measure 21 cm, could you help me...is it 21 cm from the starting (cast on) or from the end of 18 cm rectangle, so in total it should be 39 cm? 18 cm were a forehead and other 21 cm is already a back of hood? Thank you!
22.10.2026 - 11:51DROPS Design answered:
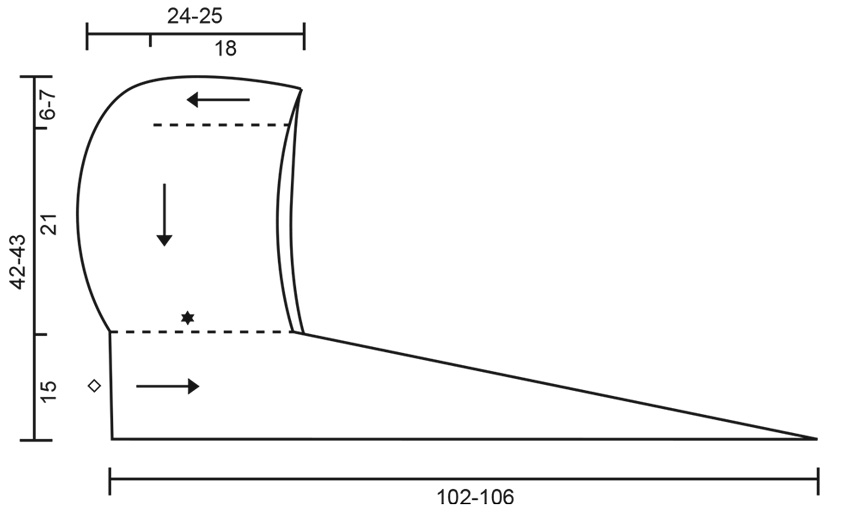
Dear Jone, measure the 21 cm from the stitches you have picked up on each side of the middle piece. - The 18 cm is the piece on top of head, the 21 cm are the sides down from the middle top of head toward scarf.. Happy knitting!
23.10.2026 - 06:22
 Sarah wrote:
Concerning the left scarf, I am not able to understand how to knit 2 stitches from the hood with one stitche from scarf together. It's confusing to me that the last stitche from the previous row is purled, how will it be knitted with 2 stitches from hood with the yarn not in place ?
21.10.2026 - 13:22DROPS Design answered:
Dear Sarah, maybe this video could help you? Even if the next stitch on hood is a purl stitch, it /they will be knitted together with the stitch from scarf. Happy knitting!
22.10.2026 - 08:27
 Irmgard wrote:
Wieviel Gramm brauche ich, wenn ich Babymerino nehme?
10.09.2026 - 18:16DROPS Design answered:
LIebe Irmgard, benutzen Sie unseren Garnumrechner um die neue Garnmenge kalkulieren zu lassen. Viel Spaß beim Stricken!
11.09.2026 - 09:16
 Soffía wrote:
þetta útskyrir ekkert,bara sami textin sem ég skil ekki. Hvað þyðir innan við 1 lykkju, og hvað þyðir annari hverri umferð,er kannturinn ekki bara 1 umferð.
26.08.2026 - 11:54DROPS Design answered:
Blessuð Soffía. Myndbandið útskýrir þetta vel. Þú stingur prjóninum í gatið eftir fyrstu lykkju (frá hlið á stykkinu), síðan prjónar þú með nýjum þræði upp 1 lykkju, síðan prjónar þú upp aðra lykkju í næsta gat, sleppir 1 gati (sem er 1 umferð), prjónar síðan upp 1 lykkju, síðan prjónar þú upp aðra lykkju í næsta gat, sleppir 1 gati og svo framvegis. Þarna ertu að prjóna upp lykkjur í aðra hverja umferð. Gangi þér vel.
26.08.2026 - 13:25
Soffía Reynisdóttir wrote:
Hvað þyðir innan við 1 lykkju, í texta I-cord kantur.
25.08.2026 - 17:43DROPS Design answered:
Blessuð Soffía. Byrjið neðst frá hægri hlið á hettunni (hægri hlið þegar stykkið er mátað), prjónið upp 1 lykkju í aðra hverja umferð, innan við 1 lykkju að uppfitjunarkantinum (= ca. 40-40 lykkjur), prjónið síðan upp 1 lykkju í hverja lykkju meðfram uppfitjunarkantinum (= 24-28 lykkjur) og að lokum 1 lykkju í aðra hverja umferð meðfram vinstri hlið á hettuopinu (= ca. 40-40 lykkjur) = ca. 104-108 lykkjur. Gangi þér vel.
25.08.2026 - 19:17
Soffía Reynisdóttir wrote:
Hver er munur á I-cord kanti, og I- cord affelling
25.08.2026 - 17:41DROPS Design answered:
Blessuð Soffia, hægt er að prjóna i-cord kant meðfram hálsmáli og meðfram kanti að framan eins og í t.d. opnum peysum, kant meðfram sjali og fleira. I-cord affelling þá ertu að fella af lykkjur ásamt því að prjóna i-cord kantinn. Gangi þér vel.
25.08.2026 - 18:59
Soffía Reynisdóttir wrote:
I-cordByrjið neðst í hægri hlið á hettu (hægri hlið = séð þegar flíkin er mátuð), innan við 1 lykkju er prjónuð upp 1 lykkja í aðra hverja umferð upp að uppfitjunarkanti (= ca 40-40 lykkjur), síðan er prjónuð upp 1 lykkja í hverja,hvað er átt við í annari hverri umferð.er þetta margar umferðir.?
25.08.2026 - 16:10DROPS Design answered:
Blessuð Soffía. Þarna er verið að útskýra hvernig þú prjónar upp lykkjur meðfram opi fyrir andliti. Það er mjög gott myndband á síðunni okkar sem sýnir þetta ferli. Efst í uppskriftinni stendur MYNSTUR, MYNDBÖND, KENNSLA.... þú smellir á MYNDBÖND og þar er myndband um hvernig á að prjóna hettuhálsklút. Gangi þér vel.
25.08.2026 - 19:05
|
||||||||||
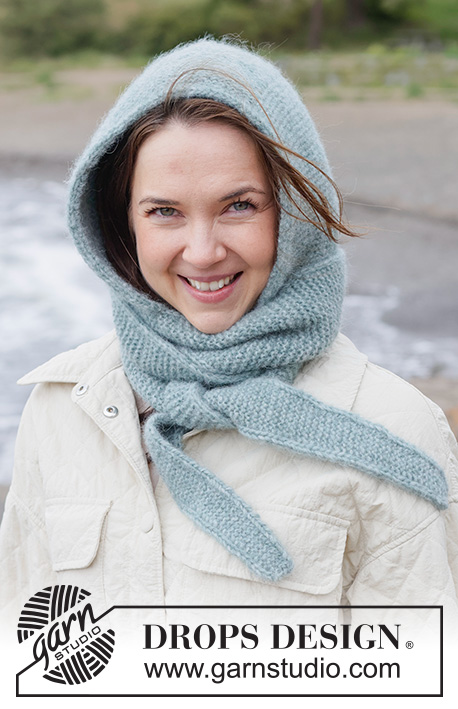
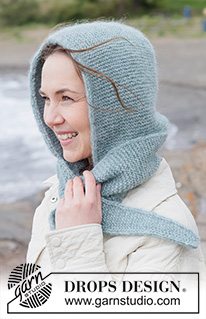
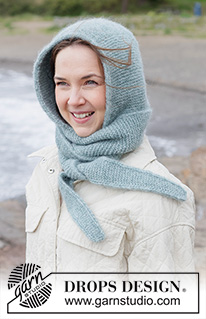
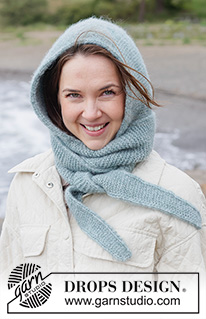
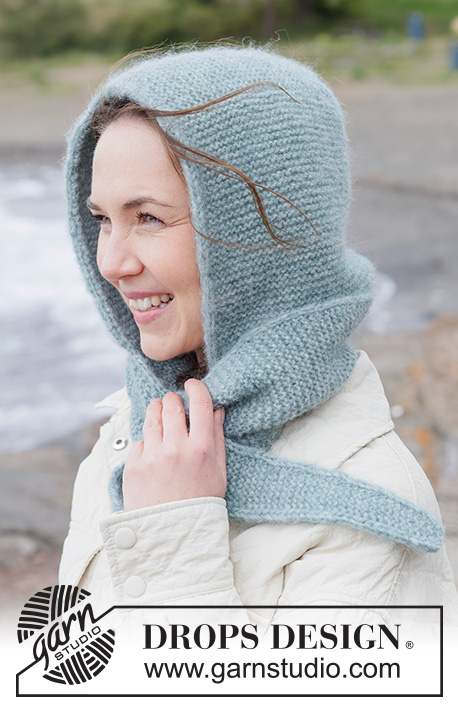
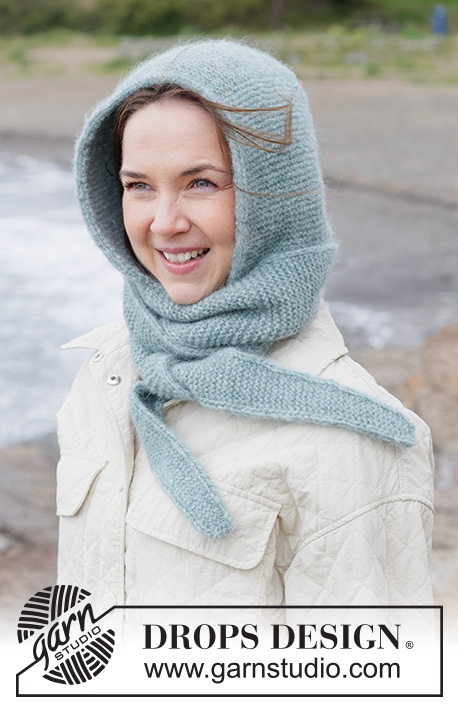
Misty Fjord Hood#mistyfjordhood |
||||||||||
 |
 |
|||||||||
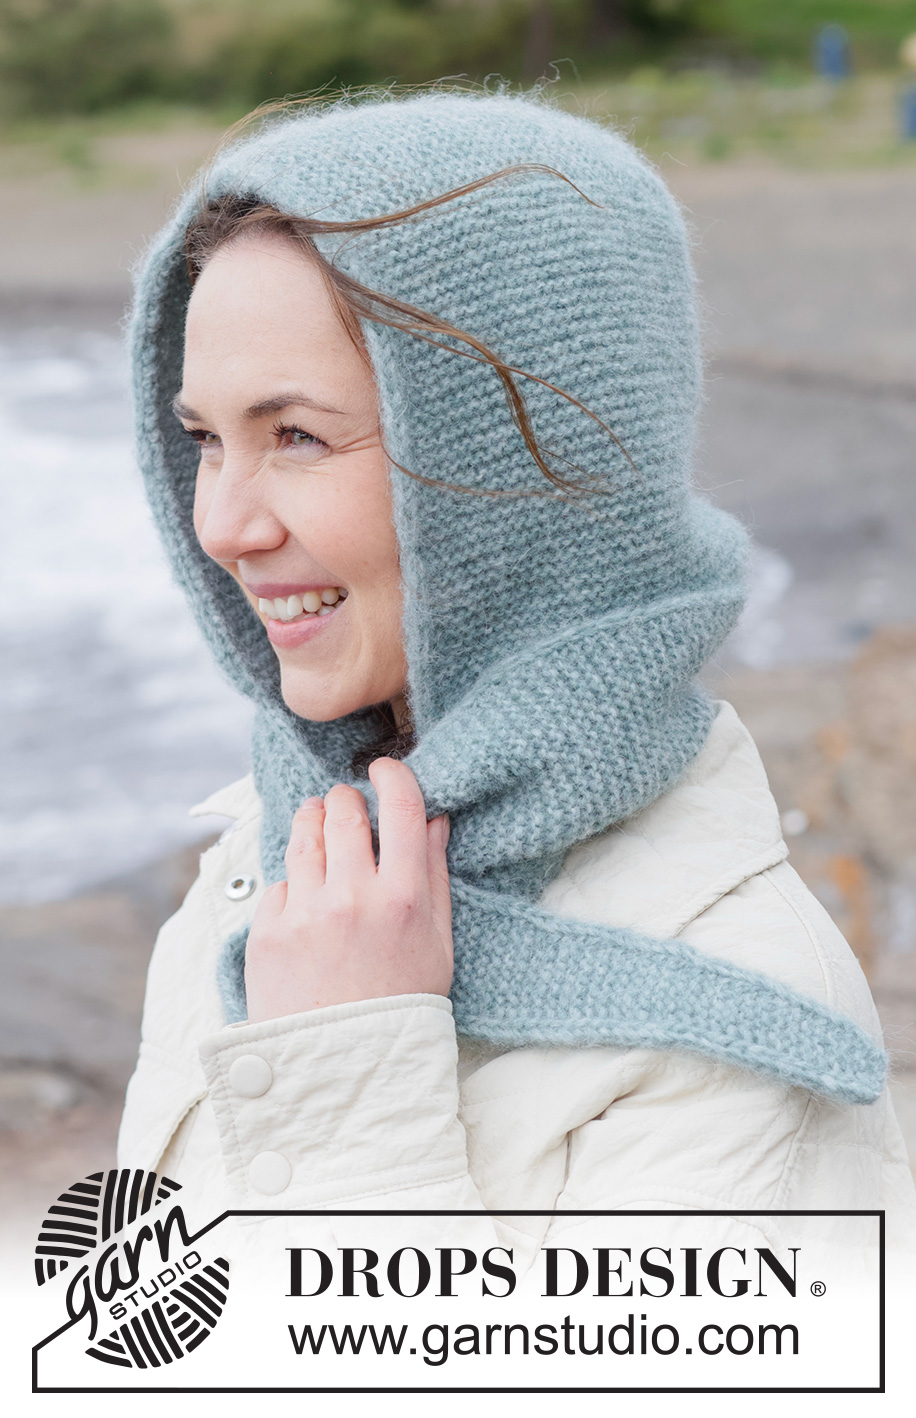
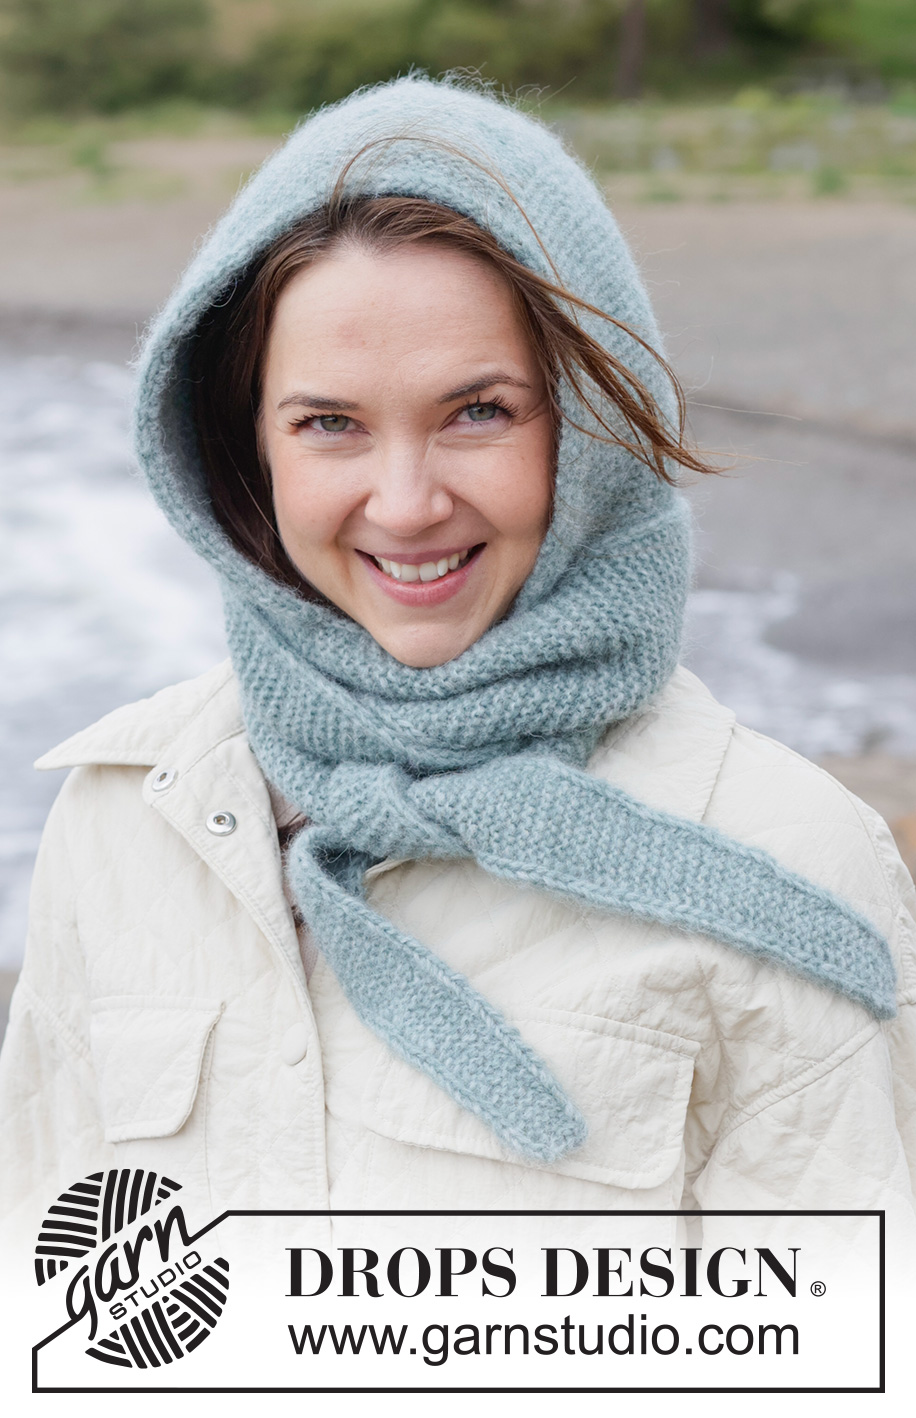
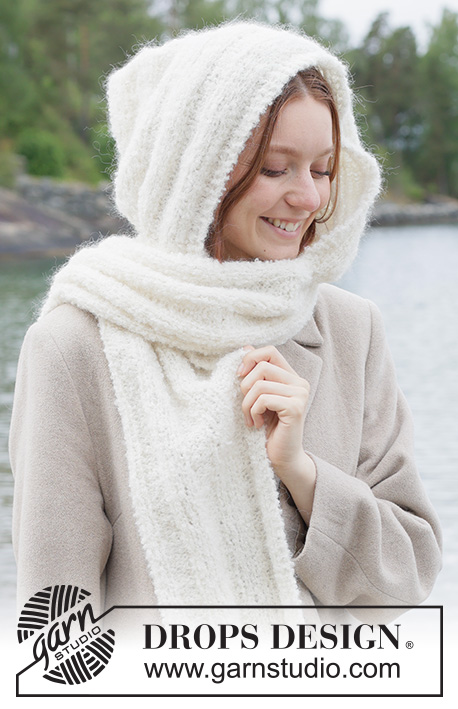
Knitted hooded scarf in DROPS Air. The piece is worked in garter stitch with I-cord. Sizes S - XL.
DROPS 261-4 |
||||||||||
|
------------------------------------------------------- EXPLANATIONS FOR THE PATTERN: ------------------------------------------------------- GARTER STITCH (worked back and forth): Knit all rows, from both the right and wrong side. 1 ridge in height = knit 2 rows. I-CORD CAST OFF: Cast on 2 stitches. Slip these 2 stitches onto the left needle so the strand is 2 stitches in on the needle (the strand tightens when working to form a small tube). Do not turn but work as follows: * Knit 1, knit 2 twisted together, slip the 2 stitches on the right needle back onto the left needle *, work from *-* until there are 2 stitches left. 2 STITCHES I-CORD: BEGINNING OF ROW: Slip 1 stitch purl-wise with the strand in front of the piece, knit 1. END OF ROW: Work until there are 2 stitches left on the row, slip 1 stitch purl-wise with the strand in front, knit 1. Work like this from both the right and wrong side. ------------------------------------------------------- START THE PIECE HERE: ------------------------------------------------------- HOODED SCARF - SHORT OVERVIEW OF THE PIECE: The hood is worked back and forth from mid-front, across the forehead and backwards. Then stitches are knitted up on each side and the hood is continued back and forth, top down. When the hood is finished, the stitches are placed on a stitch holder/thread. An I-cord edge is worked around the hood opening. Stitches are cast on for the scarf, starting mid-back of neck, worked back and forth at the same time as stitches are knitted up from the hood 2 and 2. When all the hood-stitches from one side are included in the scarf, it is finished back and forth. This is repeated on the other side. The scarf is sewn together mid-back to finish. HOOD: Cast on 24-28 stitches with circular needle size 4 mm and DROPS AIR. Cast-on edge = middle of forehead. Work GARTER STITCH back and forth – read explanation above, for 18-18 cm with the last row from the wrong side. Cut the strand. This piece is the top of the hood. Now knit up stitches along both sides (inside the outermost stitch) as follows: From the right side, start from the right corner by the cast-on edge and knit up 35-35 stitches, along the side (right-hand side when the cast-on edge is towards you), work 24-28 stitches from the top of the hood, then knit up 35-35 stitches along the other side (left-hand side when the cast-on edge is towards you) = 94-98 stitches. The piece is now measured from here. Continue garter stitch back and forth for a further 21-21 cm. Cut the strand. The hood is finished. Place the first 47-49 stitches on a stitch holder and the last 47-49 stitches on a second stitch holder, dividing each side of the hood. Work an I-cord edge along the hood-opening as follows. I-CORD EDGE: From the right side, starting bottom right on the hood (right-hand side when the piece is worn), knit up 1 stitch in every second row, inside 1 stitch as far as the cast-on edge (= approx. 40-40 stitches), then knit up 1 stitch in each stitch along the cast-on edge (= 24-28 stitches) and finally 1 stitch in every second row along the left side of the hood-opening (= approx. 40-40 stitches) = approx. 104-108 stitches. Cut the strand. From the right side, begin bottom right and work I-CORD CAST-OFF – read explanation above. Place the 2 remaining stitches from the I-cord on the same stitch holder as the 47-49 stitches from the left-hand side of the hood, these stitches will later be worked into the scarf = 49-51 stitches on the left-hand side. Cut the strand. Pick up 2 stitches where stitches were cast on for the I-cord on the right-hand side and place these 2 stitches on the same stitch holder as the 47-49 stitches from the right-hand side of the hood = 49-51 stitches on the right-hand side. Stitches are now cast on for the scarf as follows. RIGHT SCARF: Stitches are cast on for the scarf, which is worked back and forth. AT THE SAME TIME, 2 and 2 stitches from the hood are knitted together with the last stitch on the row. The stitches from the hood are knitted together from mid-back and forwards on the right-hand side. Cast on 30-30 stitches with needle size 4 mm. This cast-on edge = mid-back of neck. ROW 1 (right side): Work 2 STITCHES I-CORD – read explanation above, work garter stitch until there is 1 stitch left on the row, slip 1 stitch knit-wise (last stitch on row), knit 2 hood-stitches together, pass the slipped stitch over the knitted together hood-stitches (= 2 stitches decreased from the stitch holder). ROW 2 (wrong side): Purl 1, work garter stitch until there are 2 stitches left, finish with 2 stitches I-cord. ROW 3 (right side): Work 2 stitches I-cord, work garter stitch until there is 1 stitch left, slip 1 stitch knit-wise (last stitch on row), knit 1 stitch from the hood, pass the slipped stitch over the knitted hood-stitch (= 1 stitch decreased from the stitch holder). ROW 4 (wrong side): Purl 1, work garter stitch until there are 2 stitches left, finish with 2 stitches I-cord. Repeat ROWS 1 to 4 until all the first 47-49 hood-stitches are knitted up – 2 hood-stitches left on the stitch holder (i.e., 2 stitches from the I-cord edge). Work the next row from the right side as follows: Work 2 stitches I-cord, work garter stitch to end of row, knit together the last 2 hood-stitches = 31-31 stitches. Continue back and forth as follows: Work 2 stitches I-cord, work garter stitch until there are 2 stitches left, work 2 stitches I-cord = 31-31 stitches. Work like this for a total of 12-14 rows. On the next row from the right side, begin to decrease as follows: Work as before until there are 4 stitches left, knit 2 together, finish with 2 stitches I-cord. Continue back and forth, decreasing as above every 12th row (approx. every 3 cm) until there are 7-7 stitches left. Work 8-10 rows without decreasing. Cast off at the same time as the first and last 2 stitches on the row are knitted together. The scarf measures approx. 102-106 cm from the scarf cast-on edge mid-back. LEFT SCARF: In the same way as for the right scarf, stitches are cast on and the scarf is worked back and forth. AT THE SAME TIME, 2 and 2 stitches from the hood are knitted together with the last stitch on the row. The stitches from the hood are knitted together from mid-back and forwards on the left-hand side. Cast on 30-30 stitches with needle size 4 mm. This cast-on edge = mid-back of neck. ROW 1 (wrong side): Work 2 stitches I-cord, garter stitch until there is 1 stitch left on the row, purl 1. ROW 2 (right side): Place 2 hood-stitches from the stitch holder onto the left needle, knit 3 together (i.e., 2 hood-stitches and 1 scarf-stitch), work garter stitch until there are 2 stitches left, finish with 2 stitches I-cord (= 2 stitches decreased from the stitch holder). ROW 3 (wrong side): Work 2 stitches I-cord, work garter stitch until there is 1 stitch left, purl 1. ROW 4 (right side): Place 1 hood-stitch from the stitch holder onto the left needle, knit 2 together (i.e., 1 hood-stitch and 1 scarf-stitch), work garter stitch until there are 2 stitches left, finish with 2 stitches I-cord (= 1 stitch decreased from the stitch holder). Repeat ROWS 1 to 4 until all the first 47-49 hood-stitches are knitted up – 2 hood-stitches left on the stitch holder (i.e., 2 stitches from I-cord edge). Work the next row from the wrong side as follows: 2 stitches I-cord, work garter stitch until there is 1 stitch left, purl 1, purl together the last 2 hood-stitches from the stitch holder = 31-31 stitches. Continue back and forth as follows: Work 2 stitches I-cord, work garter stitch until there are 2 stitches left, work 2 stitches I-cord = 31-31 stitches. Work like this for a total of 13-15 rows. On the next row from the right side, begin to decrease as follows: Work 2 stitches I-cord, slip 1 stitch knit-wise, knit 1, pass the slipped stitch over the knitted stitch, work garter stitch until there are 2 stitches left, 2 stitches I-cord. Continue back and forth, decreasing as above every 12th row (approx. every 3 cm) until there are 7-7 stitches left. Work 8-10 rows without decreasing. Cast off at the same time as the first and last 2 stitches on the row are knitted together. The scarf measures approx. 102-106 cm from the cast-on edge for the scarf mid-back. ASSEMBLY: Sew the 2 halves of the scarf together mid-back with grafting stitch. |
||||||||||
Diagram explanations |
||||||||||
|
||||||||||
 |
||||||||||
Have you finished this pattern?Tag your pictures with #dropspattern #mistyfjordhood or submit them to the #dropsfan gallery. Do you need help with this pattern?You'll find 9 tutorial videos, a Comments/Questions area and more by visiting the pattern on garnstudio.com. © 1982-2026 DROPS Design A/S. We reserve all rights. This document, including all its sub-sections, has copyrights. Read more about what you can do with our patterns at the bottom of each pattern on our site. |
||||||||||






With over 40 years in knitting and crochet design, DROPS Design offers one of the most extensive collections of free patterns on the internet - translated to 17 languages. As of today we count 333 catalogues and 12532 patterns translated into English (UK/cm). 12532
We work hard to bring you the best knitting and crochet have to offer, inspiration and advice as well as great quality yarns at incredible prices! Would you like to use our patterns for other than personal use? You can read what you are allowed to do in the Copyright text at the bottom of all our patterns. Happy crafting!
Post a comment to pattern DROPS 261-4
We would love to hear what you have to say about this pattern!
If you want to leave a question, please make sure you select the correct category in the form below, to speed up the answering process. Required fields are marked *.