
Popular categories
Looking for a yarn?






How to work a double knitted band with buttonholes

Begin pick up at the bottom of front piece and pick up 1 stitch in every knitted row along the entire front piece or skip every 4-5 stitch, inside 1 edge stitch. Look at your pattern what it says.
Now continue piece at the end of row where ball is (bottom of front piece).
Cast on new stitches for band as an extension of the stitches pick up at the bottom of front piece (cast on stitches from wrong side. We cast on 16 stitches, but it can be different from pattern to pattern). Work band over the 16 stitches at the same time as band is knitted together with stitches picked up along the front piece as follows:
ROW 1 (= right side): Slip first stitch on to right needle purlwise with strand in front of piece, * knit 1, slip 1 stitch on to right needle purlwise with strand in front of piece *, work from *-* until 1 stitch remains of the 16 band stitches, slip last stitch on to right needle knitwise, with strand behind piece, knit next stitch, pass slipped stitch over stitch worked, turn.
ROW 2 (= wrong side): * Slip first/next stitch on to right needle purlwise with strand in front of piece, knit 1 *, work from *-* over all the 16 band stitches, turn.
Repeat rows 1 and 2.
Read in the pattern you are working from when buttonholes should be knitted.
Work buttonhole, begin from right side, as follows:
Work the first 8 stitches as before, turn and work over the 8 stitches as before, work 3 rows in total over the 8 stitches (work last row from right side). Cut the yarn.
Work 4 rows in total as before over the remaining 8 band stitches (work first row from right side) and work last stitch from right side together with next stitch along edge of jacket as before. On last row from wrong side work as before over all band stitches and continue as before over all band stitches.
We use the yarn DROPS Snow in the video. You must read a pattern to be able to follow this video properly. You’ll find a pattern using this technique by clicking on the pictures below.
Patterns using this technique
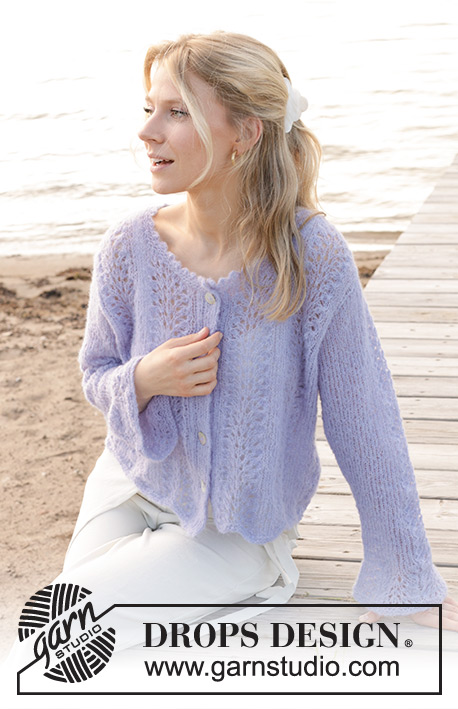
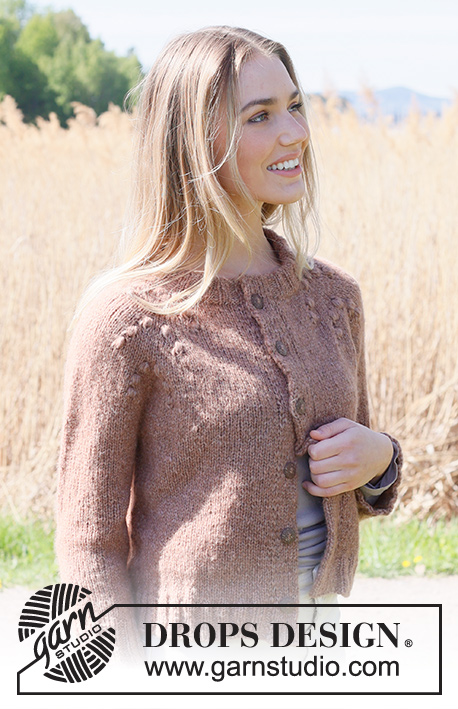
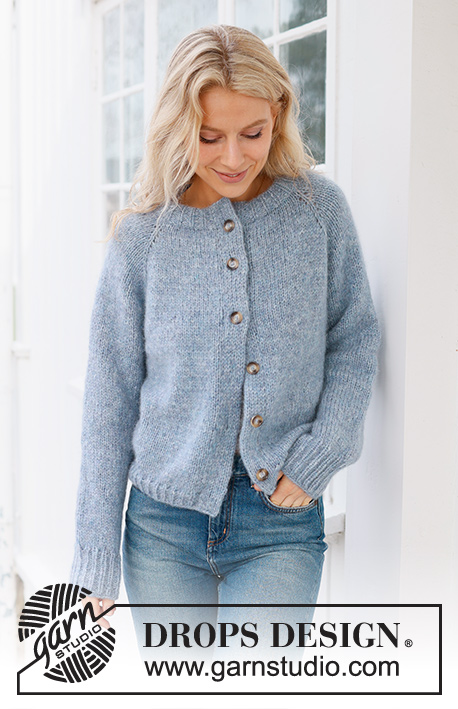
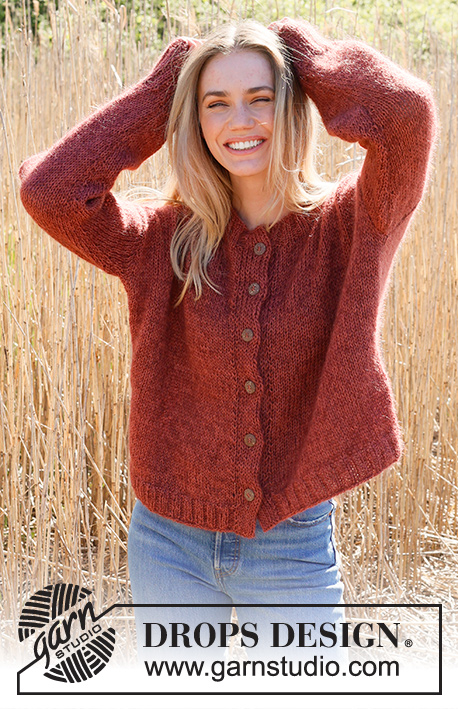
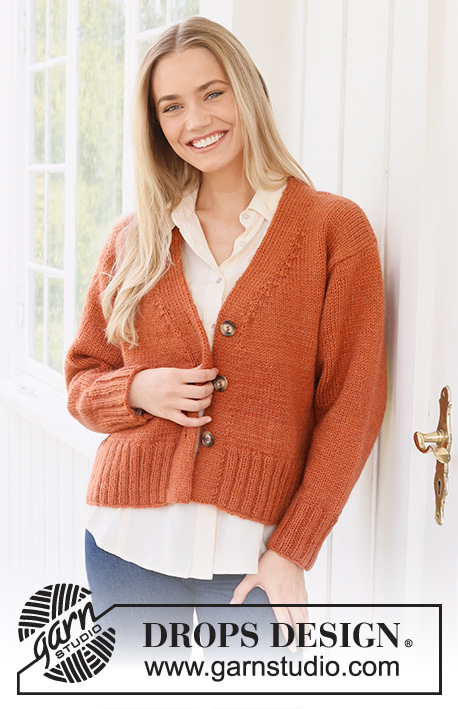
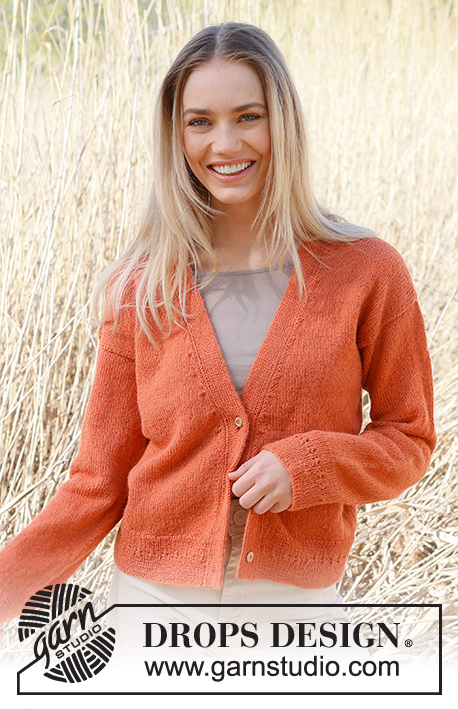
Video #1728, listed in: Learn to knit, Knitting Bands and Buttonholes
Our videos do not have sound. We are a worldwide company and our videos are watched by people speaking endless of different languages and many do not understand English. So since there is not a given language for us to use, we instead have written instructions to accompany the video, and then there is no sound to disturb while watching.
You can adjust the speed of this video by clicking on the icon, on the play bar.
Leave a comment or question to this video
Your email address will not be published. Required fields are marked *.
You might also like








With over 40 years in knitting and crochet design, DROPS Design offers one of the most extensive collections of free patterns on the internet - translated to 17 languages. As of today we count 333 catalogues and 12532 patterns translated into English (UK/cm).
We work hard to bring you the best knitting and crochet have to offer, inspiration and advice as well as great quality yarns at incredible prices! Would you like to use our patterns for other than personal use? You can read what you are allowed to do in the Copyright text at the bottom of all our patterns. Happy crafting!
Bonjour, Est-ce que la bordure en jersey double peut-elle être utilisée et remplacée celle de tous vos modèles de gilet (ceux en construction en top-down) ? Dans l'affirmative, est-ce que le nombre de mails à monter est le même que celui qui constitue la bordure du modèle ? Cordialement.
24.09.2026 - 20:09DROPS Design :
Bonjour Mme Bintou, vous pouvez tout à fait adapter cette bordure sur d'autres modèles que ceux que nous avons avec celle-ci, le nombre de mailles à monter pour la bordure va dépendre de la largeur de la bordure devant que vous voulez. N'hésitez pas à échantillonner au préalable pour vous assurer la réussite de votre projet. Bon tricot!
02.10.2026 - 08:13How did the band suddenly get attached to the sweater? There is no explanation! Also, why don't these videos have sound? :(
30.08.2026 - 17:24DROPS Design :
Dear Jacquelyn, we are a worldwide company and our videos are watched by people speaking endless of different languages and many do not understand English. So since there is not a given language for us to use, we instead have written instructions to accompany the video, and then there is no sound to disturb while watching. This video is on how to work a double knitted band with buttonholes, but the technique is used for many patterns. In your pattern it should explain whether the band is worked separately and then sewn or you knit up stitches along the mid-front and work the band directly on the sweater, by working together the band stitches and the front piece stitches. Happy knitting!
30.08.2026 - 18:10Is there a special way to ‘treat’ the yarn tails left by the buttonholes?
18.07.2026 - 07:37DROPS Design :
Dear René, you then just weave in tails as usual. Happy knitting!
05.08.2026 - 08:31J’aimerais voir comment vous faites le rabattage sur cette bande de boutonnage s’il vous plaît.
25.01.2026 - 16:31DROPS Design :
Bonjour Myriam, avant de rabattre les mailles, on tricote 1 rang en tricotant toutes les mailles ensemble 2 par 2 à l'endroit, puis au rang suivant, on rabat les mailles (à l'endroit sur l'endroit ou à l'envers sur l'envers). Bon tricot!
26.01.2026 - 09:31Jeg har nu strikket hele knaphuls stolpen, men den er blevet for lang i forhold til trøjen. Jeg slog 1 maske op i hver strikket pind som der stod i opskriften med pind nr. 5. Hvad kan jeg gøre nu? Trevle det hele op igen!? Og så skifte til en pind der er 1-2 numre mindre? Eller springe nogle masker over når jeg slår op? Eller gøre begge dele? Hvad vil I råde mig til?
24.11.2025 - 20:50DROPS Design :
Hei Dorte. Hvilken oppskrift strikker du etter? Og hvilket garn strikker du med? Prøv å hopp over hver 3-4 maske og sjekk etter noen cm og det legger seg pent (ikke trekker seg for mye sammen). mvjh DROPS Design
01.12.2025 - 08:15Väldigt bra beskrivet för nubörjare
22.07.2025 - 21:23Welche Nadelstärke wähle ich für die Blende? Die gleiche wie für das Hauptmuster oder eine kleinere?
20.10.2024 - 12:05DROPS Design :
Liebe Iris, für solche Modellen hat man eine Nadelstärke etwas kleiner benutzt - siehe z.B. diese Jacke. Viel Spaß beim Stricken!
21.10.2024 - 09:54Bonjour, j’ai beau voir et revoir la vidéo, je ne comprends pas comment démarrer le tricot après avoir relevé les mailles et monté 12 supplémentaires. Le patron est ai-404. Merci de votre aide
03.10.2024 - 14:37DROPS Design :
Bonjour Denise, prévoyez la longueur nécessaire pour relever les mailles et utilisez cette longueur pour relever les mailles sur l'endroit, en commençant en bas du devant droit (le fil de pelote doit rester côté bas du gilet, on le reprendra ensuite) - quand toutes les mailles sont relevées (time code 2:05), faites (comme dans la vidéo) glisser les mailles relevées sur l'aiguille circulaire pour que la 1ère maille relevée soit désormais la 1ère maille de l'aiguille gauche, tournez l'ouvrage (sur l'envers, time code 2:14) et montez 12 mailles (time code 2:24), tournez sur l'endroit de nouveau (2:40) et tricotez comme indiqué. Bon tricot!
04.10.2024 - 07:55Hi, I was wondering how to determine how long the buttonhole should be. Since you have to cut the yarn to do the other half of the buttonhole, I want to ensure that the hole will be large enough for the button before starting. Thanks!
06.08.2024 - 01:09DROPS Design :
Dear Syd, the buttonhole should be somewhat smaller than the diameter of the button; you can work a swatch to test first so that you are sure to get the desired heigth. Happy knitting!
06.08.2024 - 09:34Dag als ik de bies langs de hele rand van het vest wil laten lopen wat is dan handig/mooi; - links beginnen en via de v-hals links, hals midden achter, v hals rechts naar onderkant randbies rechts en afkanten, of - linkerborst starten tot midden achter hals en steken op een hulpnaald zetten en vervolgens de rechterboezem breien tot midden achter hals en de beiden uiteinden samenbreien. Graag jullie advies
01.08.2024 - 20:03