
Popular categories
Looking for a yarn?


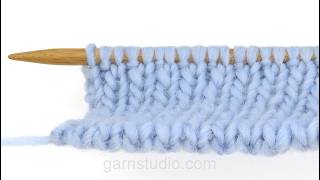
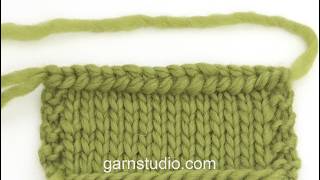
How to cast on Italian, knit 1 and purl 1, 2 support rows (odd number, back and forth)
BEFORE STARTING THE VIDEO:
If there are edge-stitches/band-stitches, these stitches are cast on in the normal way. Then work Italian cast-on with knit 1 and purl 1 until the correct number of stitches is obtained, finishing with edge-stitches/band-stitches cast on in the normal way (i.e., the loop-stitch and the finishing stitch are replaced with normal stitches).
The number of stitches to be cast on should be:
1 loop-stitch (= start) + odd number of stitches (purl 1 and knit 1) + 1 stitch to finish the casting on.
Pull the strand out from the ball (approx. 40-80 cm strand to cast on 20 stitches
depending on the yarn types and needle size). This allows you to cast on with 2 strands.
A = strand from the ball, B = strand-end.
THE VIDEO SHOWS:
Lay strands A and B around the left hand as follows:
A: The strand from the ball is taken to the outside of the thumb.
B: The strand-end is taken over the index finger and into the hand.
The other fingers hold the strands together in the hand – not too tightly.
You have 3 strands in your left hand:
Strand-1 = in front of thumb.
Strand-2 = between thumb and index finger.
Strand-3 = after the index finger.
CAST ON 1 LOOP-STITCH:
Pick up the needle with your right hand and take it over strand-2, pull approx. 5 cm out from your hand so Strand-2 is:
1 strand in front of the needle (= strand-4) and 1 strand behind the needle (= Strand-5).
Bring the needle towards you and under Strand-4, then up = 1 loop-stitch (lies around
the needle).
PURL 1 AS FOLLOWS:
Take the needle over, behind and under Strand-5, then forward, under and up in front
of Strand-4, down between Strand-4 and Strand-5, finally up behind Strand-5 = 1
purled stitch.
KNIT 1 AS FOLLOWS:
Take the needle in front and down under Strand-4, then up between Strand-4 and
Strand-5, over and behind Strand-5, forwards and under Strand-4, then up = 1 knitted
stitch. Continue like this with purl 1 and knit 1 to the required number of stitches, finishing with purl 1.
CAST ON 1 STITCH TO FINISH:
Take the needle down and under Strand-1, up between Strand-1 and Strand-4, then slip the stitch onto the right needle.
NUMBER OF CAST-ON STITCHES:
The number of stitches should be: 1 loop-stitch + odd number of stitches + 1 stitch to
finish.
WORK AS FOLLOWS:
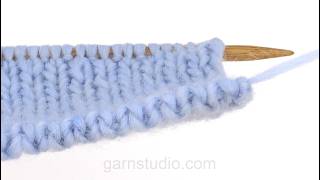
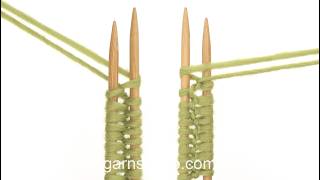
FIRST SUPPORT ROW (= wrong side):
Purl 1, * knit 1, take the strand in front of the needle and slip the purled stitch purl-wise onto the right needle *, work from *-* until there are 2 stitches left, knit 1, purl the loop-stitch, turn.
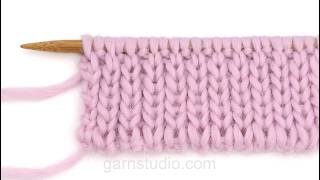
SECOND SUPPROT ROW (= right side):
* Knit 1, take the strand in front of the needle and slip the purled stitch purl-wise onto
the right needle *, work from *-* until there is 1 stitch left, knit 1.
AFTER THE SECOND SUPPORT ROW, CONTINUE AS FOLLOWS:
Knit above knit and purl above purl to the correct measurement.
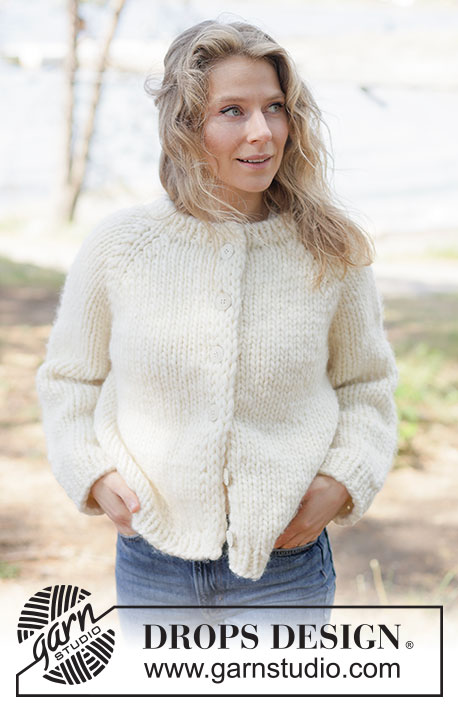
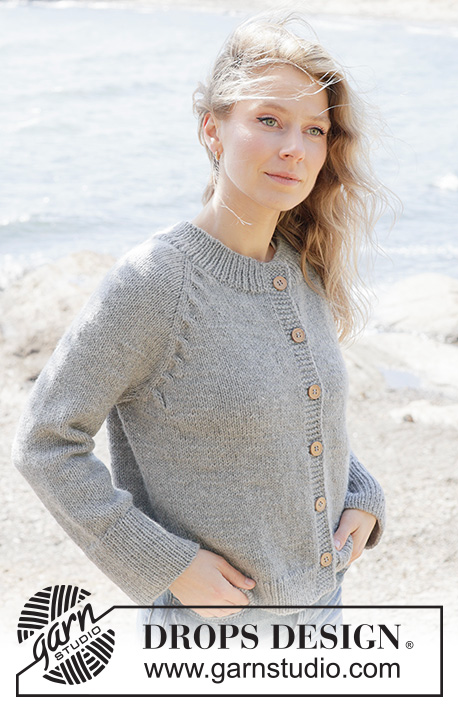
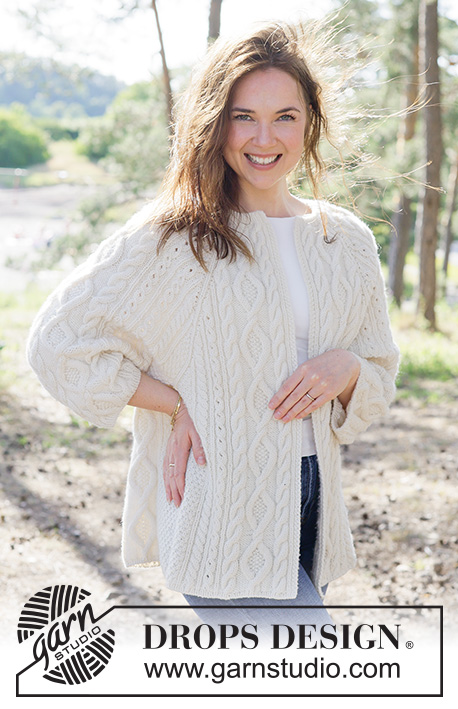
Patterns using this technique

Video #1671, listed in: Learn to knit, How to cast on stitches, Italian cast on
Our videos do not have sound. We are a worldwide company and our videos are watched by people speaking endless of different languages and many do not understand English. So since there is not a given language for us to use, we instead have written instructions to accompany the video, and then there is no sound to disturb while watching.
You can adjust the speed of this video by clicking on the icon, on the play bar.
Leave a comment or question to this video
Your email address will not be published. Required fields are marked *.
You might also like


With over 40 years in knitting and crochet design, DROPS Design offers one of the most extensive collections of free patterns on the internet - translated to 17 languages. As of today we count 325 catalogues and 12298 patterns translated into English (UK/cm).
We work hard to bring you the best knitting and crochet have to offer, inspiration and advice as well as great quality yarns at incredible prices! Would you like to use our patterns for other than personal use? You can read what you are allowed to do in the Copyright text at the bottom of all our patterns. Happy crafting!
Worin unterscheidet sich diese Technik zu der "Italienischer Maschenanschlag mit stabilem Rand"?
04.10.2025 - 10:56DROPS Design :
Hi Sabine, the second one is more firm, but still very stretchy. I always use it. Happy knitting!
02.02.2026 - 09:58Hei! Eg har garn og mønster, som med øving, øving, øving - etter planen skal bli gåve til barnebarn (snart 14) i haust!! Øve, øve, øve.. 😊
12.07.2025 - 22:49I videoen strikked første pinne m. vridd rett maske, men i teksten forklaringen under, stro det man skal strikke 1 rett maske, IKKE vridd rett?
05.06.2025 - 22:49DROPS Design :
Hei Mette. Det vil i løpet av kort tid komme en ny oppdatert video her. Den vil også vise hvoran man strikker 2 støttepinner etter opplegg, om man ønsker en mer stabil kant. mvh DROPS Design
10.06.2025 - 09:24Det fikk litt fort, kunne tenke meg en film der det filmes sakte, for oss som trenger å få det inn med tskje🙈
01.03.2025 - 15:48I think this video is way to fast.
29.11.2024 - 19:59Bonjour . Impossible de mettre le son . J’ai essayé sur plusieurs ordi et téléphone, ça ne fonctionne pas.
22.01.2023 - 14:48DROPS Design :
Bonjour Mme Chavrier, Nos vidéos sont muettes. Nous sommes une compagnie active au niveau mondial et nos vidéos sont regardées par des internautes du monde entier, parlant des langues différentes, dont beaucoup ne comprennent pas le français. Nous avons par conséquent opté pour des explications écrites pour accompagner chaque vidéo, et il n'y a pas de son pour perturber pendant que vous regardez la vidéo. Bonne visualisation !
23.01.2023 - 10:53Je voudrais bien avoir un modèle de tricot de gilet qui commence par le bas taille 4 ans merci
23.04.2022 - 09:05