
Leder du efter et garn?


Hvordan tages der ud i bærestykket til tøj med sadelskulder

Vi har allerede strikket en halskant, lavet udtagningerne til sadelskulder og ærmer til en bluse og starter videoen med at flytte mærkerne fra udtagningerne ved ærmet til de masker der skal tages ud i foran og bagi, til bærestykket.
Det tages ud forfra eller bagfra i maskerne med mærke i således:
Brug venstre pind til at samle tråden op mellem 2 masker fra omgangen under, tråden samles op bagfra og masken strikkes ret i forreste maskeled, strik masken med mærke i glatstrik som før, brug venstre pind til at samle tråden op mellem 2 masker fra pinden under, tråden samles op forfra og masken strikkes ret i bagerste maskeled (= 1 maske taget ud på hver side af masken med mærke i).
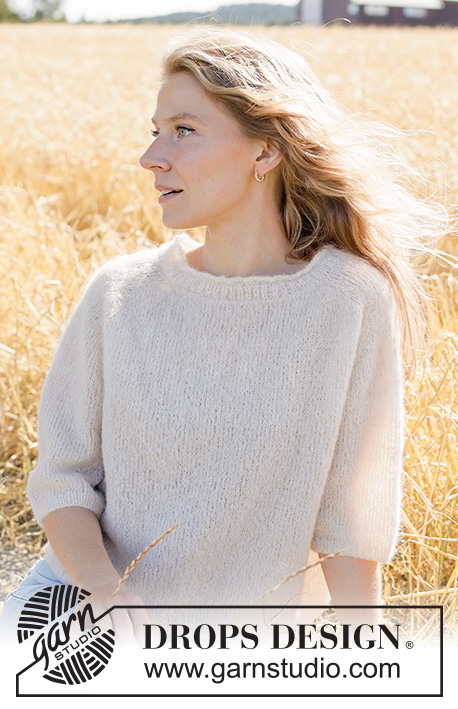
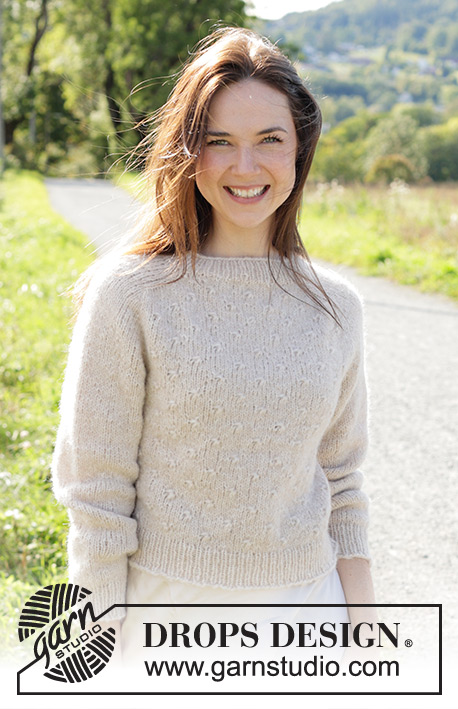
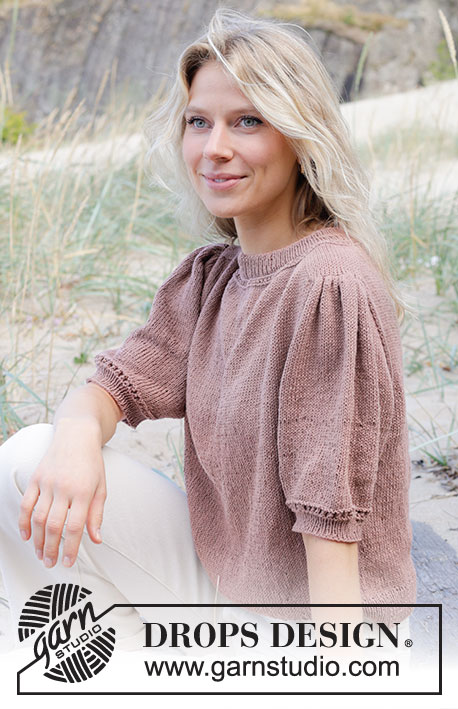
Blusen i DROPS 216-40 og jakken i DROPS 216-39 er strikket i DROPS Lima, men i videoen bruger vi et tykkere garn; DROPS Snow.
Du skal også læse en opskrift med denne teknik i tillæg til at se videoen. Du finder en opskrift ved at klikke på et af billederne under.
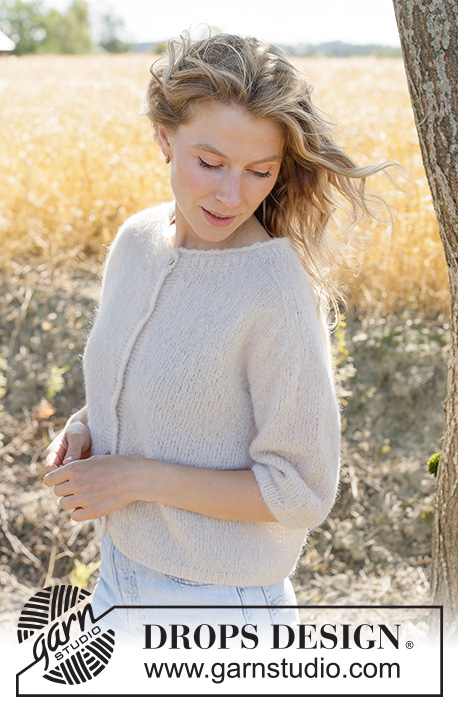
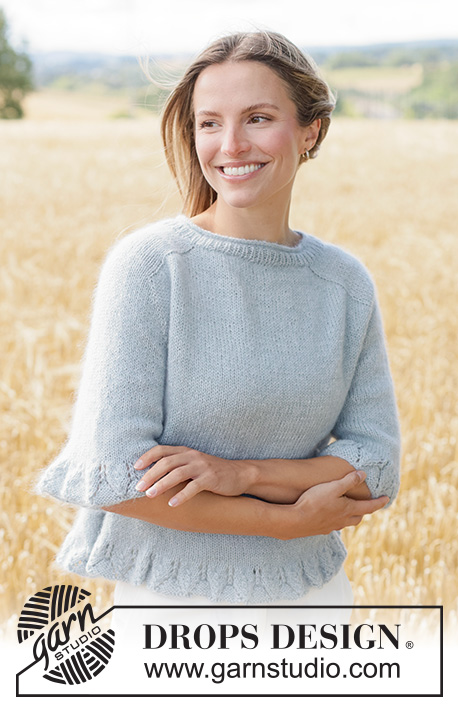
Opskrifter som bruger denne teknik
Video #1581, findes i: Lær at strikke, Sadelskulder
Vores videoer har ikke lyd. Vi er en verdensomspændende virksomhed, og vores videoer bliver set af folk, der taler mange forskellige sprog, og mange forstår ikke engelsk. Da der ikke er et givet sprog for os at bruge, har vi i stedet skrevet instruktioner til videoen, og så er der ingen lyd til at forstyrre når man kigger.
Du kan justere hastigheden på denne video ved at klikke på ikonet, nederst til højre.
Skriv en kommentar eller et spørgsmål til denne video
Din mailadresse vil ikke synes. Obligatoriske felter er markeret med *.
Fortsæt at se


Du synes måske også om...


Med over 40 år i strikke- og hæklebranchen tilbyder DROPS Design en af de mest omfattende kollektioner med gratis opskrifter på internettet - oversat til 17 sprog. Dags dato har vi 325 kataloger og 12298 opskrifter på Dansk.
Vi arbejder hårdt for at kunne tilbyde Dig det bedste man kan få af strik og hækling, inspiration og gode råd men også kvalitetsgarn til fantastiske priser! Vil du bruge vore opskrifter til andet end for privat brug? Du kan læse om hvilke regler som gælder under teksten Copyright nederst på siden i alle vore opskrifter. God fornøjelse!
Hei, jeg driver å strikker "last call". Men nå når jeg er kommet til bærestykkeøkning så går det litt i forvirring. Det står "Det er 60 masker mellom maskene med merke i på hvert erme" men jeg får ikke 60 masker uansett hvordan jeg prøver. Jeg får over 60 da jeg følger bærestykkeøknings videoen steg for steg. Er dette en feil i oppskriften? For om jeg får til 60 så blir armene alt for små.
08.01.2026 - 21:27DROPS Design :
Hei Martine-Amalie. Vi skal hjelpe deg så godt vi kan, men fint om du kan opplyse hvilken str du strikker? mvh DROPS Design
12.01.2026 - 09:13Pattern 216-40 Country Muse I am now on the yoke increase with 284 stitches and 12 cm from sleeve increase start. I already have 48 stitches between the sleeve markers with the 4 A1 stitches on the outside of the markers and stocking stitch over the sleeve. I don’t see why I have to move the markers as they already seem to be in the right place with the correct number of stitches?
12.01.2024 - 08:29DROPS Design :
Dear Catriona, you should have a total of 50 sts between markers after increases for sleeves: 16 sts increased, 18 sts, 16 sts increased; insert a marker in the first of these 50 sts and in the last of these 50 sts, you have now 48 stitches for the sleeve. Happy knitting!
12.01.2024 - 08:40I am now on the yoke increase with 284 stitches and 12 cm from sleeve increase start. I already have 48 stitches between the sleeve markers with the 4 A1 stitches on the outside of the markers and stocking stitch over the sleeve. I don’t see why I have to move the markers as they already seem to be in the right place with the correct number of stitches?
11.01.2024 - 16:37DROPS Design :
Dear Catriona, could you tell us which pattern you are working on, or write your question in the section under the pattern so that we can check together and help you? Thanks for your comprehension. Happy knitting!
12.01.2024 - 08:22I am knitting Blue Pebbles baby jumper and am unclear as to where markers are placed after neckband if complere and when needle size is changed. Can someone help please? The tutorial only advises on increasing method. Thanks.
29.03.2023 - 20:40DROPS Design :
Dear Irene, you change the needle size after working 4cm of rib and knitting 1 row (with increases) and purling 1 row. Here, you will change the needle size. The marker for the start of the row is in mid-back, from where we start to count. Markers are inserted betweeen stitches, not inside them. From the first marker, count 15-21 stitches (depending on size) and insert the next marker. Count 10-14 stitches more from here and insert the next marker, 26-38 stitches, insert the next marker, 10-14 stitches, insert the next marker, there should be 15-21 stitches left. We should have 5 markers: one marks the beginning of the row and the others are used for increases. Happy knitting!
02.04.2023 - 16:10