
Categorie popolari
State cercando un filato?


Come aumentare le maglie per lo sprone in un capo con la spalla a sella

Abbiamo già lavorato una scollatura, aumentato le maglie per le spalle a sella e per le maniche e il video inizia spostando i segnapunti delle maniche nei punti di aumento dello sprone.
Aumentare in questo modo:
Iniziare prima della maglia con il segnapunti, usare il ferro sinistro per riprendere il filo tra 2 maglie del ferro sotto, prendere il filo da dietro e lavorare la maglia a diritto nel filo davanti, lavorare la maglia con il segnapunti a maglia rasata come prima, usare il ferro sinistro per riprendere il filo tra 2 maglie del ferro sotto, prendere il filo dal davanti e lavorare la maglia a diritto nel filo dietro (= 1 aumento a ogni lato della maglia con il segnapunti).
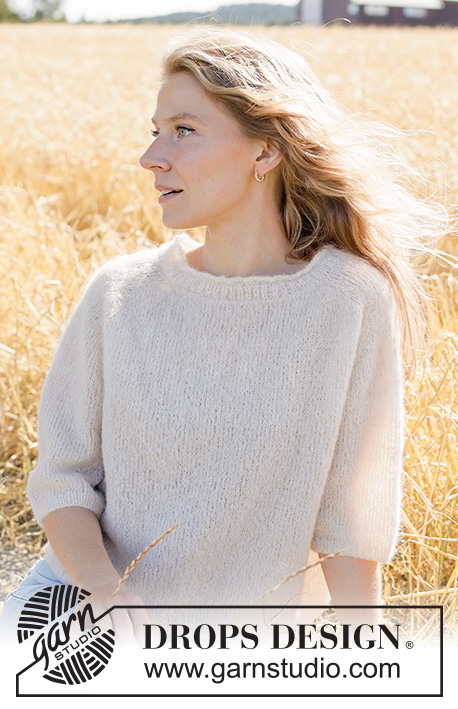
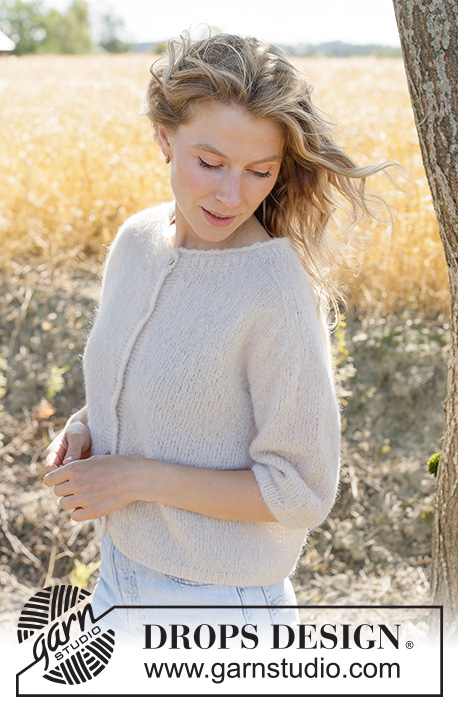
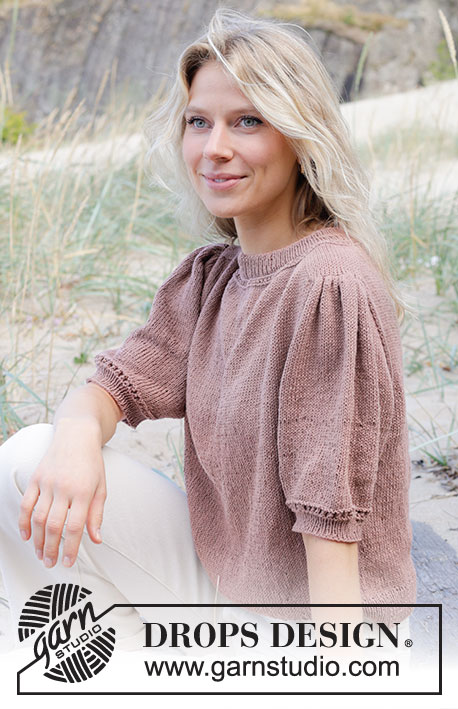
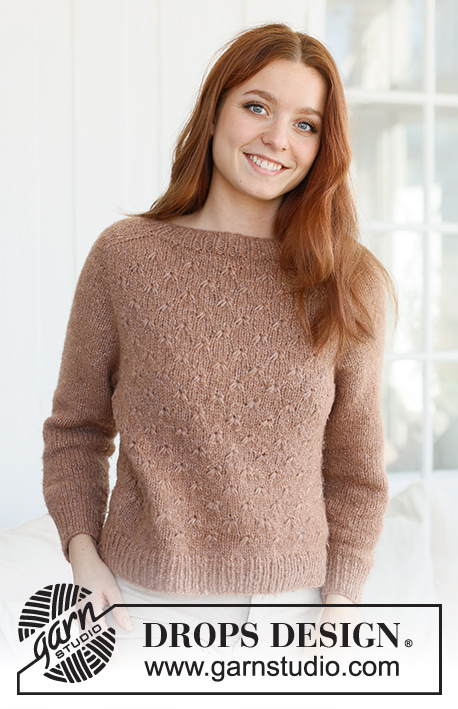
Il maglione in DROPS 216-40 e il cardigan in DROPS 216-39 sono lavorati in DROPS Lima, ma nel video usiamo un filato più spesso; DROPS Snow.
Dovete leggere un modello per essere in grado di seguire questo video in maniera corretta. Troverete un modello che utilizza questa tecnica cliccando su una delle foto sotto.
Modelli che utilizzano questa tecnica
Video #1581, riportato in: Imparate a lavorare a maglia, Spalle a sella
I nostri video non hanno il sonoro. Siamo un'azienda multinazionale e i nostri video vengonp visti da persone che parlano linguaggi diversi e molti non capiscono l'inglese. Per cui, dal momento che non abbiamo un linguaggio comune da utilizzare, riportiamo invece delle istruzioni scritte che accompagnano il video, e inoltre non ci sono suoni che disturbano la visione.
Potete modificare la velocità del video cliccando sull'icona sulla barra di riproduzione.
Lasciate un commento o una domanda per questo video
Il tuo indirizzo mail non verrà pubblicato. I campi richiesti sono indicati da *.
Continua a guardare


Potrebbe piacervi anche....


Con oltre 40 anni di esperienza nel design di modelli di maglia e uncinetto, DROPS Design offre la più estesa collezione di modelli gratuiti su internet - tradotti in 17 lingue. Ad oggi vi possiamo fornire 325 cataloghi e 12298 modelli - 9569 dei quali sono tradotti in Italiano.
Ci stiamo impegnando molto per darvi il meglio che vi possiamo offrire in termini di maglia e uncinetto, ispirazioni e consigli così come filati di grande qualità ad un prezzo incredibile! Volete utilizzare i nostri modelli per qualcosa d'altro oltre al vostro uso personale? Potete leggere tutto ciò che è consentito nel testo sul Copyright in basso su tutte le pagine dei nostri modelli. Buon lavoro!
Hei, jeg driver å strikker "last call". Men nå når jeg er kommet til bærestykkeøkning så går det litt i forvirring. Det står "Det er 60 masker mellom maskene med merke i på hvert erme" men jeg får ikke 60 masker uansett hvordan jeg prøver. Jeg får over 60 da jeg følger bærestykkeøknings videoen steg for steg. Er dette en feil i oppskriften? For om jeg får til 60 så blir armene alt for små.
08.01.2026 - 21:27DROPS Design :
Hei Martine-Amalie. Vi skal hjelpe deg så godt vi kan, men fint om du kan opplyse hvilken str du strikker? mvh DROPS Design
12.01.2026 - 09:13Pattern 216-40 Country Muse I am now on the yoke increase with 284 stitches and 12 cm from sleeve increase start. I already have 48 stitches between the sleeve markers with the 4 A1 stitches on the outside of the markers and stocking stitch over the sleeve. I don’t see why I have to move the markers as they already seem to be in the right place with the correct number of stitches?
12.01.2024 - 08:29DROPS Design :
Dear Catriona, you should have a total of 50 sts between markers after increases for sleeves: 16 sts increased, 18 sts, 16 sts increased; insert a marker in the first of these 50 sts and in the last of these 50 sts, you have now 48 stitches for the sleeve. Happy knitting!
12.01.2024 - 08:40I am now on the yoke increase with 284 stitches and 12 cm from sleeve increase start. I already have 48 stitches between the sleeve markers with the 4 A1 stitches on the outside of the markers and stocking stitch over the sleeve. I don’t see why I have to move the markers as they already seem to be in the right place with the correct number of stitches?
11.01.2024 - 16:37DROPS Design :
Dear Catriona, could you tell us which pattern you are working on, or write your question in the section under the pattern so that we can check together and help you? Thanks for your comprehension. Happy knitting!
12.01.2024 - 08:22I am knitting Blue Pebbles baby jumper and am unclear as to where markers are placed after neckband if complere and when needle size is changed. Can someone help please? The tutorial only advises on increasing method. Thanks.
29.03.2023 - 20:40DROPS Design :
Dear Irene, you change the needle size after working 4cm of rib and knitting 1 row (with increases) and purling 1 row. Here, you will change the needle size. The marker for the start of the row is in mid-back, from where we start to count. Markers are inserted betweeen stitches, not inside them. From the first marker, count 15-21 stitches (depending on size) and insert the next marker. Count 10-14 stitches more from here and insert the next marker, 26-38 stitches, insert the next marker, 10-14 stitches, insert the next marker, there should be 15-21 stitches left. We should have 5 markers: one marks the beginning of the row and the others are used for increases. Happy knitting!
02.04.2023 - 16:10