
Categorías populares
¿Buscas un hilo?


Cómo aumentar para el canesú en una prenda con hombros martillo

Ya tejimos el cuello, aumentamos para los hombros martillo y las mangas y comenzamos el video moviendo los marcadores para los aumentos del canesú.
Aumentar así:
Comenzar antes del punto con el marcador, usar la aguja izquierda para levantar el hilo entre 2 puntos de la hilera abajo, levantar el hilo por atrás y tejer el punto de derecho por el bucle del frente, tejer el punto con el marcador en punto jersey como antes, usar la aguja izquierda para levantar el hilo entre 2 puntos de la hilera abajo, levantar el hilo por el frente y tejer el punto de derecho por el bucle posterior (= 1 punto aumentado a cada lado del punto con el marcador).
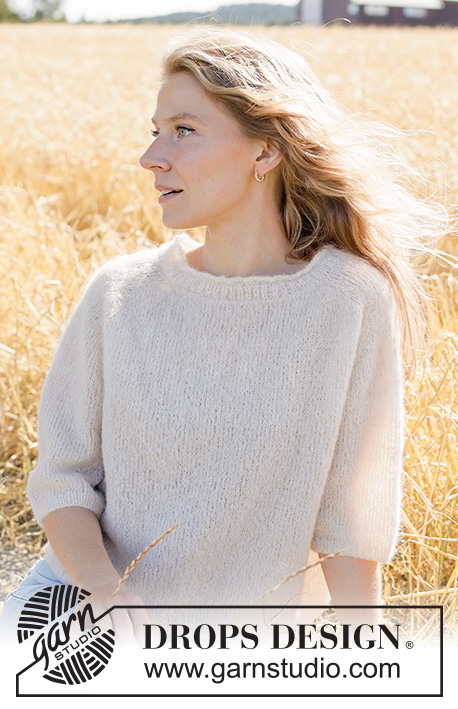
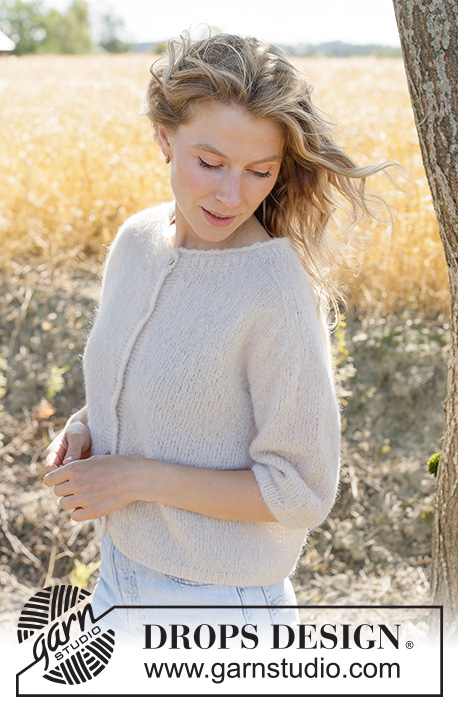
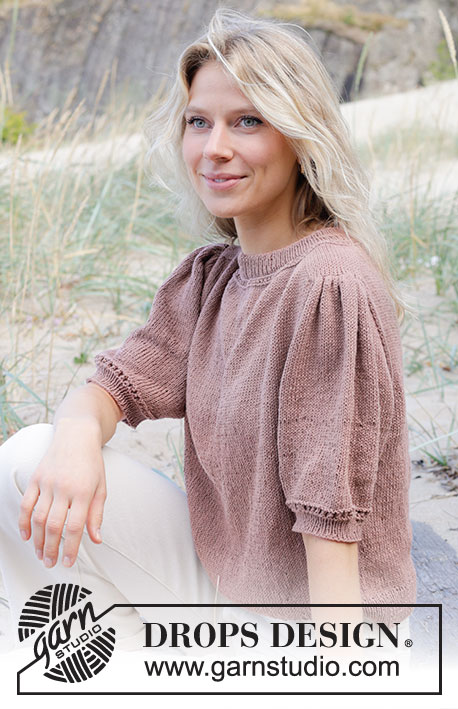
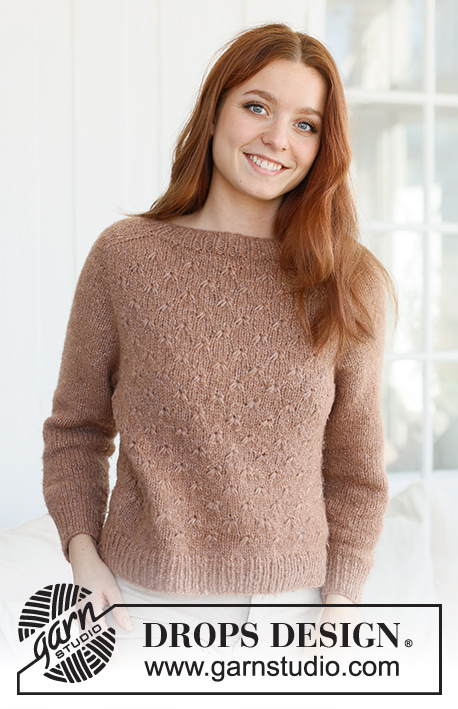
El jersey en DROPS 216-40 y la chaqueta en DROPS 216-39 se tejen en DROPS Lima, pero, en el video, usamos un hilo más grueso; DROPS Snow.
Deberás leer un patrón para poder seguir este video correctamente. Encontrarás un patrón que utiliza esta técnica al hacer clic en una de las fotografías abajo.
Patrones que utilizan esta técnica
Video #1581, listado en: Aprende a hacer punto, Hombros martillo
Nuestros videos no tienen sonido. Somos una empresa internacional y nuestros videos son vistos por personas que hablan diferentes idiomas y muchas de ellas no comprenden el español. Consecuentemente, como no hay un idioma determinado a usar por nosotros, hemos escrito las instrucciones que acompañan el video, y no hay ningún sonido que interfiera mientras se ve el video.
Puedes ajustar la velocidad de este video haciendo clic en el ícono en la barra de reproducción.
Dejar un comentario o pregunta acerca de este video
Tu dirección de email no será publicada. Los campos obligatorios están marcados con un *.
Continuar viendo


También te podría gustar...


Con más de 40 años en el diseño de modelos de punto y de ganchillo, DROPS Design ofrece una de las más vastas colecciones de patrones gratuitos en el internet - traducidos en 17 idiomas. Al día de hoy, contamos con 324 catálogos y 12290 patrones - de los cuales 11675 están traducidos en español.
Nosotros trabajamos con mucho esmero para brindarte lo mejor que las labores de punto y ganchillo tienen para ofrecer,inspiración y consejos, así como hilos de magnífica calidad a precios increíbles! Te gustaría usar nuestros patrones para otro fin además del uso personal? Puedes leer acerca de lo que estás permitida a hacer en el texto de Copyright en la parte de abajo de todos nuestros patrones. Felices labores!
Hei, jeg driver å strikker "last call". Men nå når jeg er kommet til bærestykkeøkning så går det litt i forvirring. Det står "Det er 60 masker mellom maskene med merke i på hvert erme" men jeg får ikke 60 masker uansett hvordan jeg prøver. Jeg får over 60 da jeg følger bærestykkeøknings videoen steg for steg. Er dette en feil i oppskriften? For om jeg får til 60 så blir armene alt for små.
08.01.2026 - 21:27DROPS Design :
Hei Martine-Amalie. Vi skal hjelpe deg så godt vi kan, men fint om du kan opplyse hvilken str du strikker? mvh DROPS Design
12.01.2026 - 09:13Pattern 216-40 Country Muse I am now on the yoke increase with 284 stitches and 12 cm from sleeve increase start. I already have 48 stitches between the sleeve markers with the 4 A1 stitches on the outside of the markers and stocking stitch over the sleeve. I don’t see why I have to move the markers as they already seem to be in the right place with the correct number of stitches?
12.01.2024 - 08:29DROPS Design :
Dear Catriona, you should have a total of 50 sts between markers after increases for sleeves: 16 sts increased, 18 sts, 16 sts increased; insert a marker in the first of these 50 sts and in the last of these 50 sts, you have now 48 stitches for the sleeve. Happy knitting!
12.01.2024 - 08:40I am now on the yoke increase with 284 stitches and 12 cm from sleeve increase start. I already have 48 stitches between the sleeve markers with the 4 A1 stitches on the outside of the markers and stocking stitch over the sleeve. I don’t see why I have to move the markers as they already seem to be in the right place with the correct number of stitches?
11.01.2024 - 16:37DROPS Design :
Dear Catriona, could you tell us which pattern you are working on, or write your question in the section under the pattern so that we can check together and help you? Thanks for your comprehension. Happy knitting!
12.01.2024 - 08:22I am knitting Blue Pebbles baby jumper and am unclear as to where markers are placed after neckband if complere and when needle size is changed. Can someone help please? The tutorial only advises on increasing method. Thanks.
29.03.2023 - 20:40DROPS Design :
Dear Irene, you change the needle size after working 4cm of rib and knitting 1 row (with increases) and purling 1 row. Here, you will change the needle size. The marker for the start of the row is in mid-back, from where we start to count. Markers are inserted betweeen stitches, not inside them. From the first marker, count 15-21 stitches (depending on size) and insert the next marker. Count 10-14 stitches more from here and insert the next marker, 26-38 stitches, insert the next marker, 10-14 stitches, insert the next marker, there should be 15-21 stitches left. We should have 5 markers: one marks the beginning of the row and the others are used for increases. Happy knitting!
02.04.2023 - 16:10