
Categorie popolari
State cercando un filato?


Commenti / Domande (25)
![]() Jenny Wahlström ha scritto:
Jenny Wahlström ha scritto:
Får inte ihop det med minskning av hälen minskningen börjar när man har 9 maskor kvar. Med alla minskningar får jag inte ned det till 16 maskor, snarare 24 maskor. Måste nog ha fler maskor på vänster sticka än 9 vid början av hälminskningen. Jenny
14.05.2024 - 21:04DROPS Design ha risposto:
Hej Jenny, du har 32 masker til hæl, tager 8 masker ind i hver side (ifølge opskriften) så du har 16 masker tilbage :)
17.05.2024 - 11:35
![]() Paula ha scritto:
Paula ha scritto:
Hello! Your Finnish pattern does not make sense. It says cast on 66-72-75 stitches and knit 3 cm. So in size 38-38 18 stiches per needle. Then numberss has changed to be knit 12 stiches, with 36 no pattern M1 and knit 12 stiches. Together these make 60 stiches what also makes more sense for feet size 38-39 rather than 72 stiches.
27.03.2024 - 18:35
![]() Maria ha scritto:
Maria ha scritto:
Ich meinte nicht die Ferse, sondern die Stelle, an der man die Arbeit für die Annahmen an der Fußspitze teilt. (Bezieht sich auf meinen vorherigen Kommentar)
09.01.2023 - 18:20DROPS Design ha risposto:
Danke Maria, die deutsche Anleitung war hier aber falsch, für den Fuß soll man in jeder 2. Runde insgesamt 12-11-11 Mal abnehmen, so sind es 56-62-68 m, dh 28-31-34 Maschen für unteren/oberen Teil - eine Korrektur erfolgt. Viel Spaß beim stricken!
10.01.2023 - 09:34
![]() Maria ha scritto:
Maria ha scritto:
Ich muss mich einer Vorrednerin anschließen, da stimmt etwas nicht. Man kommt in der kleinsten Größe nicht auf 28 Maschen in der oberen und unteren Fußhälfte. Zuvor steht in der Anleitung ja sogar, man hat insgesamt 68 Maschen. Geteilt durch 2 (obere und untere Fußhälfte) wären das 34 und nicht 28.
08.01.2023 - 11:24DROPS Design ha risposto:
Liebe Maria, in die 2. Größe sind es 68 Maschen auf der Nadel, die 36 Maschen M.1 legen Sie still dann sind es nur noch die 8 M glatt rechts vor 1. M.1 + die 8 Maschen glatt rechts nach 1. M.1 + die 12 Maschen M.1 = 32 Maschen für den Fersen. Oder meinen Sie wo anders?
09.01.2023 - 11:50
![]() Marie ha scritto:
Marie ha scritto:
Suggestion d’un nom, spring waves.
22.05.2022 - 16:37
![]() Sonjamarie ha scritto:
Sonjamarie ha scritto:
Hallo und vielen Dank für die schönen Anleitungen! Ich habe folgende Korrekturen, Fragen, Anmerkungen. Bei der Ferse und im Strickverlauf werden Maschen zusammengestrickt = abgenommen = abn., nicht abketten/abk. Abketten bedeutet, ein Strickstück beenden, nicht abnehmen Die Arbeit wird beim Fersenstricken nicht gedreht, sondern gewendet. Im letzten Drittel, "weiterstricken bis die Arbeit 18-19-20cm ab Markierungsfaden an der Ferse misst". Welcher Markierungsfaden? Dankeschön!
23.10.2020 - 19:05DROPS Design ha risposto:
Liebe Sonjamarie, danke für den Hinweis, Anleitung wurde korrigiert. Viel Spaß beim stricken!
26.10.2020 - 09:24
![]() Stella ha scritto:
Stella ha scritto:
Thank you for your response. I understand this part. However when doing the flap, my row doesn’t start at the beginning of row making the flap longer on one side and not even compared left to right
20.10.2020 - 14:29DROPS Design ha risposto:
Dear Stella, the heel flap consists on sts worked in stocking st on each side of sock + the M.1 patterns worked on mid back - not sure to understand what you mean there, what about showing your socks to your store? Even per mail, they should be able to help you. Happy knitting!
20.10.2020 - 16:35
![]() Stella ha scritto:
Stella ha scritto:
I don’t understand the pattern when starting the heel flap. From the beginning , the patterns starts in the back section of the leg (not centered). But when I start doing the heel flap ( right after putting the 36 stitches on a stick holder), I’m not at the beginning of the row , making the flap not even on both sides of the heel?
17.10.2020 - 02:54DROPS Design ha risposto:
Dear Stella, the heel will be worked over the 20-22-24 last stitches on the round (=8-10-12 sts in stocking st + 12 sts M.1) + the first 8-10-12 stitches on the round, the middle 36 sts are for mid upper foot = the 36 sts worked in pattern with M.1. The beginning of the round before heel was not in the middle of back piece, but between the middle back (M.1 over the last 12 sts) and the side (9-12-14 sts in stocking st). Happy knitting!
19.10.2020 - 08:06
![]() Loredana ha scritto:
Loredana ha scritto:
Buongiorno, i simboli del diagramma sono esatti? \0 non sognifica 1 gettato e 1 accavallata semplice ? E 0/ 2 m insieme e 1 gettato? Grazie
25.05.2020 - 11:46DROPS Design ha risposto:
Buongiorno Loredana. Abbiamo corretto il testo dei simboli. La ringraziamo per la segnalazione. Buon lavoro!
25.05.2020 - 12:19
![]() Karolin ha scritto:
Karolin ha scritto:
Wie genau stricke ich das: Weiter, über den zwei re. Partien je 1-2-2 M abk. (indem man 2 und 2 re. zusammenstrickt) = 64-68-72 M? Ich habe bisher noch keine Socken gestrickt und verstehe das mit den zwei re. Patien nicht
30.12.2019 - 19:03
|
||||||||||||||||
Ingrid's Socks#ingridssocks |
||||||||||||||||
 |
 |
|||||||||||||||
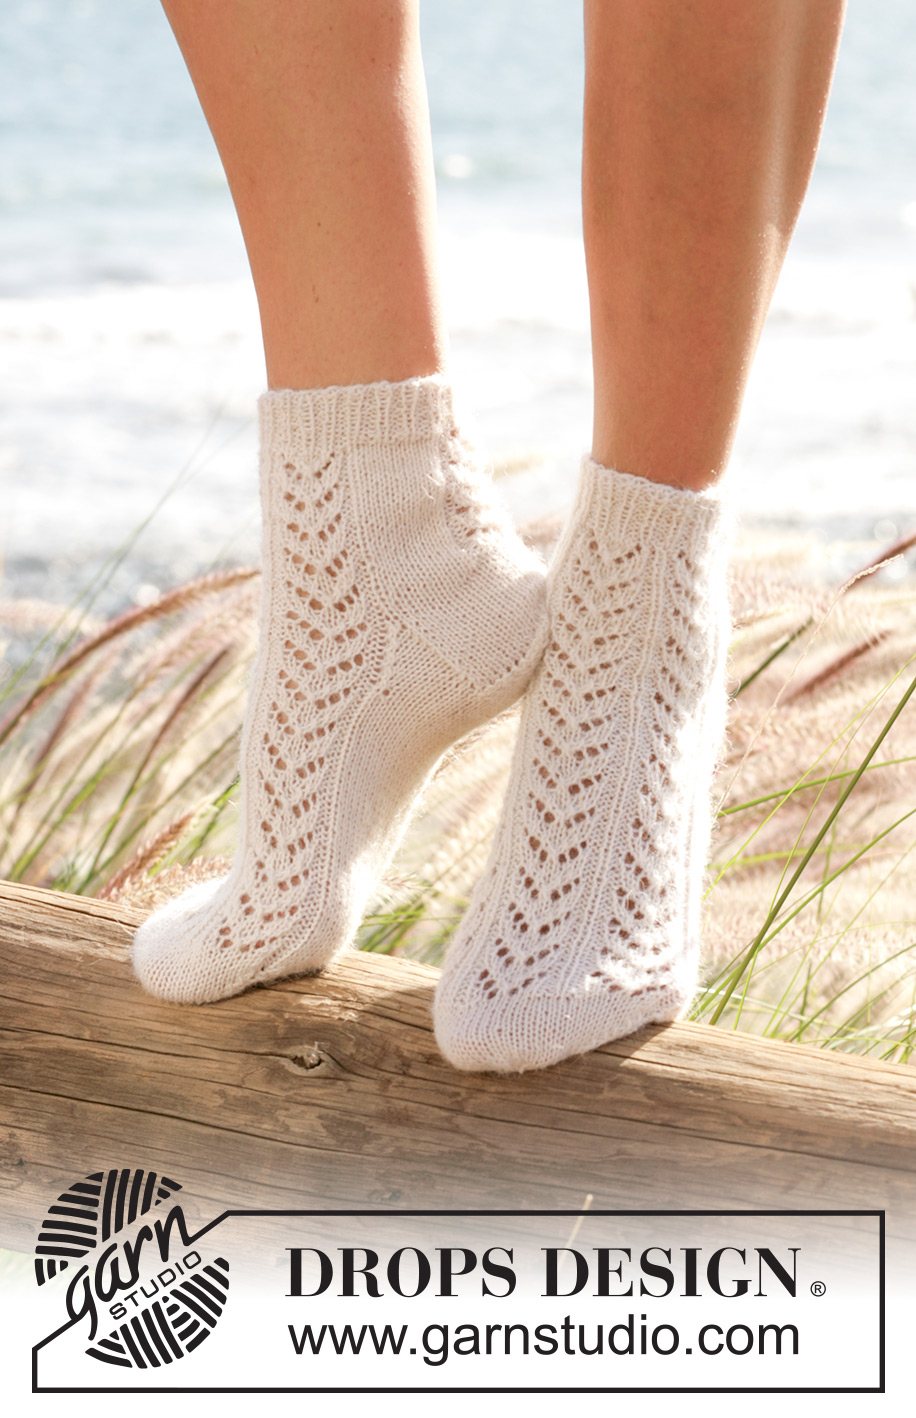
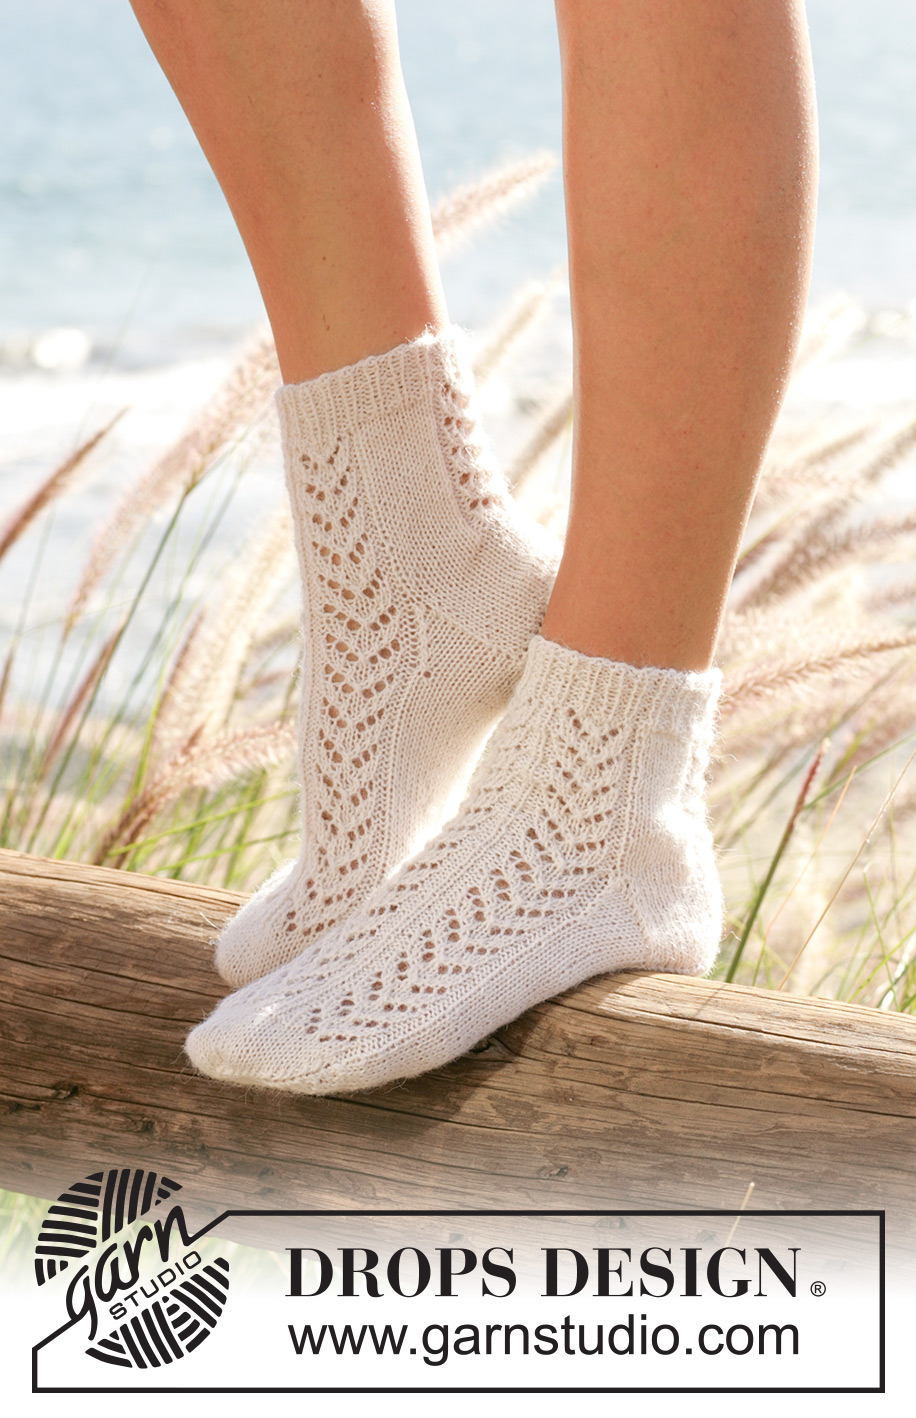
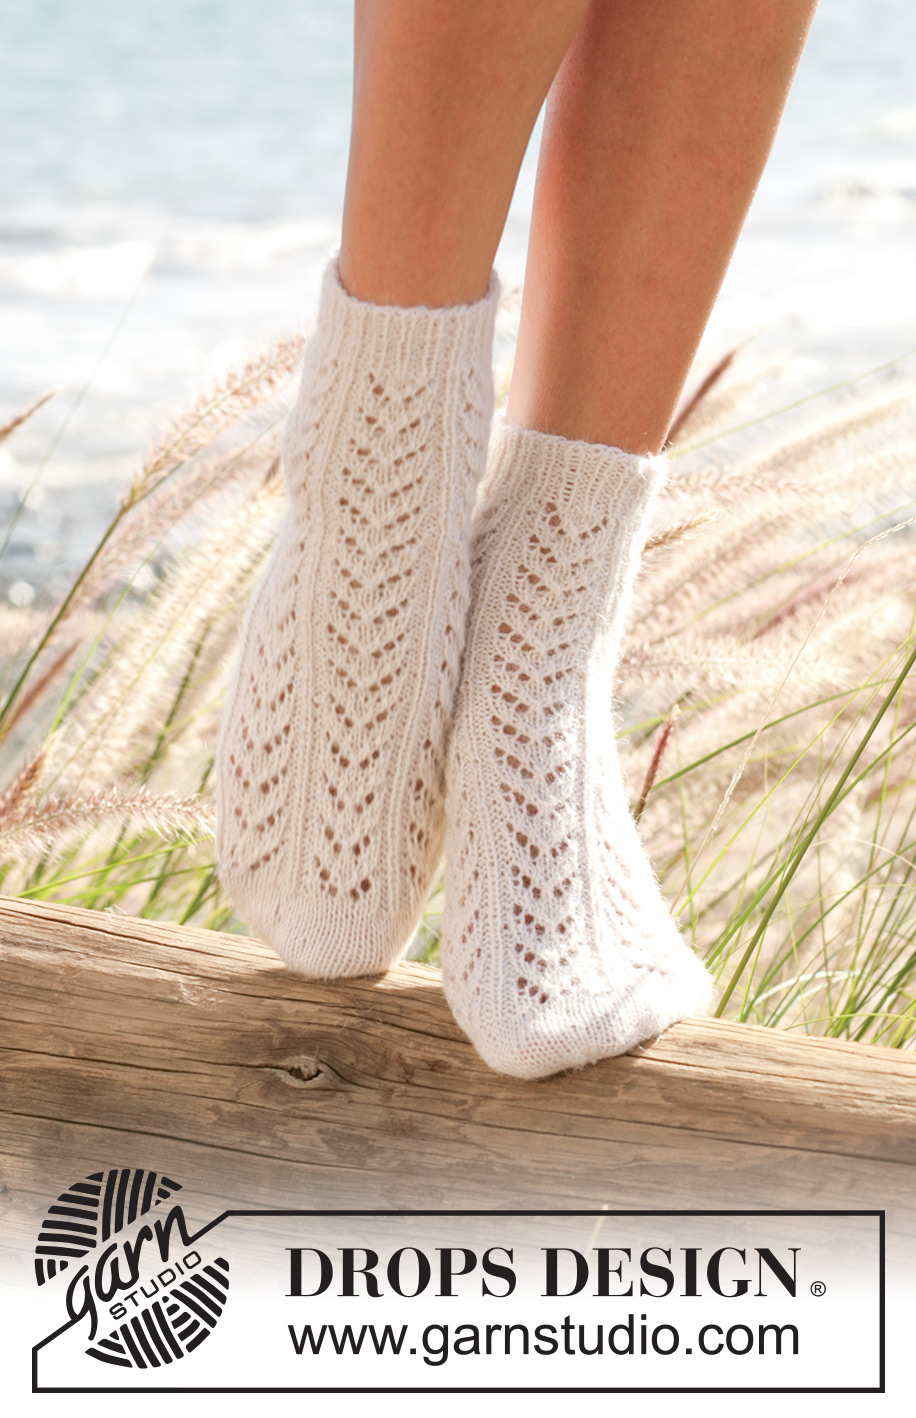
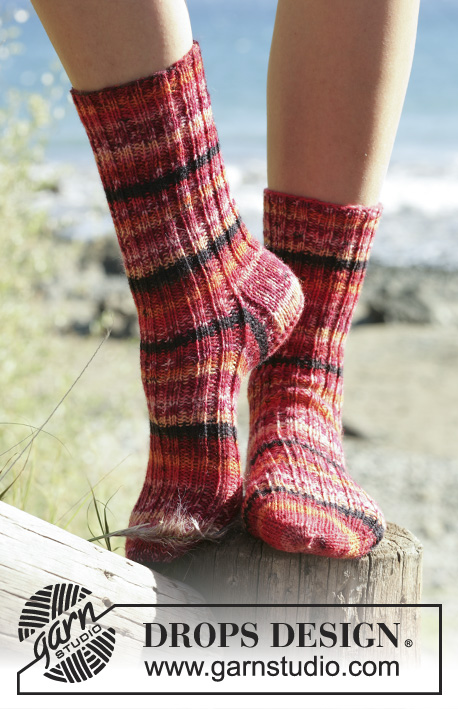
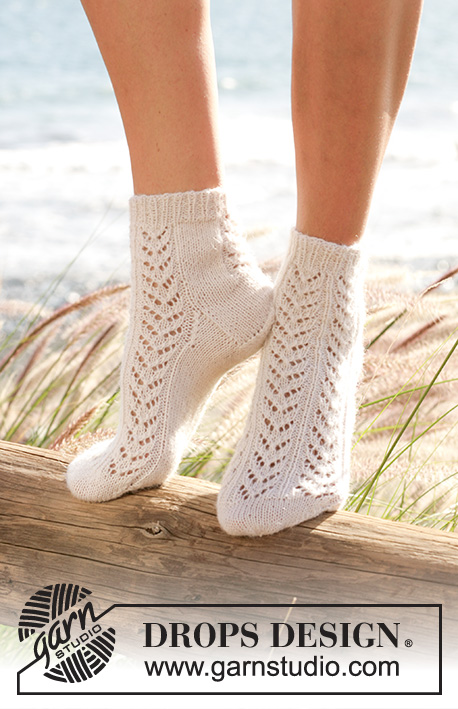
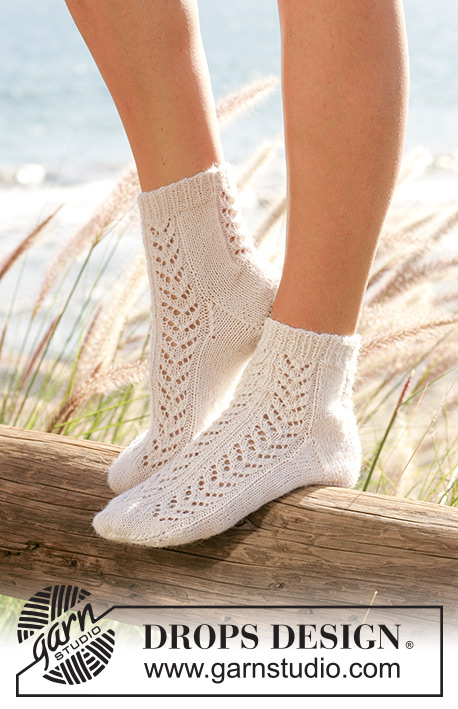
Calze DROPS a punto fantasia in DROPS "Alpaca".
DROPS 100-18 |
||||||||||||||||
|
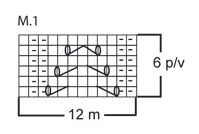
CAMPIONE: 30 m x 39 f con i f n° 2 mm a m rasata = 10 x 10cm. MOTIVO: Vedere il diagramma M.1. Il motivo del diagramma è visto dal diritto del lavoro. DIMINUZIONI PER IL TALLONE: 1° f (= diritto del lavoro): lavorare a dir fino a quando rimangono 8-9-10 m sul f, passare la m successiva a dir senza lavorarla, 1 m dir, accavallare la m passata sopra quella appena lavorata, girare il lavoro. 2° f (= rovescio del lavoro): lavorare a rov fino a quando rimangono 8-9-10 m sul f, passare la m successiva a rov senza lavorarla, 1 m rov, accavallare la m passata sopra quella appena lavorata, girare il lavoro. 3° f (= diritto del lavoro): lavorare a dir fino a quando rimangono 7-8-9 m sul f, passare la m successiva a dir senza lavorarla, 1 m dir, accavallare la m passata sopra quella appena lavorata, girare il lavoro. 4° f (= rovescio del lavoro): lavorare a rov fino a quando rimangono 7-8-9 m sul f, passare la m successiva a rov senza lavorarla, 1 m rov, accavallare la m passata sopra quella appena lavorata, girare il lavoro. Continuare in questo modo con 1 m in meno prima di ogni diminuzione fino a quando ci sono 14-16-18 m rimaste sul f. CALZE: Lavorate in tondo con i f a doppia punta dal centro dietro. Avviare 66-72-75 m con i f a doppia punta n° 2 mm e lavorare 3 cm a coste *1 m dir, 2 m rov*, ripetere *-*. Lavorare 1 giro dir, ALLO STESSO TEMPO aumentare 1 m nelle taglia 41/43 = 66-72-76 m. Lavorare il giro successivo come segue: 9-12-14 m a m rasata, M.1 sulle 36 m successive, 9-12-14 m a m rasata e M.1 sulle 12 m successive. Continuare con il motivo in questo modo fino a quando il lavoro misura 5-6-7 cm. Ora aggiustare il n° di m diminuendo 1-2-2 m in modo uniforme su entrambe le parti a m rasata = 64-68-72 m. Continuare con il motivo fino a quando il lavoro misura 10-11-12 cm. Ora tenere le prime 8-10-12 m sul f, mettere le 36 m successive su un fermamaglie (= M.1 3 volte – centro sopra il piede) e tenere le ultime 20-22-24 m sul f = 28-32-36 m per il tallone (inserire un segnapunti dopo 14-16-18 m = centro dietro). Lavorare 5-5,5-6 cm a m rasata sulle m del tallone e poi diminuire per il tallone – leggere le DIMINUZIONI PER IL TALLONE sopra. Dopo le diminuzioni per il tallone riprendere 15-16-18 m a ogni lato del tallone e riportare le 36 m dal fermamaglie sui f a doppia punta = 80-84-90 m. Continuare a m rasata sulle prime 22-24-27 m, M.1 sulle 36 m centrali e a m rasata sulle 22-24-27 m rimaste. ALLO STESSO TEMPO diminuire a ogni lato come segue: lavorare insieme a dir ritorto le ultime 2 m prima delle 36 m centrali al centro sul sopra del piede.(cioè lavorarle nel filo dietro della m anziché in quello davanti) e lavorare insieme a dir le prime 2 m dopo le 36 m. Diminuire a f alterni per un totale di 12-11-11 volte = 56-62-68 m. Continuare il motivo fino a quando il lavoro misura 18-19-21 cm dal segnapunti sul tallone. Ora inserire un segnapunti a ogni lato (28-31-34 m tra ogni segnapunti). Continuare a m rasata su tutte le m e diminuire per la punta su entrambi i lati di ogni segnapunti come segue: 2 m insieme a dir, segnapunti, 2 m insieme a dir ritorto. Ripetere le diminuzioni a giri alterni per un totale di 4-8-10 volte e su ogni giro per un totale di 7-4-2 volte = 12-14-20 m rimaste. Sul giro successivo lavorare tutte le m insieme 2 a 2 a dir. Tagliare il filo e farlo passare attraverso le m rimaste. Affrancare bene. |
||||||||||||||||
Spiegazioni del diagramma |
||||||||||||||||
|
||||||||||||||||
 |
||||||||||||||||
Avete terminato questo modello?Allora taggate le vostre foto con #dropspattern #ingridssocks o inviatele alla #dropsfan gallery. Avete bisogno di aiuto con questo modello?Troverete 19 video tutorial, una sezione per i commenti/domande e molto altro guardando il modello su www.garnstudio.com © 1982-2026 DROPS Design A/S. Ci riserviamo tutti i diritti. Questo documento, compreso tutte le sue sotto-sezioni, è protetto dalle leggi sul copyright. Potete leggere quello che potete fare con i nostri modelli alla fine di ogni modello sul nostro sito. |
||||||||||||||||


Con oltre 40 anni di esperienza nel design di modelli di maglia e uncinetto, DROPS Design offre la più estesa collezione di modelli gratuiti su internet - tradotti in 17 lingue. Ad oggi vi possiamo fornire 324 cataloghi e 12290 modelli - 9561 dei quali sono tradotti in Italiano.
Ci stiamo impegnando molto per darvi il meglio che vi possiamo offrire in termini di maglia e uncinetto, ispirazioni e consigli così come filati di grande qualità ad un prezzo incredibile! Volete utilizzare i nostri modelli per qualcosa d'altro oltre al vostro uso personale? Potete leggere tutto ciò che è consentito nel testo sul Copyright in basso su tutte le pagine dei nostri modelli. Buon lavoro!
Lasciare un commento sul modello DROPS 100-18
Noi saremmo felici di ricevere i tuoi commenti e opinioni su questo modello!
Se vuoi fare una domanda, fai per favore attenzione a selezionare la categoria corretta nella casella qui sotto per velocizzare il processo di risposta. I campi richiesti sono indicati da *.