
Populära kategorier
Letar du efter ett garn?


Kommentarer / Frågor (16)
![]() Sharon Hunt-Edwards skrev:
Sharon Hunt-Edwards skrev:
Hello, I would have worked the pattern as written until my Polaris yarn became scrap yarn and it would not have worked. Hopped onto ravelry got som help and am finished the increases after trying for about 3 days and am not a beginner knitter. Have knitted complicated lace patterns . Am one happy knitter. So I would agree with FS that the pattern as written is notcorrect.
27.02.2024 - 19:30
![]() FS skrev:
FS skrev:
Sorry but you are wrong. Try knitting it or charting it and you will see. (k3 yo k1 k1 yo) x3 is 15 sts not 12 and doesn't put the yo either side of the markers. k3 yo k1 sm k1 yo k2 yo k1 sm k1 yo k2 yo k1 sm will work but is 5 increases not 6. There needs to be k1 yo after the 1st/last marker as well. Either you do this at the start of round 1 or you go into round 2 and do it there. In this case the pattern needs to specify that.
27.02.2024 - 18:55
![]() FS skrev:
FS skrev:
The instructions for round 1 do not work. This has been mentioned above by Sharon HUnt. Your response to her question does not work either. In fact, it is even more incorrect. Round 1 should be * K1, yo, k to 1 st before marker, yo, k1 * repeat from * to * three times in total. In your reply to her question about the stitch count of the smaller size you say increase twice but the pattern says only once
27.02.2024 - 11:54DROPS Design svarede:
Dear Fs, in the previous answer, the markers were supposed to be inserted after the first 4 sts then after every 4th stitch, then you increase on each side of 2 sticches (where the marker is between these both stitches), so that you work: *K3, YO, K1 (last of the 4th st before 1st marker), K1 (first of the 4 sts after marker), YO*, after you have worked from *-* you have 3 sts left before next marker, repeat from *-*. On next repeat, you will work the same way with 1 extra st before each increase, ie; *K4, YO, K2 (with marker between both K2), YO*, and so on. Happy knitting!
27.02.2024 - 13:39
![]() Sharon Hunt-Edwards skrev:
Sharon Hunt-Edwards skrev:
As the increases er completed on row 2. The marker remains at its original position? Correct. Thanks
26.02.2024 - 11:36DROPS Design svarede:
Dear Mrs Hunt-Edwards, let the marker follow piece so that the increase will be worked on either side of the markers (on each side of the 2 sts with the marker inbetween); work the rounds 1+2 a total of 4-5 times, this means you will work a total of 8-10 rows increasing every other round (every time you work round 2). Happy knitting!
26.02.2024 - 13:58
![]() Sharon Hunt skrev:
Sharon Hunt skrev:
Hello is there a mistake in this pattern. The pattern says to knit row 1 and to 4-5 times and the amount of sts on the needle should be 42. Then ie says further to knit 1 more time and the sts count is 40. Last part of the increase says the final stitch count is 40. Which is it? Please note this is an additional question. Hope i don’t be designated as as a spammer. Am make the largest size.
26.02.2024 - 06:59DROPS Design svarede:
Dear Mrs Hunt, in the first size you get 36 sts then increase only 4 sts (at 2 markers only) to get 40 sts; but in the 2nd size, you get 42 sts after the increases are done. So in the larger size when you get 42 sts just work without increasing anymore until piece measure 22 cm. Happy knitting!
26.02.2024 - 10:03
![]() Sharon HUnt skrev:
Sharon HUnt skrev:
Hello Drops am not understanding roun one in this pattern. The pattern says to knit until l sts before the maker, make 1 yarn over, knit 2, make 1 yarn over*, repeat from *-* I end up on the next group of sts. without completing the repeat. Seems like something is not quite correct here. Not sure what am doing wrong. Thanks for your help.
25.02.2024 - 12:47DROPS Design svarede:
Dear Mrs Hunt, you have inserted 3 markers like this (4 sts, 1 marker) x 3; work now as follows: (knit 3, 1 yo, k2 (marker is between these 2 sts), YO), repeat from (to) to the end of the round. Happy knitting!
26.02.2024 - 09:26
![]() Luisa skrev:
Luisa skrev:
C’è un errore: GIRO 1: * lavorare a diritto fino a quando rimane 1 maglia prima del segnapunti, 1 gettato, 2 maglie diritto, 1 gettato *, ripetere *-* fino alla fine del giro (6 aumenti). sono 5 aumenti non 6, manca il gettato dopo la prima maglia del giro
23.01.2024 - 20:33DROPS Design svarede:
Buonasera Luisa, gli aumenti sono corretti, si lavorano 3 ripetizioni sul giro. Buon lavoro!
17.03.2024 - 19:00
![]() Emmanuelle Poirier skrev:
Emmanuelle Poirier skrev:
Concernant la grosseur de l'aiguille, vous mentionner des aiguilles no 12. Est-ce que vos mesure sont en mm ou en us? Car je cherche des 12us et ne trouve pas cette grosseur. Merci
27.01.2023 - 12:46DROPS Design svarede:
Bonjour Mme Poirier, dans les modèles français, c'est le système métrique qui a été retenu pour la taille des aiguilles - vous pouvez filtrer les modèles par nombre de mailles pour 10 cm (plus simple car la taille des aiguilles dépend aussi de la tension de chacune). Bon tricot!
27.01.2023 - 14:23
![]() Mari skrev:
Mari skrev:
Når jeg vrenger lua til rettsiden på slutten, så "hopper" den fire cm lange, vrange stripen som er strikket etter den første vrengingen med opp og er synlig under vrangborden. Hvordan unngår dere det?
28.12.2022 - 21:53DROPS Design svarede:
Hej Mari, gør det noget? ... du kan evt strikke en vrangpind inden du vender, da vil det blive en glatpind i kanten.
04.01.2023 - 12:18
![]() Laura skrev:
Laura skrev:
Cuando aumento me quedan agujeros en las lazadas, el patrón es así o lo estoy haciendo mal? Si lo estoy haciendo mal, qué puedo hacer para que no queden agujeros? Gracias de antemano
25.10.2022 - 19:16DROPS Design svarede:
Hola Laura, para evitar que se formen agujeros hay que tener el hilo muy tenso al trabajar las lazadas.
06.11.2022 - 23:46
|
|
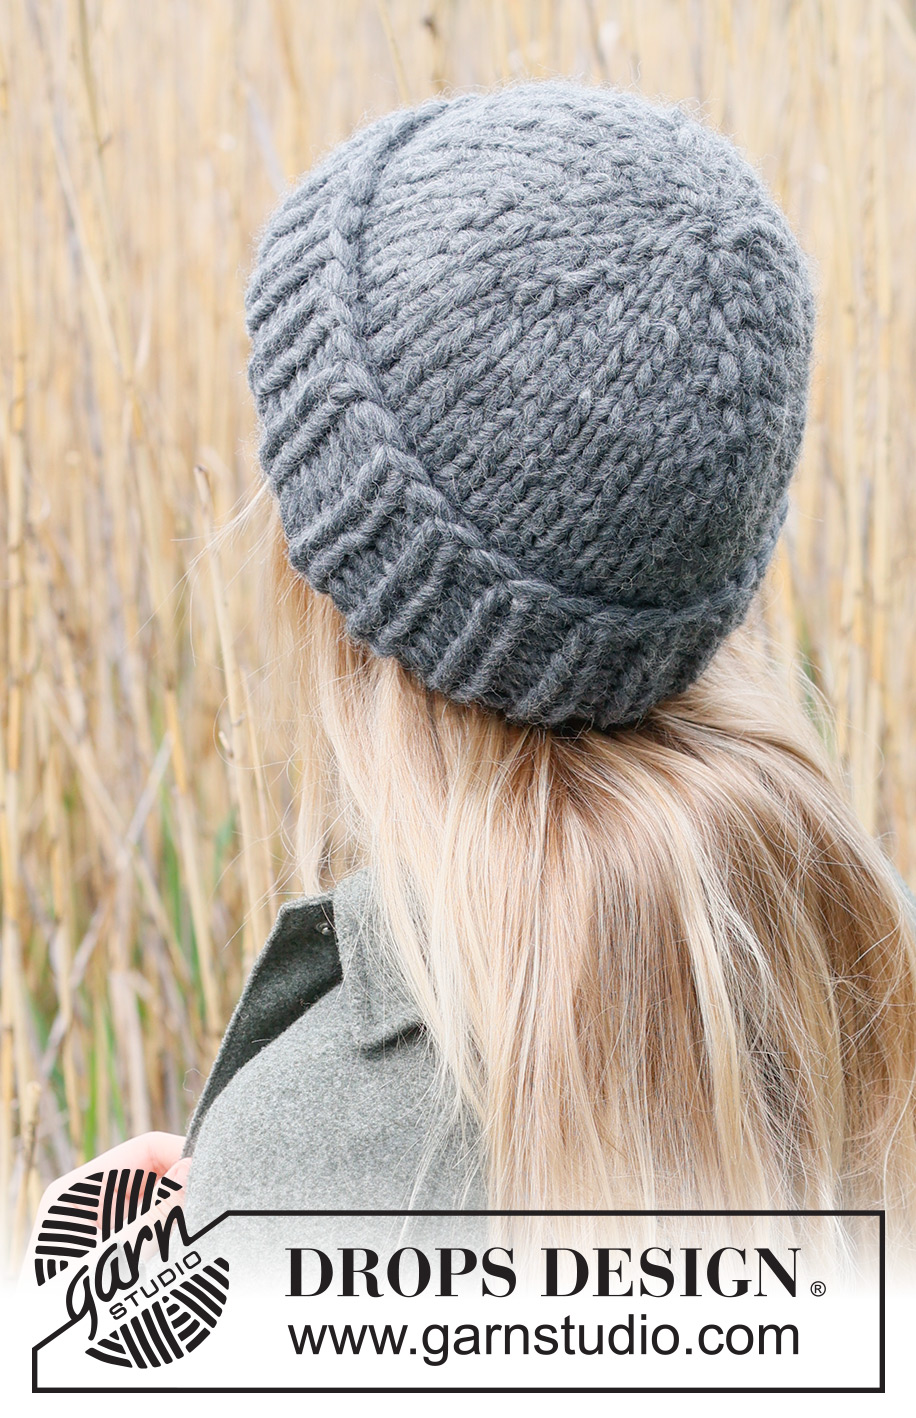
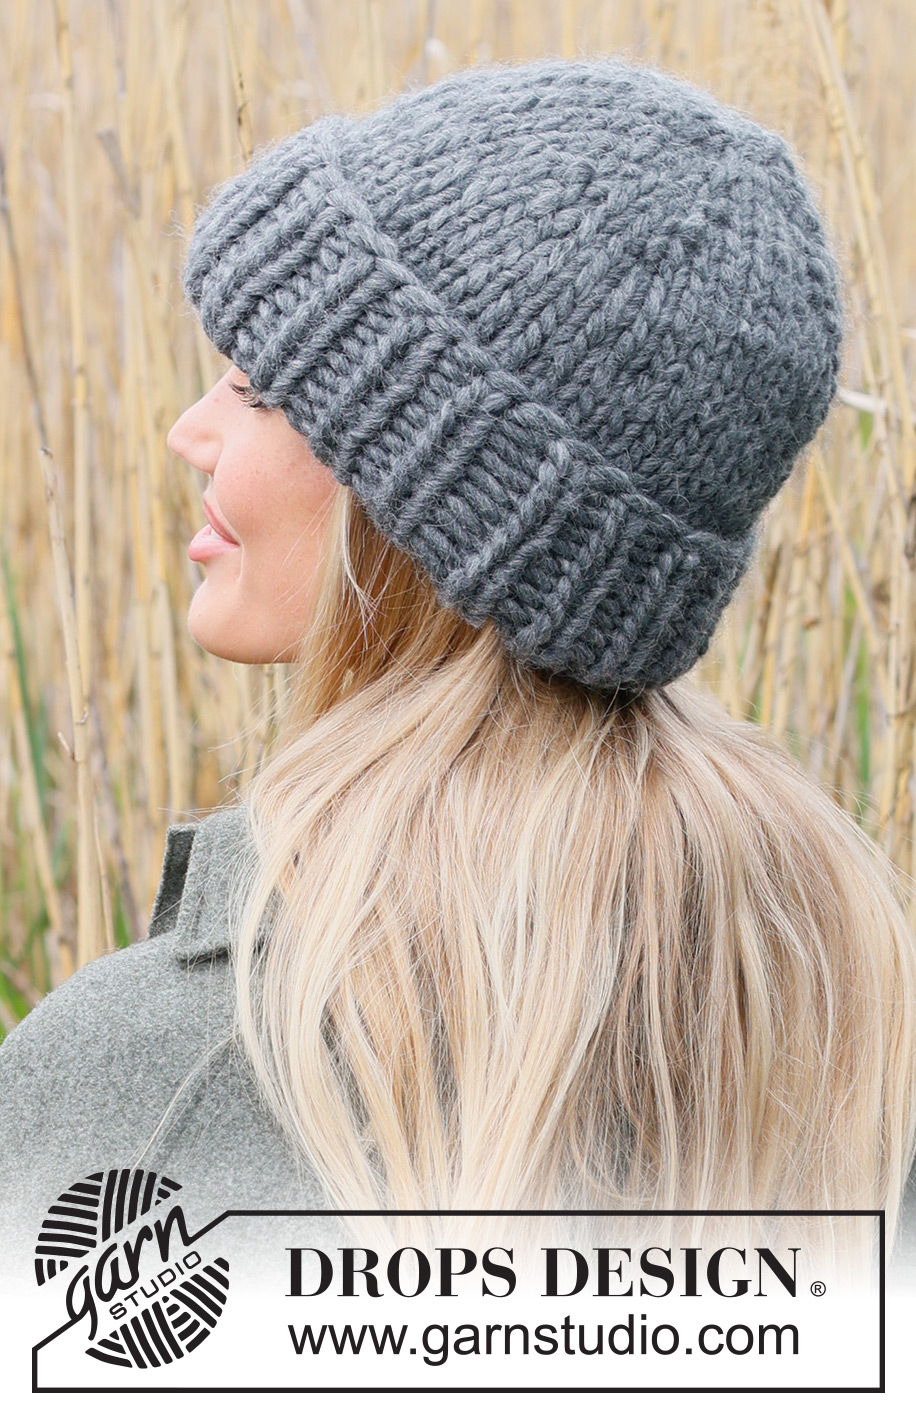
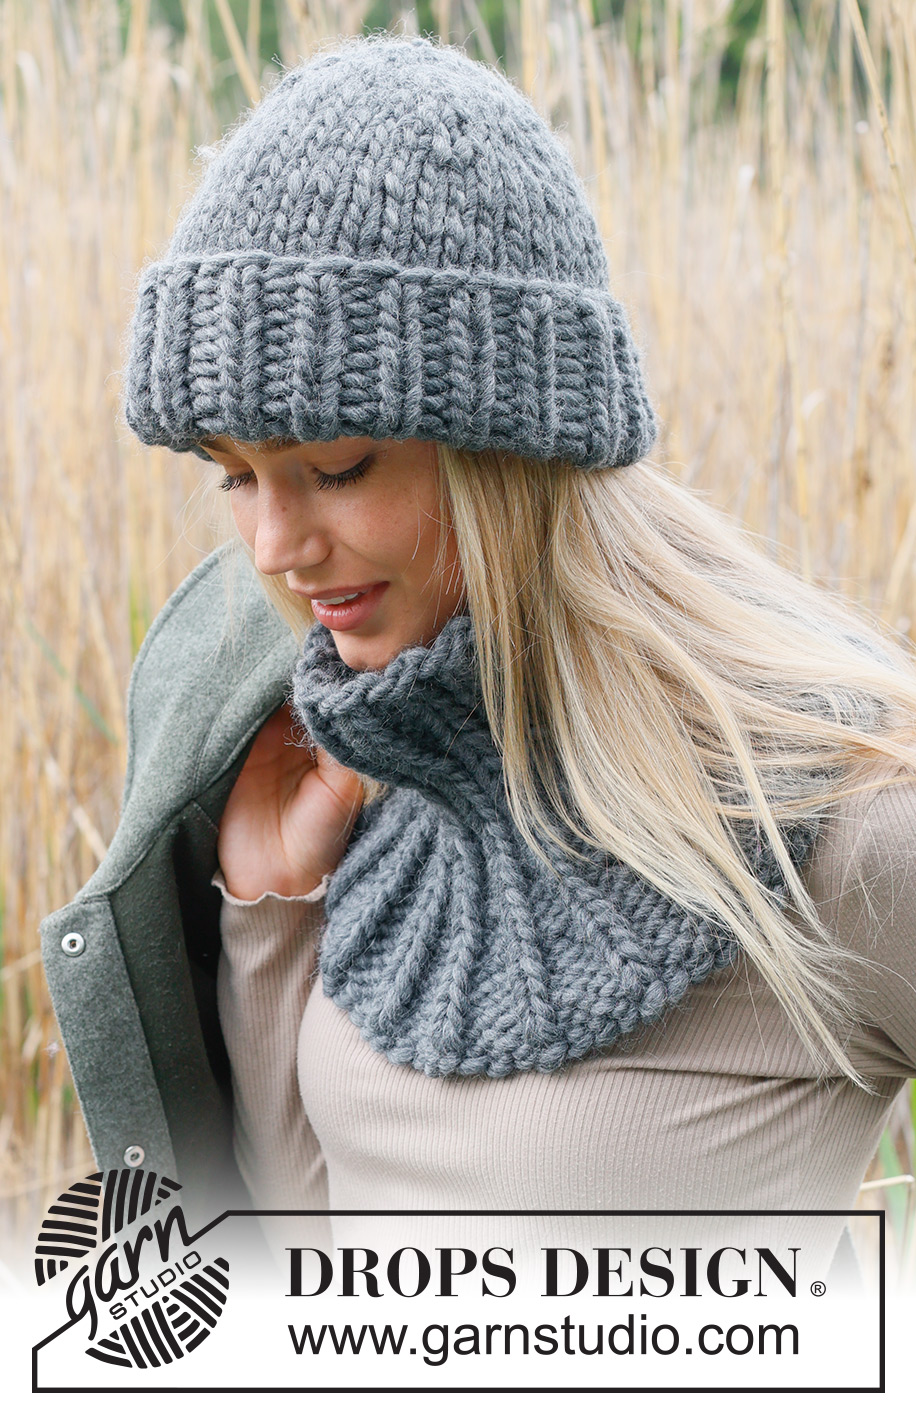
Polar Night Hat#polarnighthat |
|
 |
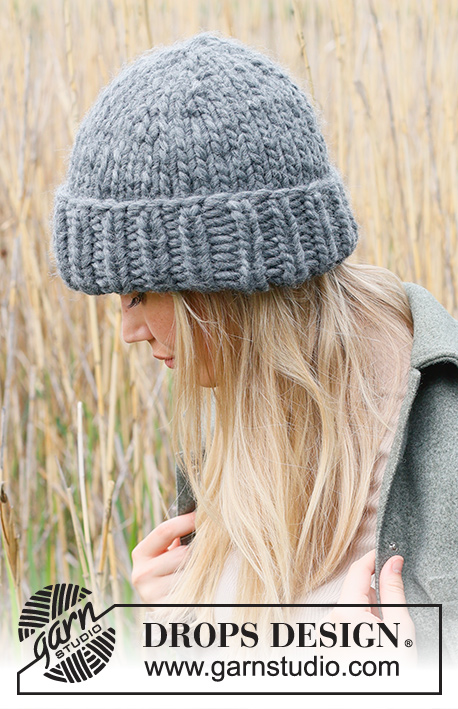 |
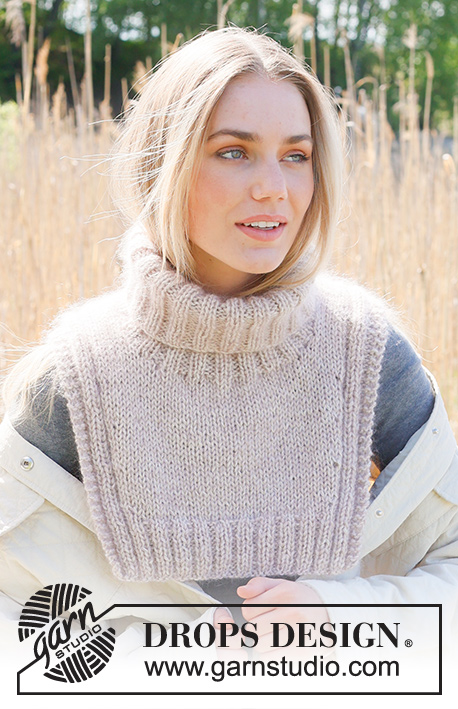
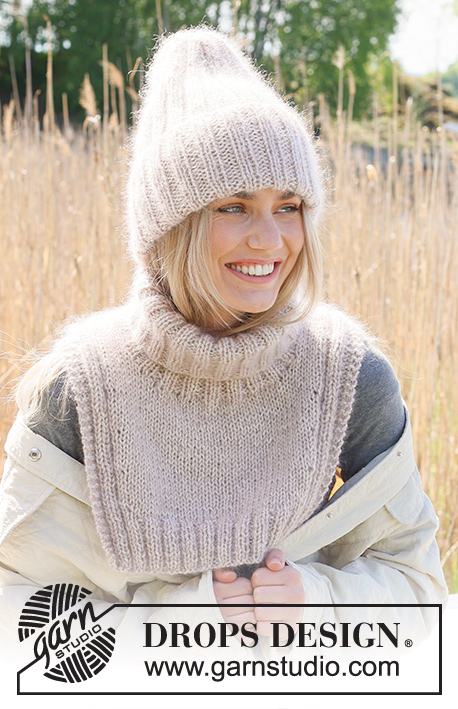
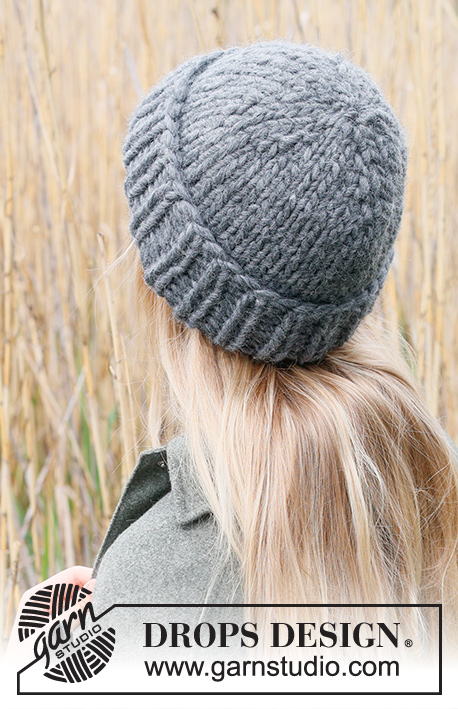
Stickad mössa / hipstermössa i DROPS Polaris. Arbetet stickas uppifrån och ner i slätstickning med vikkant i resår.
DROPS 234-34 |
|
|
------------------------------------------------------- BÖRJA ARBETET HÄR: ------------------------------------------------------- MÖSSA – KORT ÖVERSIKT ÖVER ARBETET: Arbetet stickas uppifrån och ner runt på strumpstickor. MÖSSA: Lägg upp 12 maskor fördelat på strumpstickor 12 med DROPS Polaris - låt tråden i änden vara ca 20 cm, den ska användas till montering. Sätt 3 markörer i arbetet så att det är 4 maskor mellan varje markör. VARV 1: * Sticka rätmaskor tills det återstår 1 maska före markören, gör 1 omslag om stickan, sticka 2 rätmaskor och gör 1 omslag om stickan*, sticka *-* varvet runt (6 maskor ökade). VARV 2: * Sticka rätmaskor fram till omslaget, lyft omslaget av stickan och sätt tillbaka det åt motsatt håll, sticka omslaget rätt i främre maskbågen (maskan vrids mot höger), 2 rätmaskor, sticka nästa omslag rät i bakre maskbågen (maskan vrids mot vänster) *, sticka *-* varvet runt. Upprepa varv 1 och 2 totalt 4-5 gånger = 36-42 maskor på varvet. Arbetet mäter ca 8-10 cm. KONTROLLERA STICKFASTHETEN! STORLEK S/M: Sticka som 1:a och 2:a varvet 1 gång till, men öka endast vid 2 av markörerna = 40 maskor. ALLA STORLEKAR: = 40-42 maskor. Sticka slätstickning utan ökningar till arbetet mäter 21-22 cm. Vänd arbetet och sticka slätstickning från avigsidan (rätt från avigsidan) i 4 cm. Byt till strumpstickor 10. Sticka resår (1 rätmaska, 1 avigmaska) i 8 cm. Maska av med rätmaskor över rätmaskor och avigmaskor över avigmaskor och se till att avmaskningen inte blir för stram. Mössan mäter ca 33-34 cm från uppläggningskanten. Vänd mössan och vik upp resåren på rätsidan. MONTERING: Använd tråden från början av arbetet till att dra ihop öppningen på toppen av mössan. |
|
Har du gjort detta mönster?Tagga då dina bilder med #dropspattern #polarnighthat eller skicka in de till #dropsfan galleriet. Behöver du hjälp med mönstret?Du hittar 19 instruktionsvideoer, kommentarer/frågor och mer i mönstret på www.garnstudio.com © 1982-2026 DROPS Design A/S. Alla rättigheter är reserverade. Detta dokument med tillhörande underdokument har copyright. Läs mer om vad du kan göra med våra mönster längst ner på vår hemsida. |
|


Med över 40 år i stick- och virkbranschen erbjuder DROPS Design en av de mest omfattande samlingarna av gratis mönster på internet - översatt till 17 språk. Per idag har vi 324 kataloger och 12290 mönster på och alla är översatta till Svenska.
Vi arbetar hårt för att kunna erbjuda det bästa inom stickning och virkning, inspiration och goda råd, men också kvalitetsgarn till fantastiska priser! Vill du använda våra mönster till annat än personligt användande? Du kan läsa om vilka regler som gäller i texten Copyright längst ner på sidan på alla våra mönster. Lycka till!
Kommentera mönster DROPS 234-34
Vi vill gärna ha din åsikt om denna modell!
Om du har en fråga kring den, kom ihåg att välja rätt kategori i menyn under, så får du snabbare svar! Obligatoriska fält är markerade med *.