
Categorie popolari
State cercando un filato?


























Commenti / Domande (46)
 Carmel ha scritto:
Hello, Can you please tell me how to increase the first stitch on the wrong side? Is it done purl wise? Thank you
31.10.2026 - 19:51DROPS Design ha risposto:
Hi Carmel, The increase in the first stitch is by knitting 2 stitches in the same stitch (both through the front and back loop). This is the same from both the right and wrong side (see Increase Tip-1 in the explanations). Regards, Drops Team.
01.11.2026 - 14:45
 Remy ha scritto:
How do I do the i-cord edge? understand how to do the k2fb, but it's coming out bumpy on the sides. I have watched the video, and reviewed the comments in 3 languages. And I have reworked it multiple times. Does it have something to do with the front or back position of the yarn? Is there anywzy you can re-word or go into more detail? Please help
29.10.2026 - 01:04DROPS Design ha risposto:
Hi Remy, It is important that the stitches are loose but of equal size when casting off with I-cord. This could be the reason your cast-off edge is bumpy. The yarn is held at the back of the piece when casting off. Regards, Drops Team.
29.10.2026 - 05:22
 Romaned ha scritto:
Bonjour, lors des augmentations sur l\'envers, en début de rang, doit t on les faire comme sur l\'endroit ?
16.10.2026 - 16:09DROPS Design ha risposto:
Bonjour Romaned, tout à fait, vous tricotez la 1ère et la dernière maille 2 fois à l'endroit aussi bien sur l'endroit que sur l'envers, les autres mailles se tricotent en jersey. Bon tricot!
16.10.2026 - 17:10
 Rebecka ha scritto:
"Sticka 1 varv avigt från avigsidan där det ökas 30 maskor jämnt fördelat (öka 15 maskor jämnt fördelat på varje sida av mittmaskan) = ca 225 maskor på varvet." Står inte hur denna ökning ska göras på avigsidan? Gör man den som det står att man ska göra på rätsidan blir det ett hål...
21.07.2026 - 09:23DROPS Design ha risposto:
Hei Rebecka. Du øker med 1 omslag (från avigsidan) og når du på neste pinne (från rätsidan), så skal det felles av med i-cord. Les i oppskriften under: I-CORD AVMASKNING. Omslaget gjør at avfellingskanten ikke strammer, blir ingen hull. mvh DROPS Design
05.08.2026 - 08:03
Julie ha scritto:
Bonjour, Je n’arrive pas á comprendre comment tricoter le jeté après le marqueur lorsque je suis sur le rang envers. D’avance merci pour l’aide apportée
25.06.2026 - 18:47DROPS Design ha risposto:
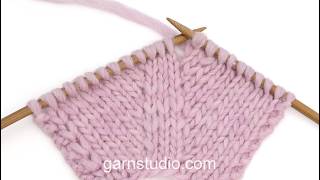
Bonjour Julie, découvrez ici, en vidéo, comment tricoter ces jetés sur l'envers, avant et après le marqueur, ainsi que le rendu final, notez que dans la vidéo, on a 3 m jersey entre les augmentations contre 1 seule pour le châle, tricotez bien 1 seule maille entre les augmentations comme dans le châle et non comme dans la vidéo (qui ne montre que la technique). Bon tricot!
26.06.2026 - 07:14
 Hanne Van Den Berge ha scritto:
“Brei 1 naald averecht aande verkeerde kant terwijl u 30 steken verdeeld meerdert”. Met wat voor steek meerder je aan de verkeerde kant?
16.06.2026 - 19:59DROPS Design ha risposto:
Dag Hanne,
Dat staat inderdaad niet duidelijk aangegeven. Je zou dit kunnen doen door 2 steken in 1 steek te breien of de draad tussen 2 steken van de vorige naald op te nemen en deze gedraaid te breien.
17.06.2026 - 21:02
 Andrea ha scritto:
Hallo, meine Frage ist: Wieso werden die Rückreihen auch mit rechten Maschen gestrickt? Das Tuch ist doch nicht in kraus rechts. Danke.
23.04.2026 - 15:37DROPS Design ha risposto:
Liebe Andrea, hier ist das Tuch glattrechts gestrickt (sieh 3. Foto vielleicht?) wenn man Glatt rechts strickt, soll man die Hin-Reihen rechts und di Rück-Reihen links stricken. Viel Spaß beim Stricken!
23.04.2026 - 16:43
Nina ha scritto:
Hi! Regarding the increases at the beginning and the end of eacht row, these should be on both the right side, as well as the wrong side? When I follow the instructions from the pattern INCREASE TIP 1 (and according to the instruction video) on both sides, my edge does not look like the edge on the pictures of the pattern. Can you please elaborate? Thanks!
05.01.2026 - 14:21
 Lucie Michaud ha scritto:
Hi! Regarding these increases at the beginning and at the end of each row on the wrong side “ROW 2 (wrong side): Increase 1 stitch in the first stitch …increase 1 stitch in the last stitch.” I did a purl front back since we are on the purl side, but should I follow the INCREASE TIP 1 and make a knit front back even on the wrong side? Thanks!
05.01.2026 - 01:03DROPS Design ha risposto:
Dear Lucie, you should increase as shown in the TIP, so you should knit front back from the wrong side as well. Happy knitting!
11.01.2026 - 23:49
Anne ha scritto:
Jag undrar om arbetets längd. 24 eller 29 cm? ”Sticka till arbetet mäter 29 cm längs mittmaskan, avsluta efter ett varv från rätsidan. Arbetet mäter nu ca 24 cm mätt längs stickriktningen, och det är ca 195 maskor på varvet.”
02.01.2026 - 08:10DROPS Design ha risposto:
Hi Anne, along the centre stitch, the length of the work is 29 cm, but at the same time, the length of the shawl from the centre to the side (along the right stitch) is only 24 cm, because the shawl is triangular in shape. Happy knitting!
02.01.2026 - 12:49
|
|
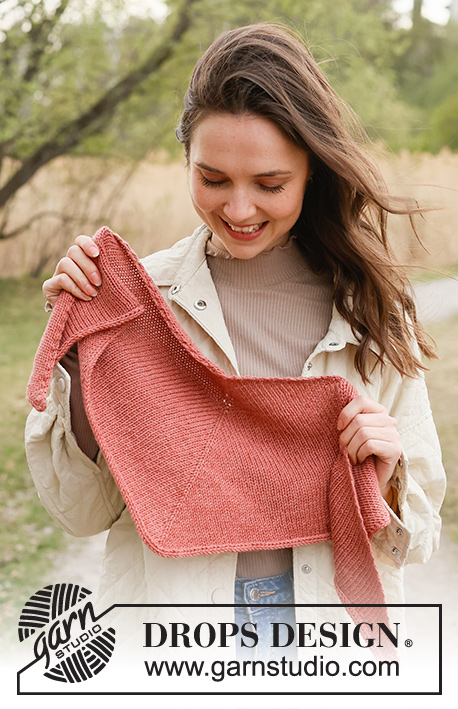
Spanish Rose#spanishroseshawl |
|
 |
 |
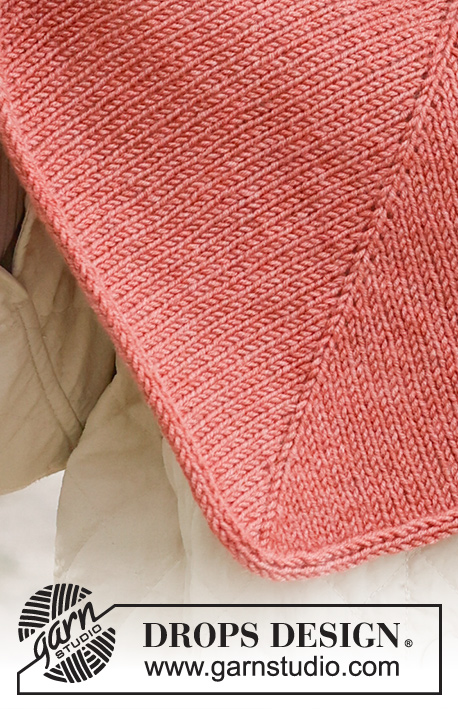
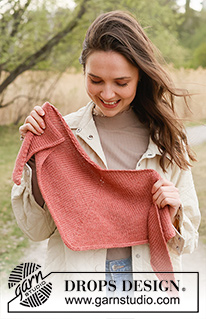
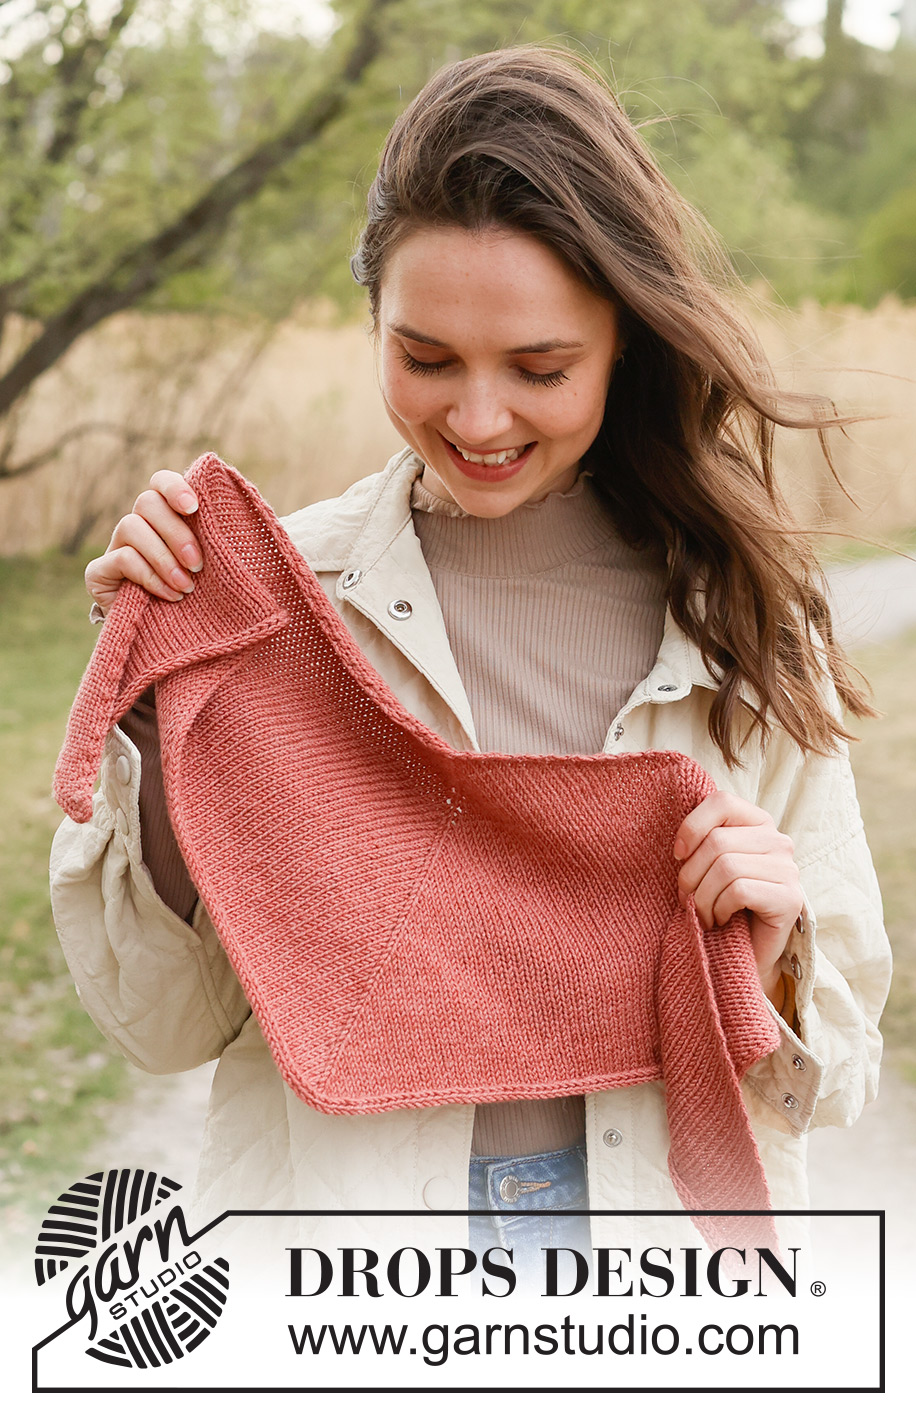
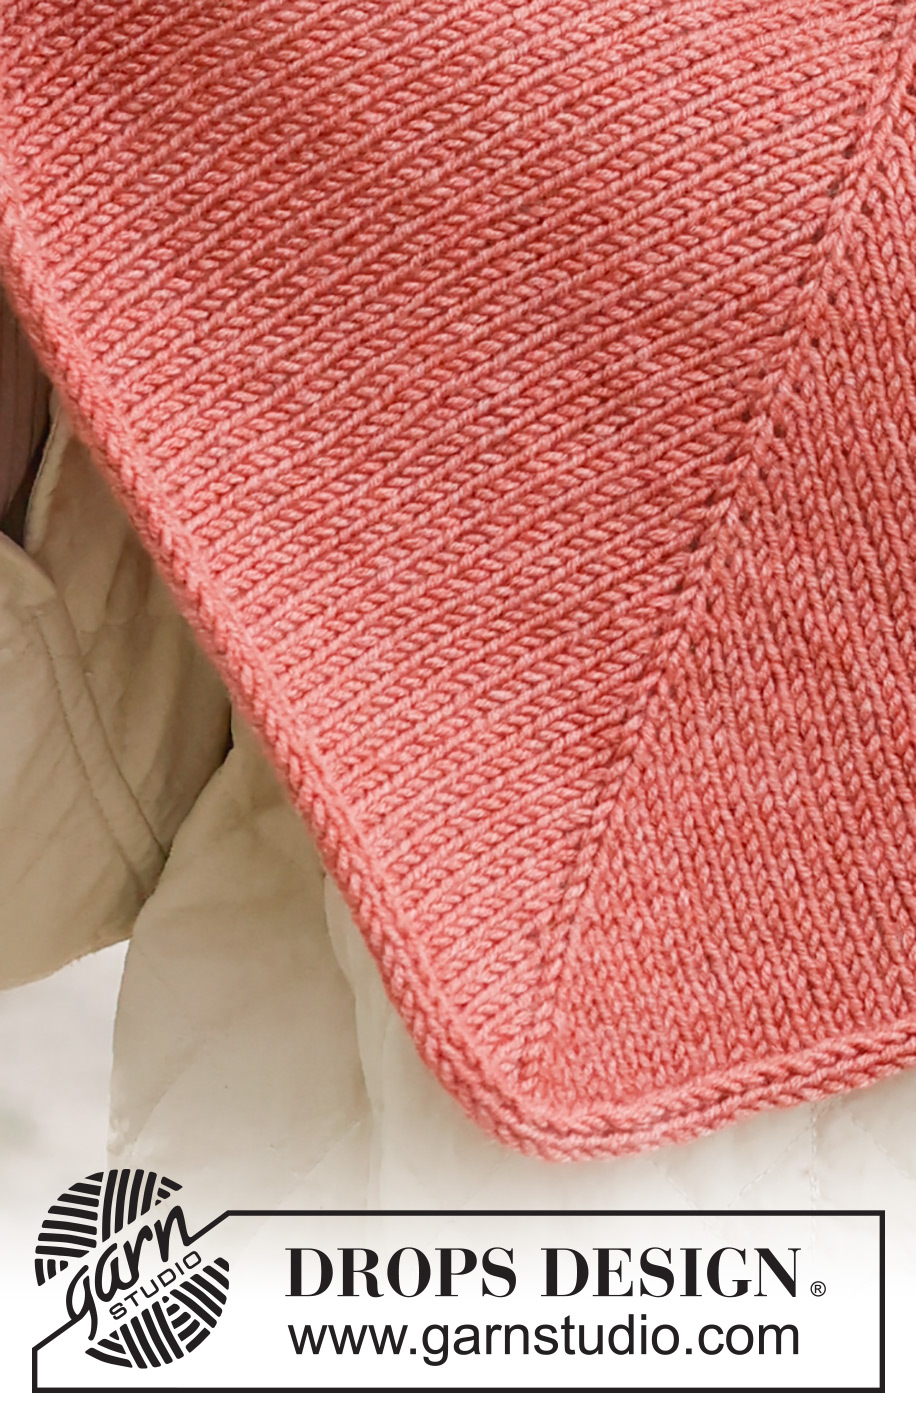
Scialle lavorato ai ferri in DROPS Merino Extra Fine. Lavorato dall’alto in basso a maglia rasata e bordo ad I-cord.
DROPS 234-49 |
|
|
------------------------------------------------------- TECNICHE IMPIEGATE: ------------------------------------------------------- SUGGERIMENTO PER GLI AUMENTI-1 (lati): Lavorare 1 maglia diritto nel filo davanti e dietro della stessa maglia (1 aumento). SUGGERIMENTO PER GLI AUMENTI-2 (centro): Lavorare tutti gli aumenti dal diritto del lavoro! Fare 1 gettato a ogni lato della maglia con il segnapunti (2 aumenti). Poi lavorare i gettati come segue dal rovescio del lavoro: PRIMA DEL SEGNAPUNTI: Lavorare i gettati a rovescio nel filo dietro = nessun buco. DOPO IL SEGNAPUNTI: Prendere il gettato dal ferro sinistro e riportarlo sul ferro nel modo opposto (inserire il ferro da dietro quando si prendere il gettato). Lavorare il gettato a rovescio nel filo davanti = nessun buco. Lavorare le nuove maglie a maglia rasata. ------------------------------------------------------- INIZIO DEL LAVORO: ------------------------------------------------------- SCIALLE – BREVE RIASSUNTO DEL LAVORO: Lavorato in piano con i ferri circolari, dall’alto in basso. Intrecciare con un bordo ad I-cord. SCIALLE: Avviare 5 maglie con i ferri circolari n° 4,5 mm e DROPS Merino Extra Fine. Inserire 1 segnapunti nella maglia centrale. FERRO 1 (diritto del lavoro): Aumentare 1 maglia nella 1° maglia – leggere il SUGGERIMENTO PER GLI AUMENTI, lavorare a maglia rasata fino alla maglia con il segnapunti, aumentare 1 maglia a ogni lato della maglia con il segnapunti – leggere il SUGGERIMENTO PER GLI AUMENTI-2, lavorare a maglia rasata fino a quando rimane 1 maglia, aumentare 1 maglia nell’ultima maglia – leggere il SUGGERIMENTO PER GLI AUMENTI-1. FERRO 2 (rovescio del lavoro): Aumentare 1 maglia nella 1° maglia, lavorare a maglia rasata fino a quando rimane 1 maglia (ricordarsi del SUGGERIMENTO PER GLI AUMENTI-2, descrive come lavorare i gettati sul rovescio del lavoro), aumentare 1 maglia nell’ultima maglia. Ripetere i ferri 1 e 2 fino a quando il lavoro misura 29 cm misurati lungo la maglia centrale. FARE ATTENZIONE ALLA TENSIONE DEL LAVORO! Finire dopo un ferro dal diritto del lavoro. Il lavoro misura 24 cm nella direzione del lavoro e ci sono 195 maglie. Lavorare 1 ferro rovescio dal rovescio del lavoro in cui aumentare 30 maglie in modo uniforme (15 maglie a ogni lato della maglia centrale) = 225 maglie. Intrecciare ad I-cord come descritto sotto. CHIUSURA AD I-CORD: E’ importante intrecciare senza stringere in modo. Lavorare delle maglie lasse e uniformi. Lavorare come segue: * 2 maglie diritto, 2 maglie insieme a diritto, rimettere le 3 maglie dal ferro destro a quello sinistro (nello stesso ordine) *. Lavorare *-* fino a quando tutte le maglie del ferro sinistro sono state intrecciate e ci sono 3 maglie sul ferro destro, rimetterle sul ferro sinistro e intrecciarle. Tagliare e affrancare il filo. |
|
Avete terminato questo modello?Allora taggate le vostre foto con #dropspattern #spanishroseshawl o inviatele alla #dropsfan gallery. Avete bisogno di aiuto con questo modello?Troverete 9 video tutorial, una sezione per i commenti/domande e molto altro guardando il modello su www.garnstudio.com © 1982-2026 DROPS Design A/S. Ci riserviamo tutti i diritti. Questo documento, compreso tutte le sue sotto-sezioni, è protetto dalle leggi sul copyright. Potete leggere quello che potete fare con i nostri modelli alla fine di ogni modello sul nostro sito. |
|






Con oltre 40 anni di esperienza nel design di modelli di maglia e uncinetto, DROPS Design offre la più estesa collezione di modelli gratuiti su internet - tradotti in 17 lingue. Ad oggi vi possiamo fornire 333 cataloghi e 12532 modelli - 9806 dei quali sono tradotti in Italiano.
Ci stiamo impegnando molto per darvi il meglio che vi possiamo offrire in termini di maglia e uncinetto, ispirazioni e consigli così come filati di grande qualità ad un prezzo incredibile! Volete utilizzare i nostri modelli per qualcosa d'altro oltre al vostro uso personale? Potete leggere tutto ciò che è consentito nel testo sul Copyright in basso su tutte le pagine dei nostri modelli. Buon lavoro!
Lasciare un commento sul modello DROPS 234-49
Noi saremmo felici di ricevere i tuoi commenti e opinioni su questo modello!
Se vuoi fare una domanda, fai per favore attenzione a selezionare la categoria corretta nella casella qui sotto per velocizzare il processo di risposta. I campi richiesti sono indicati da *.