
Categorie popolari
State cercando un filato?


Commenti / Domande (8)
![]() Carina ha scritto:
Carina ha scritto:
Jag har svårt att förstå beskrivningen, är helt ny på att sticka. Jag har lagt upp 12 maskor på strumpstickor (4st) och stickar med en 5,e sticka. 3 maskor på varje strumpsticka. Hur skall jag kunna sätta markören mellan två räta maskor?
23.02.2025 - 13:57DROPS Design ha risposto:
Hei Carina. Du har 12 masker og om oppskriften er fulgt skal du ha på 1. pinne: 1 rett - 1 vrang - 1 vrang. På 2. pinne: 1 rett - 1 rett- 1 vrang . På 3. pinne : 1 vrang- 1 rett- 1 rett. På 4. pinne: 1 vrang - 1 vrang - 1 rett. Så settes det 3 merker. 1. merke mellom 1. og 4. pinne som da blir mellom 2 rettmasker. 2. merke settes etter 1. maske på 2. pinne (mellom 2 rettmasker). 3. merke settes på 3. pinne og etter 2. maske på pinnen. Vrangborden strikkes som 2 rett / 2 vrang, men starter kun med 1 rettmaske. mvh DROPS Design
03.03.2025 - 11:05
![]() Anna ha scritto:
Anna ha scritto:
Hi! I am wondering how to work the yarn overs for round 5,6,7 etc., should they be knitted or purled? And regarding the previous question from Simone, shouldn't the left and right twists of stitches be done within the same round? Thank you in advance! :)
19.01.2025 - 21:57DROPS Design ha risposto:
Dear Anna, you will work the yarn overs as indicated in INCREASE TIP. Every 2 rounds you change how to work the yarn overs. For example, in ROUNDS 3 and 4 you purled them twisted, so in ROUNDS 5 and 6 you will knit them twisted and in ROUNDS 7 and 8 you will purl them twisted. And so on. You can see in the following video how these yarn overs are worked towards the right and the left, depending on the side of the marker that you are working on (as indicated in the INCREASE TIP above): https://www.garnstudio.com/video.php?id=1729&lang=en. Happy knitting!
19.01.2025 - 22:54
![]() Simone ha scritto:
Simone ha scritto:
Hallo, ich habe eine Frage zu den jeweils rechts und links zu strickenden Umschlägen. Werden diese immer über zwei Rd. rechts / zwei Rd links abwechselnd gestrickt ? (Rd 2+3 re/ Rd 4+5 li/ Rd 6+7 re / Rd 8+9 li ?) Ist das so korrekt ? vielen Dank 😊 für ihre Antwort
17.01.2025 - 13:39DROPS Design ha risposto:
Liebe Simone, ja genau, in diesem Video können Sie auch die Zunahmen für diese Mütze schauen. Viel Spaß beim Stricken!
17.01.2025 - 15:26
![]() Nina ha scritto:
Nina ha scritto:
Hello can you please clarify how I am meant to increase from round 4?
24.10.2024 - 20:36DROPS Design ha risposto:
Dear Nina, from 4th round you increase on every round as explained under INCREASE TIP ie on each side of the both K2 with the marker in between; until you have increased a total of 16 times in total, then increase the same way but on every other round only (1 round with increase, 1 round without increase) a total of 4 times: there were 12 sts + (6 sts increased x 20 times) + (6 sts increased x 4 times) = 132 stitches. Happy Knitting!
25.10.2024 - 07:59
![]() Nelly ha scritto:
Nelly ha scritto:
Så fin mössa, men tycker att själva mönsterbeskrivningen blir rörig om man läser direkt från mönstret, särskilt ökningsvarven, behövde skriva ner dem på ett separat papper för att kunna hålla ordning på dem.
10.10.2024 - 13:09
![]() Clara ha scritto:
Clara ha scritto:
"increase on every round until 16 increases have been done in total, then increase on every other round 4 times in total - 20 increases have been done on each side of each marker. There are now 132 stitches"" Ich kann nicht ganz nachvollziehen was mit den 16 Zunahmen gemeint ist, da eigentlich in jeder Reihe insg. 6 Maschen zugenommen werden. Bezieht sich die 16 dann auf je einen Abschnitt?Demnach müssen 8 Reihen gestrickt werden oder nicht? ich komme rechnerisch nicht auf 132 Maschen
13.10.2023 - 16:54DROPS Design ha risposto:
Liebe Clara, es wird insgesamt 16 Mal 6 Maschen dann 4 Mal 6 Maschen zugenommen, so wird es von den 12 angeschlagenen Maschen bis 12+(16x6)+(4x6)= 132 Maschen. Viel Spaß beim stricken!
16.10.2023 - 08:32
![]() Gladys ha scritto:
Gladys ha scritto:
Worauf bezieht sich nach Runde vier der Absatz „In dieser Weise…“? Darauf die Runden 1-4 zu wiederholen oder auf die letzte (4.) Runde? Der und liebe Grüße
12.12.2022 - 22:26DROPS Design ha risposto:
Liebe Gladys, Sie stricken das Rippenmuster wie zuvor und gleichzeitig nehmen Sie wie zuvor 6 Maschen je mit 1 Umschlag auch wie zuvor (= beidseitig von den 2 Maschen rechts mit der Markierung dazwischen). Dieses Video zeigt auch, wie man zunehmen wird. Viel Spaß beim stricken!
13.12.2022 - 08:17
![]() Sigrid ha scritto:
Sigrid ha scritto:
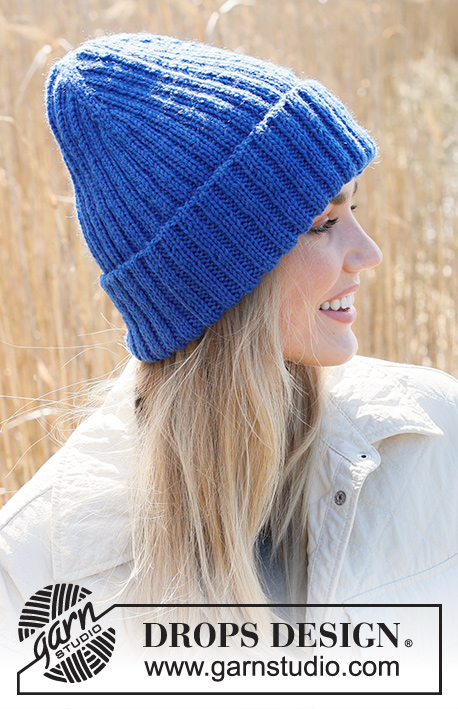
Ein blauer Traum!
13.09.2022 - 12:14
|
|
She's Electric#sheselectrichat |
|
 |
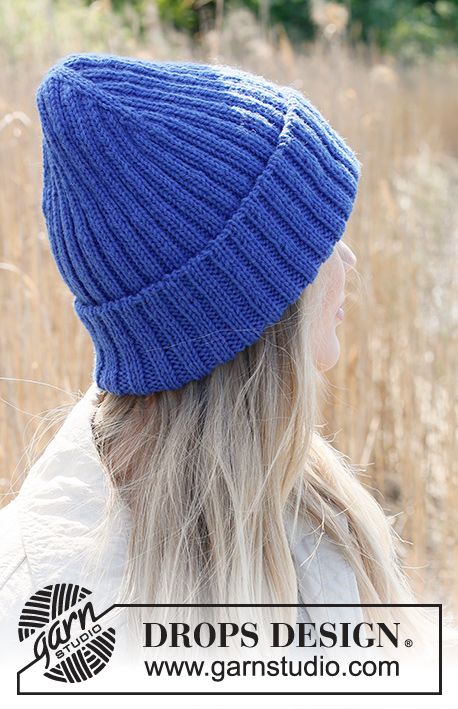 |
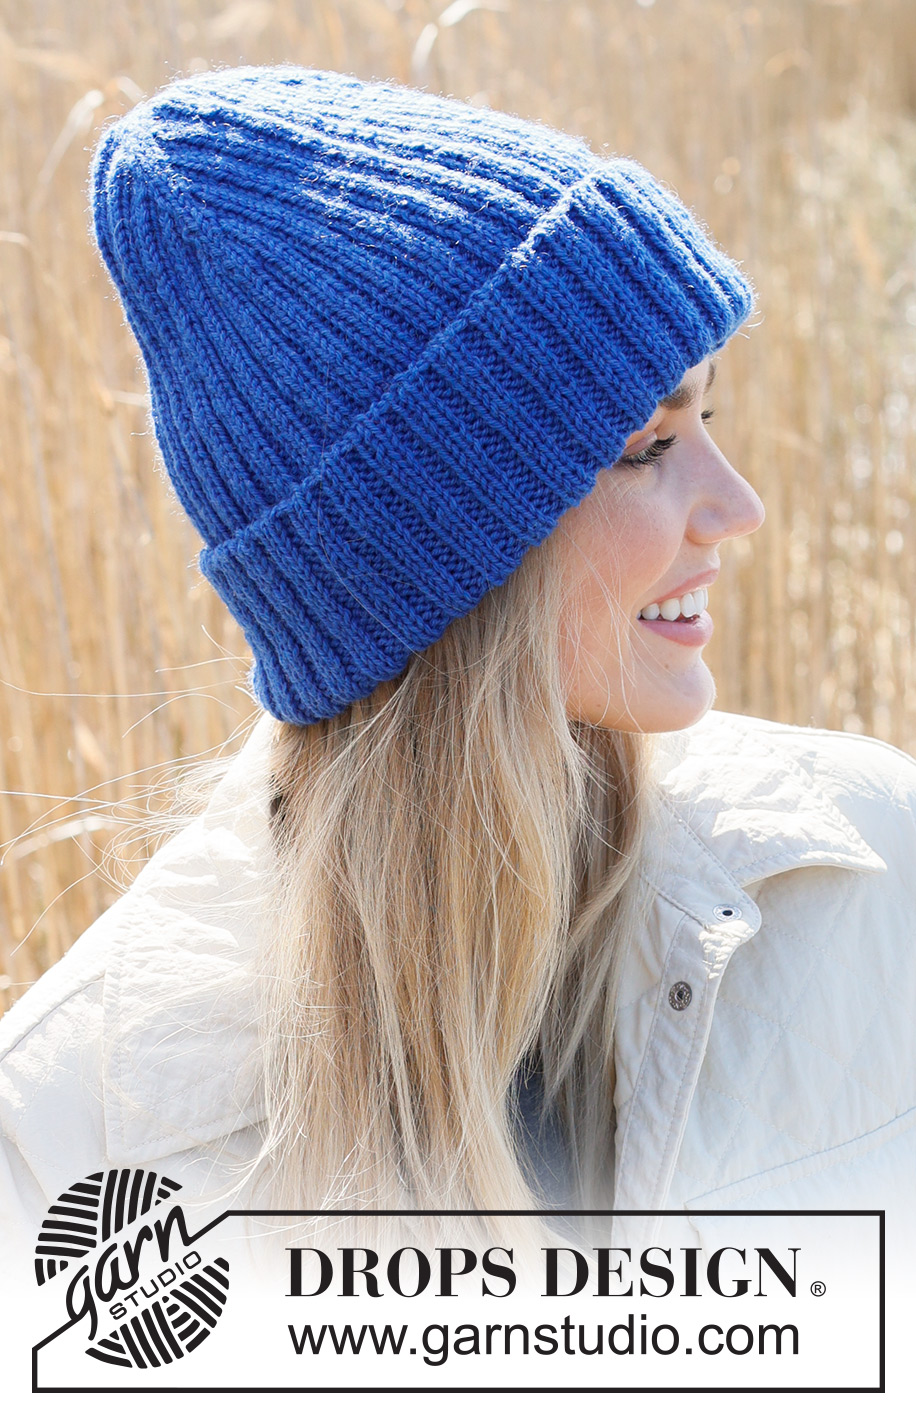
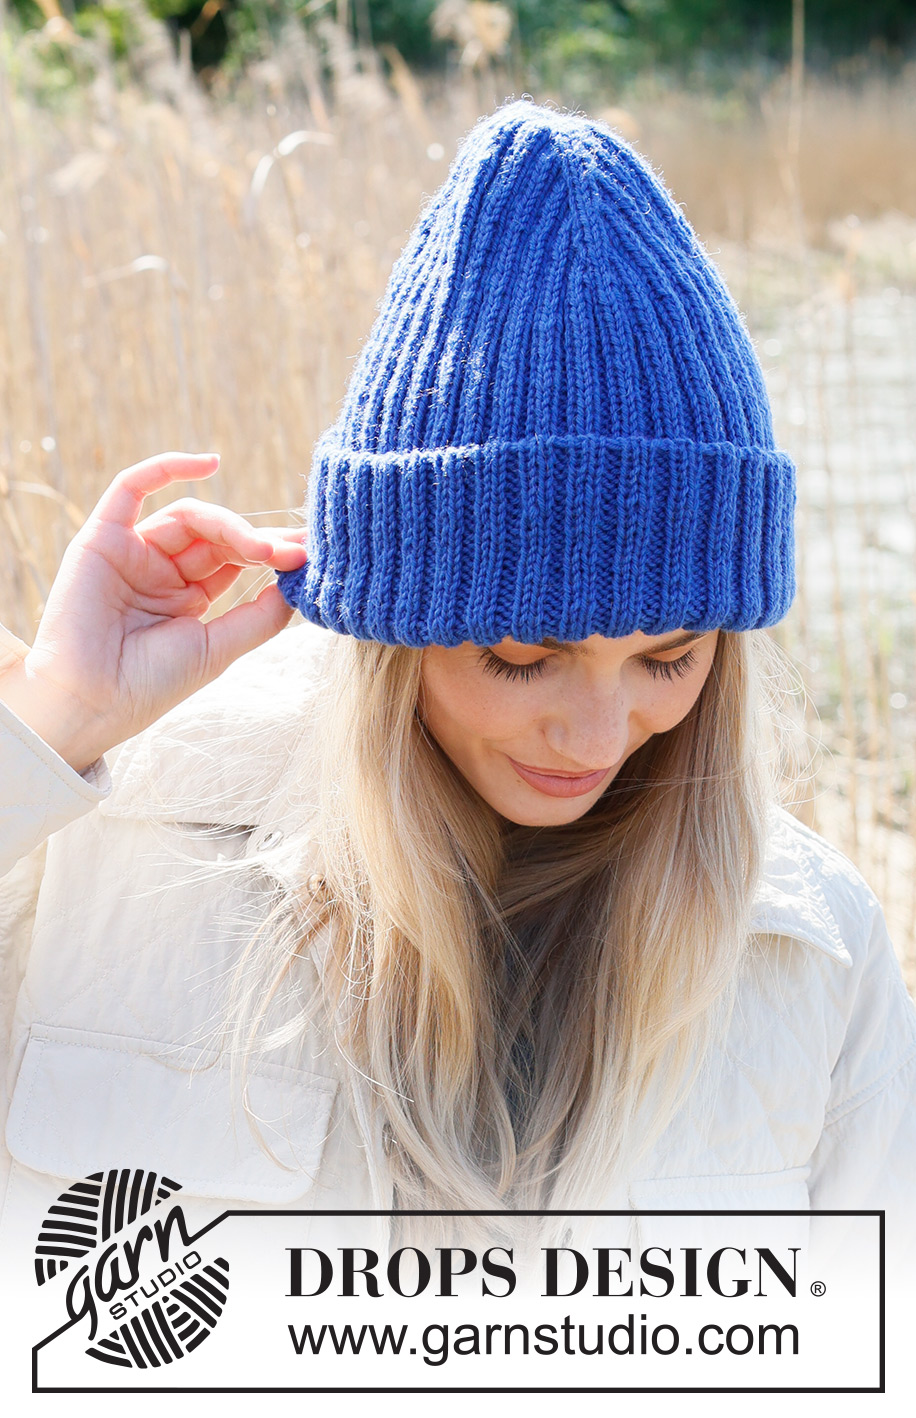
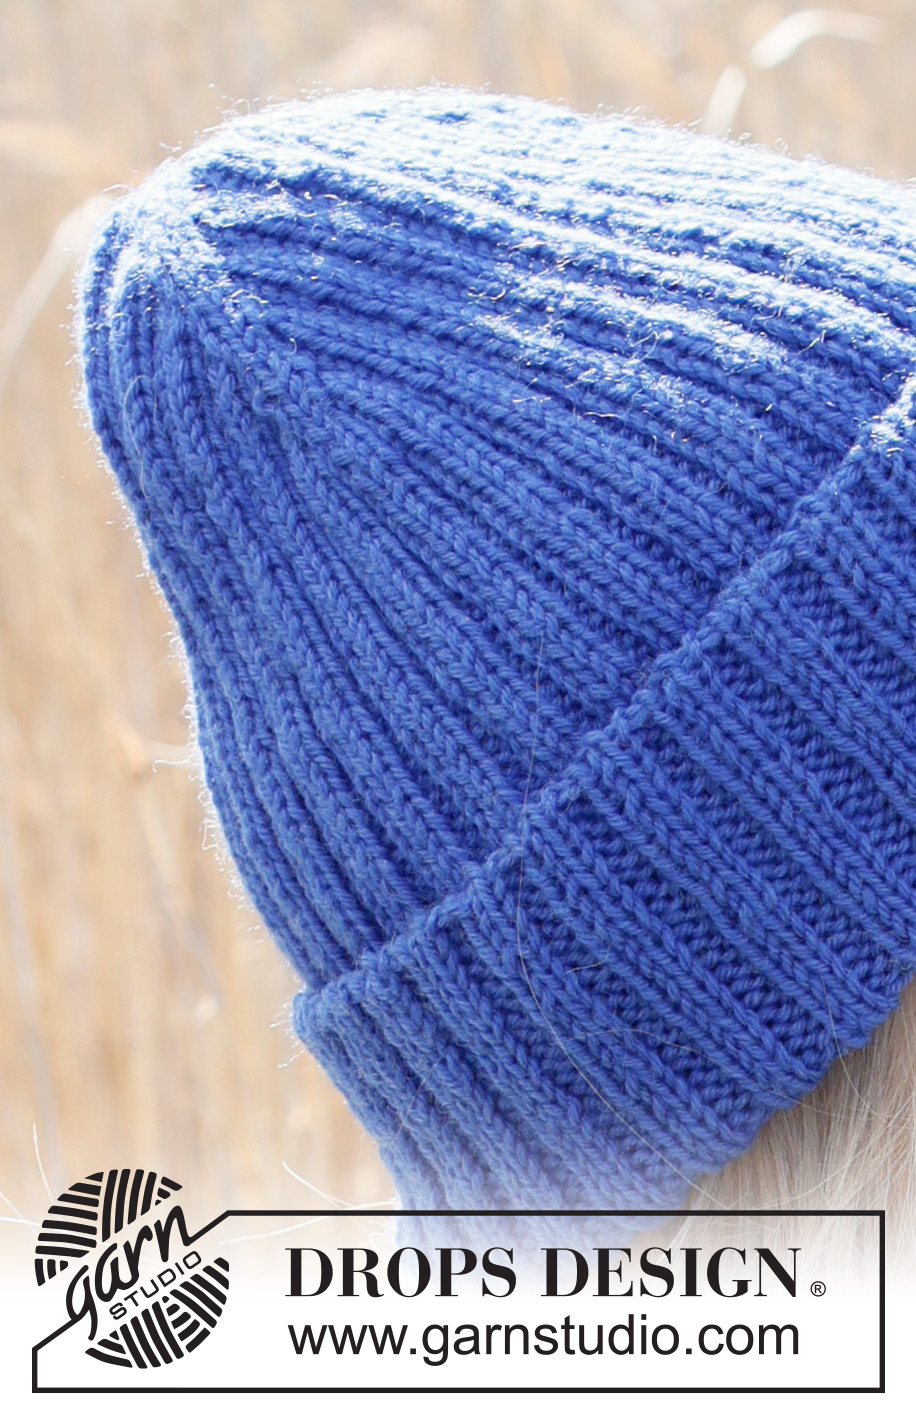
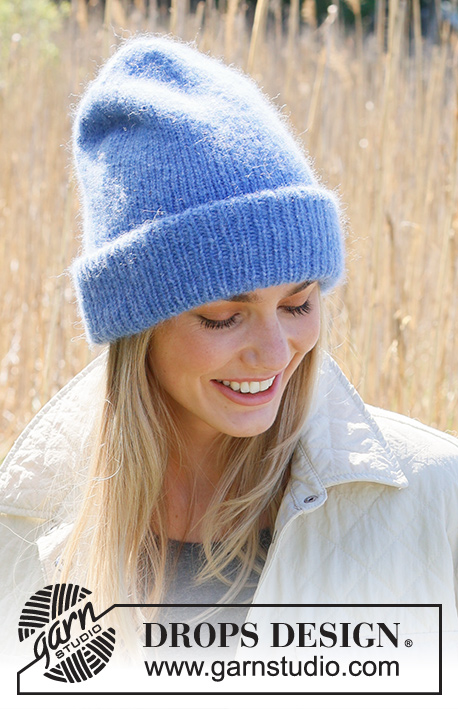
Cappello lavorato ai ferri in DROPS Karisma. Lavorato dall’alto in basso con bordo da piegare.
DROPS 234-12 |
|
|
---------------------------------------------------------- TECNICHE IMPIEGATE: ---------------------------------------------------------- INCREASE TIP: Aumentare lavorando dei gettati a ogni lato delle 2 maglie diritto (il segnapunti è tra queste 2 maglie diritto), sul giro successivo lavorare i gettati a ogni lato delle maglie diritto in modo che siano verso destra e sinistra come segue: DOPO IL SEGNAPUNTI: Lavorare il gettato nel filo dietro delle maglie, la maglia è ritorta verso sinistra. Non deve crearsi un buco! PRIMA DEL SEGNAPUNTI: Prendere il gettato dal ferro e riportarlo sul ferro nel modo opposto, e poi lavorare nel filo davanti della maglia, la maglia è ritorta verso destra. Non si devono creare buchi! Lavorare gli aumenti a coste 2 maglie diritto/2 maglie rovescio – cioè le prime 2 volte lavorare a diritto gli aumenti, le 2 volte successive lavorarle a rovescio. ---------------------------------------------------------- INIZIO DEL LAVORO: ---------------------------------------------------------- CAPPELLO – BREVE RIASSUNTO DEL LAVORO: Lavorato dall’alto in basso, lavorare in tondo con i ferri a doppia punta e passare ai ferri circolari quando necessario. CAPPELLO: Avviare 12 maglie con i ferri a doppia punta n° 3,5 mm con DROPS Karisma. Lavorare 1 maglia diritto, * 2 maglie rovescio, 2 maglie diritto *, lavorare *-* fino a quando rimangono 3 maglie, 2 maglie rovescio e 1 maglia diritto. Inserire 3 segnapunti nel lavoro come segue: Inserire il 1° segnapunti all’inizio del giro, poi inserire gli altri segnapunti in modo che ci siano 4 maglie tra ogni segnapunti – spostare i segnapunti durante il lavoro. GIRO 1: * 1 maglia diritto, 1 gettato, 2 maglie rovescio, 1 gettato, 1 maglia diritto *, lavorare *-* 3 volte in totale = 18 maglie. GIRO 2: * 1 maglia diritto, 1 gettato, lavorare il gettato del giro precedente a diritto – leggere il SUGGERIMENTO PER GLI AUMENTOI, 2 maglie rovescio, lavorare il gettato del giro precedente a diritto, 1 gettato, 1 maglia diritto *, lavorare *-* 3 volte = 24 maglie. GIRO 3: * 1 maglia diritto, 1 gettato, lavorare il gettato del giro precedente a diritto, 1 maglia diritto, 2 maglie rovescio, 1 maglia diritto, lavorare il gettato del giro precedente a diritto, 1 gettato, 1 maglia diritto *, lavorare *-* 3 volte = 30 maglie. GIRO 4: * 1 maglia diritto, 1 gettato, lavorare il gettato del giro precedente a rovescio, 2 maglie diritto, 2 maglie rovescio, 2 maglie diritto, lavorare il gettato del giro precedente a rovescio, 1 gettato, 1 maglia diritto *, lavorare *-* 3 volte. Sul giro precedente lavorare i gettati a rovescio = 36 maglie. Continuare a coste e con gli aumenti su ogni giro fino a quando sono stati lavorati 16 aumenti in totale, poi aumentare a giri alterni 4 volte in totale – sono stati lavorati 20 aumenti a ogni lato di tutti i segnapunti. Ora ci sono 132 maglie sul giro e il lavoro misura circa 8 cm. Lavorare a coste 2 maglie diritto/2 maglie rovescio fino a quando il lavoro misura circa 32 cm. Intrecciare con diritto su diritto e rovescio su rovescio, o usare il metodo di chiusura italiano. Piegare gli 8 cm del cappello più in basso verso il diritto del lavoro, il cappello misura circa 24 cm. |
|
Avete terminato questo modello?Allora taggate le vostre foto con #dropspattern #sheselectrichat o inviatele alla #dropsfan gallery. Avete bisogno di aiuto con questo modello?Troverete 19 video tutorial, una sezione per i commenti/domande e molto altro guardando il modello su www.garnstudio.com © 1982-2026 DROPS Design A/S. Ci riserviamo tutti i diritti. Questo documento, compreso tutte le sue sotto-sezioni, è protetto dalle leggi sul copyright. Potete leggere quello che potete fare con i nostri modelli alla fine di ogni modello sul nostro sito. |
|


Con oltre 40 anni di esperienza nel design di modelli di maglia e uncinetto, DROPS Design offre la più estesa collezione di modelli gratuiti su internet - tradotti in 17 lingue. Ad oggi vi possiamo fornire 325 cataloghi e 12298 modelli - 9569 dei quali sono tradotti in Italiano.
Ci stiamo impegnando molto per darvi il meglio che vi possiamo offrire in termini di maglia e uncinetto, ispirazioni e consigli così come filati di grande qualità ad un prezzo incredibile! Volete utilizzare i nostri modelli per qualcosa d'altro oltre al vostro uso personale? Potete leggere tutto ciò che è consentito nel testo sul Copyright in basso su tutte le pagine dei nostri modelli. Buon lavoro!
Lasciare un commento sul modello DROPS 234-12
Noi saremmo felici di ricevere i tuoi commenti e opinioni su questo modello!
Se vuoi fare una domanda, fai per favore attenzione a selezionare la categoria corretta nella casella qui sotto per velocizzare il processo di risposta. I campi richiesti sono indicati da *.