
Categorias populares
Procura um fio?


























Comentários / Perguntas (202)
 Susan escreveu:
Thank you. I finally figured out the answer to my question by going over and over the pattern. Because you make 52 increase rows and at the end it says 52 stitches will be left on the needle to go back and forth. So that means you do cast off the marked corner stitch.
20.09.2018 - 16:26
Susan escreveu:
Thank you for your reply. It looks like the sweater dimensions will be fine with just a little variance in tension. I used the exact same yarn that was done in the pattern. My question is about how far down from the neck do I need to cast off. The pattern says bind off 74 stitches from the neckline and down the front band of the jacket. I understand that. Does that include what I call the corner stitch, or the stitch that you increase on each side.? Thank you.
19.09.2018 - 16:06DROPS Design respondeu:
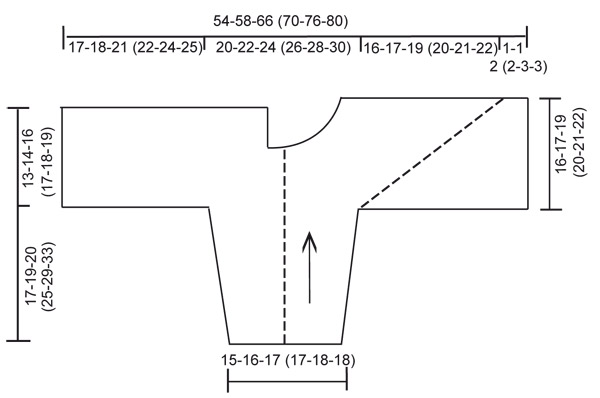
Dear Susan, in the largerst size the sts for front band are cast off when piece measures 22 cm from the sleeve - see chart, then you continue working over the remaining sts for the bottom edge. You will find all relevant measurements to help you adjusting your jacket in the measurement chart. Happy knitting!
20.09.2018 - 09:04
Susan Habegger escreveu:
I have a question about how far down from the neck that I cast off on the button side.? My tension increased some after i knit awhile. So on size 5/6 i couldn't do 52 increase rows since i got to 8 inches a little earlier. Do i cast off from the neck down to and including the marked stitch where you increase on each side? Then the rest of the stitches are knit back and forth till the front and back are the same length. I assume you cast off that corner stitch. Just want to make sure. Thanks
19.09.2018 - 05:50DROPS Design respondeu:
Dear Mrs Habegger, with this kind of pattern, tension in width and height is very important to keep the correct measurements at the end. Make sure to adjust the needle size if needed. Should you need any assistance to adjust the pattern to your yarn, please contact the store where you bought the yarn - even per Email or telephone. Happy knitting!
19.09.2018 - 10:08
 Mme Bernier escreveu:
Modèle formidable que j'ai réalisé il y a déjà 2 ans pour mon fils, il souhaiterais que je lui en tricote un autre, d'une autre couleur mais aujourd'hui il lui faut du 10 ans et je n'arrive pas a transposer ce modèle dans la bonne taille...c'est très dommage! je n'en trouve pas d'équivalent dans vos archives.
28.08.2018 - 13:03
Susan escreveu:
Appreciate your response. I think the sweater is darling. I got the yarn. But still need to have you clarify how to get the stitches on the other side of the diagonal? None of your responses tell this. I see how the diagonal is moved along with the increased stitches with the st marker. I think if you told exactly what to do on each of the next 5 rows after the sleeve is done it would help. Then I could continue on. Please be very specific. I really want to understand this. Thank you.
09.07.2018 - 15:16DROPS Design respondeu:
Dear Susan, continuing increasing on each side of the st with the marker will creates the pattern as it looks on the picture, working only 5 rows may not be enough, just continue as explained, if you have any doubt, do not hesitate to bring your work to your store/send them a picture per email so that they can help you. Happy knitting!
09.07.2018 - 15:46
Susan escreveu:
Thank you for responding. I still need to know what "back over" at the bottom of the front means. I realize you need to continue knitting the stitches left on the needle. Do you need to turn your work and pick up stitches and go backwards?
09.07.2018 - 15:02DROPS Design respondeu:
Dear Susan, sorry I don't understand what you mean with "back over", you cast on the sts on the left side for back piece (seen from RS) and increase for the front piece with 1 YO on each side of the st with the marker = there will be always more st before marker and this will make the garter st look different before and after marker. Happy knitting!
09.07.2018 - 15:44
Susan escreveu:
In the front piece near the end it says to knit back and forth over these stitches for 1 1/8". What does that mean?
09.07.2018 - 07:08DROPS Design respondeu:
Hi Susan, The stitches you have left on the needle are continued for one and one eighth inch back and forth on the needle before binding off (check first that the front and back pieces are of equal length). Happy knitting!
09.07.2018 - 07:52
Susan escreveu:
When I see the front of 20-15 I see vertical knitting rows then the yarn overs making a diagonal line to a right angle to horizontal rows. Why don't I see this in the pattern? Why am I confused ? It seems like there should be about the same number of stitches added on to each side of the sleeve. I think I understand the moving marker but still a triangle of the sleeve is missing. In English, Freda, Lucie, Georgia and Hannah had the same question. Why don't I get it? Appreciate help.
09.07.2018 - 06:49DROPS Design respondeu:
Dear Susan, this diagonal (dotted line in chart) is created by increasing with a YO on each side of the st with marker on front piece. Happy knitting!
09.07.2018 - 08:57
 Jean Wong escreveu:
I am knitting the 3/4 sweater. After all increases and decreases I only have 90 stitches instead of 121. Any ideas as to where I have gone wrong?
03.05.2018 - 06:21DROPS Design respondeu:
Dear Mrs Wong, it's a bit complicated to get an idea where it's wrong. Make sure your tension is correct and that you have increased 2 sts at the marker. You can bring your work to your store (or send them a picture per mail) so that they can have a look together with you. Happy knitting!
03.05.2018 - 09:45
MARTINE PITSCHON escreveu:
Un grand merci pour votre réponse ! Ce modèle me plait beaucoup.
02.05.2018 - 22:15
|
||||
Tamzyn#tamzynjacket |
||||
 |
 |
|||
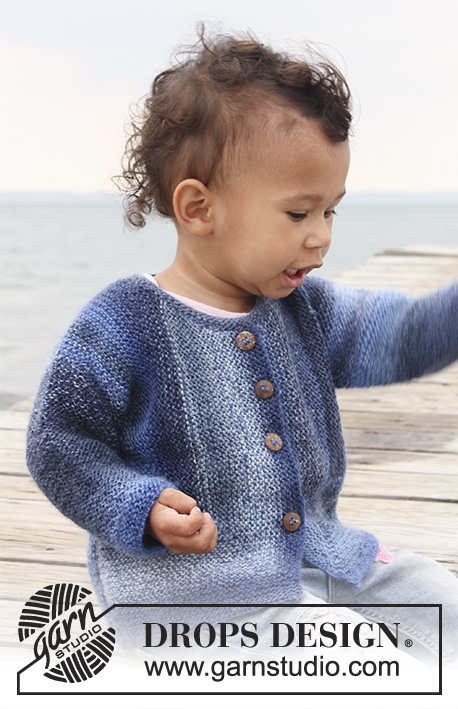
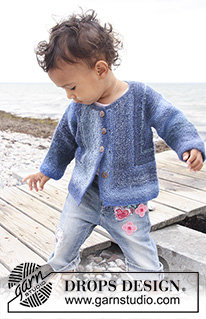
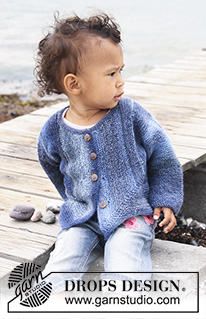
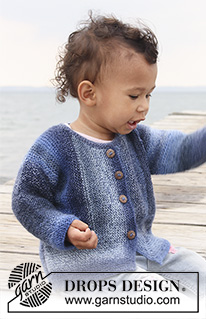
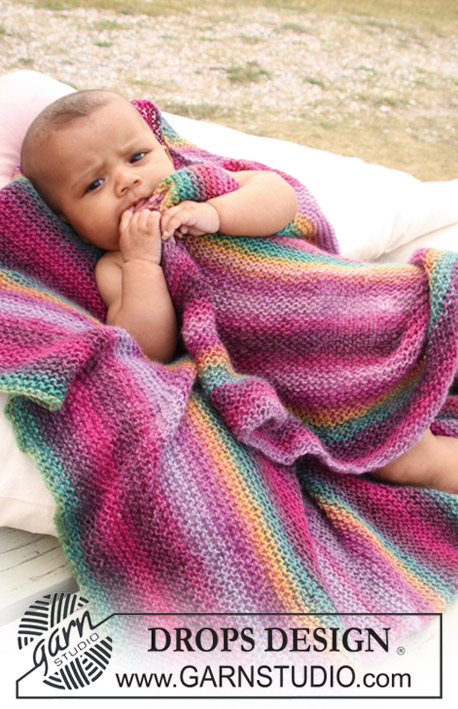
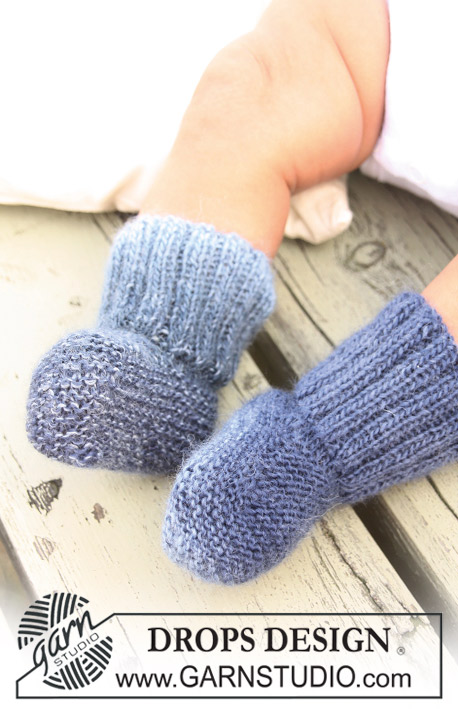
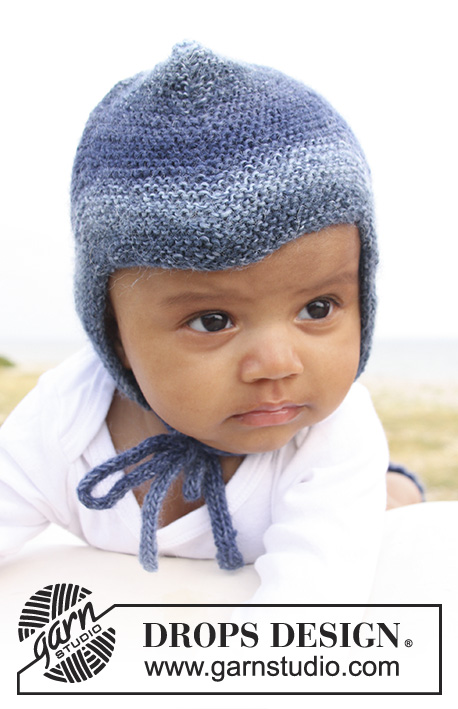
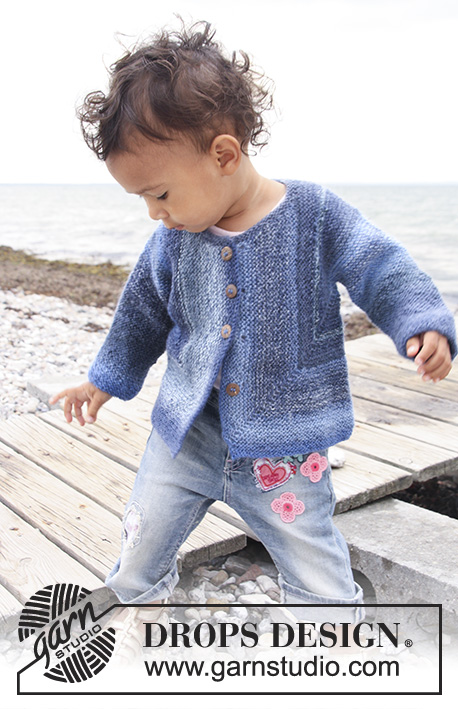
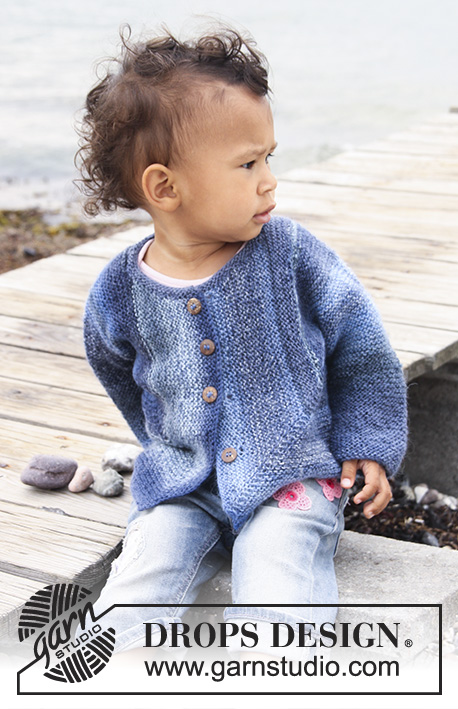
Casaco para bebés e crianças tricotado em ponto jarreteira em DROPS Delight
DROPS Baby 20-15 |
||||
|
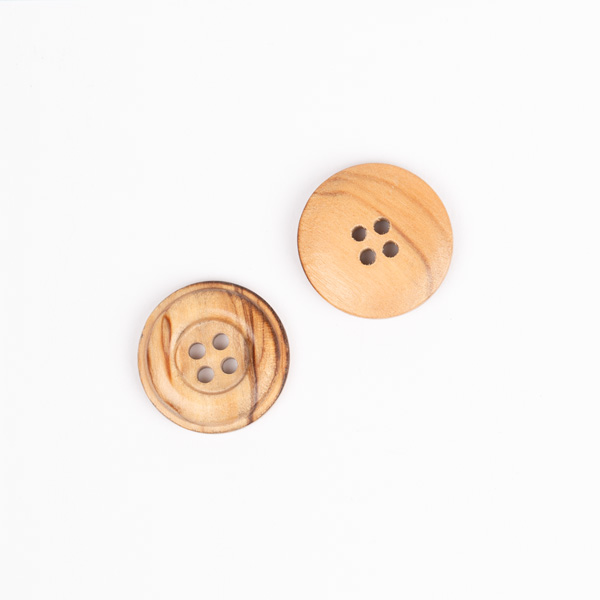
NOTA: Existem termos diferentes de tricô e croché em português de Portugal e do Brasil. Tricô: Malha = Ponto Canelado = Barra Ponto Jarreteira = Cordões de Tricô Ponto Liga = Ponto Tricô Croché : mpa – meio ponto alto pa – ponto alto pad – ponto alto duplo pat – ponto alto triplo pb – ponto baixo pbx – ponto baixíssimo pc – ponto corrente ------------------------------------------------------------ AUMENTOS: Aumentar 1 m/p de cada lado do marcador fazendo 1 laçada. Na carreira seguinte, tricotar a laçada torcida (ou seja, enfiar a agulha na alça de trás da m/p e não na alça da frente) para evitar um buraco. ----------------------------------------------------------CASACO : Tricota-se no sentido do comprimento. Tricotar 2 peças e uni-las, uma à outra, nas costas. Começar cada uma das 2 peças pela manga em direcção ao meio do casaco. METADE DIREITA : Tricota-se em idas e voltas na agulha circular. Montar 36-38-40 (40-42-44) ms/pts com a agulha circular 3 mm e o fio Delight. Tricotar em ponto jarreteira (= tricotar todas as carreiras em meia) em idas e voltas até ao fim. NÃO ESQUECER DE MANTER A MESMA TENSÃO DA INDICADA PARA A AMOSTRA! AO MESMO TEMPO, a 6-6-5 (5-6-6) cm de altura total, aumentar 1 m/p de cada lado, e repetir estes aumentos num total de 6-7-9 (11-13-14) vezes a cada 8 carreiras = 48-52-58 (62-68-72) ms/pts. Continuar até a peça medir 17-19-20 (25-29-33) cm de altura total – ajustar a altura para que a última carreira seja tricotada pelo avesso. COSTAS & FRENTE : Tricotar 1 carreira meia (= pelo direito), e, no fim da carreira, montar 41-43-50 (53-58-60) ms/pts (= lado das costas) = 89-95-108 (115-126-132) ms/pts. PASSAR A MEDIR A PARTIR DAQUI! Tricotar 1 carreira meia, virar, colocar um marcador na 2.ª m/p da agulha, pelo direito (= do lado direito da peça). AO MESMO TEMPO, aumentar 1 m/p de cada lado da m/p com o marcador num total de 38-40-46 (48-50-52) vezes a cada 2 carreiras – VER AUMENTOS. AO MESMO TEMPO a 8.5 - 9 - 10.5 (11 - 12 - 13) cm de altura total, tricotar apenas as 60-65-74 (79-86-91) últimas ms/pts do lado esquerdo visto pelo direito da peça (= costas), e colocar as restantes ms/pts restantes num alfinete de ms/pts. COSTAS : Tricotar até a peça montar 13-14-16 (17-18-19) cm de altura total (a partir das ms/pts montadas para as costas) e arrematar. FRENTE : Retomar as ms/pts em espera mas deixar 9-10-10 (10-12-12) ms/pts no lado das costas no alfinete de ms/pts para a gola. Continuar a aumentar a cada 2 carreiras – AO MESMO TEMPO diminuir 1 m/p do lado do decote (= lado das ms/pts em espera) num total de 6-7-7 (7-7-7) vezes a cada 4 carreiras. AO MESMO TEMPO, a 14-15-17 (18-19-20) cm de altura total (a partir do princípio dos aumentos da frente e do lado do decote) fazer 3-4-4 (5-5-5) casas da seguinte maneira (a partir do decote, ou seja, pelo avesso): 2 ms/pts meia, arrematar 2 ms/pts, * 12-9-11 (9-10-10) ms/pts meia, arrematar 2 ms/pts *, repetir de * a * num total de 2-3-3 (4-4-4) vezes, tricotar as restantes ms/pts da carreira em meia. Na carreira seguinte, montar 2 ms/pts acima das ms/pts arrematadas. Quando todos os aumentos e diminuições estão feitos, temos 90-93-109 (115-121-126) ms/pts na agulha. Quando os aumentos à direita estão terminados, arrematar 51-52-62 (66-70-74) ms/pts a partir do decote em direcção à parte de baixo do casaco (diminuir pelo avesso) = restam 39-41-47 (49-51-52) ms/pts. Tricotar em ponto jarreteira (= tricotar todas as carreiras em meia) em idas e voltas nestas ms/pts durante cerca de 1-1-2 (2-3-3) cm (dobrar a peça a meio do ombro e verificar se a altura da frente é igual à altura das costas). Arrematar. METADE ESQUERDA : Tricota-se como a metade direita mas sem casas – esta metade será costurada pelo avesso. MONTAGEM : Colocar as 2 peças, uma contra a outra, e unir a meio das costas – costurar orla com orla para evitar uma costura demasiado grossa. Dobrar o casaco, fechar a abertura sob as mangas e costurar os lados nas alças mais exteriores das ms/pts. Pregar os botões. GOLA : Levantar entre 55 a 80 ms/pts (incluindo as ms/pts em espera) à volta do decote com a agulha circular 3 mm e o fio Delight. Tricotar 3 carreiras meia em idas e voltas, e arrematar. |
||||
Explicações do diagrama |
||||
|
||||
 |
||||
Terminou este projecto?Então, identifique as suas fotos com as tags #dropspattern #tamzynjacket ou mostre-as na galeria #dropsfan. Precisa de ajuda para este modelo?Encontrará 7 turotiais em vídeo, uma rubrica Comentários/Perguntas e muito mais ao visitar a página do modelo em www.garnstudio.com © 1982-2026 DROPS Design A/S. Todos os direitos reservados. Este documento, incluuindo as suas su-secções, tem copyrights. Saia mais o que pode fazer com os nossos modelos no fim de cada uma das páginas do nosso site. |
||||






Com mais de 40 anos no design de modelos de tricô e de croché, a DROPS Design oferece uma das mais vastas colecções demodelos gratuitos na Internet - traduzidos em 17 línguas. Neste dia de hoje, temos 333 catálogos e 12532 modelos - dos quais 12513 estão traduzidos em português.
Trabalhamos com muito empenho para lhe proporcionar o melhor que o tricô e o croché têm para oferecer, para lhe fornecer inspiração e conselhos bem como fios da mais elevada qualidade a preços incríveis! Gostaria de usar os nossos modelos para outros fins que não uso pessoal? Pode ler o que lhe é permitido fazer no Copyright texto que se encontra na parte de baixo de todos os nossos modelos. Bom tricô! Bom croché!
Deixe um comentário acerca do modelo DROPS Baby 20-15
Gostaríamos muito de saber o que tem a dizer-nos acerca deste modelo!
Se deixar uma pergunta acerca do modelo, certifique-se de que escolhe a categoria adequada no formulário abaixo para acelerar o processo relativo à resposta. Os campos obrigatórios estão assinalados com um *.