
Popular categories
Looking for a yarn?


How to knit a jumper top down

We show how we increase for raglan by doing a YO 2 sts before marker and 2 sts after marker, and on next round K YO twisted to avoid a hole. We have already worked neck (rib) and start the video with the 1st round where we do the increase. We also show how we put the sleeve stitches on a thread, how we cast on new sts under arm and knit the sleeve.
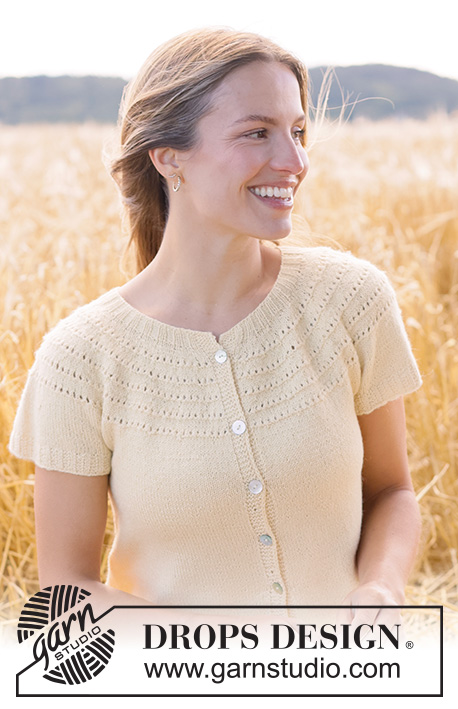
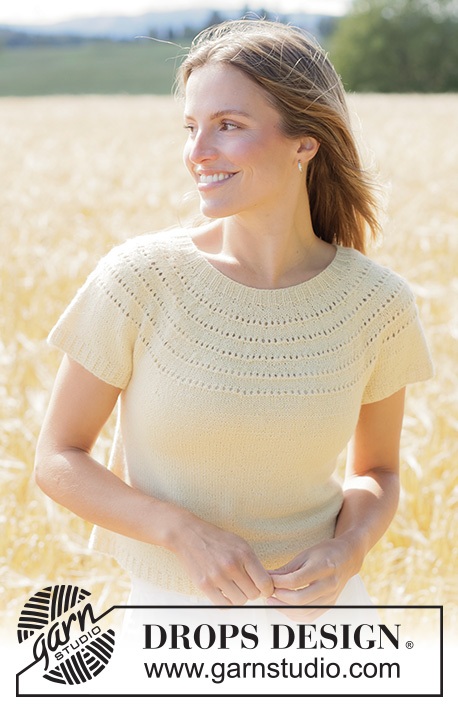
You must read the pattern to be able to follow. You’ll find patterns using this technique by clicking on the pictures below.
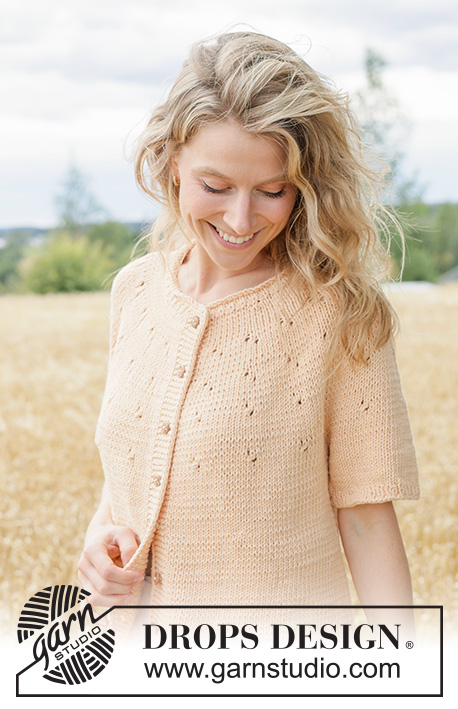
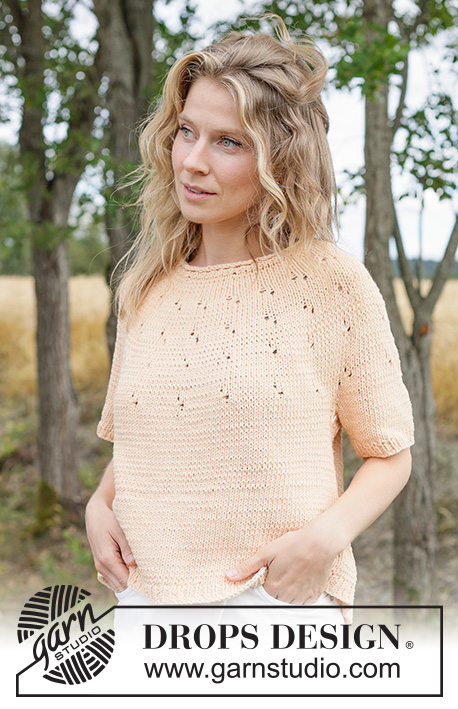
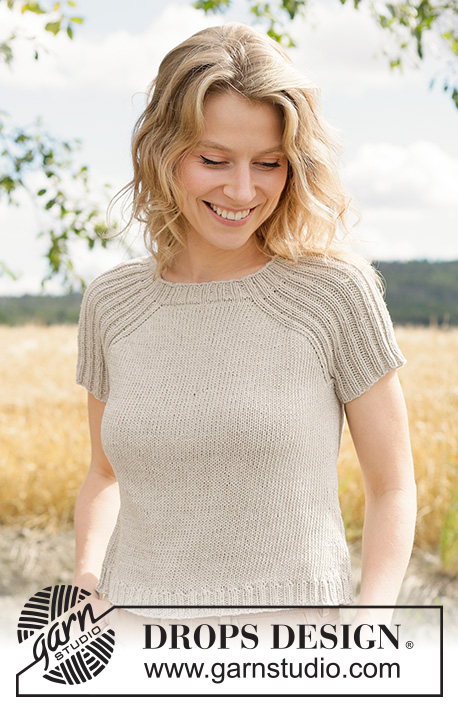
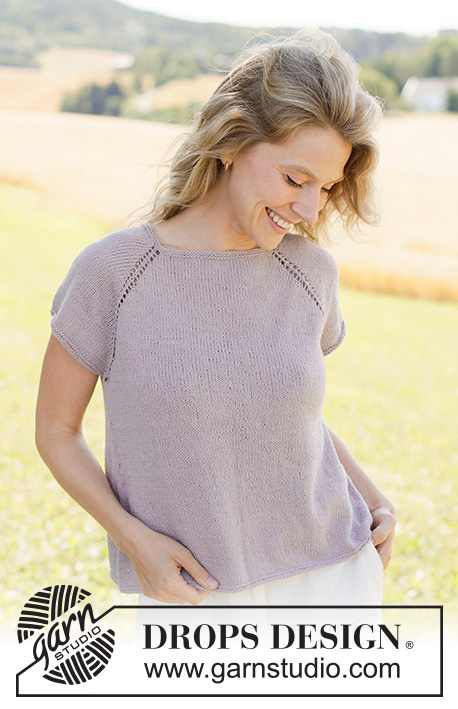
Patterns using this technique
Video #592, listed in: Learn to knit, Raglan, Raglan top down
Our videos do not have sound. We are a worldwide company and our videos are watched by people speaking endless of different languages and many do not understand English. So since there is not a given language for us to use, we instead have written instructions to accompany the video, and then there is no sound to disturb while watching.
You can adjust the speed of this video by clicking on the icon, on the play bar.
Leave a comment or question to this video
Your email address will not be published. Required fields are marked *.


With over 40 years in knitting and crochet design, DROPS Design offers one of the most extensive collections of free patterns on the internet - translated to 17 languages. As of today we count 325 catalogues and 12291 patterns translated into English (UK/cm).
We work hard to bring you the best knitting and crochet have to offer, inspiration and advice as well as great quality yarns at incredible prices! Would you like to use our patterns for other than personal use? You can read what you are allowed to do in the Copyright text at the bottom of all our patterns. Happy crafting!
Hello, I have a question regarding raglan (the raglan itself is 2purls, 2 knits, 2 purls) after the increase is done. I mean, i have already enough stitches but I need to continue with knitting before dividing the sweater for front/back and arms until I reach certain length. So the question is do I still maintain the 2P, 2K, 2P raglan till the divide moment even though I'm not increasing anymore? Or do I do only knits over the raglan since the increase is done?
27.04.2024 - 19:21DROPS Design :
Dear Paulina, which pattern are you working? Could you indicate the pattern number? Unless otherwise specified, you should maintain the established pattern, even if you have finished the increases. For example, you should keep the rib pattern as before. The raglan stitches should now be integrated in the rib pattern. However, some models may have a separate pattern for the raglan stitches to obtain a different texture, so we can't help you unless we know the exact model. Happy knitting!
29.04.2024 - 00:34Ik ben 64 en heb geen zin om een hele nieuwe manier van breien te leren. Hebben jullie ook patronen voor een simpele, op rechte naalden gebreide, trui met raglan mouwen en een kleine col? Door een schouderprobleem kan ik onmogelijk zo'n hele trui aan mijn naalden hebben hangen. In losse onderdelen lukt het nog wel. Maar ik kan nergens meer een gewoon, simpel patroon in tricotsteek vinden.
25.04.2024 - 16:25DROPS Design :
Dag Jacqueline,
Veel patronen worden inderdaad met de rondbreinaald en van boven naar beneden gemaakt. Als je op de site filtert op constructie van onder naar boven en wat terug scrolt naar de wat oudere patronen, dan vindt je wel patronen met losse panden die je aan elkaar naait.
Verder hebben we een instructie gemaakt om een patroon aan te passen om op rechte naalden te breien. Dit kun je niet voor ieder patroon gebruiken, maar misschien heb je er toch wat aan. Deze instructie vind je hier.
10.05.2024 - 09:40Dear Drops Team, thank you very much for this lovely pattern. It's gorgeous and I have tryed about 8 Times to knit this pattern, but always fallen. Is it maybe possible to do a video to show how this leave-pattern is knitted. It would be so helpful. And it's always very helpful to hear an explaination. Many thanks and best regards
23.04.2024 - 21:18DROPS Design :
Dear Angie, maybe you should tell us which pattern you are working on? That would be easier to have a look on the pattern to help you, please remember to tell us which size you are working on and which part is tricky for you. You will also find some lessons that could help you here. Happy knitting!
24.04.2024 - 08:33It would be nice if the video tutorials were slower to follow and explaining what you are doing in the video would help a lot. I was going to try this pattern but after watching the tutorials I am just more confused.
06.03.2024 - 15:11Hei kan jeg strikke Denne genseren fra nede og opp? Har aldri strikket fra oppe og ned før
18.02.2024 - 18:12Waarom steek je in de 1e meerder naald ineens achter in de rechte steek?
15.02.2024 - 15:56Hello, I am working on this pattern (Drops 227-33), I am trying to start the markers to form the yoke and the math is not equal. Is it supposed to be equal stitches for the back and front? Thank you
29.01.2024 - 02:34DROPS Design :
Dear Jen, the math is correct. When inserting the markers in the first round of the yoke work as follows (for size S): start at the transition between the sleeve and the back piece, insert marker in the first stitch, 16 sts (= back piece), insert marker in next stitch, 8 sts (= sleeve), insert marker in next stitch, 16 sts (= front piece), insert marker in next stitch, 8 sts (= sleeve). Afterwards you will increase 1 stitch on each side of each marker, so the number of stitches will increase in the same amount in each section. Happy knitting!
29.01.2024 - 23:10Videoen er på ingen måde til hjælp. Der er ingen lyd med forklaring på hvad der foregår. Hun strikker alt for hurtigt og man kommer ind midt i videoen og har ikke været med fra start, så det er fuldstændig umuligt at finde hoved og hale i hvor man er i processen,hvad det er hun laver, og det er slet ikke til at gennemskue hvilke masker der strikkes eller udtag/indtag. Det er overhovedet ikke til hjælp.. tværtimod er det komplet ubrugelig.
24.01.2024 - 17:21This is the first top down jumper I have attempted. I am sorry but I find the video unhelpful and confusing
18.01.2024 - 19:53This is the first top down jumper I have attempted and I thought the video instructions would clarify the printed ones. I have found the video very confusing. It doesn't reflect the pattern it was associated with and the printed pattern was equally confusing. I love the wool and will persist but sorry, I am not happy with the instructions.
18.01.2024 - 19:51