
Popular categories
Looking for a yarn?


Comments / Questions (16)
![]() Ombretta wrote:
Ombretta wrote:
C’è qualche tutorial che spieghi come riprendere le maglie dal giro di avvio per creare il doppio risvolto? Non saprei come fare. Grazie
24.02.2025 - 13:54DROPS Design answered:
Buonasera Ombretta, deve riprenderd una maglia del bordo di avvio e lavorarla insieme alla maglia successiva. Buon lavoro!
12.04.2025 - 17:56
![]() Emilia wrote:
Emilia wrote:
"Przerabiać dżersejem przez 15-16½ cm (8-8½ cm do końca)." Nie rozumiem, ile cm mam w końcu przerabiać w tym miejscu dżersejem od skończenia ściągacza: 15 czy 8 cm?
15.12.2024 - 12:46DROPS Design answered:
Witaj Emilio, musisz przerabiać teraz dżersejem przez 15 cm. Na końcu, po wyłożeniu podwójnego brzegu (de facto będzie to potrójna warstwa dzianiny) widoczna góra czapki dżersejem będzie miała wys. 8 cm. Pozdrawiamy!
16.12.2024 - 08:25
![]() Malin wrote:
Malin wrote:
"Ska sömmen där vikkanten är verkligen vara utåt? 18.12.2023 - 16:36 DROPS Design answered: Hej Malin, nej sömmen skall vara inåt :) 22.12.2023 - 13:16" Då ska man ju inte vända arbetet? Nu gjorde jag det precis som det stod i mönstret och då hamnar ju sömmen utåt eftersom avigsidan annars bli utåt... synd för nu är mössan klar. Dock fin ändå :)
22.12.2023 - 13:27
![]() Elena wrote:
Elena wrote:
Wie bitte soll der Rand fixiert werden ohne das die Anschlagkante zu sehen ist? Wenn Maschen aus dem AnschlagRAND genommen werden, sieht es nicht so aus wie auf dem Bild.
21.12.2023 - 15:03DROPS Design answered:
Liebe Elena, in diesem Video zeigen wir (für eine Halsblende), wie man die Blende zusammenstrickt, Diese Kante wird dann ca 9 cm messen (gefaltet nach 18 cm); am Ende wird der untere Rand nach oben umschlagen, so wird man die Anschlagskante nicht mehr sehen. Vie Spaß beim stricken!
21.12.2023 - 15:57
![]() Malin Spindel wrote:
Malin Spindel wrote:
Ska sömmen där vikkanten är verkligen vara utåt?
18.12.2023 - 16:36DROPS Design answered:
Hej Malin, nej sömmen skall vara inåt :)
22.12.2023 - 13:16
![]() Linda Staf wrote:
Linda Staf wrote:
Hej! Jag förstår inte riktigt hur man gör vid resårstickningen, den syns ju inte på bilderna? Linda
25.09.2023 - 15:25DROPS Design answered:
Hej Linda, resårstickningen är till för att dra ihop arbetet, den är under vikkanten.
05.10.2023 - 09:25
![]() Ruda wrote:
Ruda wrote:
"Zamykać w sumie 9 razy co 2 okrążenia" proszę o doprecyzowanie. Okrążenie z zamykaniem oczek, nastepnie dwa okrażenia dżersejem? Czy okrążenie z zamykaniem i jedno okrążenie dżersejem? Jak rozumieć "co 2 okrążenia"? Dziękuję.
11.01.2023 - 11:40DROPS Design answered:
Witaj, w pierwszym okrążeniu zamykasz oczka, w drugim okrążeniu nie zamykasz, itd. Zobacz kurs Drops TUTAJ. Pozdrawiamy!
11.01.2023 - 13:54
![]() Elżbieta wrote:
Elżbieta wrote:
A po co w ogóle ten ścieg ściągaczowy, nie można od razu odwrócić robótki i robić dżersejem
09.12.2022 - 21:28DROPS Design answered:
Witaj Elu, oczywiście, że możesz zrobić to tak jak mówisz. Pozdrawiamy!
12.12.2022 - 08:35
![]() Anita wrote:
Anita wrote:
"Obrócić czapkę na lewą stronę robótki i dalej przerabiać z drugiej strony." nie rozumiem po co trzeba ją odwracać
23.11.2022 - 15:34DROPS Design answered:
Witaj Anito, lewa strona robótki staje się odtąd prawą stroną robótki. To ma znaczenie po wyłożeniu brzegu. Pozdrawiamy!
24.11.2022 - 08:40
![]() Ola wrote:
Ola wrote:
Za pomocą prawego drutu nabrać 1 oczko w rzędzie nabierania oczek, * przełożyć to oczko na lewy drut i przerobić je razem na prawo z następnym oczkiem, przerobić 1 oczko prawe i ominąć 1 oczko w rzędzie nabierania oczek*, przerabiać od *-* do końca okrążenia\". Po zdjęciu zgaduję, że chodzi tu o podłączenie dwóch końców czapki, żeby powstało zagięcie, ale nigdzie nie widzę informacji o chwytaniu oczek z początku robótki. Co oznacza też ominięcie oczka?
09.11.2022 - 07:29DROPS Design answered:
Witaj Olu, przedstawiona tu technika jest taka sama jak na filmie TUTAJ, z tą różnicą że na filmie robótka jest ściągaczem, a czapka jest wykonana dżersejem. Miłej pracy!
09.11.2022 - 10:56
|
|
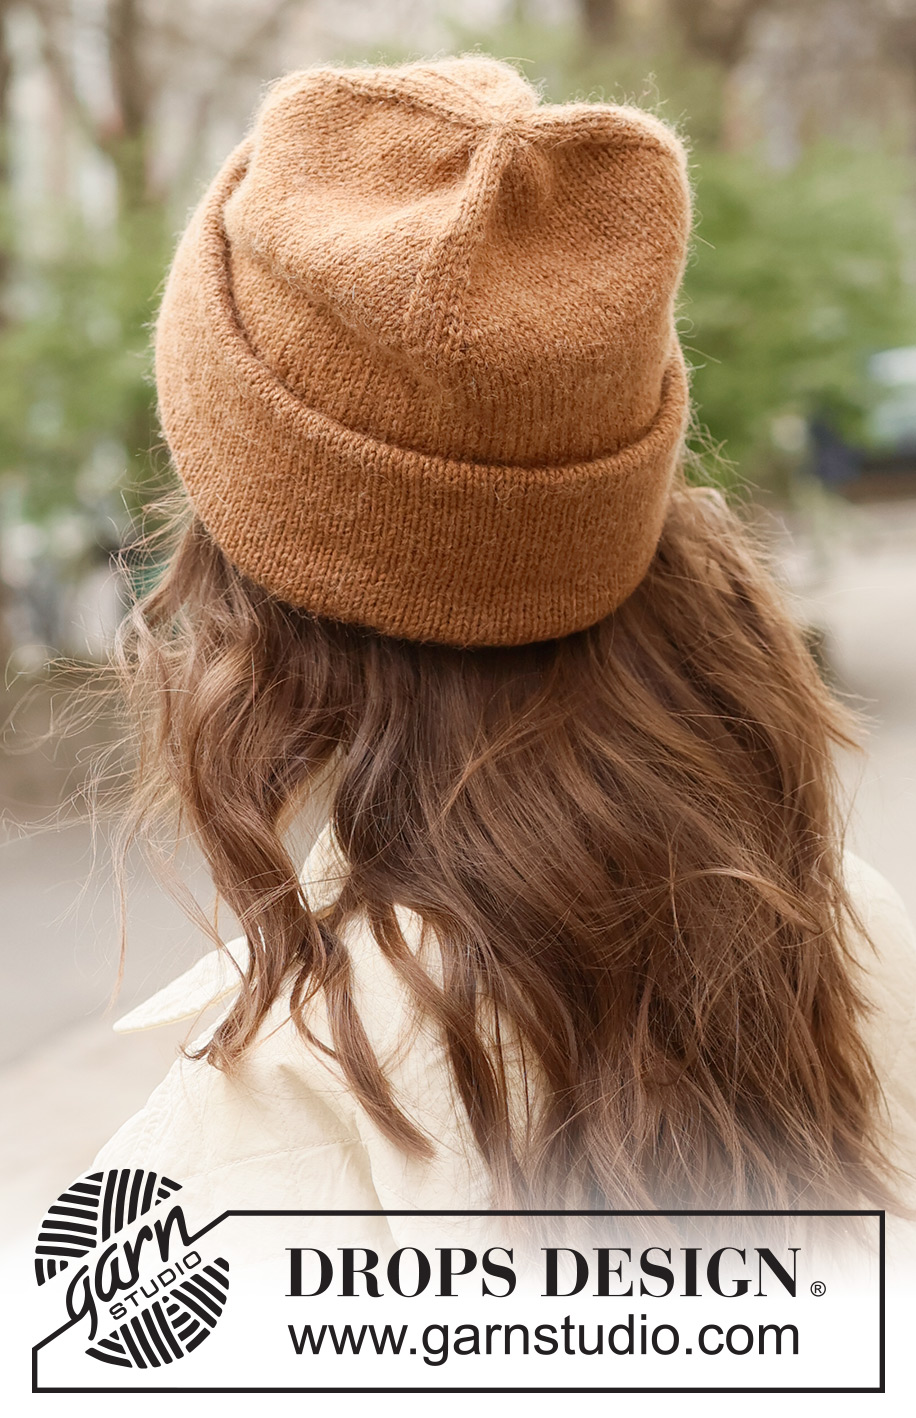
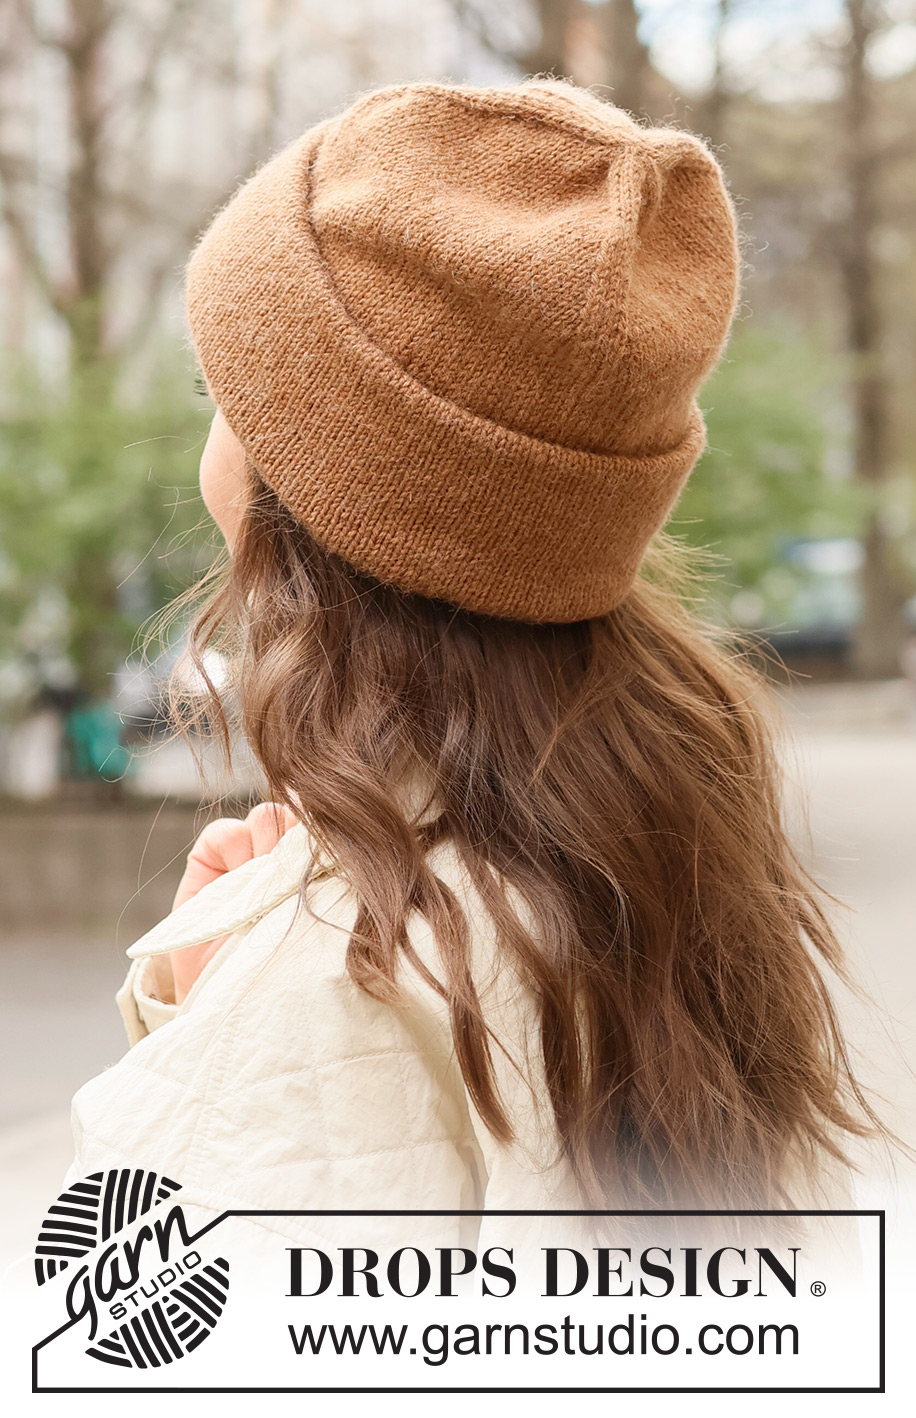
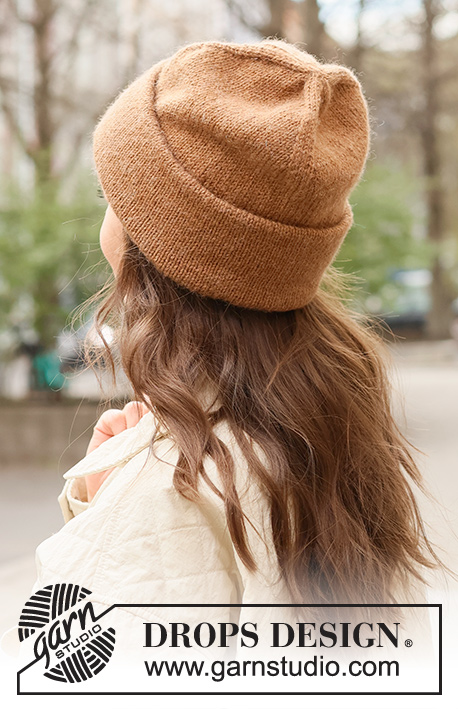
Cinnamon Beanie#cinnamonbeanie |
|
 |
 |
Knitted hat in DROPS Lima. The piece is worked bottom up, with stocking stitch and double edge.
DROPS 234-28 |
|
|
------------------------------------------------------- EXPLANATIONS FOR THE PATTERN: ------------------------------------------------------- DECREASE TIP: Work until there are 3 stitches left before the marker, knit 2 together, knit 2 (marker sits between these 2 stitches), slip 1 stitch as if to knit, knit 1 and pass the slipped stitch over the knitted stitch. Repeat at each marker. ------------------------------------------------------- START THE PIECE HERE: ------------------------------------------------------- HAT – SHORT OVERVIEW OF THE PIECE: The hat is worked in the round with circular needle; change to double pointed needles when necessary while decreasing. HAT: Cast on 108-114 stitches with circular needle size 3.5 mm and DROPS Lima. Insert a marker thread at the beginning of the round. Work stocking stitch in the round for 18 cm. REMEMBER THE KNITTING TENSION! Fold the piece double to the inside, making sure the marker thread matches the beginning of the round. Use the right needle to pick up 1 stitch from the cast-on edge, * place this stitch on the left needle and knit it together with the next stitch, knit 1 and skip 1 stitch from the cast-on edge *, work from *-* to the end of the round. You now have a double edge. Insert a marker here and measure now piece from here!. Work rib (knit 3, purl 3) for 2 cm. Turn the hat inside-out and continue from the other side of work. Work stocking stitch for 15-16½ cm (8-8½ cm to finished length). Insert 3 markers with 36-38 stitches between each marker. On the next round begin to decrease – read DECREASE TIP. Decrease every 2nd round a total of 9 times, then every round 6-7 times = 18 stitches. Knit all stitches together 2 and 2 = 9 stitches. Cut the strand, pull it through the remaining stitches, tighten and fasten well. Fold the edge of the hat up. The hat measures 23-25 cm when the edge is folded up. |
|
Have you finished this pattern?Tag your pictures with #dropspattern #cinnamonbeanie or submit them to the #dropsfan gallery. Do you need help with this pattern?You'll find 14 tutorial videos, a Comments/Questions area and more by visiting the pattern on garnstudio.com. © 1982-2025 DROPS Design A/S. We reserve all rights. This document, including all its sub-sections, has copyrights. Read more about what you can do with our patterns at the bottom of each pattern on our site. |
|


With over 40 years in knitting and crochet design, DROPS Design offers one of the most extensive collections of free patterns on the internet - translated to 17 languages. As of today we count 314 catalogues and 11822 patterns translated into English (UK/cm).
We work hard to bring you the best knitting and crochet have to offer, inspiration and advice as well as great quality yarns at incredible prices! Would you like to use our patterns for other than personal use? You can read what you are allowed to do in the Copyright text at the bottom of all our patterns. Happy crafting!
Post a comment to pattern DROPS 234-28
We would love to hear what you have to say about this pattern!
If you want to leave a question, please make sure you select the correct category in the form below, to speed up the answering process. Required fields are marked *.