
Catégories populaires
Vous cherchez un fil?


















Commentaires / Questions (25)
 Elise a écrit:
I svar fra Drops 22.06.2024 til Joanne's spørsmål den 21.06.2024 så sier Drops "Please see the schematic drawing, it is one pieve that is folded, sewn then a ribbed edge is knitted on." Da lurer jeg på hvor i oppskriften det står forklart hvordan man skal strikke på denne vrangbord?
17.09.2026 - 12:28DROPS Design a répondu:
Hej igen Elise. Det må være picotkanten hun mener ser ud som en vrangbord... Hele kanten er beskrevet i opskriften, så det er altså bare at følge den :)
17.09.2026 - 13:28
Elise a écrit:
I svaret til Joanne så sier dere at arbeidet er et stykke som syes sammen og at det deretter strikke på en vrangbordkant. Kan ikke se noen opplysninger om dette i oppskriften?
17.09.2026 - 10:33DROPS Design a répondu:
Hej Elise, det finder vi ikke.... men følg opskriften og skriv dit eget spørgsmål ind her, så svarer vi så hurtigt som muligt.
17.09.2026 - 12:00
 Leeanne a écrit:
Addtnl. info for my last comments: I was confused by the first sentence in the short rows instructions stating to do 6 rows over all stitches. I thought that was part of the directions and the piece started with 6 rows before starting the short row repeat cycle but that is incorrect. This sentence is just telling you that there are 6 rows included in the short row instruction cycle that are not, in fact, short rows – 6 full rows and 2 short rows (not in that order) are listed in the row cycle.
06.09.2025 - 15:15
Leeanne a écrit:
(Cont. from previous two comments) next row starts with R3 and finishes with L3 and last row starts with L4 and finishes with R4. Then you start the cycle again with the first short row. So yes, the short row cycle is short row, full row, short row, full row, full row, full row, full row, full row as the pattern states (1 SR followed by 1 full row followed by 1 SR followed by 5 full rows). There are no edges in which you are not doing a picot edge instruction which allows for an even 8 row cycle
06.09.2025 - 15:08
Leeanne a écrit:
(continued from my previous comment) work the L2 row to the first marker and turn to work back to the “beginning” of the left side row, ending with L3, turn and start a new row with L4, working all the way across, ending with R4, (all the remaining rows in the cycle go all the way across – no more short rows) next row begins with R1 and goes all the way across to the last 4 stitches, ending in L1, turn and start with L2 and go all the way across to finish with R2, (cont. in next comment)
06.09.2025 - 15:03
Leeanne a écrit:
For anyone that needs it, here is the cycle of rows, combining picot edge with short rows instructions (it helps to draw this out on paper): start with right side 1 (R1) and work a short row (to first marker only, not all the way across), turn and work back to the beginning and knit the last four with R2, turn to start next row beginning with R3 and knit all the way across, ending this row with L1, then start the second short row with L2, (continued in next comment)
06.09.2025 - 14:58
Leeanne a écrit:
I figured it out! It is definitely not too complicated but they could have written this pattern differently so it wouldn’t take weeks or trial and error to figure out how to work the short rows in with the picot edge. Maybe we were just making it too complicated. I don’t have enough room to write the pattern in this comment so I’ll start a new one. It is easier to draw your lines and mark each end with the picot line number but I’ll try to write it here in my next comment.
06.09.2025 - 14:55
Leeanne a écrit:
I think I get it! I will test it in the morning and comment again trying to explain it for others if I have it right. My last two comments are wrong for sure. It helps to draw the rows as a picture on paper and mark the ends with the line number.
06.09.2025 - 05:10
Leeanne a écrit:
Revising my last comment: I now have it written as: short row, R1 &L1 on the same row, short row, R2 & L2, short row, R3 & L3, short row, R4 & L4. But this adds up to 8 rows on the sides and only 4 rows in the middle, not 6. Also not sure why the short rows directions refers to the middle stitches as being 70 (for the second size) when it’s only 30 (if excluding 25 on each end) or 72 (if excluding only the outermost 4 on each end).
06.09.2025 - 04:26
Leanne a écrit:
The directions for the short rows are difficult to figure out. I’ve been working at this for a few weeks with my MIL, have restarted my project 7 times and we still don’t have it right. So we are alternating between right and left rows 1, 2, etc. when doing full rows? We are not doing any picot edge instructions when doing short rows, correct? To incoorporate the short rows, does it go: left row 1, right row 1, short row, left row 2, right row 2, short row, etc. through all four edge rows?
06.09.2025 - 02:40
|
|
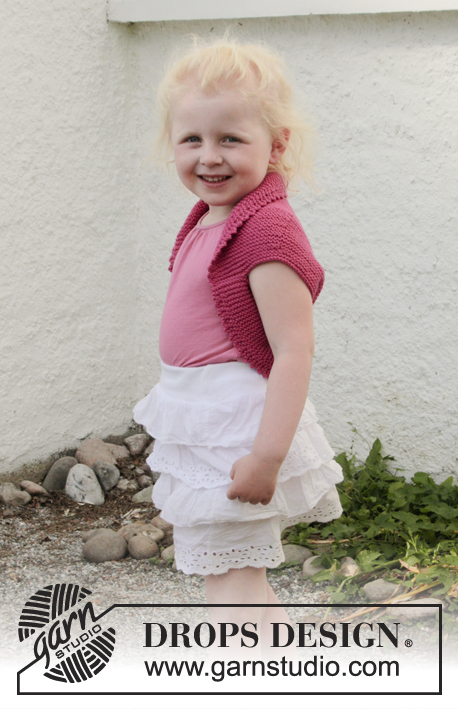
Berry Kiss#berrykissvest |
|
 |
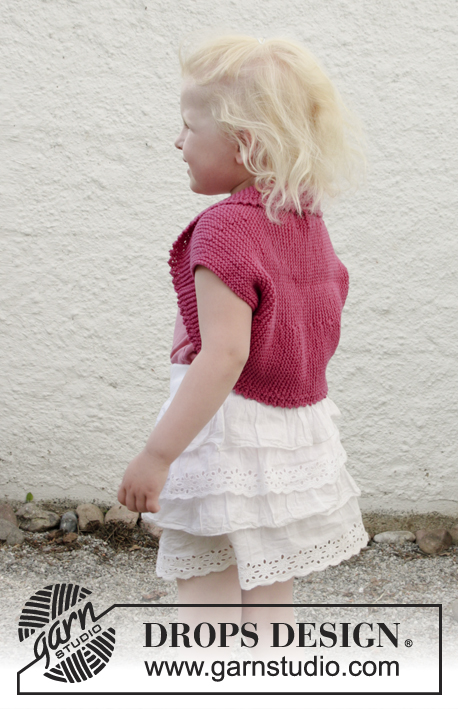 |
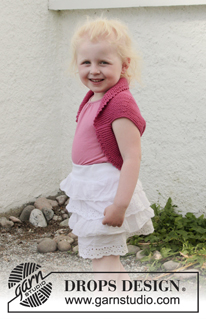
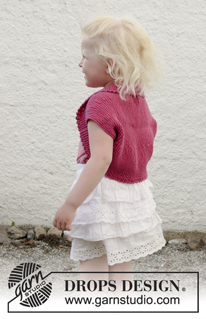
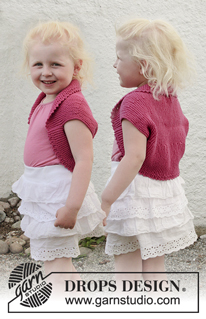
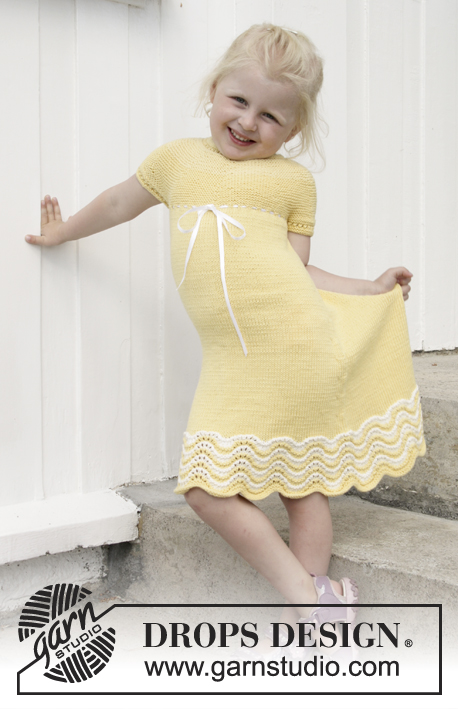
Boléro avec rangs raccourcis, bordures picot et point mousse en DROPS Cotton Merino. Du 3 au 12 ans.
DROPS Children 28-7 |
|
|
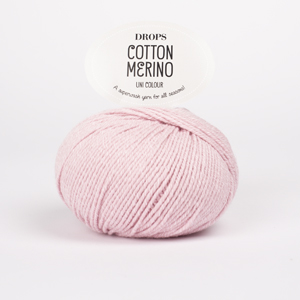
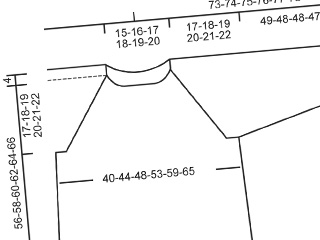
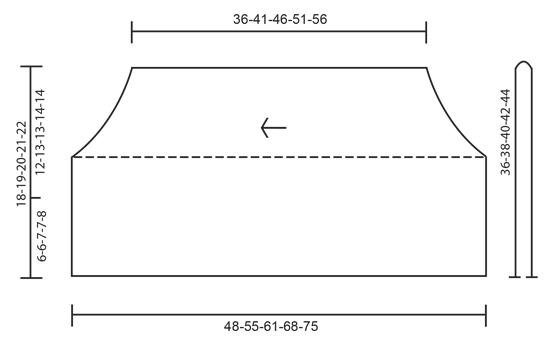
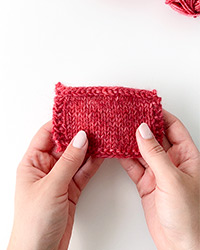
POINT MOUSSE (en allers et retours): 1 côte mousse = Tricoter 2 rangs endroit. BORDURE PICOT (en allers et retours): CÔTÉ DROIT: RANG 1 (= sur l'endroit): Tricoter à l'endroit. RANG 2 (= sur l'envers): Tricoter à l'endroit jusqu'à ce qu'il reste 4 mailles, les tricoter ainsi: 2 mailles ensemble à l'endroit, 1 jeté, tricoter 2 fois à l'endroit chacune des 2 dernières mailles = 2 mailles en plus. RANG 3 (= sur l'endroit): Glisser la 1ère maille à l'endroit, 1 maille endroit, passer la maille glissée par-dessus la maille tricotée, 1 maille endroit et passer la dernière maille sur l'aiguille droite par-dessus la première, on a diminué 2 mailles – puis tricoter les mailles restantes du rang à l'endroit. RANG 4 (= sur l'envers): Tricoter à l'endroit. Répéter les rangs 1 à 4. CÔTÉ GAUCHE: RANG 1 (= sur l'endroit): Tricoter à l'endroit jusqu'à ce qu'il reste 4 mailles, les tricoter ainsi: 2 mailles ensemble à l'endroit, 1 jeté, tricoter 2 fois à l'endroit chacune des 2 dernières mailles = 2 mailles en plus. RANG 2 (= sur l'envers): Glisser la 1ère maille à l'endroit, 1 maille endroit, passer la maille glissée par-dessus la maille tricotée, 1 maille endroit et passer la dernière maille par-dessus la 1ère maille sur l'aiguille droite, on a diminué 2 mailles – puis tricoter les mailles restantes du rang à l'endroit. RANG 3 (= sur l'endroit): Tricoter à l'endroit. RANG 4 (= sur l'envers): Tricoter à l'endroit. Répéter les rangs 1 à 4. RANGS RACCOURCIS: Tricoter 6 rangs sur toutes les mailles, *tricoter 24-25-26-27-28 mailles (jusqu'au 1er marqueur), tourner, serrer le fil et tricoter jusqu'à la fin du rang. Tricoter 1 rang sur toutes les mailles, tourner, tricoter 24-25-26-27-28 mailles (jusqu'au 1er marqueur), tourner, serrer le fil et tricoter jusqu'à la fin du rang. Tricoter 5 rangs sur toutes les mailles*, répéter de *-*. Autrement dit, on tricote 6 rangs au point mousse (= 3 côtes mousse) au-dessus des 66-70-72-80-86 mailles centrales et 8 rangs au point mousse (4 côtes mousse) au-dessus des mailles de chaque côté dans chaque série. -------------------------------------------------------- BOLÉRO: Se tricote dans le sens de la longueur, en allers et retours sur aiguille circulaire d'une emmanchure à l'autre. Plier ensuite le boléro et faire la couture des côtés. Monter 76-80-84-88-92 mailles en Cotton Merino avec l'aiguille circulaire 4. Placer 1 marqueur à 24-25-26-27-28 mailles de chaque côté (= 28-30-32-34-36 mailles entre les marqueurs). Tricoter ainsi – sur l'endroit: BORDURE PICOT, CÔTÉ DROIT, POINT MOUSSE – voir ci-dessus, au-dessus des 68-72-76-80-84 mailles suivantes, BORDURE PICOT, CÔTÉ GAUCHE au-dessus des 4 dernières mailles. BIEN CONSERVER LA MÊME TENSION QUE POUR L'ÉCHANTILLON! Continuer au point mousse avec la bordure picot au-dessus des 4 mailles de chaque côté, EN MÊME TEMPS, tricoter des RANGS RACCOURCIS – voir ci-dessus! Quand l'ouvrage mesure environ 36-41-46-51-56 cm (mesurer au niveau le plus court) rabattre souplement. ASSEMBLAGE: Plier le boléro en double – le schéma montre l'ouvrage quand il a été plié. Coudre les 6-6-7-7-8 cm du bas, bord à bord de chaque côté (= 12-13-13-14-14 cm pour l'emmanchure). |
|
 |
|
Vous avez terminé ce modèle?Alors taguez vos photos avec #dropspattern #berrykissvest ou bien présentez-les dans la galerie #dropsfan Vous avez besoin d'aide pour ce modèle ?Vous trouverez 14 tutoriels vidéo, une rubrique commentaires/questions et plus encore en vous rendant sur la page du modèle sur garnstudio.com © 1982-2026 DROPS Design A/S. Tous droits réservés. Ce document, y compris ces sous-sections, est protégé par les droits d'auteur (copyright). Apprenez-en davantage sur ce que vous pouvez faire avec nos modèles en bas de chacune des pages de notre site. |
|


Avec plus de 40 ans dans la conception de modèles tricot et crochet, DROPS Design offre l'une des plus vastes collections de modèles gratuits sur internet - traduits dans 17 langues. À ce jour, on compte 333 catalogues et 12549 modèles en français.
Nous nous efforçons de vous apporter le meilleur de ce que le tricot et le crochet peuvent vous offrir, inspiration et conseils mais également des fils de haute qualité à des prix incroyables! Vous souhaiteriez utiliser nos modèles autrement que pour un usage personnel? Vous pouvez lire ce que vous êtes autorisés à faire dans le Copyright en bas de page de chacun de nos modèles. Bon tricot!
Poster un commentaire sur le modèle DROPS Children 28-7
Nous aimerions connaître votre avis sur ce modèle !
Si vous souhaitez poser une question, merci de bien vouloir vérifier que vous avez choisi la bonne catégorie dans le formulaire ci-dessous afin d'accélérer la réponse. Les champs obligatoires sont indiqués par une *.