
Categorias populares
Procura um fio?


Comentários / Perguntas (35)
![]() TERESA CARMONA MÉNDEZ escreveu:
TERESA CARMONA MÉNDEZ escreveu:
Buenos dias, cuando dice el patron "Colocar 4-5-5-5-6-6 puntos en un gancho auxiliar 3 veces después los 5-4-5-6-4-6 puntos restantes." ¿Se refiere a las vueltas acortadas?
09.02.2023 - 07:14DROPS Design respondeu:
Hola Teresa, sí, se trabaja similar a las vueltas acortadas.
13.02.2023 - 00:40
![]() Susana escreveu:
Susana escreveu:
In response to your comment today at 16.01.2023 kl. 10:27. If I am starting to shape the right armhole (right side to left) and I start the row casting off 3 sts, when I finally then start the other row from left to the right side (left armhole) I will inevitably casting off 3 sts on the row above to the other. Therefore, the armholes will start at different times. One below the other. Or am I missing something?
16.01.2023 - 11:24DROPS Design respondeu:
Dear Susanna, you will cast off 3 sts at the beginning of the next 2 rows (= 3 sts at the beginning of the next row from RS + 3 sts at the beginning of the next row from WS) = 3 sts on each side 1 time, then cast off 2 stitches at the beginning of next 2 rows (= 2 sts from RS + 2 sts at the beg of next row from WS), etc.. The cast off are indeed worked with 1 row difference on each side, but this is not visible afterwards. Happy knitting!
16.01.2023 - 16:25
![]() Susana Araujo escreveu:
Susana Araujo escreveu:
Dear drops, have a question about this: “begin to cast off for the armholes on both sides: 3-3-3-4-4-4 stitches 1 time, 2 stitches 1 time and 1 stitch 1-3-4-6-9-12 times”. If we cast off this number of times from both sides WS and RS won't the sleeves inevitable be one row above the other? And therefore one of the armholes slightly higher?
15.01.2023 - 23:53DROPS Design respondeu:
Dear Mrs Araujo, you should cast off the same number of stitches on each side, ie at the beginning of every row, both from RS and from WS so that the armholes are the same. Happy knitting!
16.01.2023 - 10:27
![]() Susana escreveu:
Susana escreveu:
On “Neck” section after “Assembly” when it says “knit up 80 to 100 stitches” is this to be picked-up from the neck randomly or cast on from our yarn?
06.01.2023 - 15:54DROPS Design respondeu:
Hi Susana! Knit up means to pick up around the neck. Please look at videos and tutorials on how to do it! Happy knitting!
06.01.2023 - 22:36
![]() Susana escreveu:
Susana escreveu:
While on the “Neck” after “Front Piece” we have to cast off a number of stitches. Is this done with the stitches that we left on hold? Or on the next row?
06.01.2023 - 15:53DROPS Design respondeu:
Hi Susana! Cast off stitches on the needle as it says in the pattern. Happy knitting!
06.01.2023 - 22:34
![]() Susana escreveu:
Susana escreveu:
Reading the pattern I am trying to see the maths and I can’t still figure it out what happen to some stitches. So, when we are still working the back, almost at the end we have “62 stitches”. Then we shall cast off 26 which would give us a total of 36. Then, on the Neck we cast off 1 stitch therefore, 35 total. And then, when we start working the diagonal shoulder, I will place 17 stitches on hold on a thread. What happen to the remaining 18? Shall they be cast off? This is not indicated
06.01.2023 - 15:53
![]() Susana escreveu:
Susana escreveu:
When working on the Diagonal Shoulder: “Place 4-5-5-5-6-6 stitches on the thread 3 times then the remaining 5-4-5-6-4-6 stitches.” Again, what does this mean with 3 times? Shall I place 17 stitches on hold on a thread (assuming that I am doing the smallest size)? Does this have to be done sparely and that is why is written “3 times”?
06.01.2023 - 15:53DROPS Design respondeu:
Dear Susana, you need to do it separately. Work and place the first 4 stitches, work until the end of the row and then work back, then work and place the next 4 stitches, work until the end of the row and then work back again, then work and place the next 4 stitches, work until the end of the row and then work back. Now you work and place the remaining 5 stitches in the thread. Happy knitting!
07.01.2023 - 18:56
![]() Susana escreveu:
Susana escreveu:
On back piece instructions, it is written: “begin to cast off for the armholes on both sides: 3-3-3-4-4-4 stitches 1 time, 2 stitches 1 time and 1 stitch 1-3-4-6-9-12 times”. I am confused to what this means. Shall I cast off X number of stitches X times in a row at different times during the same row? Or is this mean to be cast off one after the other but then that wouldn’t invalidate the X number of times?
06.01.2023 - 15:52DROPS Design respondeu:
Dear Susana, you need to cast off in different rows, once on each side of the row. So, cast off at the beginning of the row (from both the right and wrong sides). For example, in the smallest size, cast off 3 stitches at the beginning of the next row from the right and wrong sides. Then, cast off 2 stitches at the beginning of the next row from the right and wrong sides. Finally cast off 1 stitch at the beginning of the next row from the right and wrong sides. Happy knitting!
07.01.2023 - 19:01
![]() Susana escreveu:
Susana escreveu:
Would this be ok for beginners? I have only finished 1 sweater before, done some scarves and hats. Reading the pattern, the stitches seem simple, only confusion would be with some of the construction.
06.01.2023 - 15:52DROPS Design respondeu:
Hi Susana! Please look at the videos and step-by-step tutorials at the end of the pattern. These will help you to overcome any questions you might have! Reading pattern might be very confusing but when you start making it everything becomes clear! Happy knitting!
06.01.2023 - 22:32
![]() Susana escreveu:
Susana escreveu:
I have a whole paragraph with questions and this comment box does not have enough space. How can I be helped?
06.01.2023 - 11:01DROPS Design respondeu:
Dear Susana, maybe try to ask one or 2 questions each time using this box - remember to tell us the size you are working on, so that we can check especially this size if needed. Thanks for your comprehension.
06.01.2023 - 11:44
|
|
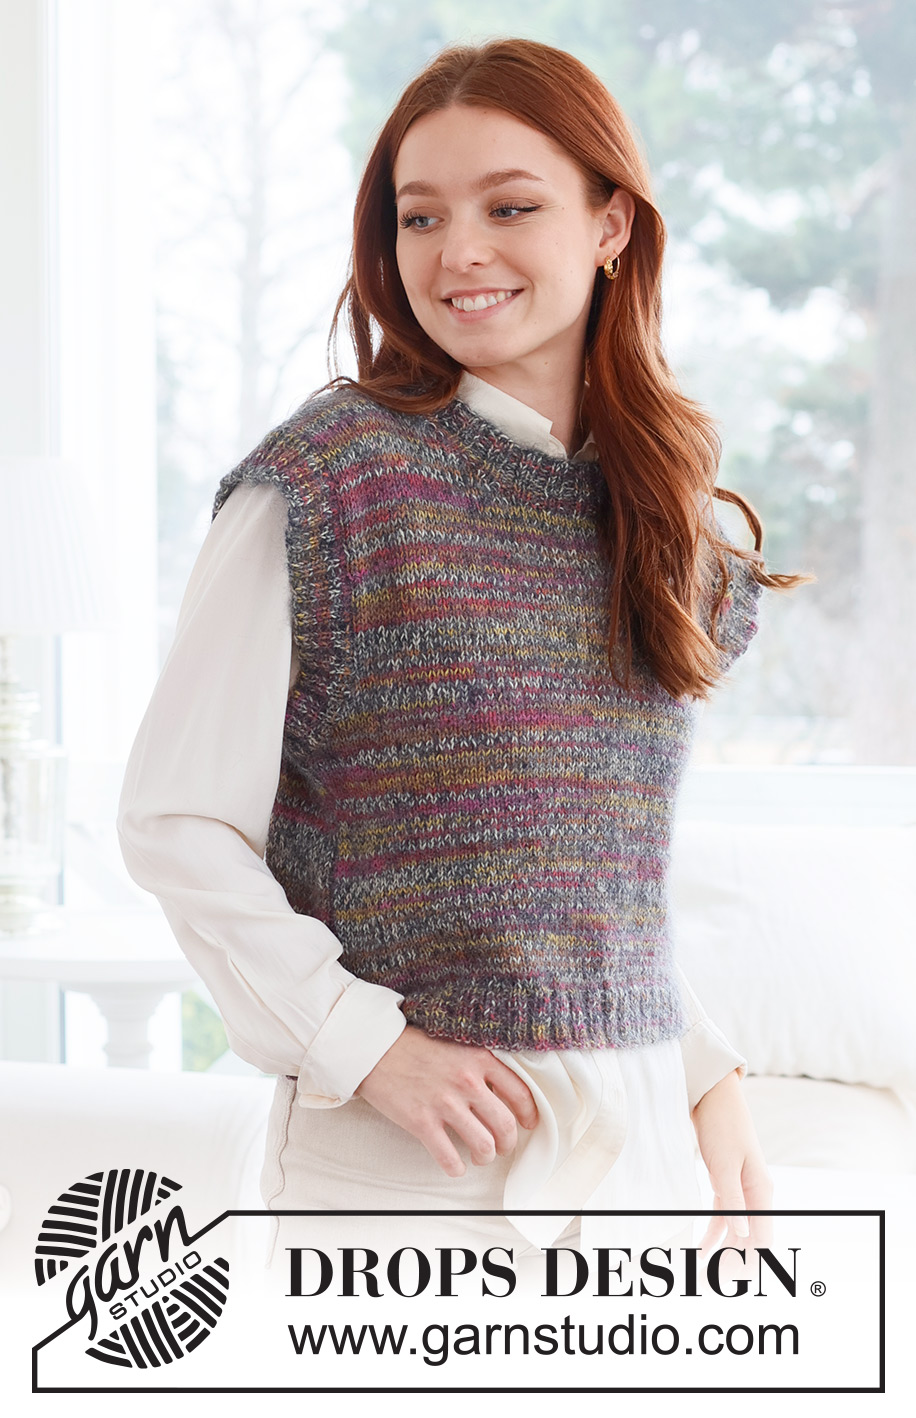
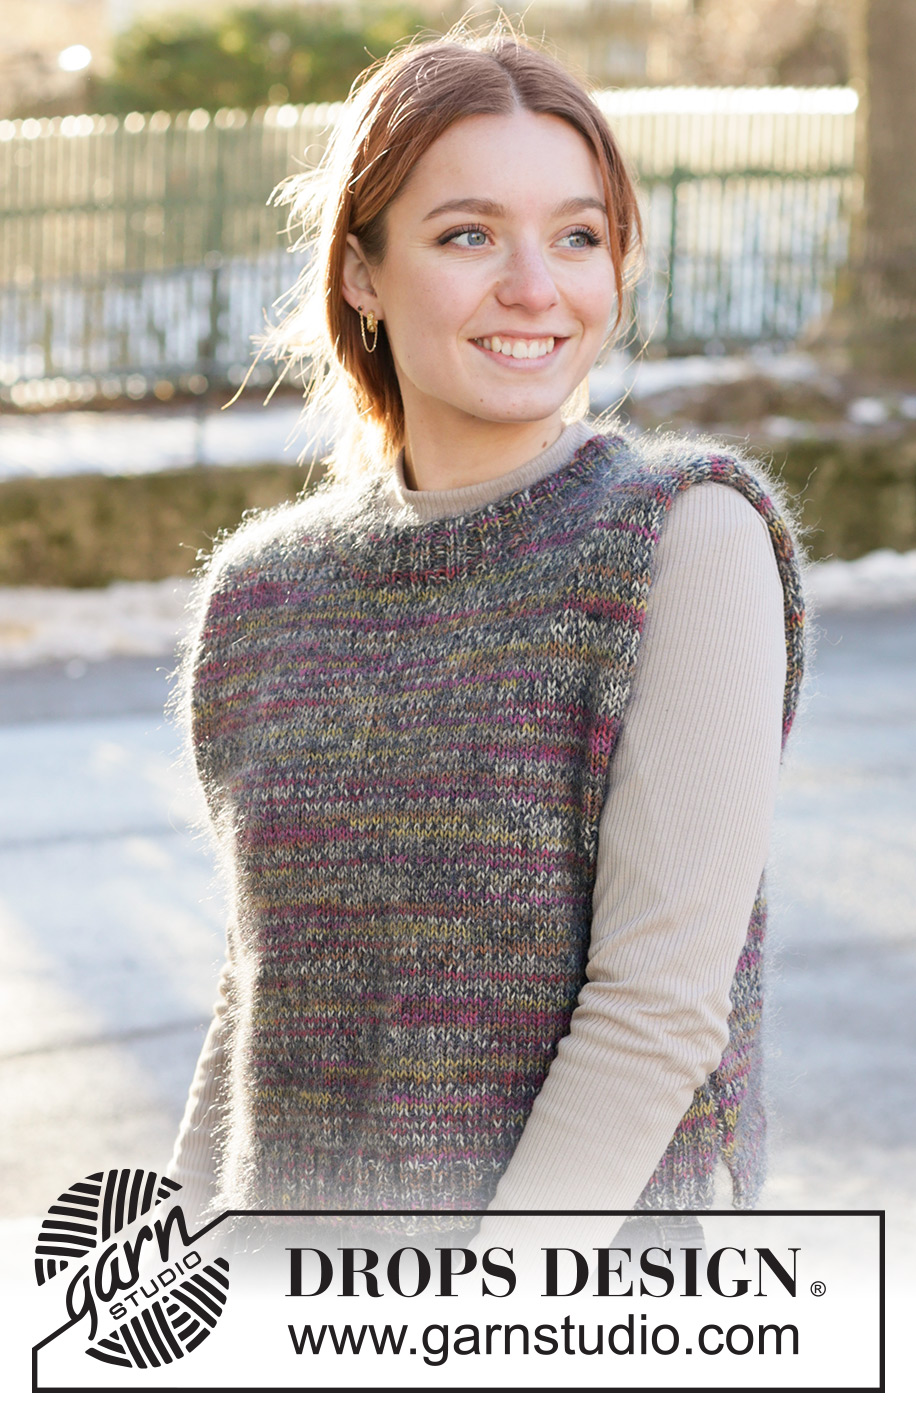
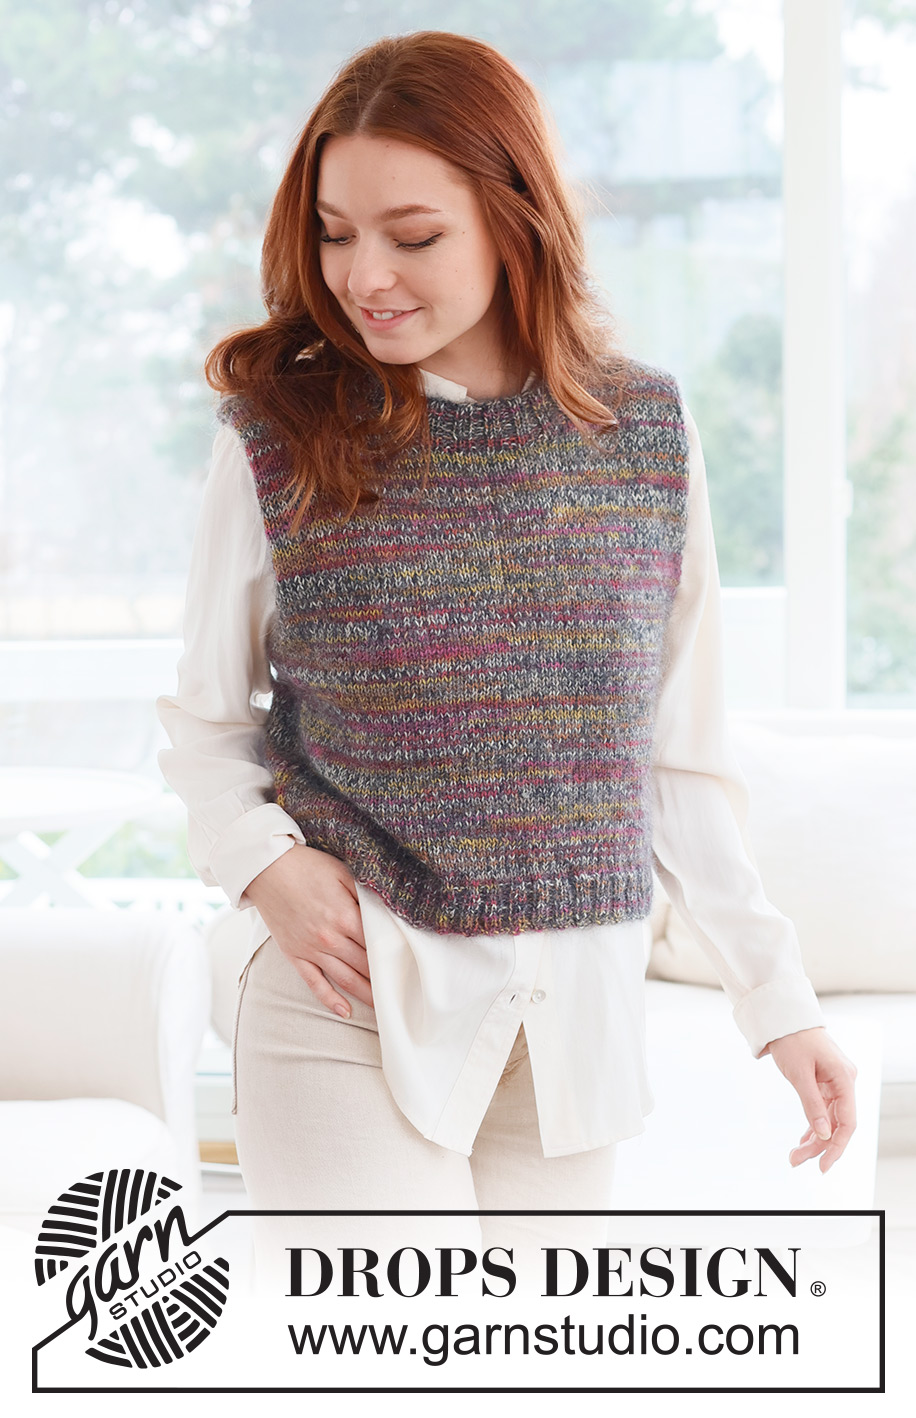
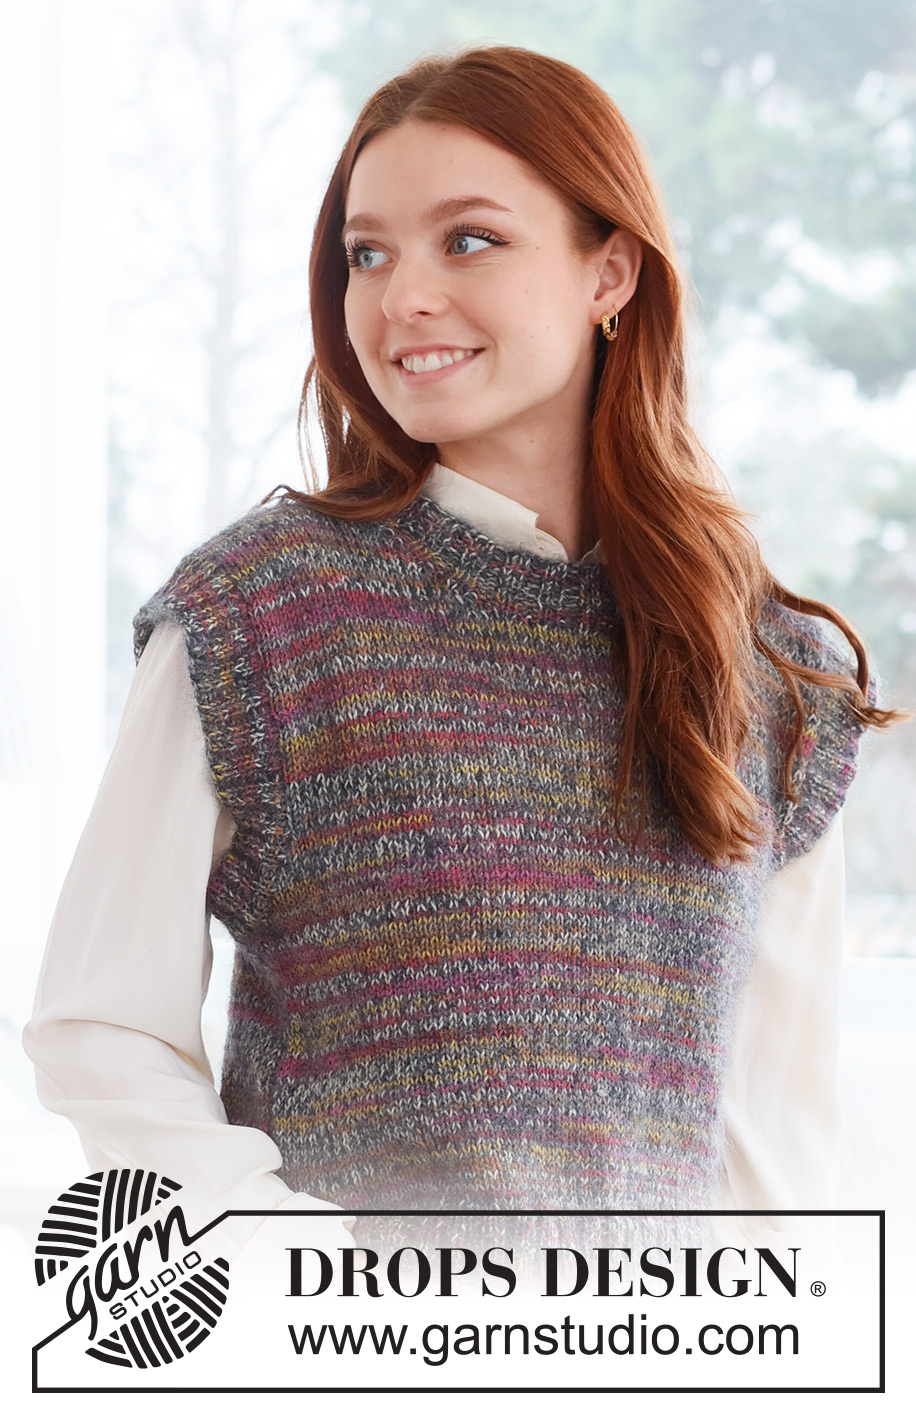
Fairytale#fairytalevest |
|
 |
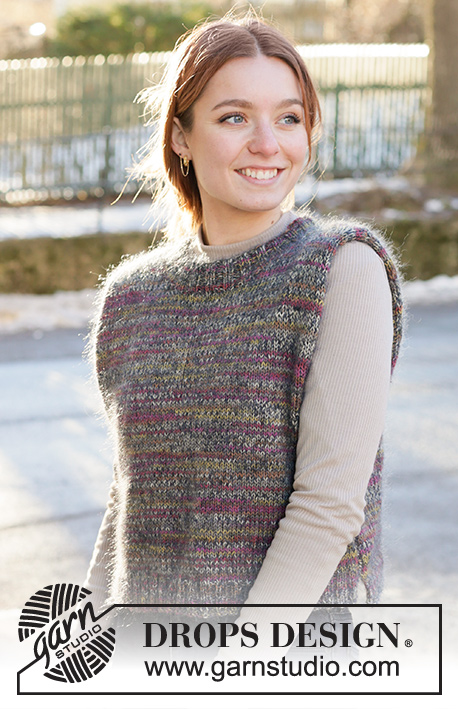 |
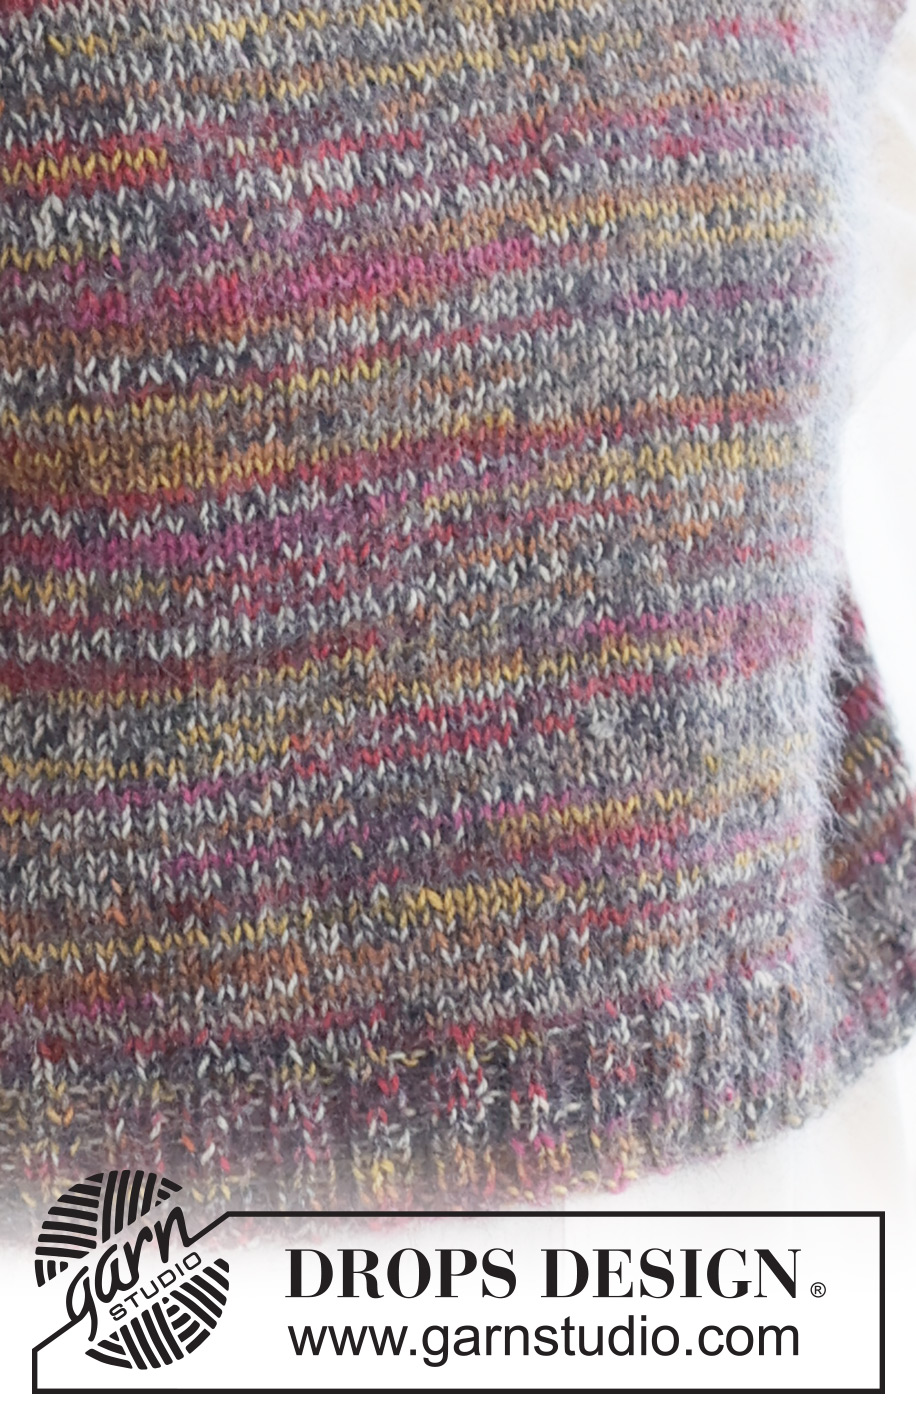
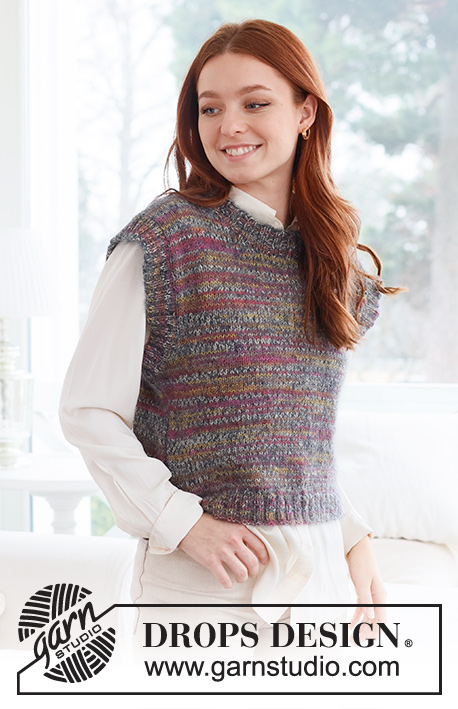
Colete tricotado de baixo para cima com 1 fio DROPS Fabel e 1 fio Kid-Silk. Tricota-se com ombros em viés. Do S ao XXXL.
DROPS 237-42 |
|
|
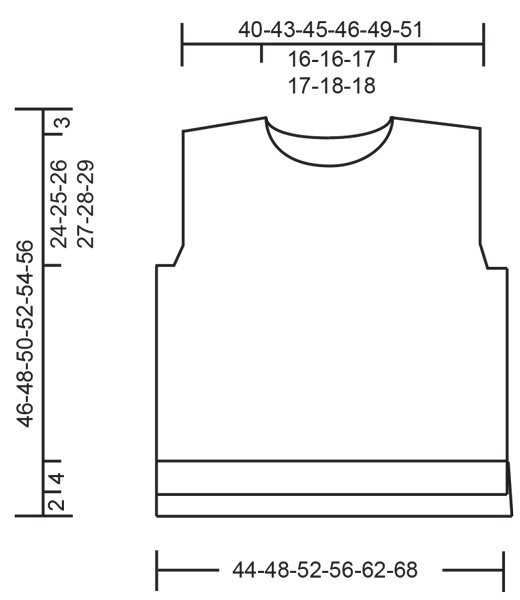
------------------------------------------------------- TÉCNICAS USADAS: ------------------------------------------------------- PONTO JARRETEIRA (em idas e voltas): Tricotar todas as carreiras em meia. 1 barra jarreteira = 2 carreiras meia. ------------------------------------------------------- A PEÇA COMEÇA AQUI: ------------------------------------------------------- COLETE – SUMÁRIO: A frente e as costas tricotam-se separadamente em idas e voltas de baixo para cima. As costas são 2 cm mais compridas do que a frente. Tricota-se a orla das cavas e a gola em redondo com a pequena agulha circular. COSTAS: Montar 88-96-104-112-120-132 malhas com a agulha circular 4 mm e 1 fio DROPS Fabel + 1 fio DROPS Kid-Silk (2 fios). Tricotar 1 carreira liga pelo avesso. Tricotar em canelado pelo direito da seguinte maneira: 1 malha em ponto jarreteira – ver acima -, tricotar em canelado (2 malhas meia, 2 malhas liga) até restarem 3 malhas, tricotar 2 malhas meia e 1 malha em ponto jarreteira. Continuar em canelado desta maneira durante 4 cm. Mudar para a agulha circular 5 mm e tricotar em ponto meia diminuindo ao mesmo tempo 14-14-16-16-14-16 malhas a intervalos regulares na primeira carreira = 74-82-88-96-106-116 malhas. Tricotar até a peça medir 19-20-21-22-23-24 cm. MANTER A MESMA TENSÃO DA INDICADA PARA A AMOSTRA! Na carreira seguinte, arrematar para as cavas de cada lado da peça: 1 vez 3-3-3-4-4-4 malhas, 1 vez 2 malhas e 1-3-4-6-9-12 vezes 1 malha = 62-66-70-72-76-80 malhas. Continuar a tricotar até a peça medir 42-44-46-48-50-52 cm (restam 4 cm antes do fim). Na carreira seguinte, arrematar as 26-26-28-28-30-30 malhas centrais para o decote e terminar cada ombro separadamente. RESUMO DA SECÇÃO SEGUINTE: Vai-se, então, formar o decote e, ao mesmo tempo, colocar as malhas dos ombros em espera para o viés. Ler DECOTE e VIÉS DOS OMBROS antes de continuar. DECOTE: Arrematar 1 malha no princípio da carreira seguinte a partir do decote. VIÉS DOS OMBROS: Colocar em espera as malhas no lado da cava num fio; para evitar ter de cortar o fio, tricotar as malhas primeiro. Colocar em espera 3 vezes 4-5-5-5-6-6 malhas depois as 5-4-5-6-4-6 últimas malhas. Todas as malhas estão, agora, quer arrematadas, quer em espera no fio. Colocar as 17-19-20-21-22-24 malhas em espera na agulha circular 5 mm. Tricotar 1 carreira liga pelo avesso. Para evitar buracos nas transições das malhas em espera, levantar o fio entre 2 malhas e tricotá-lo juntamente torcido em liga com a malha seguinte na agulha esquerda. Arrematar ligeiramente em meia pelo direito. A peça mede cerca de 46-48-50-52-54-56 cm a partir da carreira de montagem até ao ponto mais alto do ombro. Tricotar o outro ombro da mesma maneira. FRENTE: Montar e tricotar como se fez para as costas até a frente medir 17-18-19-20-21-22 cm. Na carreira seguinte, arrematar para as cavas de cada lado da peça: 1 vez 3-3-3-4-4-4 malhas, 1 vez 2 malhas e 1-3-4-6-9-12 vezes 1 malha = 62-66-70-72-76-80 malhas. Continuar a tricotar até a peça medir 34-36-36-38-38-40 cm (restam cerca de 10-10-12-12-14-14 cm antes do fim). Na carreira seguinte pelo direito, colocar as 12-12-14-14-16-16 malhas centrais em espera num fio para o decote e terminar cada ombro separadamente. RESUMO DA SECÇÃO SEGUINTE: Vai-se, então, formar o decote e colocar as malhas dos ombros em espera num fio para formar o viés. Ler DECOTE e VIÉS DOS OMBROS antes de continuar. DECOTE: Arrematar no princípio da carreira a partir do decote: 2 vezes 2 malhas e 4 vezes 1 malha. VIÉS DOS OMBROS: AO MESMO TEMPO, quando a peça medir 41-43-45-47-49-51 cm, colocar as malhas no lado da cava em espera num fio como se fez para as costas. Quando todas as malhas estão quer arrematadas, quer no fio, colocar as 17-19-20-21-22-24 malhas em espera na agulha circular 5 mm. Tricotar 1 carreira liga pelo avesso como se fez para as costas. Arrematar frouxamente em meia pelo direito. A peça mede cerca de 44-46-48-50-52-54 cm a partir da carreira de montagem até ao ponto mais alto do ombro. Tricotar o outro ombro da mesma maneira. MONTAGEM: Fazer a costura dos ombros orla com orla. Costurar os lados orla com orla, começando pelas cavas e costurar até 1 cm depois do princípio do canelado, para formar uma fenda; as costas são mais compridas do que a frente. GOLA: Começando pelo direito a uma dos ombros, levantar, com a pequena agulha circular 4 mm e 1 fio Fabel + 1 fio Kid-Silk 80 a 100 malhas (incluindo as malhas em espera) à volta do decote. O número de malhas deve ser múltiplo de 4. Tricotar em redondo, em canelado (2 malhas meia, 2 malhas liga) durante 4 cm. Arrematar as malhas meia em meia e as malhas liga em liga. ORLA DAS CAVAS: Começando pelo direito, na parte de baixo da cava, levantar com a pequena agulha circular 4 mm e 1 fio Fabel + 1 fio Kid-Silk 112 a 136 malhas à volta da cava (o número de malhas deve ser múltiplo de 4). Tricotar em redondo, em canelado (2 malhas meia, 2 malhas liga) durante 4 cm. Arrematar as malhas meia em meia e as malhas liga em liga. Tricotar a orla da outra manga da mesma maneira. Pode-se dobrar as orlas ao meio para que elas fiquem mais estreitas e mais grossas. |
|
 |
|
Terminou este projecto?Então, identifique as suas fotos com as tags #dropspattern #fairytalevest ou mostre-as na galeria #dropsfan. Precisa de ajuda para este modelo?Encontrará 25 turotiais em vídeo, uma rubrica Comentários/Perguntas e muito mais ao visitar a página do modelo em www.garnstudio.com © 1982-2026 DROPS Design A/S. Todos os direitos reservados. Este documento, incluuindo as suas su-secções, tem copyrights. Saia mais o que pode fazer com os nossos modelos no fim de cada uma das páginas do nosso site. |
|


Com mais de 40 anos no design de modelos de tricô e de croché, a DROPS Design oferece uma das mais vastas colecções demodelos gratuitos na Internet - traduzidos em 17 línguas. Neste dia de hoje, temos 324 catálogos e 12290 modelos - dos quais 12271 estão traduzidos em português.
Trabalhamos com muito empenho para lhe proporcionar o melhor que o tricô e o croché têm para oferecer, para lhe fornecer inspiração e conselhos bem como fios da mais elevada qualidade a preços incríveis! Gostaria de usar os nossos modelos para outros fins que não uso pessoal? Pode ler o que lhe é permitido fazer no Copyright texto que se encontra na parte de baixo de todos os nossos modelos. Bom tricô! Bom croché!
Deixe um comentário acerca do modelo DROPS 237-42
Gostaríamos muito de saber o que tem a dizer-nos acerca deste modelo!
Se deixar uma pergunta acerca do modelo, certifique-se de que escolhe a categoria adequada no formulário abaixo para acelerar o processo relativo à resposta. Os campos obrigatórios estão assinalados com um *.