
Categorie popolari
State cercando un filato?


Come lavorare un'alzata al centro dietro

NOTA - dovete leggere dei modelli specifici per essere in grado di seguire.
Modelli che utilizzano questa tecnica
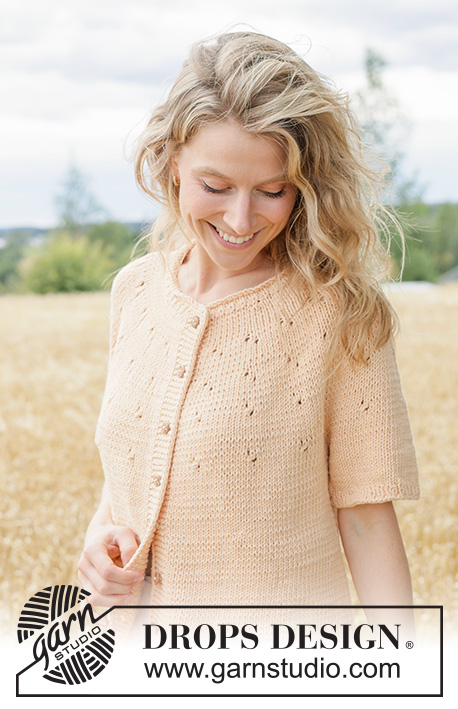
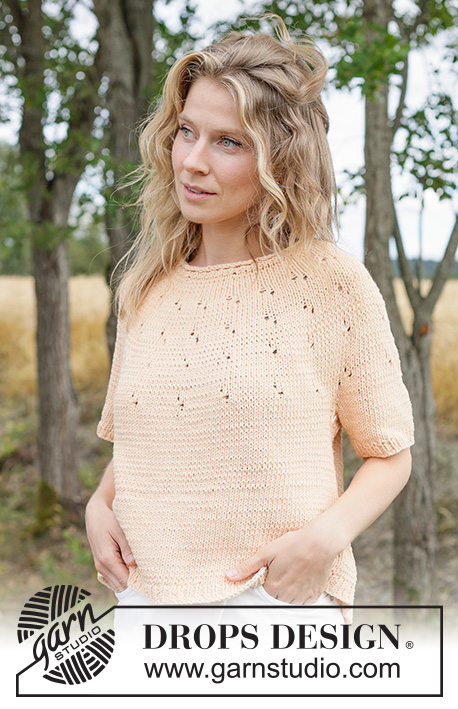
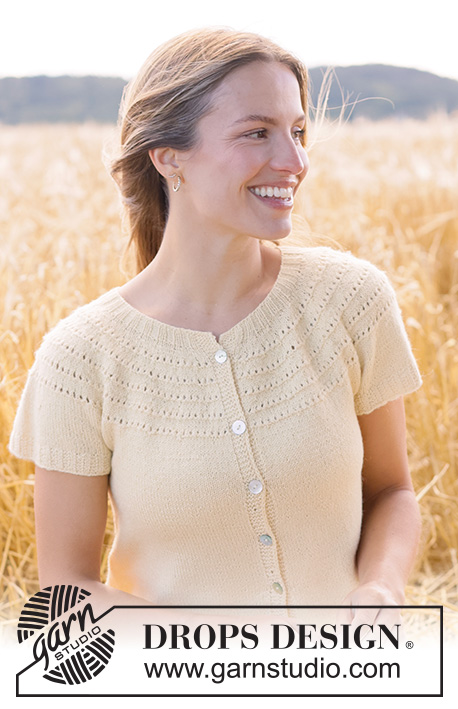
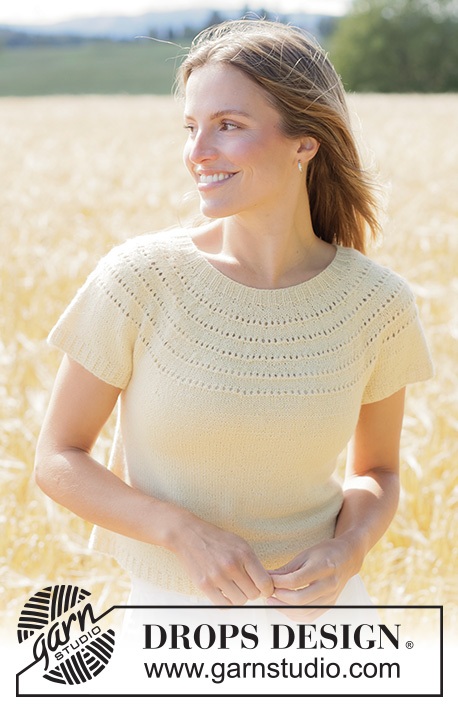
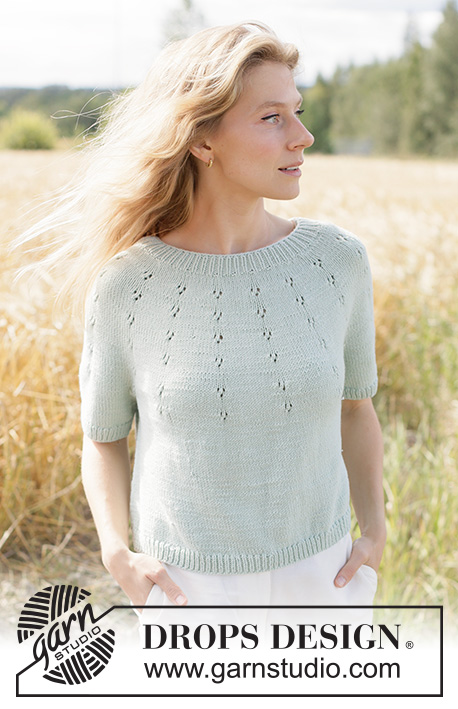
Video #894, riportato in: Imparate a lavorare a maglia, Suggerimenti e trucchi per lavorare a maglia, Ferri accorciati, Sprone rotondo
I nostri video non hanno il sonoro. Siamo un'azienda multinazionale e i nostri video vengonp visti da persone che parlano linguaggi diversi e molti non capiscono l'inglese. Per cui, dal momento che non abbiamo un linguaggio comune da utilizzare, riportiamo invece delle istruzioni scritte che accompagnano il video, e inoltre non ci sono suoni che disturbano la visione.
Potete modificare la velocità del video cliccando sull'icona sulla barra di riproduzione.
Lasciate un commento o una domanda per questo video
Il tuo indirizzo mail non verrà pubblicato. I campi richiesti sono indicati da *.
Potrebbe piacervi anche....


Con oltre 40 anni di esperienza nel design di modelli di maglia e uncinetto, DROPS Design offre la più estesa collezione di modelli gratuiti su internet - tradotti in 17 lingue. Ad oggi vi possiamo fornire 324 cataloghi e 12290 modelli - 9561 dei quali sono tradotti in Italiano.
Ci stiamo impegnando molto per darvi il meglio che vi possiamo offrire in termini di maglia e uncinetto, ispirazioni e consigli così come filati di grande qualità ad un prezzo incredibile! Volete utilizzare i nostri modelli per qualcosa d'altro oltre al vostro uso personale? Potete leggere tutto ciò che è consentito nel testo sul Copyright in basso su tutte le pagine dei nostri modelli. Buon lavoro!
Nella spiegazione, dopo le prime 10 maglie a diritto e aver girato il lavoro si devono lavorare 20 maglie a ROVESCIO ( come si vede nel video) altrimenti non è maglia rasata. Anche nei cambi di giro successivi si deve passare dal lavorare a diritto a lavorare a rovescio. Grazie
08.01.2019 - 14:58Hei! Jeg strikker sjona genser og på oppskriftet står det forhøyning etter den siste felling av mønster. Skal jeg bare klippe tråd der jeg sluttet med maske også begynn å strikk forhøyning midt bak? Eller skulle jeg strikke glattstrikk helt til jeg når merketråd midtbak for å strikke forhøyning? Takk.
25.11.2018 - 20:09DROPS Design :
Hej, du kan strikke glatstrik helt til du når mærketråden midt bak og så strikke forhøjning. God fornøjelse!
14.12.2018 - 11:18I´m knitting an overall that requires this increase for the bum but my pattern has stripes and I´m wondering how to solve this without destroying my stripe pattern?
09.11.2018 - 17:21DROPS Design :
Dear Elizabeth, not sure about the pattern, but you can maybe stop the stripes for the elevation if the ribbing part at waist is worked with a single colour, the difference shouldn't be that visible. Happy knitting!
12.11.2018 - 11:10Bonjour, si je commence à tricoter la rehausse à partir du marqueur du milieu du dos (je tricote en aller/retour), est-ce que je tricote le début du rang? Et si non je fais comment pour mettre mon fil au milieu du rang? Merci
27.08.2018 - 22:39DROPS Design :
Bonjour Magali, pour un gilet/une veste, vous tricotez le 1er rang sur l'endroit à partir du bord jusqu'au marqueur puis le nombre de mailles indiqué après le marqueur, vous tournez et continuez les rangs raccourcis. Au dernier rang sur l'endroit des rangs raccourcis, vous tricotez jusqu'à la fin du rang, ainsi vous avez bien le bon nombre de rangs de chaque côté des rangs raccourcis. Bon tricot!
05.09.2018 - 14:47Hi! I have 2 questions please: 1. do we have to slip stitch on each round? (I noticed in the video you do NOT slip stitch when knitting 30 2. my pattern reads: "Work an elevation as follows: Work 7 stitches, turn, tighten the strand, work 14 stitches back, turn, tighten the strand, work 20 stitches, turn, tighten the strand etc..." Does this still mean I have to slip stitch or should I avoid this step because it is not described in the pattern? Thanks!
23.02.2018 - 12:30DROPS Design :
Dear Maria, you can slip the first st if you want to, or just tighten thread and work first st, make sure in all cases that you are working the stated number of sts. Happy knitting!
26.02.2018 - 10:38Er denne teknikken fin å bruke på skjørt til dame? Jeg tenker å strikke et "skater skirt". Jeg har fått litt mage og dette gjør at bakdelen på skjørt blir litt kortere enn foran. Vil det da bli litt lengre bak hvis jeg bruker denne teknikken? Eller vil det bare bli en bulk der?
23.01.2018 - 11:47DROPS Design :
Hei Anita. Vi har ikke brukt denne teknikken på våre skjørt, så vi kan ikke garantere resultatet. Om det evnt vil bli en bulk der, avhenger nok litt av om skjørtet er tettsittende og hvilken kvalitet du strikker i. mvh Drops design
26.01.2018 - 10:35How can I do this on crocheted sweaters?
04.01.2018 - 19:46DROPS Design :
Dear Penny, on crocheted sweaters, you may use different types of sts on different height, depending on the pattern and stitch used. Remember you can always get help from the store where you bought your yarn. Happy crocheting!
08.01.2018 - 10:24For a short-row neck elevation: "work until 7 stitches remain, turn, work back until 7 stitches remain, turn, work until 10 stitches remain, turn,... and so on. My question: are the 10 stitches inclusive of the 7 that were left already, i.e. turn at 10 meaning the 7 plus 3 more? It seems logical, but it\'s a new technique to me. Thanks, everybody, for your help!
29.11.2017 - 22:26DROPS Design :
Dear Mrs Petrie, in this example that's right, there will be 10 sts unworked, including the first 7 sts, ie 7+3 sts = 10 sts left unworked. Happy knitting!
30.11.2017 - 08:51Karen Strong ha scritto:
Where's the sound?
11.11.2017 - 09:50DROPS Design :
Dear Mrs Strong, Our videos do not have sound. We are a worldwide company and our videos are watched by people around the world, speaking different languages, many of whom do not understand English. We have therefore written instructions to accompany this video, and there is no sound to disturb while watching. Remember to always follow the pattern you are working on at the same time for the number of sts. Enjoy!
13.11.2017 - 13:16Hva gjør dere i videoen på tidspunktet 2.40? Sett den utallige ganger nå uten å bli helt klok... Takk på forhånd :)
25.07.2017 - 02:06DROPS Design :
Hei Sunniva. Tid fra 2:35 til 2:52. I videoen strikkes det vrang fra vrangen og når hun kommer til andre vending, tar hun tråden mot seg, snur strikketøyet, viser hva som er blitt strikket, strammer tråden, løfter 1. maske over på høyre pinne (men, tid:2:46 - ser nesten ut som om hun skal strikke masken, men ombestemmer seg og løfter den kun over) og starter å strikke videre (rett fra retten). God Fornøyelse!
09.08.2017 - 07:20