
Categorías populares
¿Buscas un hilo?






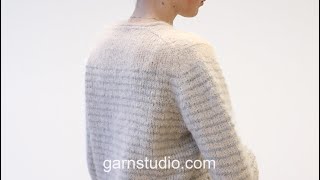
Canesú europeo 4/4 – El escote está terminado después de levantar los puntos para las mangas

Cuando todos los aumentos estén terminados y el canesú tenga el largo correcto, se divide para el cuerpo y las mangas. El cuerpo se continúa en redondo con aguja circular, de arriba hacia abajo, mientras las mangas esperan.
Tejer de la manera siguiente:
VUELTA 1: Tejer todos los puntos de derecho (únicamente mostramos el principio y el final de esta vuelta).
VUELTA 2: Tejer de derecho hasta que resten 2 puntos antes del primer marcador, aumentar inclinado hacia la derecha, tejer 2 derechos, mover el marcador para la aguja derecha, aumentar inclinado hacia la izquierda, tejer de derecho sobre los puntos de la manga, aumentar inclinado hacia la derecha, mover el marcador para la aguja derecha, tejer 2 derechos, aumentar inclinado hacia la izquierda, tejer de derecho hasta que resten 2 puntos antes del marcador siguiente, aumentar inclinado hacia la derecha, tejer 2 derechos, mover el marcador para la aguja derecha, aumentar inclinado hacia la izquierda, tejer de derecho sobre los puntos de la manga, aumentar inclinado hacia la derecha, mover el marcador para la aguja derecha, tejer 2 derechos, aumentar inclinado hacia la izquierda, tejer de derecho hasta el final de la vuelta (= 1 punto aumentado a cada lado de 2 puntos en cada transición entre el cuerpo y las mangas = un total de 8 puntos aumentados).
Repetir estas 2 vueltas el número de veces indicado en tu patrón. La pieza ahora mide X cm medida hacia abajo del centro de la manga, a partir de donde se levantaron los puntos, cuando el jersey es doblado en dos en el hombro. La pieza mide X cm en la parte más externa a lo largo de la sisa. Tejer hasta el primer marcador (= transición entre la pieza del frente y el hombro izquierdo). Ahora dividir el canesú para el cuerpo y las mangas, montando puntos bajo ambas mangas. Seguir tu patrón para saber cuántos puntos colocar en un hilo, cuántos puntos montar y cómo continuar el cuerpo.
TIP-1 PARA AUMENTAR:
AUMENTAR 1 PUNTO INCLINADO HACIA LA IZQUIERDA – por el lado derecho: Usar la aguja izquierda para levantar el hilo del frente entre 2 puntos de la hilera anterior, tejer de derecho a través del bucle posterior.
AUMENTAR 1 PUNTO INCLINADO HACIA LA DERECHA – por el lado derecho: Usar la aguja izquierda para levantar el hilo posterior entre 2 puntos de la hilera anterior, tejer de derecho a través del bucle del frente.
Hilo usado: DROPS Andes.
Necesitas leer el patrón que escogiste y tejer el número correcto de puntos. Puedes encontrar un patrón que utiliza esta técnica y más videos relacionados abajo.
Patrones que utilizan esta técnica
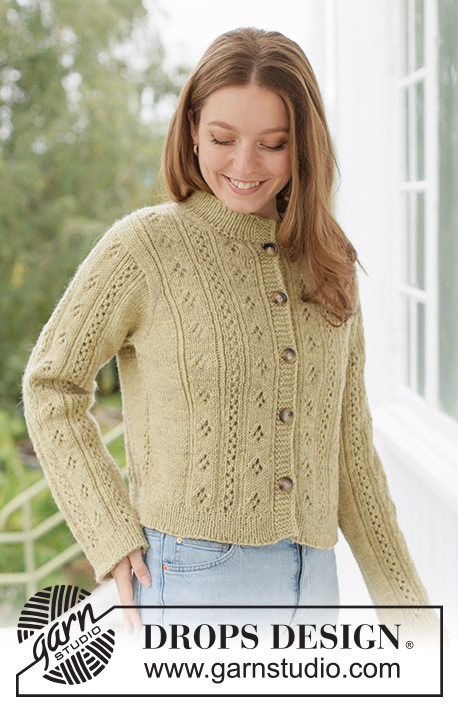
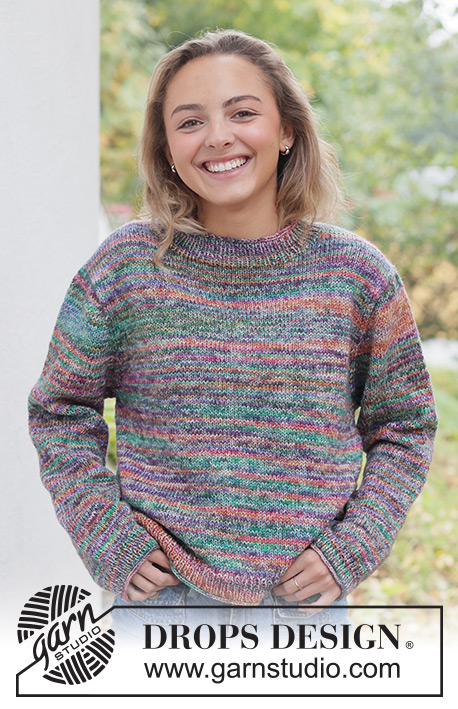
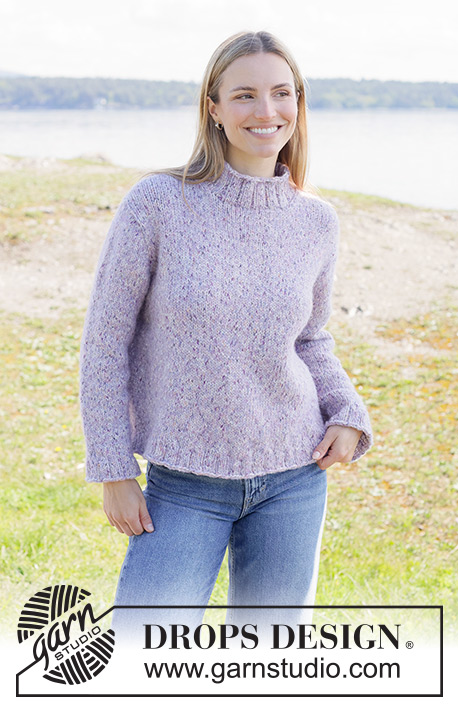
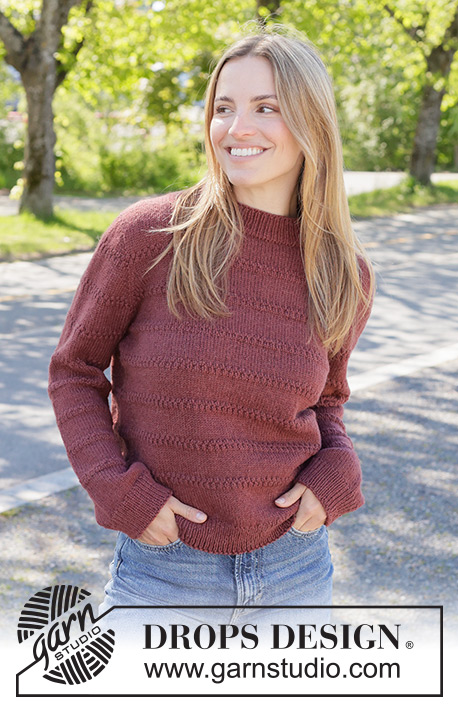
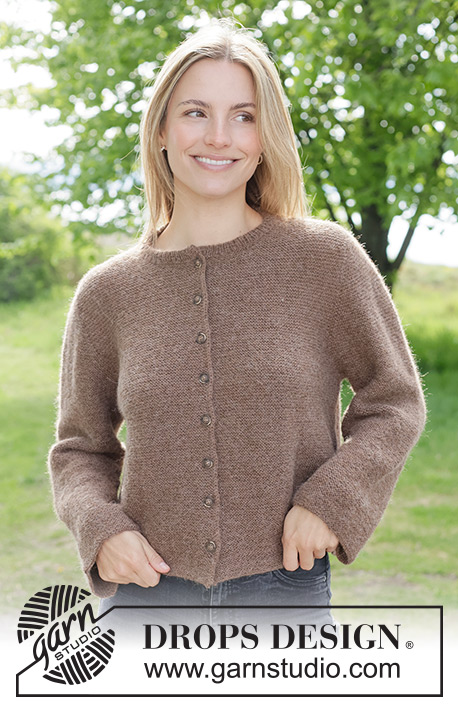
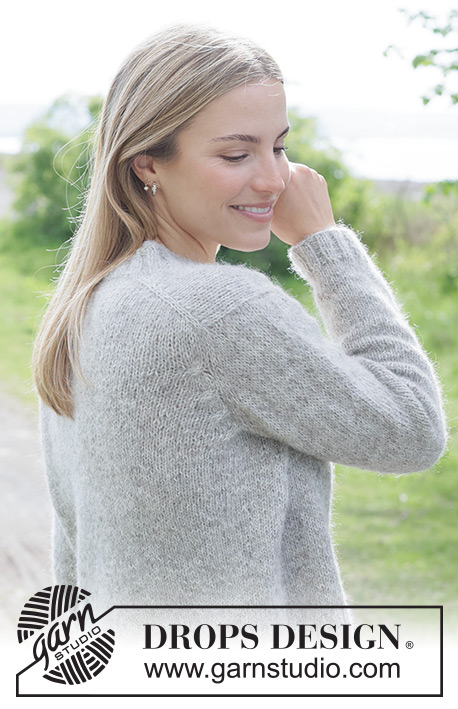
Video #1825, listado en: Aprende a hacer punto, European yoke
Nuestros videos no tienen sonido. Somos una empresa internacional y nuestros videos son vistos por personas que hablan diferentes idiomas y muchas de ellas no comprenden el español. Consecuentemente, como no hay un idioma determinado a usar por nosotros, hemos escrito las instrucciones que acompañan el video, y no hay ningún sonido que interfiera mientras se ve el video.
Puedes ajustar la velocidad de este video haciendo clic en el ícono en la barra de reproducción.
Dejar un comentario o pregunta acerca de este video
Tu dirección de email no será publicada. Los campos obligatorios están marcados con un *.
Continuar viendo


También te podría gustar...









Con más de 40 años en el diseño de modelos de punto y de ganchillo, DROPS Design ofrece una de las más vastas colecciones de patrones gratuitos en el internet - traducidos en 17 idiomas. Al día de hoy, contamos con 333 catálogos y 12525 patrones - de los cuales 12019 están traducidos en español.
Nosotros trabajamos con mucho esmero para brindarte lo mejor que las labores de punto y ganchillo tienen para ofrecer,inspiración y consejos, así como hilos de magnífica calidad a precios increíbles! Te gustaría usar nuestros patrones para otro fin además del uso personal? Puedes leer acerca de lo que estás permitida a hacer en el texto de Copyright en la parte de abajo de todos nuestros patrones. Felices labores!
Dear Drops, After finishing the yoke in size S it should measure 14 sleeve and 21 shoulder. I have 11 and 16 so I must knit some rounds without increases. The intruction video measures the sleeve from the top of the shoulder, The shoulder however from the far cap of the shoulder to bottom knitwear. Should the last not be measured from the neckside down to the end of the knitware????
27.10.2026 - 10:15DROPS Design :
Dear Vivian, please ask your question at the bottom of the pattern you are working on, this would help us to check with you. Thanks for your comprehension.
30.10.2026 - 16:42Can you show me how to increase, sleeve, (for raglan inc), but avoiding holes after increasing? Thank you so much!
11.06.2026 - 23:14DROPS Design :
Dear Van, to avoid getting holes between the sleeve and the picked up stitches under the armhole you can pick up 2-3 extra stitches between the sleeve stitches and the stitches under the armhole. In the first round work the last stitch of the sleeve together with the first extra stitch. Then, work the 2nd extra stitch together with the first stitch picked up under the armhole. At the end of the under-sleeve/armhole stitches, work the last picked up stitch with the 1st extra stitch on that side. And work the 2nd extra stitch with the 1st stitch of the sleeve. Remember that you can pick up the stitches twisted by picking up the thread in-between stitches. Happy knitting!
14.06.2026 - 23:04