


Komentáře / Otázky (73)
![]() Wencke napsala:
Wencke napsala:
Und die Frage wurde schon einmal gestellt von Brigitte, ob man die Jacke (Vorder- und Rückseite) nicht in einem Stück stricken könnte. Was meinen sie dazu? Danke für eine zügige Antwort:)
07.07.2025 - 22:49
![]() Wencke napsala:
Wencke napsala:
Hallo liebes Team, Zwei Fragen: 1. Kann ich den Cherished Moments Cardigan mit den beiden Fäden 1xDrops Nord und 1x Drops Kid-Silk stricken? Anstatt zwei Fäden Brushed Alpaka Silk. 2. Gerne Tipps was ich dabei beachten sollte. Vielen Dank schonmal für eine Antwort.
07.07.2025 - 22:40
![]() Esthi napsala:
Esthi napsala:
Kannst Du mir noch mitteilen wie viele Knäuel ich brauche wenn ich mit 1 Faden stricke? Alpsca Silk, Gr. S 25g. Danke
28.06.2025 - 07:24Odpověď DROPS Design :
Liebe Esthi, diese Jacke wird hier mit 2 Fäden Brushed Alpaca Silk gestrickt, mit nur 1 Faden würden Sie eine andere Maschenprobe bekommen, so sollten Sie die ganze Anleitung umrechnen. Hier finden Sie Jacken, die mit 1 Faden Brushed Alpaca Silk (alleine oder mit einem anderen Garn) gestrickt werden. Viel Spaß beim Stricken!
30.06.2025 - 08:08
![]() Esthi napsala:
Esthi napsala:
Hallo Wie viele Knäuel Wolle brauche ich um den Cherished Moments in der Grösse S zu stricken, mir der Alpaca Silk 1 x 1 Faden, oder 2 Faden verstricken? Danke für eine schnelle Antwort. Viele Grüsse Esthi
26.06.2025 - 11:37
![]() Esthi napsala:
Esthi napsala:
Hallo\r\nWie viele Knäuel Wolle brauche ich für den Cardigan Grösse S, Cherished Moments? Wolle Alpaka Silk?\r\n1 Faden gestrickt?\r\n2 Fäden gestrickt?\r\n\r\nDanke für eine kurze Antwort.\r\nViele Grüsse\r\nEsthi
26.06.2025 - 10:29Odpověď DROPS Design :
Liebe Esthi, die Garnmenge für jede Größe finden Sie oben unter Tab "Anleitung", dh in S = 175 g DROPS Brushed Alpaca Silk / 25 g das Knäuel = 7 Knäuel. Die Jacke wird dann mit 2 Fäden gestrickt. Viel Spaß beim Stricken!
26.06.2025 - 16:03
![]() Brigitte napsala:
Brigitte napsala:
Guten Tag, eigentlich müsste man doch die Vorderteile und das Rückenteil in einem Stück stricken können ? Was meinen Sie?
12.06.2025 - 18:19
![]() Amelie napsala:
Amelie napsala:
Hey, ich würde gerne diese wunderschöne Strickjacke stricken. Jetzt bin ich gerade aber doch unsicher geworden, wie viel Wolle ich brauche. Die Jacke wird ja 2-fädig gestrickt. Reicht dann für xs trotzdem 175g oder brauche ich dann das doppelte?
01.06.2025 - 08:52Odpověď DROPS Design :
Liebe Amelie, in XS brauchen Sie 175 g DROPS Brushed Alpaca Silk / 25 g das Knäuel = 7 Knäuel, dann wird der Faden zweifädig gestrickt. Viel Spaß beim Stricken!
02.06.2025 - 08:17
![]() Annett Schläwicke napsala:
Annett Schläwicke napsala:
Werden die Randmaschen hier in glatt rechts gestrickt und wenn ja, was bedeutet das? Auf der Vorderseite die 1. und letzte Masche rechts stricken und auf der Rückseite dann die 1. und letzte Masche links stricken oder anders? Ist das der sogenannte Knötchenrand?
21.05.2025 - 13:29Odpověď DROPS Design :
Liebe Frau Schläwicke, es sind hier keine extra Randmaschen, alle Maschen werden hier glatt rechts gestrickt, auch die 1. sowie die letzte. Viel Spaß beim Stricken!
21.05.2025 - 15:39
![]() Tilda napsala:
Tilda napsala:
Bei einer Länge von ca. 49-51-53-55-57-59 cm die nächste Hin-Reihe wie folgt stricken: 4-5-5-6-6-7 Maschen rechts, * 2 Maschen rechts zusammenstricken, 4-4-5-5-6-7 Maschen rechts *, von *-* insgesamt 3 x arbeiten und 1-2-1-2-1-1 Masche(n) rechts stricken = 20-22-24-26-28-32 Maschen. 1 Rück-Reihe links stricken. Was bedeutet dieser Schritt? Muss ich in dieser Reihe dann 3 x zwei Maschen zusammen stricken (=Abnehmen)? Vielen Dank für eine Rückmeldung:)
19.05.2025 - 13:12Odpověď DROPS Design :
Liebe Tilda, ja genau, den Teil zwischen die Sternchen (= * 2 Maschen rechts zusammenstricken, 4-4-5-5-6-7 Maschen rechts *) stricken Sie insgesamt 3 Mal, so nehmen Sie 3 Maschen ab. Viel Spaß beim Stricken!
19.05.2025 - 15:52
![]() Hannelore Kroggel napsala:
Hannelore Kroggel napsala:
In der Maschenprobe heißt es 11 Maschen in der Breite, 15 Reihen sollen 10x10 cm ergeben, bei Nadeln 8mm. Wenn mehr Maschen auf 10 cm, dann größere Nandeln, wenn weniger Maschen auf 10 cm, dann kleinere Nadeln. Das verstehe ich nicht. Müsste es nicht umgekehrt sein?
14.05.2025 - 21:48Odpověď DROPS Design :
Liebe Frau Kroggel, wenn Sie mehr Maschen auf 10 cm haben, bedeutet es, daß Ihre Maschen zu klein sind, so brauchen Sie grösseren Nadeln um die Maschen zu "vergrössern"; wenn Sie weniger Maschen auf 10 cm haben, sind Ihre Maschen zu groß, so sollen Sie die Maschen mit kleineren Nadeln "verkleinern". Hier lesen Sie mehr. Viel Spaß beim Stricken!
15.05.2025 - 10:26
|
|
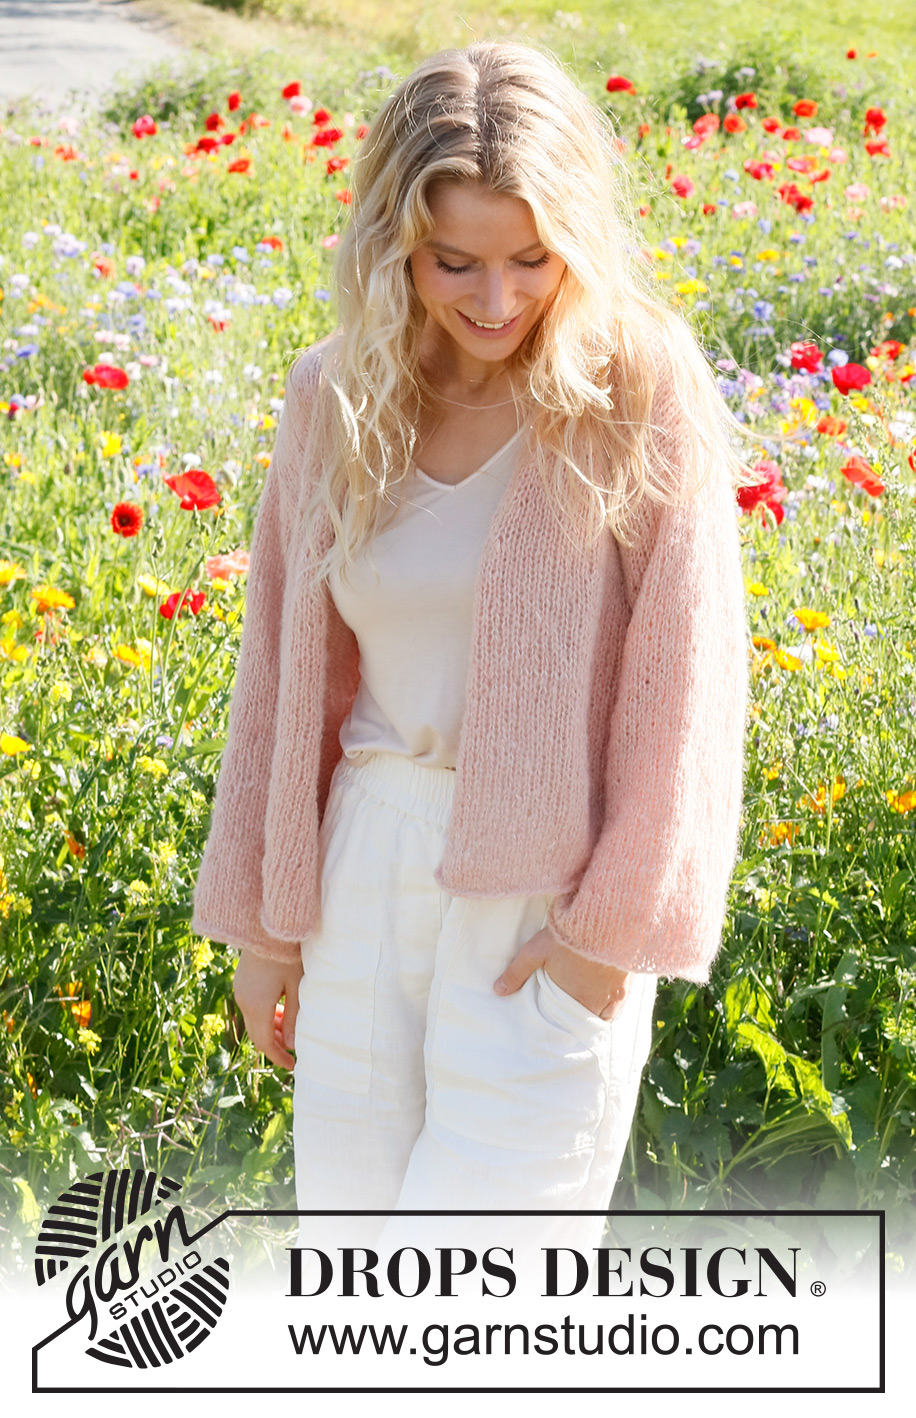
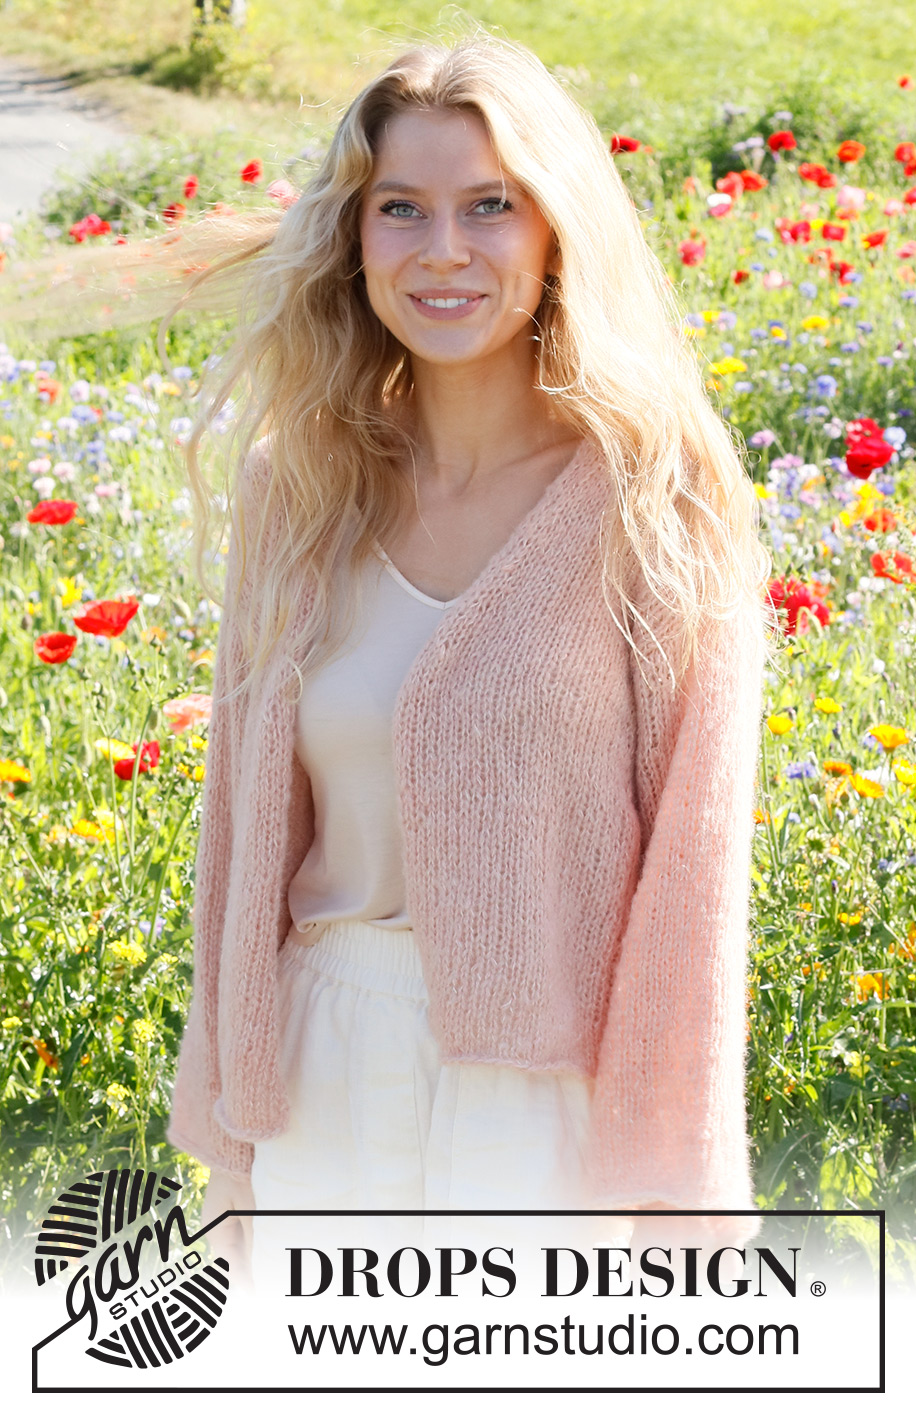
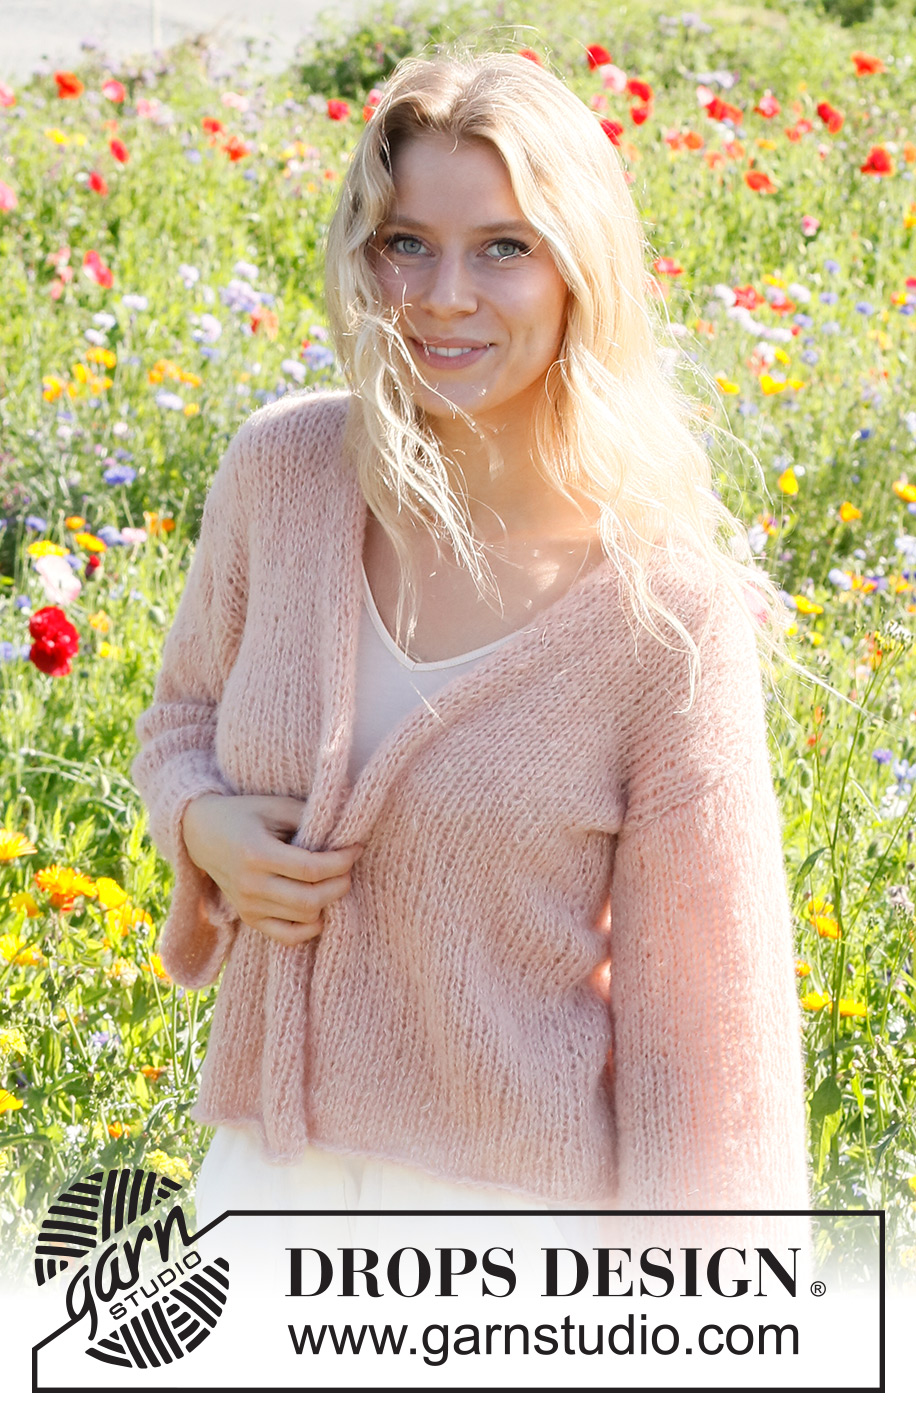
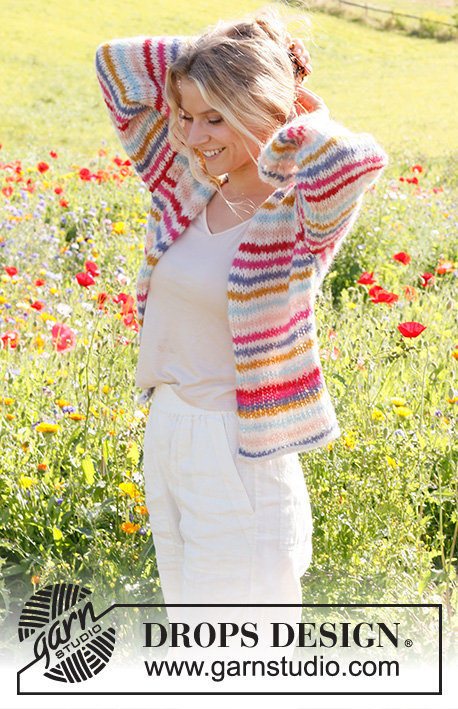
Cherished Moments#cherishedmomentscardigan |
|
 |
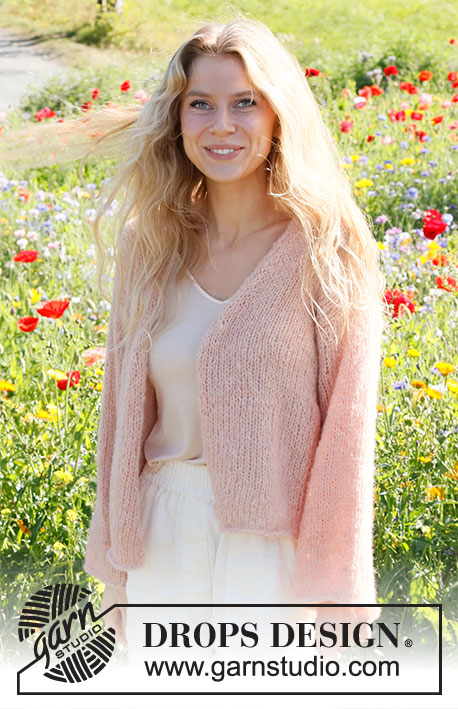 |
Svetr pletený lícovým žerzejem zdola nahoru dvojitou přízí DROPS Brushed Alpaca Silk. Velikost XS - XXL.
DROPS 231-6 |
|
|
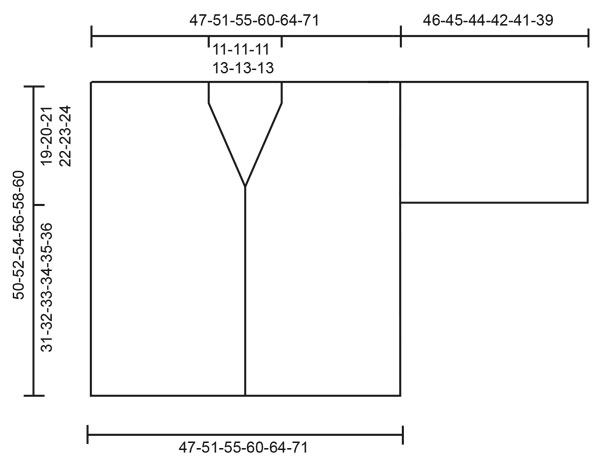
---------------------------------------------------------- VYSVĚTLIVKY K NÁVODU: ---------------------------------------------------------- TIP: Když pleteme dvojitou přízí, můžeme vlákno odvíjet současně jak z povrchu, tak zevnitř jednoho a téhož klubíčka. LÍCOVÝ ŽERZEJ: Lícovou řadu pleteme hladce, rubovou řadu pleteme obrace. Obě řady opakujeme. ---------------------------------------------------------- PRÁCE ZAČÍNÁ ZDE: ---------------------------------------------------------- SVETR – JAK BUDEME POSTUPOVAT: Upleteme jednotlivé díly v řadách zdola nahoru a potom je sešijeme. Celý svetr pleteme dvojitou přízí. ZADNÍ DÍL: Na kruhovou jehlici č. 8 nahodíme dvojitou přízí DROPS Brushed Alpaca Silk 52-56-60-66-70-78 ok - viz TIP - a upleteme 1 rubovou řadu obrace. Potom pleteme LÍCOVÝM ŽERZEJEM - viz popis výše. Takto pleteme do výšky 50-52-54-56-58-60 cm a v lícové řadě všechna oka hladce uzavřeme. LEVÝ PŘEDNÍ DÍL: Na kruhovou jehlici č. 8 nahodíme dvojitou přízí DROPS Brushed Alpaca Silk 31-33-35-38-40-44 ok a upleteme 1 rubovou řadu obrace. Pleteme lícovým žerzejem do výšky 28-28-28-29-30-31 cm. V následující lícové řadě ujmeme oka pro V- výstřih takto: pleteme až po posledních 7 ok, spleteme 2 oka hladce (= ujmuli jsme 1 oko), upleteme zbývajících 5 ok. Takto ujímáme každou 6. řadu celkem 2-2-3-3-3-3x, potom každou 4. řadu celkem 6-6-5-6-6- 6x = 23-25-27-29-31-35 ok. Ve výšce 49-51-53-55-57-59 cm pleteme další lícovou řadu takto: 4-5-5-6-6-7 ok hladce, * spleteme 2 oka hladce, upleteme 4-4-5-5-6-7 ok hladce *, opakujeme mezi *-* celkem 3x, upleteme 1-2-1-2-1-1 oko hladce = 20-22-24-26-28-32 ok. Teď upleteme 1 rubovou řadu obrace a v další lícové řadě zbylá oka hladce uzavřeme. PRAVÝ PŘEDNÍ DÍL: Na kruhovou jehlici č. 8 nahodíme dvojitou přízí DROPS Brushed Alpaca Silk 31-33-35-38-40-44 ok a upleteme 1 rubovou řadu obrace. Pleteme lícovým žerzejem do výšky 28-28-28-29-30-31 cm. V další lícové řadě ujmeme oka pro V-výstřih takto: Upleteme 5 ok hladce, sejmeme 1 oko hladce, upleteme 1 oko hladce a sejmuté oko přes upletené přetáhneme (= ujmuli jsme 1 oko), pak pleteme do konce řady hladce. Takto ujímáme každou 6. řadu celkem 2-2-3-3-3-3x, potom každou 4. řadu celkem 6-6-5-6-6- 6x = 23-25-27-29-31-35 ok. Ve výšce 49-51-53-55-57-59 cm pleteme další lícovou řadu takto: 4-5-5-6-6-7 ok hladce, * spleteme 2 oka hladce, upleteme 4-4-5-5-6-7 ok hladce *, opakujeme mezi *-* celkem 3x a upleteme 1-2-1-2-1-1 oko hladce = 20-22-24-26-28-32 ok. Teď upleteme 1 rubovou řadu obrace a v další lícové řadě zbylá oka hladce uzavřeme. RUKÁVY: Na kruhovou jehlici č. 8 nahodíme dvojitou přízí DROPS Brushed Alpaca Silk 46-48-50-54-56-58 ok a upleteme 1 rubovou řadu obrace. Pleteme lícovým žerzejem do výšky 46-45-44-42-41-39 cm a v následující lícové řadě všechna oka uzavřeme. Stejným způsobem upleteme i druhý rukáv. DOKONČENÍ: Sešijeme náramenice od průramků směrem k průkrčníku, prostředních 11-11-11-13-13-13 cm na zadním dílu ponecháme nesešitých (= průkrčník) - sešíváme jednoduchou přízí. Ve výšce 19-20-21-22-23-24 cm od ramenního švu si označíme značkami přední i zadní díl. Jednoduchou přízí všijeme rukávy, střed rukávu je v ramenním švu, okraje rukávu přišijeme až ke značkám na trupu. Sešijeme rukávy a boční švy - šev vedeme vnější částí krajových ok. |
|
|
|
Dokončili jste tento model?Pak označte své fotky tagem #dropspattern #cherishedmomentscardigan nebo je pošlete do galerie #dropsfan. Potřebujete s tímto návodem poradit?Otevřete-li si návod na stránce garnstudio.com, najdete tam 14 výukových video-ukázek, Komentáře/Dotazy a další užitečné informace. © 1982-2025 DROPS Design A/S. Vyhrazujeme si veškerá práva. Tento dokument, včetně všech jeho dílčích částí, podléhá autorským právům. Podrobnější komentář k možnostem užití našich návodů najdete dole pod každým návodem na našich stránkách. |
|


V oblasti pletené a háčkované módy působí DROPS Design více než 40 let. Díky tomu vám můžeme nabídnout jednu z nejrozsáhlejších kolekcí modelů s bezplatnými návody dostupnými na internetu - navíc v 17 jazycích. K dnešnímu dni máme na 314 katalogů a 11822 návodů celkem - z nich je už 7048 dostupných v [češtině].
Přidejte komentář k návodu DROPS 231-6
Rádi bychom věděli, co si o tomto modelu myslíte!
Pokud se chcete na něco zeptat, dbejte prosím na to, abyste ve formuláři níže vybrali správnou kategorii - díky tomu se dříve dozvíte, co potřebujete vědět. Povinná pole jsou označena *.