Comentários / Perguntas (46)
![]() Sarah LEBIGOT escreveu:
Sarah LEBIGOT escreveu:
Bonjour, Pour la seconde partie, il est indiqué de la faire en sens inverse et je ne comprend pas comment lire les diagrammes en sens inverse? Merci pour vos explications.
10.01.2017 - 00:11DROPS Design respondeu:
Bonjour Mme Lebigot, la 2ème partie doit se faire en miroir, c'est-à-dire tricotez les diagrammes comme la 1ère partie, mais montez la maille de la fente de l'autre côté pour avoir 2 m point mousse en fin de rang sur l'endroit et plus en début de rang sur l'endroit. Bon tricot!
10.01.2017 - 09:47
![]() LeeAnn escreveu:
LeeAnn escreveu:
Ok this still did not help me please type out how to start the second piece where in the pattern chart is it started ????? Sorry to be such a pain but I have already ripped out second piece 3 times and am frustrated.
15.09.2016 - 16:43DROPS Design respondeu:
Dear LeeAnn, work A.1,A.2, A.3 as on 1st piece, but after they have been worked 1 time in height, work A.4 and A.5 reversed, ie instead of working A.4, stocking st, A.5, work from RS on 2nd piece: A.5, stocking st and A.4. When piece measures 30 cm, cast on 1 st at the end of next row from RS (instead of from WS) an work this st in garter st. Hope this will help. Remember you can also get further individual assistance from the store where you bought your yarn. Happy knitting!
15.09.2016 - 17:25
![]() LeeAnn escreveu:
LeeAnn escreveu:
I am even more confused regarding so classy please read all my questions which basically the same except the last one being is the second piece starting with RS or WS. the answer I got was not answering my question but rather telling me how to do the second piece . there were 2 answers telling me how to do the second piece both different , so which one is correct lPease advise how to correctly do second piece and if I am starting the chart on the RS or the WS Thank you
15.09.2016 - 15:14DROPS Design respondeu:
Dear LeeAnn, you are right, sorry for very first answer, at the beg of 2nd piece, work as first piece, but then work reversed all inc/moss sts so that both pieces will be mirrored. Read diagram from the bottom corner on the right side towards the left from RS and from the left towards the right from WS, ie as on 1st piece. Happy knitting!
15.09.2016 - 16:12
![]() LeeAnn escreveu:
LeeAnn escreveu:
I am making the So classy poncho, and I know the second piece is worked in reverse, does that also mean I will be starting the chart with the wrong side of the garment?
15.09.2016 - 03:19DROPS Design respondeu:
Dear LeeAnn, on 2nd piece work diagrams A.1-A.3 as for 1st piece, but when you work A.4 and A.5, work A.5 over the first 10 sts, stocking st and finish with A.4. Then cast on 1 st at the end of row from RS (instead of at the end of row from WS). Then work A.1,A.2 and A.3 with 1 st in garter st at the beg of row and 2 sts in garter st at the end of row. Happy knitting!
15.09.2016 - 08:59
![]() LeeAnn escreveu:
LeeAnn escreveu:
I am confused for the second piece of the poncho, the pattern says Cast on and work the same way but reversed. So where am I starting and what is meant by reversed? Thank You.
01.09.2016 - 04:38DROPS Design respondeu:
Dear LeeAnn, when working reversed you will work 2nd piece as follows from RS: 1 edge st, A.3, repeat A.2, A.1 and 1 edge st - then when casting on 1 st when piece measures 30, cast on at the end of a row from RS (instead of from WS). Happy knitting!
01.09.2016 - 10:01
![]() Yuliya escreveu:
Yuliya escreveu:
Thank you so much for the wonderful pattern!! The yarn was so light with heavenly texture. When ordering yarn from you for size in S-M to be on the safe side I ordered 50 gr more than you recommended. But actually used only 250gr for the whole Poncho, 50gr less was suggested. Yay!!!! It's so-so soft and Weat - such a lovely natural color. Love it!
20.06.2016 - 05:29
![]() Claudia escreveu:
Claudia escreveu:
I am a bit confused about beginning this pattern, is row 1 and 2 knitted to make the edge or does it start with the A1 and A2 combination. Also A1 =5 stitch and A2 is 8 therefore if cast on 107 I cannot have 12 times A1 and A2 in the width since (5+8) x 12 =156. Is that correct?
30.05.2016 - 03:02DROPS Design respondeu:
Dear Claudia, you work on 1st round diagrams A.1, A.2 and A.3 with 1 edge st in garter st, ie in size M: 1 edge st, A.1 1 time in width (= 5 sts), repeat A.2 a total of 12 times in width (= 12 x 8 sts), A.3 1 time in width (= 4 sts) and 1 edge st in garter st = 107 sts. Happy knitting!
30.05.2016 - 10:32
![]() Tonje escreveu:
Tonje escreveu:
Da forstår jeg ikke når A2 og A3 skal strikkes?
14.03.2016 - 15:20DROPS Design respondeu:
Hej Tonje, jo du strikker A1 en gang i bredden, A2 11-12-13-14 ganger i bredden og sidst A3 en gang i bredden. Spørg gerne hos din lokale DROPS forhandler hvis du har købt garnet der. God fornøjelse!
15.03.2016 - 15:52
![]() Tora escreveu:
Tora escreveu:
1+5+(11x8)+4+1=99.
14.03.2016 - 13:14
![]() Tonje escreveu:
Tonje escreveu:
Jeg får ikke mønsteret til å stemme med forklaring. A1 og A2 er til sammen 13 masker. Det står at dette skal strikkes 11 ganger i bredden, men det går altså ikke opp når man i utgangspunktet har 99 masker. Hva er det jeg gjør feil her eller ikke forstår?
14.03.2016 - 12:24DROPS Design respondeu:
Hej. Det är kun A.2 som du stickar 11 gånger på bredden (A.1 stickas 1 gång). Lycka till!
14.03.2016 - 13:44
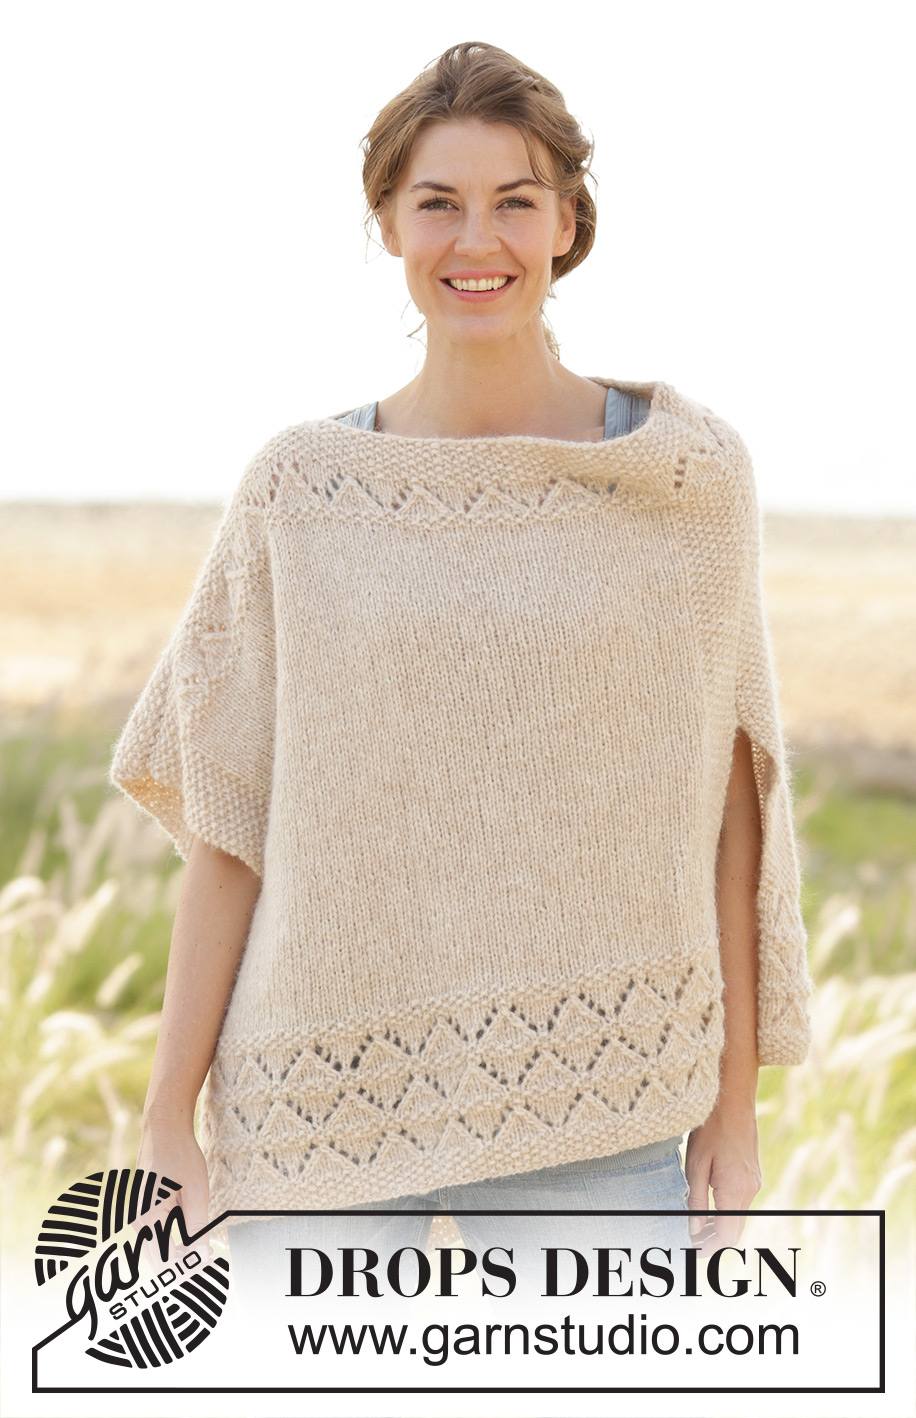
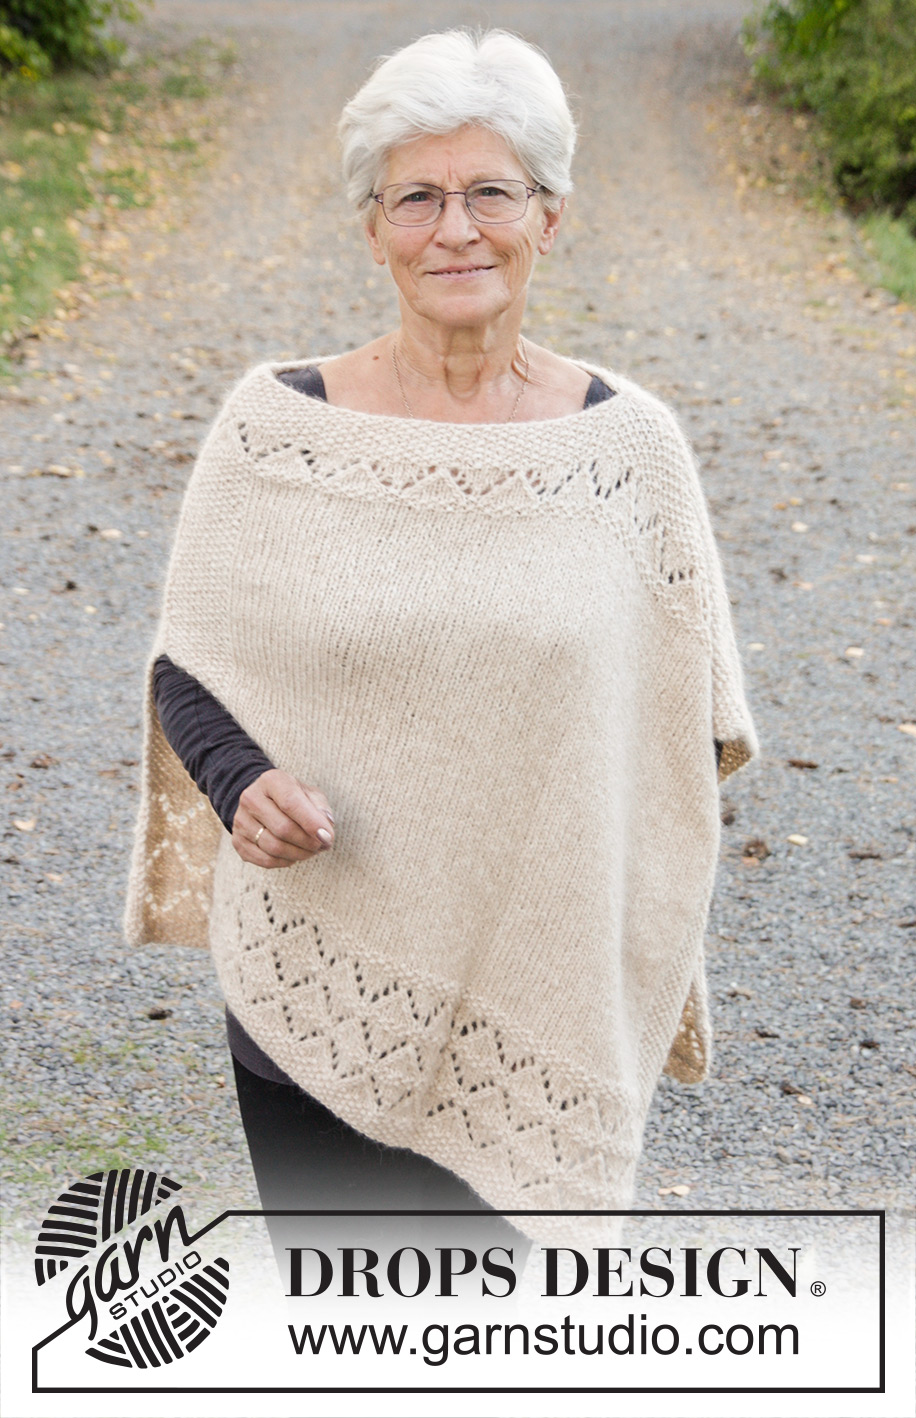
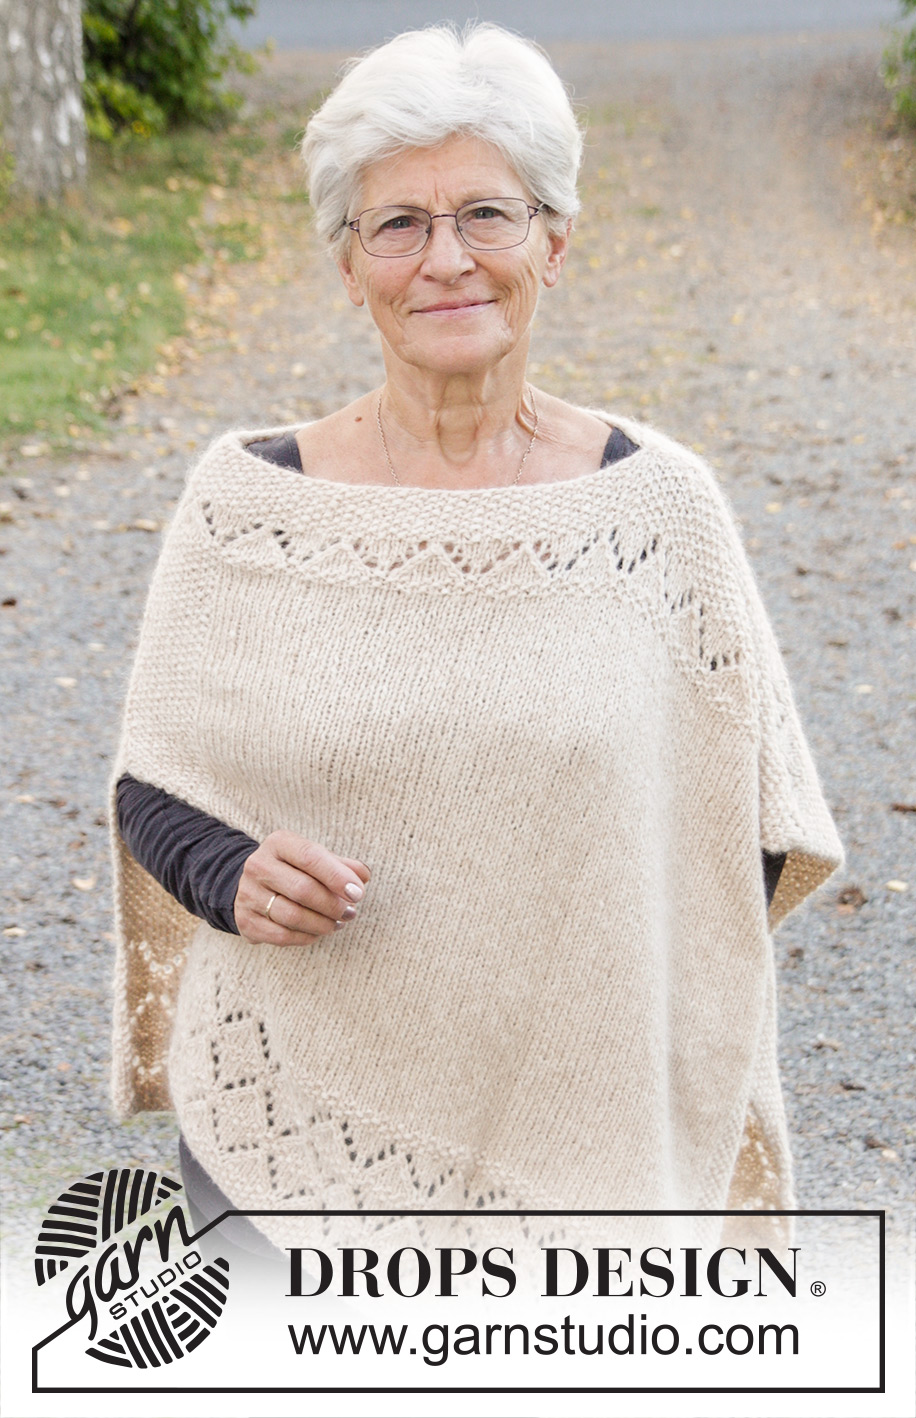
So Classy!#soclassyponcho |
||||||||||||||||||||||
 |
 |
|||||||||||||||||||||
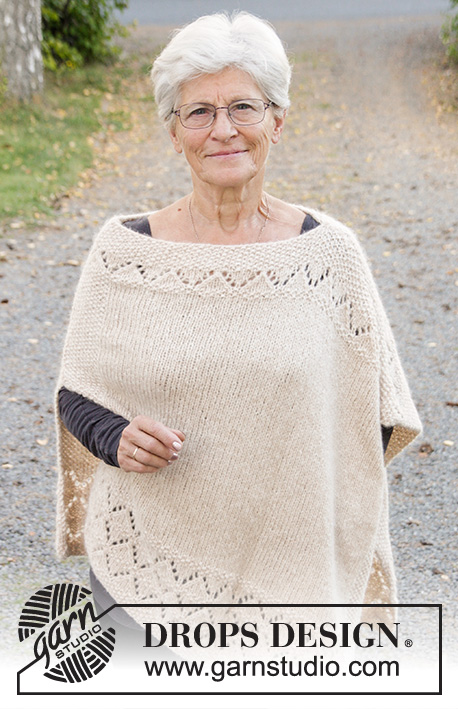
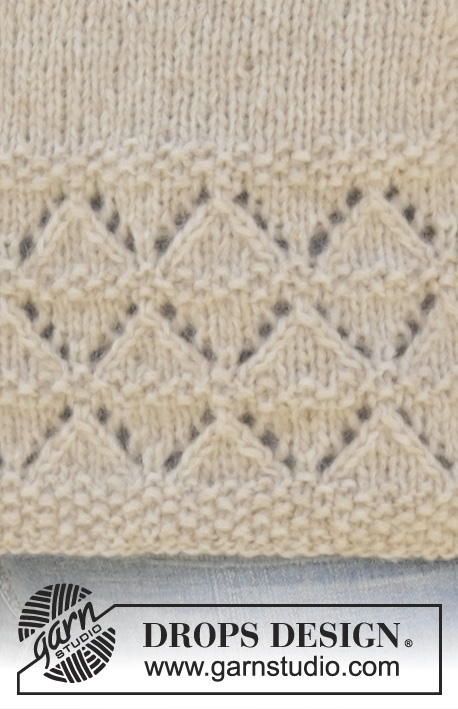
Poncho DROPS em ponto de arroz com ponto rendado, em ”Air”. Do S ao XXXL.
DROPS 170-28 |
||||||||||||||||||||||
|
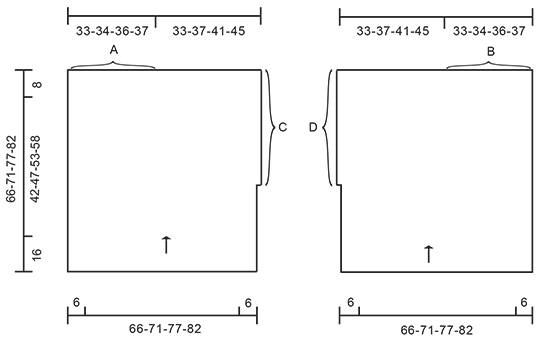
---------------------------------------------------------- NOTA: Existem termos diferentes de tricô e croché em português de Portugal e do Brasil. Tricô: Malha = Ponto Canelado = Barra Ponto Jarreteira = Cordões de Tricô Ponto Liga = Ponto Tricô Croché: mpa - meio ponto alto pa - ponto alto pad - ponto alto duplo pat - ponto alto triplo pb - ponto baixo pbx - ponto baixíssimo pc - ponto corrente ---------------------------------------------------------- PONTO JARRETEIRA (em idas e voltas): Tricotar todas as carreiras em meia. 1 barra jarreteira = 2 carreiras meia. PONTO FANTASIA: Ver os diagramas A.1 a A.5. Os diagramas mostram todas as carreiras do ponto fantasia, vistas pelo direito. ---------------------------------------------------------- PONCHO: Tricota-se em idas e voltas na agulha circular em 2 partes que, no fim, são unidas entre elas. Montar 99-107-115-123 ms/pts (incluindo 1 m/p ourela em ponto jarreteira de cada lado da peça) com a agulha circular 6 mm em Air. Tricotar no ponto fantasia da seguinte maneira: 1 m/p ourela em ponto jarreteira – ver acima -, A.1 (= 5 ms/pts), 11-12-13-14 vezes A.2 (= 8 ms/pts) em largura. A.3 (= 4 ms/pts), 1 m/p ourela em ponto jarreteira. NOTA: Continuar a tricotar as ms/pts ourela em ponto jarreteira até ao fim - elas farão parte, depois, do ponto de arroz. NÃO ESQUECER DE MANTER A MESMA TENSÃO DA INDICADA PARA A AMOSTRA! Quando A.1 a A.3 tiverem sido totalmente tricotados 1 vez em altura, continuar pelo direito da seguinte maneira: Tricotar A.4 (NOTA: 1.ª m/p do diagrama = m/p ourela), 79-87-95-103 ms/pts ponto meia, A.5 por cima das 10 últimas ms/pts (NOTA: a última m/p do diagrama = m/p ourela). Continuar desta maneira até a peça medir 30 cm desde a carreira de montagem. No fim da carreira seguinte pelo avesso, montar 1 m/p (marca as fendas) = 100-108-116-124 ms/pts. Tricotar esta nova m/p em ponto jarreteira. Ou seja, temos , então, 2 ms/pts em ponto jarreteira no princípio da carreira, pelo direito. A 58-63-69-74 cm de altura total, tricotar da seguinte maneira, começando pela carreira do diagrama com uma flecha da seguinte maneira: 2 ms/pts em ponto jarreteira, A.1, 11-12-13-14 vezes A.2 em largura, A.3, 1 m/p ourela em ponto jarreteira. Quando o diagrama tiver sido tricotado 1 vez em altura, repetir as 2 últimas carreiras do diagrama até a peça medir 66-71-77-82 cm. Arrematar as ms/pts liga/tricô em meia e as ms/pts meia em liga/tricô. Montar e tricotar a outra peça da mesma maneira mas em sentido contrário. MONTAGEM: Ver esquema das medidas. Fazer a costura A e B na técnica de grafting. Fazer então a costura C e D na alça mais exterior das ms/pts ourela. Temos, então, uma fenda de 30 cm deum lado e uma a todo o comprimento do outro lado. Arrematar. |
||||||||||||||||||||||
Explicações do diagrama |
||||||||||||||||||||||
|
||||||||||||||||||||||
 |
||||||||||||||||||||||
 |
||||||||||||||||||||||
Terminou este projecto?Então, identifique as suas fotos com as tags #dropspattern #soclassyponcho ou mostre-as na galeria #dropsfan. Precisa de ajuda para este modelo?Encontrará 20 turotiais em vídeo, uma rubrica Comentários/Perguntas e muito mais ao visitar a página do modelo em www.garnstudio.com © 1982-2026 DROPS Design A/S. Todos os direitos reservados. Este documento, incluuindo as suas su-secções, tem copyrights. Saia mais o que pode fazer com os nossos modelos no fim de cada uma das páginas do nosso site. |
||||||||||||||||||||||







Deixe um comentário acerca do modelo DROPS 170-28
Gostaríamos muito de saber o que tem a dizer-nos acerca deste modelo!
Se deixar uma pergunta acerca do modelo, certifique-se de que escolhe a categoria adequada no formulário abaixo para acelerar o processo relativo à resposta. Os campos obrigatórios estão assinalados com um *.