
Categorias populares
Procura um fio?



























Comentários / Perguntas (18)
 Kim escreveu:
This pattern needs updated clear instructions! Please!
22.09.2026 - 00:26
Kim Butchko escreveu:
My question is the numbers. If you add 12 on each side to the hundred that makes 124 then if you add 34 on the right side where you are working the 62 stitches that gives you 158 not 186 so I’m a little confused on this.
21.09.2026 - 21:33DROPS Design respondeu:
Hi Kim, There is a sentence missing from the US instructions (after increasing stitches each side): "Now divide the piece mid-back, i.e., turn and work across one half of the row as far as the face opening. Cast on 28 stitches (= under chin), continue across the other half of the stitches (other side of the opening) to mid-back = 152 stitches (the seam will then be worked mid-back). The piece is now measured from here". You now continue as described in your text. Regards, Drops Team.
22.09.2026 - 07:04
Kim Butchko escreveu:
I finished the increase of 12 on each side and not sure what to do next. I love the look of this hood but the instructions are not very clear. Help lol
20.09.2026 - 00:34DROPS Design respondeu:
Hi Kim, After finishing the increases (12 stitches each side), you then work each side of the row separately. So on the next row after the last increase, work to the middle of the row and turn (either keeping the other stitches on the needle un-worked or placing them on a stitch holder). Then continue back and forth across the first half as described in the text. Regards, Drops Team.
20.09.2026 - 07:28
 Sharron escreveu:
I am totally cannot make out how to continue after completing the 22cm. Does on increase 1 st at each end on alternate rows, then increase 2 st at each of alternate row 5 times. a total of 14 rows knitted ? Also which part is centre back?
28.06.2026 - 21:10DROPS Design respondeu:
Dear Sharron, you increase 1 stitch at the beginning and end of 1 row, work back without increases, increase 1 stitch at the beginning and end of the previous row. Work back without increases and now increase 2 stitches at the beginning and end of the previous row. Repeat this last section 4 more times (you should have increased 12 stitches in total on each side). Now you find the center of the back section of the hood, which should match with the center of the whole hood, approx. the 62nd stitch after the increases. Now you start on this stitch, work the row towards the opening at the front, cast on stitches over the front opening, work over the other side of the front opening towards the back, until you reach the new beginning of the row, the mid-back stitch. Happy knitting!
29.06.2026 - 01:38
 Dale escreveu:
I'm stuck at this part:Now divide the work at the center back and knit all sts back and forth like so: work across sts on side of head towards the opening for face, cast on 28 stitches (= under chin), continue working across stitches on the other side of opening for face until you get to mid-back = 152 sts (you do this so that you will sew together at the center back). I don't understand this. Do I knit 122 stitches and then cast on 28 stitches and do I join in the round?
16.01.2026 - 20:04DROPS Design respondeu:
Dear Dale, when you have cast off the 28 sts for mid under face, you will have 152 sts on needle. Now you will continue back and forth but from mid back (so that the seam will not be visible on front of piece), so slip the stitches from left needle onto right needle until the mid back of piece, then join yarn and work back and forth from here. Happy knitting!
19.01.2026 - 08:02
Collin Ng escreveu:
I want to ask a question about the hook. When I finished to increase to 212 stitches, how long I need to knit before the next right side row to increase 26 stitches?
02.02.2025 - 22:11DROPS Design respondeu:
Dear Mrs Collin, just work 1 row from RS increasing evenly 26 stitches on the next row from RS (just as you did before to increase from 152 to 212). Find how to increase evenly here. Happy knitting!
03.02.2025 - 14:07
 Isabelle Crespy escreveu:
Bonjour, Est il possible de connaître les dimensions de l'ouvrage fini, il n'y a pas de schéma. Merci
27.02.2024 - 21:14DROPS Design respondeu:
Bonjour Mme Crespy, il n'y a pas de schéma pour ce modèle, toutefois, si votre échantillon est conforme et que vous conservez bien la bonne tension, vous aurez un résultat similaire à celui de la photo Bon tricot!
28.02.2024 - 09:21
Jadwiga Zerda escreveu:
By following instructions I cannot visualize how the balaclava is being made. Could you draw a picture.
22.02.2024 - 18:39DROPS Design respondeu:
Dear Mrs Zerda, balaclava is worked top down first in rows, the cast on edge will be later folded double and sewn, that's on top of head; after you have worked the height for face opening, you cast on new stitches under chin to close face opening and then continue in the round from mid back (- from the middle of previous rows). Hope it can help. Happy knitting!
23.02.2024 - 08:11
 Celine escreveu:
Hei. Nå har jeg strikket sånn at jeg har 124 masker. Skjønner ikke helt oppskriften. Skal jeg strikke tilbake 62 masker (i midten), også legge opp 28 masker? For å så strikke videre igjen?
25.10.2023 - 23:35DROPS Design respondeu:
Hej Celine, ja du vender efter de 62 masker i midten (det bliver bagpå), strikker 62 masker, legger op 28 masker (foran) og strikker 62 masker i den anden side. Vend og strik frem og tilbage :)
26.10.2023 - 14:16
Agnes Mesnier escreveu:
Puis-je avoir des explications plu détaillées après : 124 m. Diviser maintenant l'ouvrage au milieu dos et tricoter...je necomprends pas ce que je dois faire..... les 12 mailles augmentées de chaque côté se retrouvent elles devant ou au dos de la cagoule ? Merci de votre réponse rapide. Cordialement
28.02.2022 - 12:29DROPS Design respondeu:
Bonjour Mme Mesnier, auparavant, le début des rangs se trouvait côté ouverture du visage; maintenant le début des rangs doit être au milieu dos: glissez la moitié des mailles sur l'aiguille droite pour commencer au milieu du rang, tricotez la 1ère moitié des mailles, montez 28 mailles (dessous du visage), et tricotez la 2ème moitié des mailles, tournez et continuez ainsi en allers et retours à partir du milieu dos. Bon tricot!
28.02.2022 - 13:37
|
|
Snow Bound |
|
|
|
|
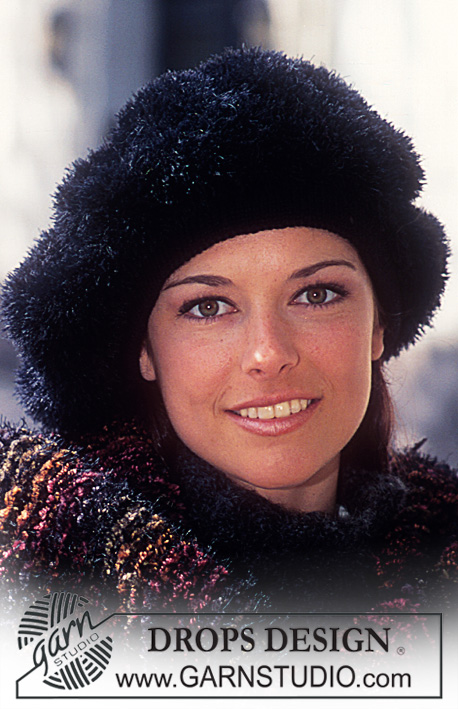
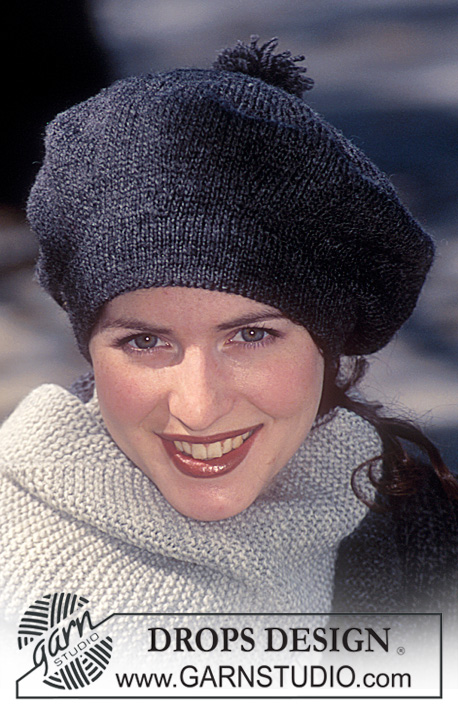
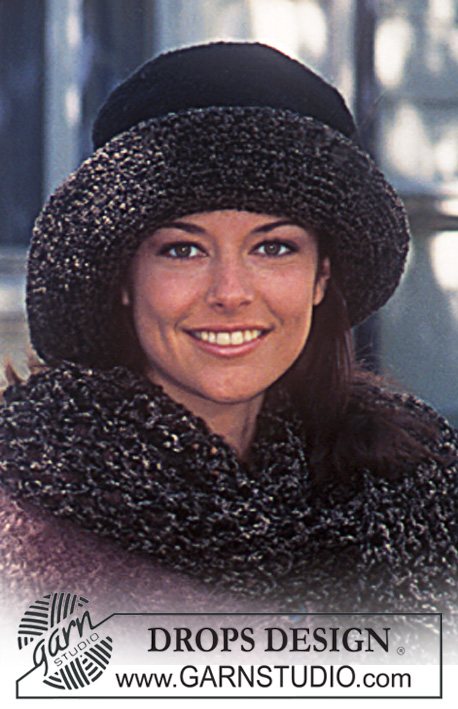
Capuz / Balaclava e luvas em Karisma
DROPS 58-22 |
|
|
---------------------------------------------------------- CAPUZ: Amostra: 23 malhas e 48 carreiras com a agulha 3 mm em ponto meia = 10 x 10 cm. Passa-Montanha: Tricota-se em idas e voltas na agulha circular, começando pela parte de cima da cabeça. Tricota-se a partir da abertura em direcção à cara, a toda a volta da cabeça e até ao outro lado da abertura em direcção à cara. A orla de montagem será costurada a si própria no fim = costura na parte de cima da cabeça. Depois, monta-se malhas sob o queixo e a peça é tricotada em idas e voltas a partir do meio da nuca. Montar 100 malhas com a agulha circular 3 mm e tricotar em idas e voltas (as orlas são o meio da frente). A 22 cm de altura, aumentar, de cada lado da peça a a cada 2 carreiras: 1 malha 2 vezes, 2 malhas 5 vezes = 124 malhas. Dividir a peça a meio da parte de trás e tricotar todas as malhas em idas e voltas da seguinte maneira: tricotar a partir do lado da cabeça em direcção à cara, montar 28 malhas (= parte que cobre o queixo), continuar a tricotar o outro lado da abertura para a cara até chegar a meio da parte de trás = 152 malhas (faz-se assim para que possa costurar as bandas a meio da nuca). Passar a medir a peça a partir daqui. Tricotar 10 cm. Na carreira seguinte, a meio da peça, distribuir 34 aumentos = 186 malhas. Tricotar 7 cm. Na carreira seguinte, pelo direito da peça, distribuir 26 aumentos = 212 malhas. Pelo direito da peça, distribuir 26 aumentos = 238 malhas. Tricotar 7 cm. Arrematar. Montagem: Fazer a costura diretamente acima da cabeça pelo direito da peça. Ter atenção para não fazer uma costura demasiado apertada. Levantar cerca de 150 malhas à volta da abertura para o rosto com a agulha circular 2,5 mm e unir. Tricotar 1 carreira liga, 1 carreira meia, 1 carreira liga, 1 carreira meia, 6 cm em canelado 1 m/p meia, 1 m/p liga e arrematar de maneira a que a costura não fique demasiado apertada. Dobrar a orla pelo avesso da peça e costurar. Fazer as costuras a meio das costas. Fazer um pompom bem cheio com cerca de 8-10 cm de diâmetro e fixar ao topo, a meio das costas. LUVAS: Agulhas de pontas duplas DROPS 3 e 3.5 mm (ou o tamanho necessário para obter a amostra). Amostra: 22 malhas e 30 carreiras com as agulhas 3,5 mm em ponto meia = 10 x 10 cm. Canelado:* 1 m/p meia, 2 ms/pts liga. Repetir de * a *. Luvas: Montar 52 (56) malhas com as agulhas de pontas duplas 3 mm. Unir, tendo o cuidado de não torcer as malhas. Colocar um marcador na junção e tricotar 4 carreiras em ponto jarreteira e 15 cm em canelado. Distribuir de forma regular 8 (8) diminuições na última carreira = 44 (48) malhas. Mudar para as agulhas de pontas duplas 3,5 mm e continuar em ponto meia, colocando um marcador depois de 22 (24) malhas na 23.ª (25.ª) malha. Fazer is aumentos para o polegar de cada lado dessa malha. Restam 21 (23) malhas = parte de dentro da mão. Medir a peça a partir daqui. A 1 cm de altura, aumentar 1 malha de cada lado do marcador 5 (6) vezes a cada 4 carreiras (a cada 3 carreiras) = 54 (60) malhas. Depois dos aumentos do polegar colocar em espera as 11 malhas centrais num alfinete de malhas. Montar 1 nova malha por cima das malhas colocadas em espera = 44 (50) malhas. Continuar até a peça medir 10 (11) cm. Tricotar os dedos da seguinte maneira: Dedo Mínimo: Levantar 4 (6) malhas na parte de cima da mão e 4 (5) malhas da parte de dentro da mão e montar 3 malhas para o dedo anelar = 11 (14) malhas. Tricotar 5 (6) cm. Na carreira seguinte, tricotar * 2 ms/pts juntamente em meia. * em toda a carreira e, depois, passar o fio em duplo pelas restantes malhas. Tricotar 3 carreiras nas restantes malhas da luva antes de tricotar os outros dedos. Dedo anelar: Levantar 6 (6) malhas da parte de cima da mão e 6 (7) malhas do interior da mão e montar 1 malha no lado do dedo mínio e 1 outra malha do lado do dedo médio para um total de 14 (15) malhas. Tricotar 6 (7) cm. Na carreira seguinte, tricotar * * 2 ms/pts juntamente em meia. * em toda a carreira e, depois, passar o fio em duplo pelas restantes malhas, Dedo médio: Como o dedo anelar, mas tricotar 7 (8) cm. Dedo indicador: Levantar 6 (6) malhas da parte de cima da mão e 6 (7) malhas do interior da mão e montar 1 malha no lado do dedo médio para um total de 13 (14) malhas. Tricotar como se fez para o dedo anelar. Polegar: Retomar as 11 malhas colocadas em espera no alfinete de malhas + levantar 3 (5) malhas do lado da mão e tricotar 6 (6.5) cm. Arrematar todas as malhas como se fez para o dedo anelar. Fazer uma costura invísivel entre os dedos. Tricotar a outra luva, mas com o polegar no lado oposto. |
|
Terminou este projecto?Então, identifique as suas fotos com as tags #dropspattern ou mostre-as na galeria #dropsfan. Precisa de ajuda para este modelo?Encontrará 15 turotiais em vídeo, uma rubrica Comentários/Perguntas e muito mais ao visitar a página do modelo em www.garnstudio.com © 1982-2026 DROPS Design A/S. Todos os direitos reservados. Este documento, incluuindo as suas su-secções, tem copyrights. Saia mais o que pode fazer com os nossos modelos no fim de cada uma das páginas do nosso site. |






Com mais de 40 anos no design de modelos de tricô e de croché, a DROPS Design oferece uma das mais vastas colecções demodelos gratuitos na Internet - traduzidos em 17 línguas. Neste dia de hoje, temos 333 catálogos e 12532 modelos - dos quais 12513 estão traduzidos em português.
Trabalhamos com muito empenho para lhe proporcionar o melhor que o tricô e o croché têm para oferecer, para lhe fornecer inspiração e conselhos bem como fios da mais elevada qualidade a preços incríveis! Gostaria de usar os nossos modelos para outros fins que não uso pessoal? Pode ler o que lhe é permitido fazer no Copyright texto que se encontra na parte de baixo de todos os nossos modelos. Bom tricô! Bom croché!
Deixe um comentário acerca do modelo DROPS 58-22
Gostaríamos muito de saber o que tem a dizer-nos acerca deste modelo!
Se deixar uma pergunta acerca do modelo, certifique-se de que escolhe a categoria adequada no formulário abaixo para acelerar o processo relativo à resposta. Os campos obrigatórios estão assinalados com um *.