
Categorie popolari
State cercando un filato?


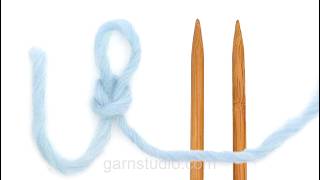
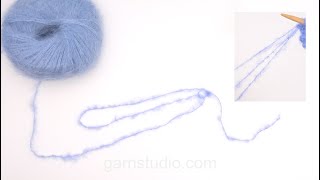
Avviare - Con occhielli

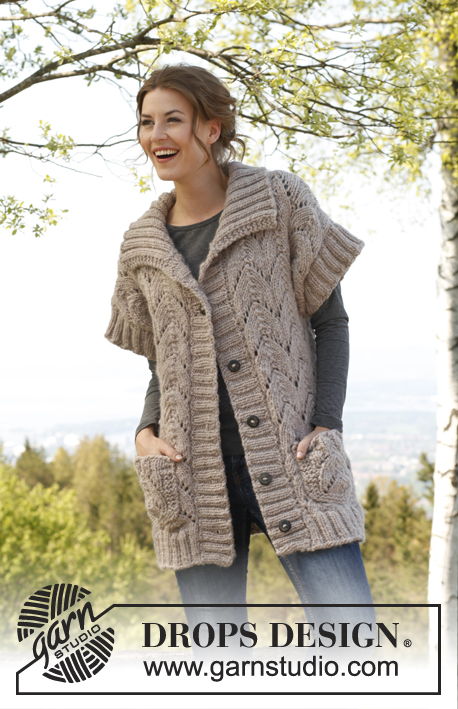
Modelli che utilizzano questa tecnica


Video #4, riportato in: Imparate a lavorare a maglia, Come avviare le maglie, Variazioni basiche per l'avvio
I nostri video non hanno il sonoro. Siamo un'azienda multinazionale e i nostri video vengonp visti da persone che parlano linguaggi diversi e molti non capiscono l'inglese. Per cui, dal momento che non abbiamo un linguaggio comune da utilizzare, riportiamo invece delle istruzioni scritte che accompagnano il video, e inoltre non ci sono suoni che disturbano la visione.
Potete modificare la velocità del video cliccando sull'icona sulla barra di riproduzione.
Lasciate un commento o una domanda per questo video
Il tuo indirizzo mail non verrà pubblicato. I campi richiesti sono indicati da *.
Potrebbe piacervi anche....


Con oltre 40 anni di esperienza nel design di modelli di maglia e uncinetto, DROPS Design offre la più estesa collezione di modelli gratuiti su internet - tradotti in 17 lingue. Ad oggi vi possiamo fornire 325 cataloghi e 12298 modelli - 9569 dei quali sono tradotti in Italiano.
Ci stiamo impegnando molto per darvi il meglio che vi possiamo offrire in termini di maglia e uncinetto, ispirazioni e consigli così come filati di grande qualità ad un prezzo incredibile! Volete utilizzare i nostri modelli per qualcosa d'altro oltre al vostro uso personale? Potete leggere tutto ciò che è consentito nel testo sul Copyright in basso su tutte le pagine dei nostri modelli. Buon lavoro!
How do I cast on 3 sts behind the stiches on the stich holder for the thumb ?
08.03.2021 - 18:22DROPS Design :
Dear Anita, this video shows (time code 02:35) how to cast on new stitches for thumb over the stitches increased/put on a stitch holder for thumb. Hope this will help. Happy knitting!
09.03.2021 - 08:09Enkelt och pedagogiskt som alla de andra videorna som hjälpt mig genom många stickprojekt! Tack!
19.07.2020 - 08:44Jeg elsker og strikke men har aldri klart og lage løkker men etter denne videoen så har jeg klart det❤️❤️❤️Tusen takk
13.11.2019 - 15:40I learned the thumb cast on, but it had one more step. Before I slip the yarn off the left thumb, I take the other strand of yarn. And cast over the needle with right hand. Then slip the thumb loop over the top of the needle and pull both strands snug. It make a good solid cast-on, almost like the cast-on was a knitted row. Hope this makes sense. Not sure how to do a video, but hope you try to see if it works for you.
09.02.2015 - 00:11Heel goede instructiefilm, ik kan breien sinds mijn zesde en dit is hoe je moet opzetten
08.08.2014 - 15:25Bedankt erg handig.
29.09.2012 - 22:15Dere blir bare bedre og bedre
25.09.2009 - 21:13