
Oblíbené kategorie
Hledáte přízi?


Komentáře / Otázky (20)
![]() Marie Mansi napsala:
Marie Mansi napsala:
I don’t understand the first instruction “bund odd 1 st at beginning of every row on each side. Does that mean bind off 2 stitches on each row
05.11.2020 - 00:59Odpověď DROPS Design :
Hi Marie, This means you bind off 1 stitch at the beginning of the first row, then bind off 1 stitch at the beginning of the next row, when you turn and work back and continue like this. Happy knitting!
05.11.2020 - 07:11
![]() Jacqueline Briscoe napsala:
Jacqueline Briscoe napsala:
What changes are required if using bernat blanket yarn?
21.01.2020 - 19:08Odpověď DROPS Design :
Dear Mrs Briscoe, We are able to provide free patterns thanks to our yarns sold throughout the world. You will therefore understand that we can only recomand you to contact your DROPS Store in Canada for any further help & assistance. Thank you for your comprehension.
22.01.2020 - 08:16
![]() Patricia Bauer napsala:
Patricia Bauer napsala:
Sorry--still confused. To assemble, A and B are stitched together--but A has the extra edge stitch (seam allowance)on both sides on ALL rows, whereas last row of B the 2 edge stitches have been bound off--is this last row of B not part of the assembly seam?
03.12.2013 - 16:42Odpověď DROPS Design :
Dear Mrs Bauer, A and B are sewn together on each side (armholes), so that 1 st at beg of row + 1 st at end of row will be used for seam both armholes. Happy knitting!
04.12.2013 - 09:56
![]() Patricia Bauer napsala:
Patricia Bauer napsala:
88-96-102-110-120 sts. Piece now measures approx. 18-20-22-24-26 cm / 7"-8"-8 3/4"-9½"-10 1/4". On next row bind off 1 st at beg and end of row, then slip sts on a stitch holder. Why is the seam allowance (2 edge stitches) bound off as described above (to make 94 st on the size 5/6), when that is not done on the starting row that it will meet (96 st)?
03.12.2013 - 13:46Odpověď DROPS Design :
Dear Mrs Bauer, in size 5/6 you have 94 sts left at the end of body and pick up 94 sts in the 96 sts from cast on row so that you have again 1 st each side for seam = a total of 188 sts. Happy knitting!
03.12.2013 - 14:26
![]() Annetta Kerans napsala:
Annetta Kerans napsala:
Thank you so much for your reply and the video. I actually found the answer from someone else's question. It's always nice to know there is someone who can answer questions.
09.04.2013 - 22:31
![]() Riet napsala:
Riet napsala:
Zo heb ik het ook gedaan, maar dan krult het niet om! Op de foto is goed te zien,dat het het omgekrulde randje ribbelsteek en geen boordsteek is.
14.02.2013 - 15:00Odpověď DROPS Design :
Het is een rand van 1 r/1 av. Kijk op de foto van dichtbij, dat is geen ribbelst.
14.02.2013 - 15:33
![]() Riet Moraal napsala:
Riet Moraal napsala:
De beschrijving van de rand is anders dan op de foto staat. Ik heb de rand,( 8 cm.) in patroon M1 gebreid, maar dan krult hij niet om, zoals op de foto.volgens mij moeten de laatste naalden weer in ribbelsteek gebreid worden? Met vr. grt. Riet Moraal
29.01.2013 - 16:37Odpověď DROPS Design :
Het patroon klopt. Je moet niet de laatste nld in ribbelsteken breien, maar heel LOSJES afkanten met r boven r en av boven av.
06.02.2013 - 18:32
![]() Laura Graciani napsala:
Laura Graciani napsala:
Entiendo que para seguir la secuencia del diagrama M.1,es necesario que el número de puntos a tejer sea impar.Tenemos que terminar la secuencia con 1YO + slip 1 st, para que en la 2º vuelta poder K tog YO and slipped st. Gracias.
29.12.2012 - 08:06Odpověď DROPS Design :
Hola Laura, el diagrama M.1 se teje así: 1a vuelta: * 1 HEB + deslizar 1 pt de derecho, 1 revés *, repetir de *a* en toda la vta. 2a vuelta: * Tejer juntos de derecho la HEB y el pt desl, 1 revés *, repetir de *a* en toda la vta. Repetir la 1a y 2a vuelta.
29.12.2012 - 10:07Helen napsala:
I am almost finished this little vest but am not sure how to work the M1 diagram. Is it possible to get the instructions as words. Is the purl stitch every second round or every second stitch in a round row?
20.08.2012 - 04:13Odpověď DROPS Design :
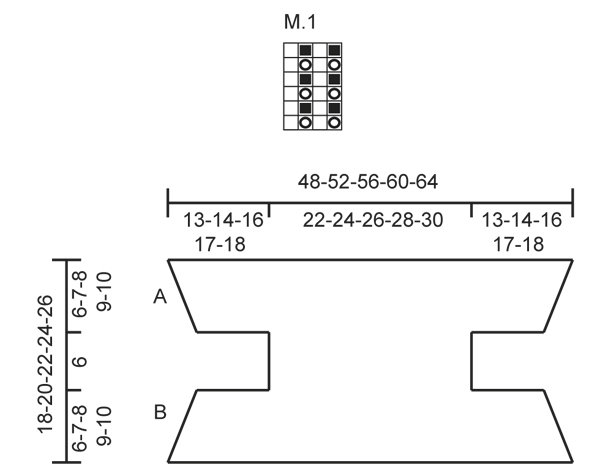
Work 1st round in M1: *1 YO + slip 1 st as if to K, P1*, rep *-* around. 2nd round: *K tog YO and slipped st, P1*, rep *-* around. Repeat 1st and 2nd round.
25.08.2012 - 02:47Jill Forward napsala:
I've had 2attempts at this pattern & it still doesn't make sense. Cast off -does this mean knit to end and slip one over last stitch? The decline seems too rapid. Is the pattern grid illustrated referring to this pattern and in what way? Can't see the relevance of the 13, 48, 13 written at top of drawing. Help, I really want to make this.
20.04.2012 - 11:02Odpověď DROPS Design :
You bind off in beg of every row, which is not as how you write it above. Gauge in both width and height is just as important for correct measures. Numbers in chart are measures in centimeters.
23.04.2012 - 20:00
|
||||||||||
Pixie#pixievestbolero |
||||||||||
 |
 |
|||||||||
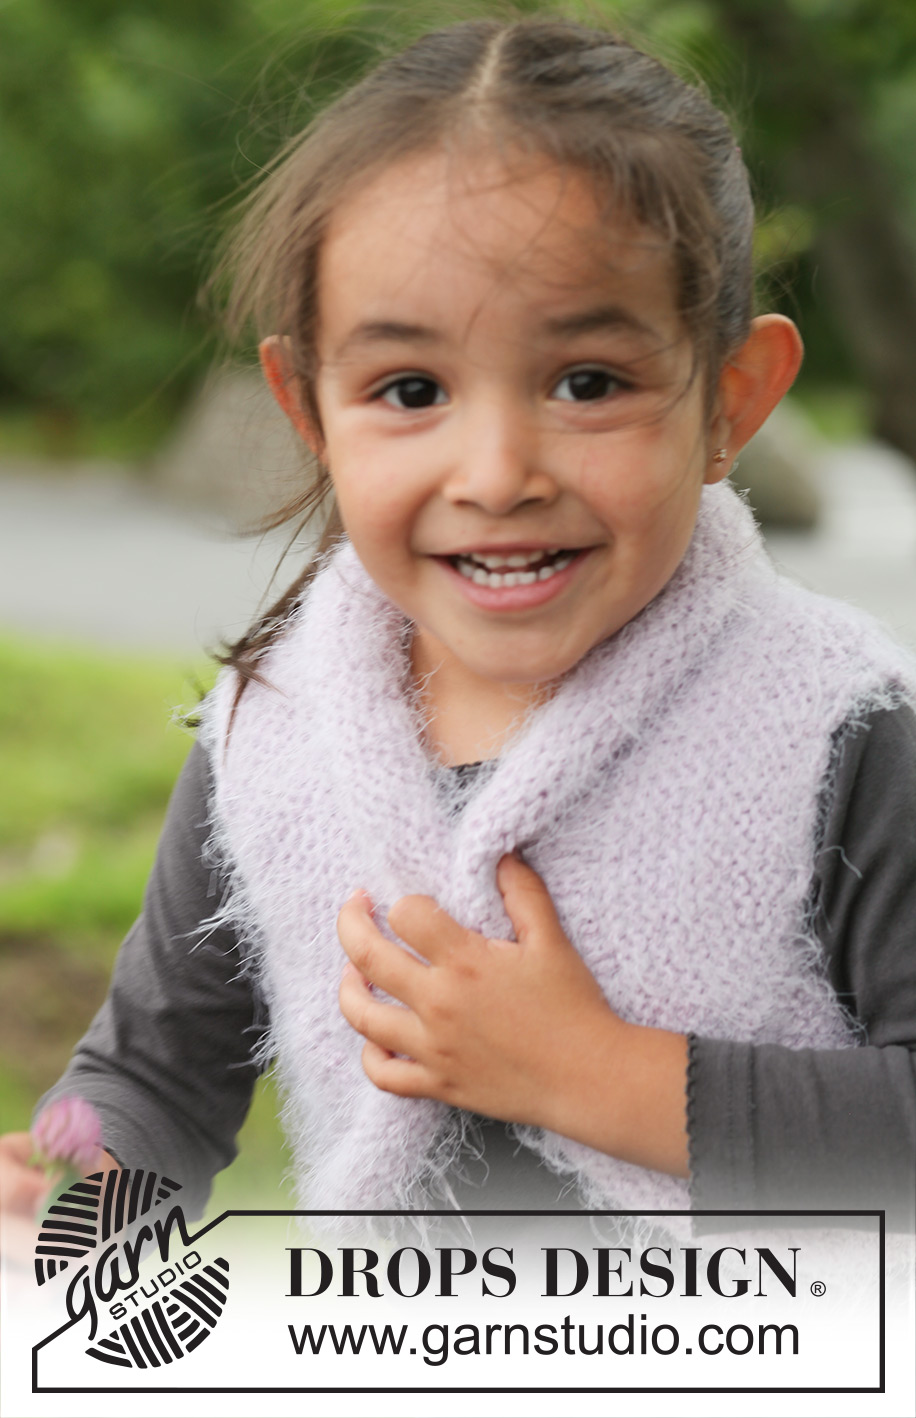
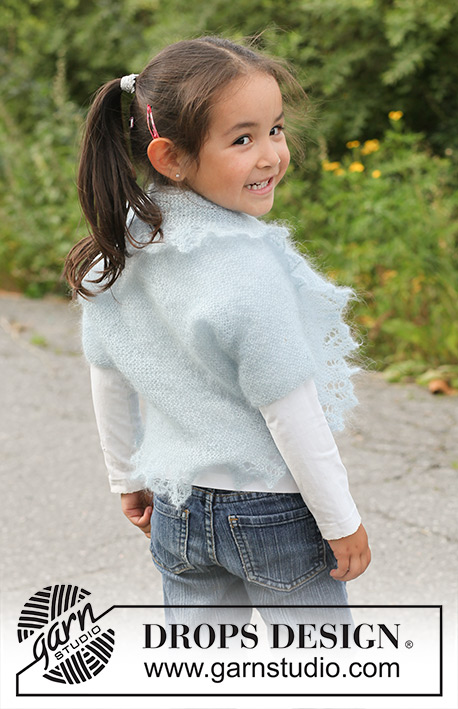
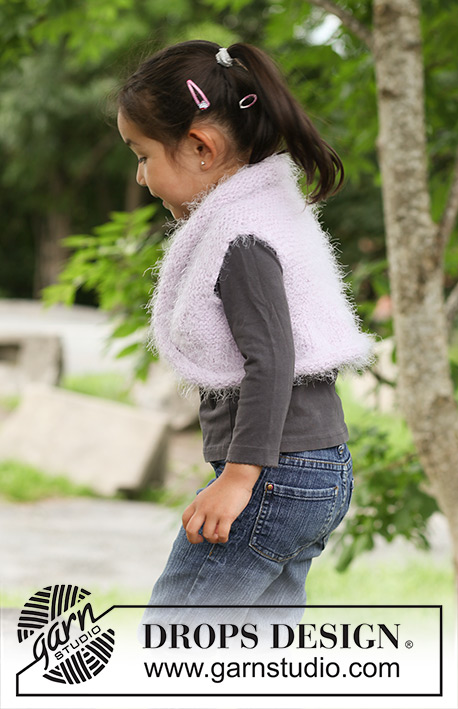
Bolerko - vesta pletené z příze DROPS Symphony. Velikosti pro děti od 3 do 12 let.
DROPS Children 22-19 |
||||||||||
|
VROUBKOVÝ VZOR (lícové a rubové řady): stále hladce. VZOR: Viz schéma M. 1. ---------------------------------------------------------------------- TĚLO: Na kruhové jehlici pleteme lícové a rubové řady. Na kruhovou jehlici č. 4,5 nahodíme přízí Symphony 88-96-102-110-120 ok (celkový počet zahrnuje obě krajová oka). Pleteme VROUBKOVÝM VZOREM – viz popis výše – SOUČASNĚ od 2. řady uzavíráme po obou stranách na začátku každé řady 1 oko a to9-11-12-14-16krát. Dále na každé straně uzavřeme 15-15-16-16-17 ok = 40-44-46-50-54 ok. Pokračujeme vroubkovým vzorem až do výšky 12-13-14-15-16 cm. Na konci každé řady nahodíme VOLNĚ 15-15-16-16-17 nových ok a poté přidáme na konci každé řady po obou stranách ještě 9-11-12-14-16x 1 oko = 88-96-102-110-120 ok. Délka dílu je nyní asi 18-20-22-24-26 cm. Na začátku a na konci další řady uzavřeme 1 oko, poté oka odložíme na pomocnou jehlici. DOKONČENÍ: Část A přiložíme k části B – viz nákres – sešijeme z vnitřní strany k sobě, sešíváme za vnitřní část krajového oka. LEM: Pleteme na kruhové jehlici v řadách dokola. Oka z pomocné jehlice převedeme na kruhovou jehlici a okolo okraje nabereme 86-94-100-118 ok (1 oko do každého oka) = 172-188-200-216-236 ok. První řadu pleteme následovně: *1 hladce, 1 obrace*, mezi *-* opakujeme. Dále pleteme dle schématu M. 1. Ve výšce 8-9-9-10-10 cm LEMU, oka VOLNĚ uzavřeme tak, jak se jeví. HÁČKOVANÝ LEM: Háčkem č. 5, kolem celého okraje bolerka + okolo průramků háčkujeme: 1 KS do prvního oka, * 3 řo, vynechat asi 1 cm, 1 KS do následujícího oka*, mezi *-* opakujeme a končíme 1 pevným okem do prvního KS na začátku řady. |
||||||||||
Vysvětlivky ke schématu |
||||||||||
|
||||||||||
 |
||||||||||
Dokončili jste tento model?Pak označte své fotky tagem #dropspattern #pixievestbolero nebo je pošlete do galerie #dropsfan. Potřebujete s tímto návodem poradit?Otevřete-li si návod na stránce garnstudio.com, najdete tam 12 výukových video-ukázek, Komentáře/Dotazy a další užitečné informace. © 1982-2026 DROPS Design A/S. Vyhrazujeme si veškerá práva. Tento dokument, včetně všech jeho dílčích částí, podléhá autorským právům. Podrobnější komentář k možnostem užití našich návodů najdete dole pod každým návodem na našich stránkách. |
||||||||||


V oblasti pletené a háčkované módy působí DROPS Design více než 40 let. Díky tomu vám můžeme nabídnout jednu z nejrozsáhlejších kolekcí modelů s bezplatnými návody dostupnými na internetu - navíc v 17 jazycích. K dnešnímu dni máme na 324 katalogů a 12290 návodů celkem - z nich je už 7603 dostupných v [češtině].
We work hard to bring you the best knitting and crochet have to offer, inspiration and advice as well as great quality yarns at incredible prices! Would you like to use our patterns for other than personal use? You can read what you are allowed to do in the Copyright text at the bottom of all our patterns. Happy crafting!
Přidejte komentář k návodu DROPS Children 22-19
Rádi bychom věděli, co si o tomto modelu myslíte!
Pokud se chcete na něco zeptat, dbejte prosím na to, abyste ve formuláři níže vybrali správnou kategorii - díky tomu se dříve dozvíte, co potřebujete vědět. Povinná pole jsou označena *.