
Categorias populares
Procura um fio?


Comentários / Perguntas (13)
![]() Cassina escreveu:
Cassina escreveu:
Hallo liebes Team, die Mütze habe ich fertiggestellt und es hat alles topp funktioniert- allerdings "steht" die Krempe bei mir nicht dauerhaft. Ich setze die Mütze auf, falte sie in Position und kurz danach "rollt" sich die Krempe nach vorn. Wäre Bügelsteif o.ä. eine Idee? Über einen Tipp würde ich mich sehr freuen. Lieben Grüße Cassina
02.03.2023 - 15:02DROPS Design respondeu:
Liebe Cassina, die Krempe rollt, wie auf dem Foto, aber wenn Sie möchten, daß es weniger rollt, können Sie vielleicht mehr Maschen zunehmen oder mehr Zunahmenrunden häkeln. Schauen Sie ähnliche Mütze mit einer Krempe, es kann Ihnen inspirieren.
15.03.2023 - 13:27
![]() Nora escreveu:
Nora escreveu:
Hi again! So I finished to project but the last 4 rows of the brim seems to tight. Should the increase number of row 4 not be the other way around? Happy holidays!
24.12.2022 - 17:37DROPS Design respondeu:
Dear Nora, the last 4 rows should be quite tight so that they can keep the shape of the brim instead of falling downwards. Happy knitting!
26.12.2022 - 00:16
![]() Nora escreveu:
Nora escreveu:
Again, thank you so much 🙏🏽✨
12.12.2022 - 10:46
![]() Nora escreveu:
Nora escreveu:
Thank you once again for your quick reply and for all the help! So just to make sure (because I’ve been doing it already 2 times wrong 😆) If I would like to make a hat in size S/M the first round should be 6 stitches and so one. Last round 51 stitches.
12.12.2022 - 09:56DROPS Design respondeu:
Dear Nora, correct, you start with 6 sts (dc UK-English/sc US-English) and ends the top of hat with 51 sts on 9th round, then work straight until piece measures 18 cm from the first round. Happy crocheting!
12.12.2022 - 10:15
![]() Nora escreveu:
Nora escreveu:
Hi, 1 more question :) What do you mean with: ROUND 9: increase 3-9 double crochets evenly on the round. Does it mean i need to choose between 3 or 9 or do I need to increase one side with 3 stitches and the other side with 9 stitches. Once again, thanks so much, can't wait to finish it!
10.12.2022 - 18:31DROPS Design respondeu:
Dear Nora, all of the number sequences (6-6, 12-12, 3-9) are used to be able to use the same instructions for several sizes. The first number in each sequence corresponds to the smallest size; the second one to the largest. So, if you are working size S/M, increase 3 double crochets; if you are working size M/L you need to increase 9 double crochets. Happy crocheting!
11.12.2022 - 22:50
![]() Nora escreveu:
Nora escreveu:
Hi, I have the feeling i'm doing something wrong. It's looks more like a pot holder then it becomes a hat. I just finished round 6. Any suggestions? Also, if i'm right every round starts with chain 3 which counts as a stitch. The first stitch is not into the slipstitch of previous round but the next one? You end the last stitch with a slipstitch into the 3rd of chain 3. Thanks so much for your help. I real love the hat and would be so happy to make it right :)
08.12.2022 - 16:36DROPS Design respondeu:
Dear Nora, you first work a circle for the crown of the hat until there are enough stitches for the circumference = 51-57sts, then work "straight" for the edge of the hat, and finally work the brim. This hat is worked with double crochets (UK-Terminology)/single crochets (US-terminology) - make sure you are reading the appropriate English terminology by clicking on the scroll down menu below the photos - so you replace the first stitch with 1 chain and end with 1 slip stitch in this chain. Happy crocheting!
08.12.2022 - 17:41
![]() Béatrice Gerodetti escreveu:
Béatrice Gerodetti escreveu:
Bonjour, les 18 cm sont mesurés depuis le début du travail ou depuis la fin des augmentations? Merci d’avance! Béatrice
29.09.2022 - 10:20DROPS Design respondeu:
Bonjour Béatrice, depuis le début du travail. Bon crochet!
29.09.2022 - 11:44
![]() Sigrid escreveu:
Sigrid escreveu:
Glockenblume!
13.09.2022 - 12:07
![]() Piera escreveu:
Piera escreveu:
Buongiorno. C'è forse qualcosa di errato nella parte relativa agli strumenti da utilizzare. Credo che sia un cappello da fare con l'uncinetto 7.00 mm e non ferri. Buona giornata. UNCINETTO: UNCINETTO DROPS CIRCOLARI n° 4,5 mm, lunghezza 40 e 80 cm per la parte a maglia rasata. FERRI DROPS CIRCOLARI n° 7 mm.
12.09.2022 - 15:34DROPS Design respondeu:
Buonasera Piera, grazie per la segnalazione: abbiamo corretto il testo. Buon lavoro!
12.09.2022 - 21:39
![]() Karin escreveu:
Karin escreveu:
Freue mich schon darauf.
07.08.2022 - 20:46
|
|
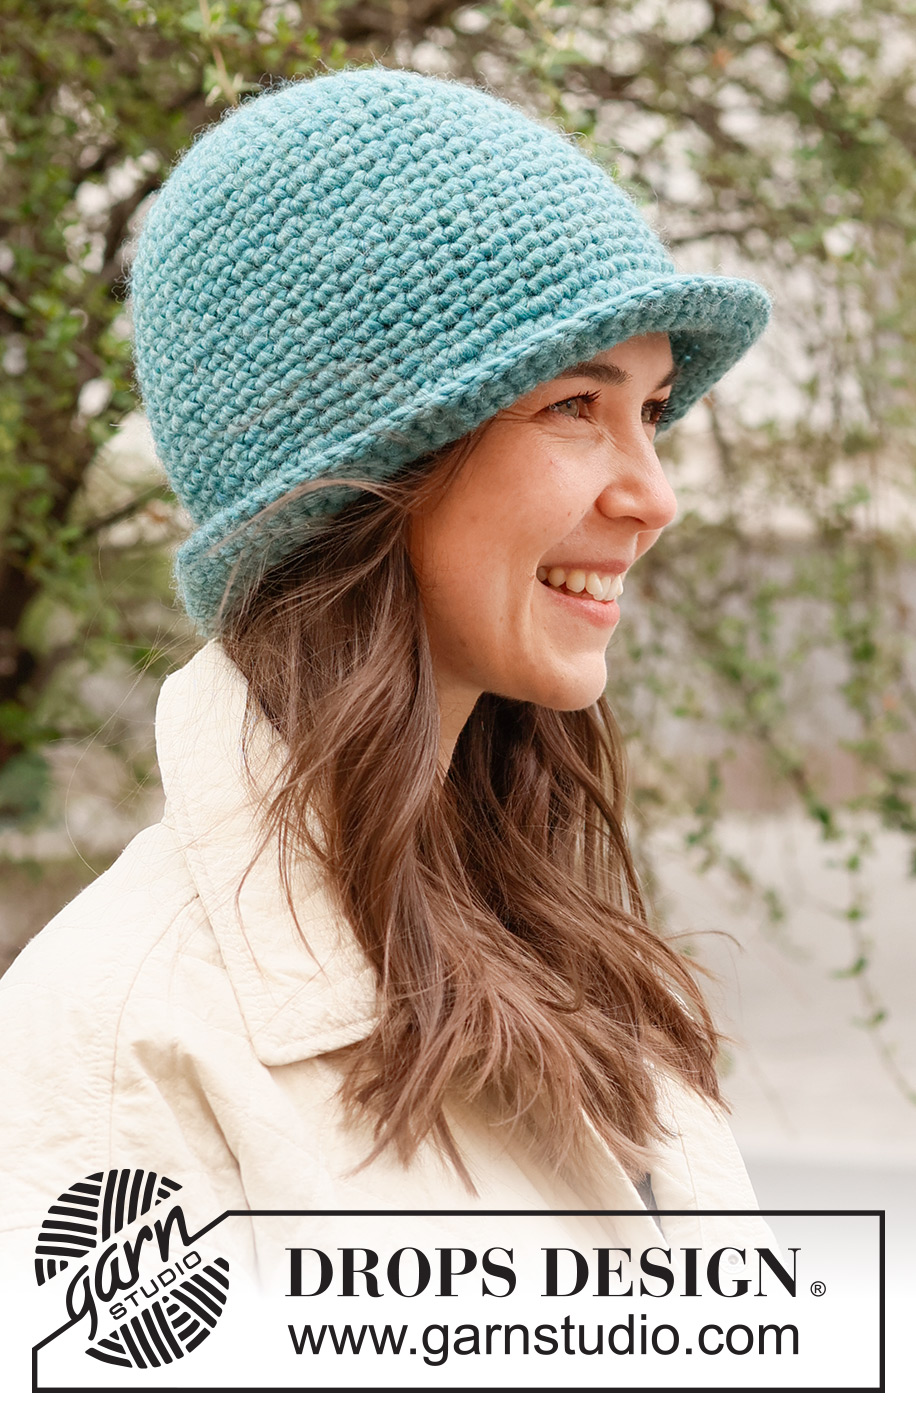
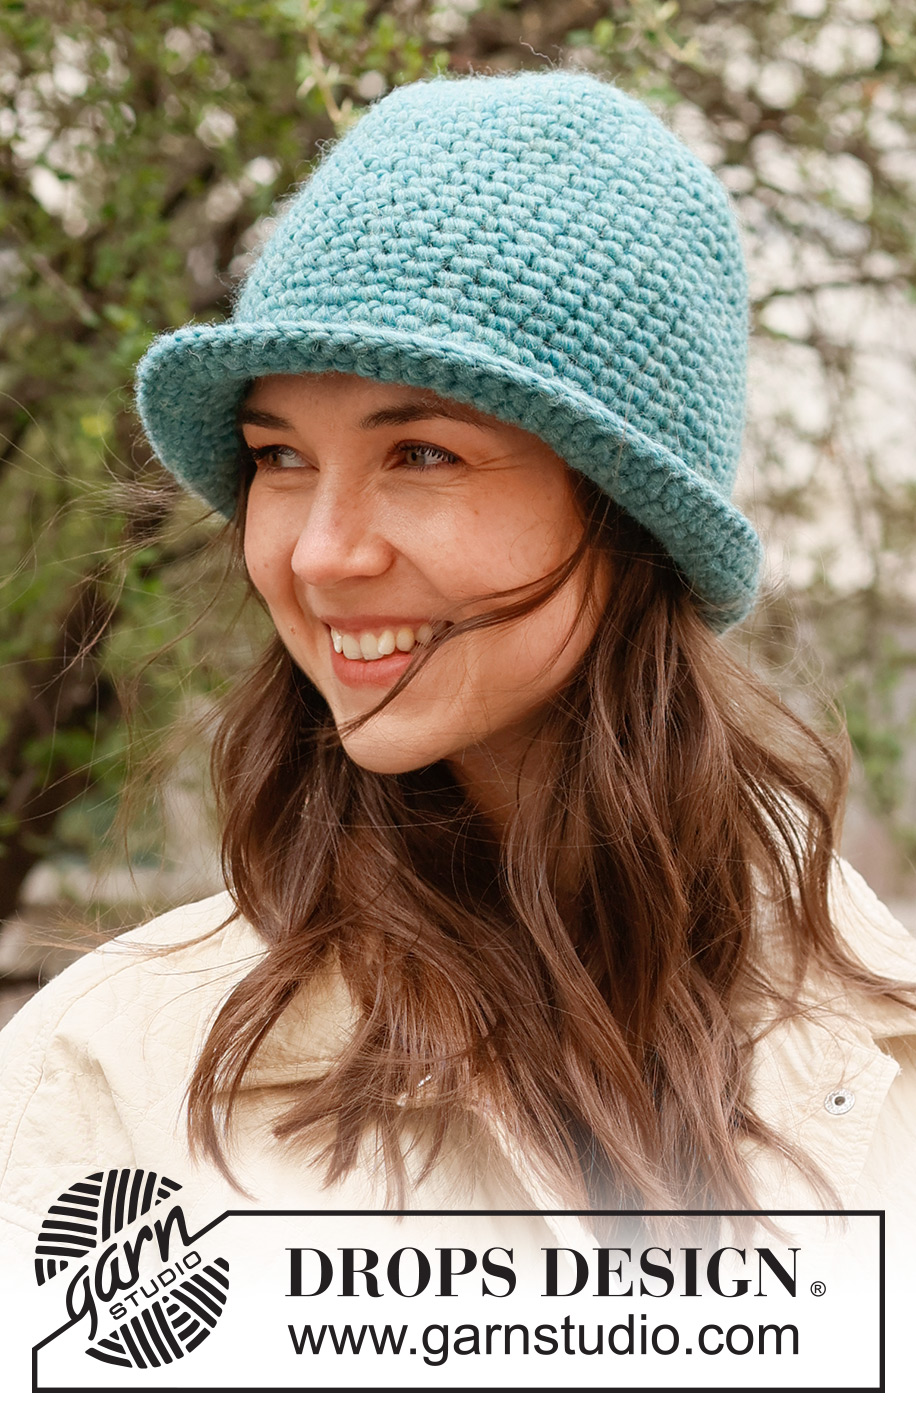
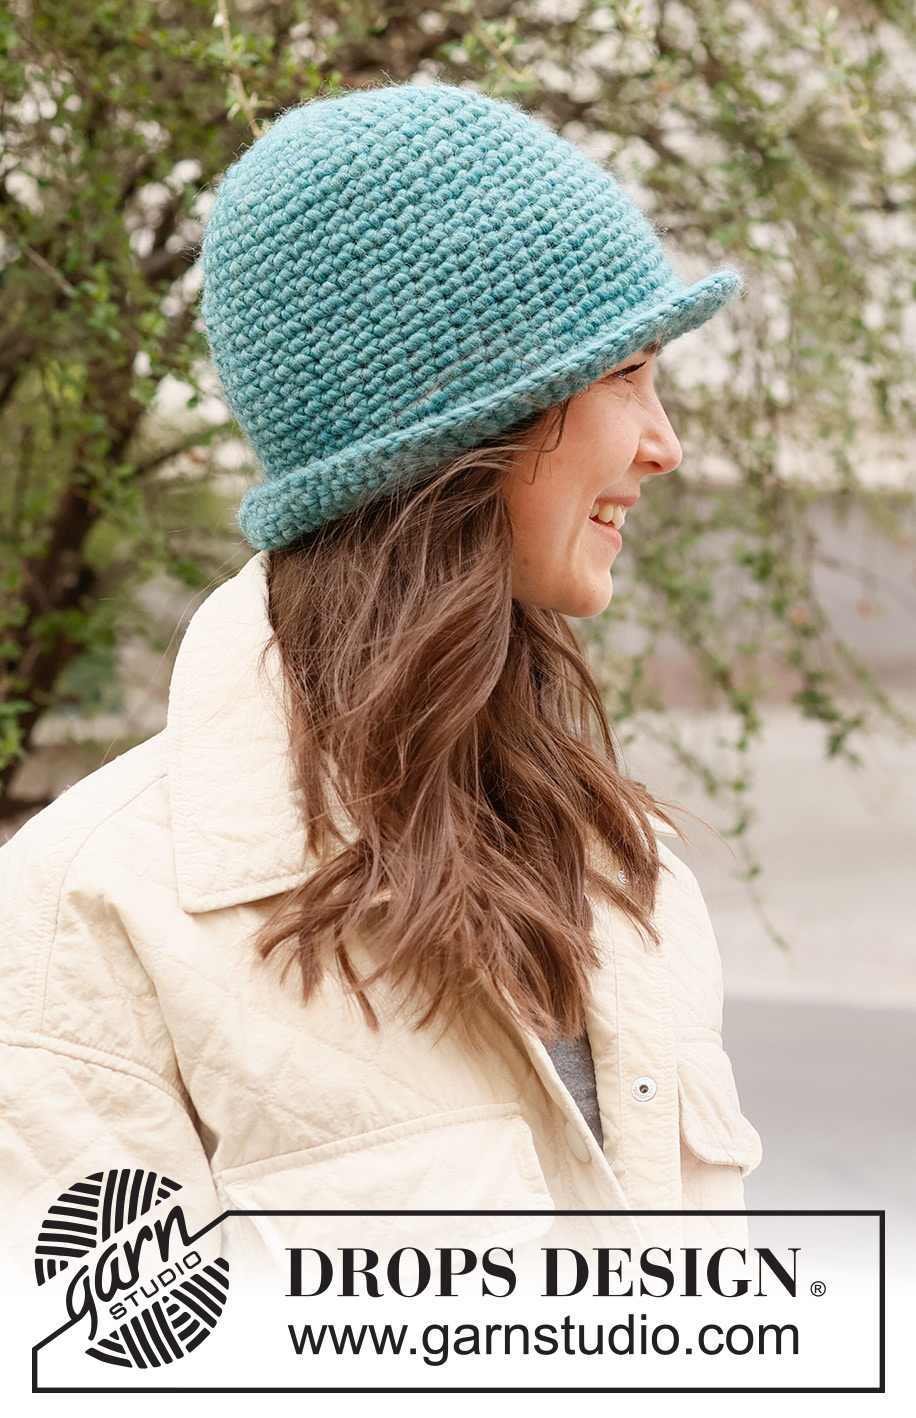
Forest Shade Hat#forestshadehat |
|
 |
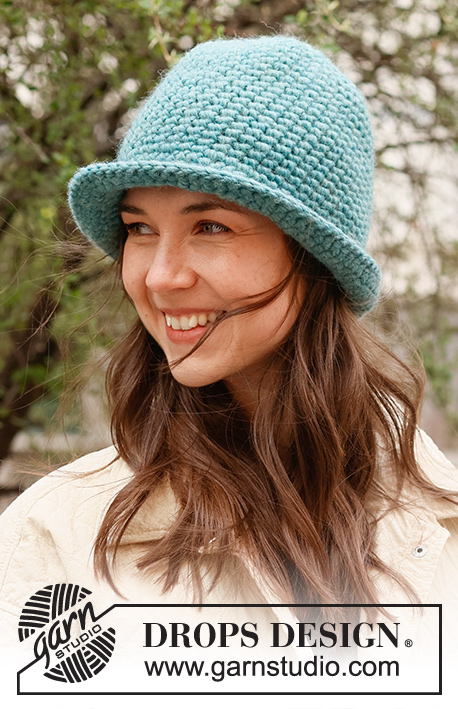 |
Gorro crochetado de cima para baixo, em pontos baixos, em DROPS Snow. Tamanhos S - L.
DROPS 234-16 |
|
|
------------------------------------------------------- TÉCNICAS USADAS: ------------------------------------------------------- DICA CROCHÉ: No princípio de cada carreira, substituir o primeiro ponto baixo com 1 ponto corrente, terminar cada carreira com 1 ponto baixíssimo nesse primeiro ponto corrente. AUMENTOS: Crochetar 2 pontos baixos no mesmo ponto. PONTOS CORRENTE: Se crocheta apenas com a ponta da agulha de croché, os pontos corrente serão, na maior parte das vezes, muito baixos; 1 ponto corrente deve ter a mesma altura do que a largura de 1 ponto alto. ------------------------------------------------------- A PEÇA COMEÇA AQUI: ------------------------------------------------------- GORRO - SUMÁRIO: Crocheta-se em redondo, de cima para baixo. GORRO: Crochetar 4 pontos corrente com a agulha de croché 7 mm em DROPS Snow. Unir em redondo com 1 ponto baixíssimo no primeiro ponto corrente. Ler PONTOS CORRENTE acima. CARREIRA 1: Crochetar 6-6 pontos baixos à volta do aro de pontos corrente. Ler DICA CROCHÉ. CARREIRA 2: Crochetar 2 pontos baixos em cada ponto = 12-12 pontos. CARREIRA 3: Crochetar * 1 ponto baixo no primeiro ponto/no ponto seguinte, 2 pontos baixos no ponto seguinte *, crochetar de * a * até ao fim da carreira = 18-18 pontos. CARREIRA 4: Crochetar * 1 ponto baixo em cada um dos 2 primeiros pontos/das 2 pontos seguintes, 2 pontos baixos no ponto seguinte *, crochetar de * a * até ao fim da carreira = 24-24 pontos. MANTER A MESMA TENSÃO DA INDICADA PARA A AMOSTRA! CARREIRA 5: Crochetar * 1 ponto baixo em cada um dos 3 primeiros pontos/dos 3 pontos seguintes, 2 pontos baixos no ponto seguinte *, crochetar de * a * até ao fim da carreira = 30-30 pontos. CARREIRA 6: Crochetar * 1 ponto baixo em cada um dos 4 primeiros pontos/dos 4 pontos seguintes, 2 pontos baixos no ponto seguinte *, crochetar de * a * até ao fim da carreira = 36-36 pontos. CARREIRA 7: Crochetar * 1 ponto baixo em cada um dos 5 primeiros pontos/dos 5 pontos seguintes, 2 pontos baixos no ponto seguinte *, crochetar de * a * até ao fim da carreira = 42-42 pontos. CARREIRA 8: Crochetar * 1 ponto baixo em cada um dos 6 primeiros pontos/dos 6 pontos seguintes, 2 pontos baixos no ponto seguinte *, crochetar de * a * até ao fim da carreira = 48-48 pontos. CARREIRA 9: Crochetar 1 ponto baixo em cada ponto e, AO MESMO TEMPO, aumentar 3-9 ponto baixos a intervalos regulares - ver AUMENTOS = 51-57 pontos. Continuar em pontos baixos (= 1 ponto baixo em cada ponto) até a peça medir 18-19 cm. Crochetar, então, a orla. ORLA: CARREIRA 1: Crochetar * 1 ponto baixo em cada um dos 2 primeiros pontos/dos 2 pontos seguintes, 2 pontos baixos no ponto seguinte *, crochetar de * a * até ao fim da carreira = 68-76 pontos. CARREIRAS 2- 3: Crochetar 1 ponto baixo em cada ponto. CARREIRA 4: Crochetar 1 ponto baixo em cada ponto e, AO MESMO TEMPO, aumentar 7-4 ponto baixos a intervalos regulares da carreira = 75-80 pontos. CARREIRA 5: Crochetar 1 ponto baixo em cada ponto. CARREIRA 6: Crochetar 1 ponto baixo em cada ponto. CARREIRA 7: Crochetar 1 ponto baixíssimo na alça de trás de cada ponto. Cortar e entretecer o fio. |
|
Terminou este projecto?Então, identifique as suas fotos com as tags #dropspattern #forestshadehat ou mostre-as na galeria #dropsfan. Precisa de ajuda para este modelo?Encontrará 8 turotiais em vídeo, uma rubrica Comentários/Perguntas e muito mais ao visitar a página do modelo em www.garnstudio.com © 1982-2026 DROPS Design A/S. Todos os direitos reservados. Este documento, incluuindo as suas su-secções, tem copyrights. Saia mais o que pode fazer com os nossos modelos no fim de cada uma das páginas do nosso site. |
|


Com mais de 40 anos no design de modelos de tricô e de croché, a DROPS Design oferece uma das mais vastas colecções demodelos gratuitos na Internet - traduzidos em 17 línguas. Neste dia de hoje, temos 324 catálogos e 12290 modelos - dos quais 12271 estão traduzidos em português.
Trabalhamos com muito empenho para lhe proporcionar o melhor que o tricô e o croché têm para oferecer, para lhe fornecer inspiração e conselhos bem como fios da mais elevada qualidade a preços incríveis! Gostaria de usar os nossos modelos para outros fins que não uso pessoal? Pode ler o que lhe é permitido fazer no Copyright texto que se encontra na parte de baixo de todos os nossos modelos. Bom tricô! Bom croché!
Deixe um comentário acerca do modelo DROPS 234-16
Gostaríamos muito de saber o que tem a dizer-nos acerca deste modelo!
Se deixar uma pergunta acerca do modelo, certifique-se de que escolhe a categoria adequada no formulário abaixo para acelerar o processo relativo à resposta. Os campos obrigatórios estão assinalados com um *.