
Categorías populares
¿Buscas un hilo?


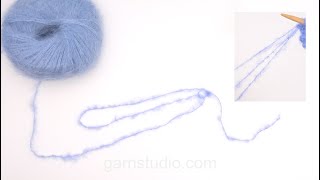
Montaje de puntos: Básico, montaje con hebra larga

EL VIDEO MUESTRA:
PRINCIPIO:
Tirar del hilo del ovillo y hacer un bucle inicial dejando un cabo de cierta longitud (se necesita aprox. 40-80 cm de hilo para montar 20 puntos, dependiendo del hilo y del grosor de la aguja). Colocar el bucle inicial en la aguja derecha y apretarlo suavemente alrededor de la aguja. Ahora hay 2 hilos a partir del bucle: A = el hilo del ovillo, B = el hilo del cabo.
HILOS ALREDEDOR DE LA MANO:
Colocar los hilos A y B alrededor de tu mano izquierda de la manera siguiente:
A: El hilo del ovillo es colocado afuera del pulgar.
B: El hilo del cabo es colocado sobre el dedo índice y hacia abajo entre el dedo índice y el dedo medio.
El dedo anular y el dedo meñique sostienen los 2 hilos juntos en tu mano – no muy apretado.
NÚMERO DE HILOS:
Levantar la mano izquierda aprox. 5 cm más alto que la mano derecha; ahora puedes contar 4 hilos en tu mano izquierda. En la siguiente explicación, los hilos tienen los siguientes números:
Hilo-1 = hilo al frente del pulgar, hilo-2 = hilo atrás del pulgar, hilo-3 = hilo al frente del dedo índice, hilo-4 = hilo atrás del dedo índice.
MONTAR 1 PUNTO DE LA MANERA SIGUIENTE:
Pasar la aguja por abajo del hilo-1, después hacia arriba entre el hilo-1 y el hilo-2, pasar la aguja hacia por abajo entre el hilo-3 y el hilo-4, pasar la aguja y el hilo entre el hilo-1 y el hilo-2.
Deslizar el hilo del pulgar de modo que el nuevo punto quede sujetado alrededor de la aguja, después colocar el hilo alrededor del pulgar nuevamente, listo para montar el siguiente punto.
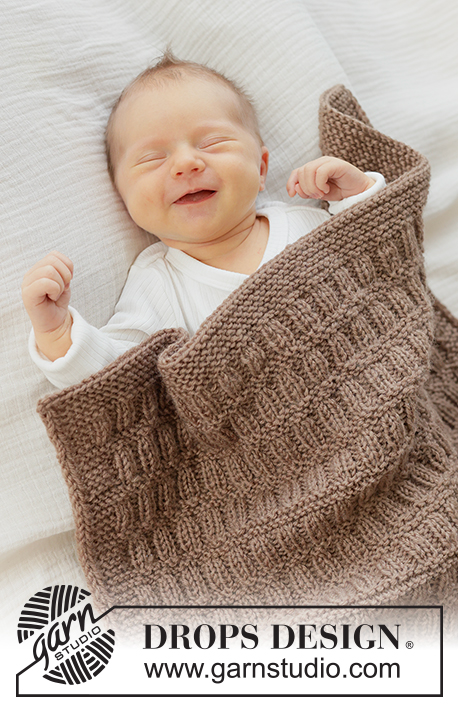
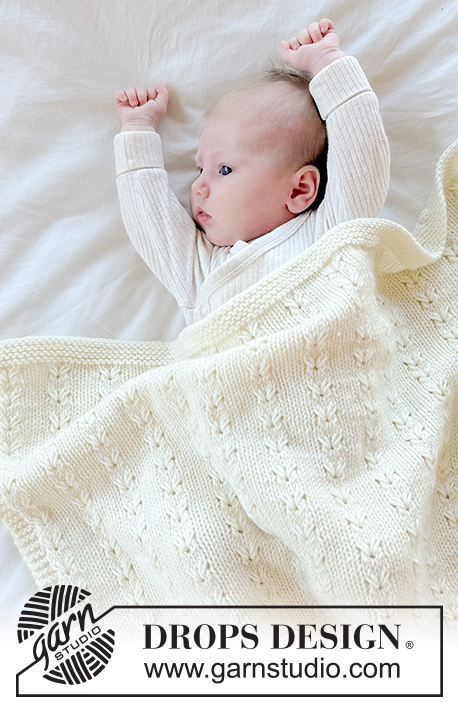
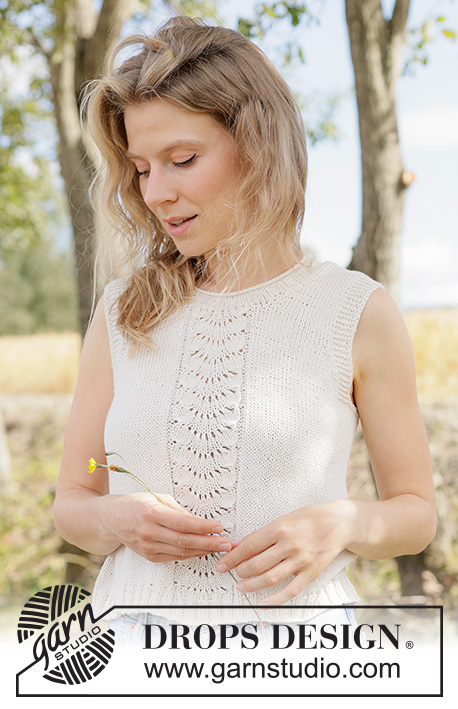
Patrones que utilizan esta técnica


Video #2, listado en: Aprende a hacer punto, Cómo montar puntos, Técnicas básicas de montaje de puntos, Estilo Nórdico, Estilo Continental, Estilo Inglés/Americano
Nuestros videos no tienen sonido. Somos una empresa internacional y nuestros videos son vistos por personas que hablan diferentes idiomas y muchas de ellas no comprenden el español. Consecuentemente, como no hay un idioma determinado a usar por nosotros, hemos escrito las instrucciones que acompañan el video, y no hay ningún sonido que interfiera mientras se ve el video.
Puedes ajustar la velocidad de este video haciendo clic en el ícono en la barra de reproducción.
Dejar un comentario o pregunta acerca de este video
Tu dirección de email no será publicada. Los campos obligatorios están marcados con un *.
También te podría gustar...


Con más de 40 años en el diseño de modelos de punto y de ganchillo, DROPS Design ofrece una de las más vastas colecciones de patrones gratuitos en el internet - traducidos en 17 idiomas. Al día de hoy, contamos con 325 catálogos y 12298 patrones - de los cuales 11698 están traducidos en español.
Nosotros trabajamos con mucho esmero para brindarte lo mejor que las labores de punto y ganchillo tienen para ofrecer,inspiración y consejos, así como hilos de magnífica calidad a precios increíbles! Te gustaría usar nuestros patrones para otro fin además del uso personal? Puedes leer acerca de lo que estás permitida a hacer en el texto de Copyright en la parte de abajo de todos nuestros patrones. Felices labores!
Bárbara la explicación, pero estoy muy acostumbrada a las agujas tradicionales y me cuesta aprender esta nueva técnica
05.09.2020 - 19:58For people who don't have strong fingers there is an easyer way to make this one. I learned to use my thumb as a "needle", wich means you don't have to stretch your fingers this much. (learned that in school 40 years ago)
13.06.2019 - 21:36Wie weiß ich wie lange der Faden sein soll beim Anschlagen... es ist mir schon oft passiert, das bei vielen Anschlagmaschen der Faden nicht gereicht hat und ich nochmal neu anfangen musste... danke auch im Voraus auch für die vielen tollen Tipps...
02.05.2019 - 18:44DROPS Design :
Liebe Anka, dieses Video zeigt, wie man beim Anschlagen genügend Faden zur Verfügung hat. Viel Spaß beim stricken!
03.05.2019 - 09:05Jeg liker kuk
14.01.2019 - 09:25Jeg dør
14.01.2019 - 09:22Ik heb het op deze manier geleerd vroeger op school. Mijn moeder zette altijd al breiend steken op, maar is later overgestapt op deze methode (moest ik voor haar doen...) omdat ze de opzetrand mooier en steviger vond.:)
03.10.2018 - 17:09Jeg likte videoen din.
06.12.2017 - 09:04Tak for videoen. Er der en tommelfingerregel for hvor startløkken skal sættes på garnet? Jeg skal slå 234 masker op på pind nr. 3,5 og arbejder med 50g /100 meter og oplever hele tiden, at der mangler garn til de sidste masker og det er irriterende at skulle starte forfra med opslagningen, når der er tale om så mange masker. Så, findes der en formel til udregningen af startstedet for den første Løkke?
15.10.2017 - 19:43Jackie Bonfield respondió:
I've completed the pattern but it doesn't seem right the back does is not the same length as front I have read the pattern but cannot work out if I've gone wrong . Please could you help me sort it out thank you J.Bonfield
19.05.2017 - 22:25DROPS Design :
Dear Mrs Bonfield, would you please be so kind and post your question under the pattern you are currently working on? It would be easier to help you further. Happy knitting!
22.05.2017 - 10:01The video is quite good but I would like to access the written answers how do I do that? Thanks your patterns are wonderful and the help you provide is great now I have to start knitting. Thanks for your help.
01.09.2016 - 22:16DROPS Design :
Dear Mrs Pod, to read all comments/to write a new comment click on "Write a comment" at the bottom of the page. Happy knitting!
02.09.2016 - 08:52