
Popular categories
Looking for a yarn?


Comments / Questions (18)
![]() Mette Torp wrote:
Mette Torp wrote:
I hælindtag beskriver I vendepinde i indtagning. Men mener gammeldags timeglas - når man læser længere ned. Jeg blev lidt—— træt! Da det gik op for mig. Har strikket start hæl om x 2. Må jeg foreslå at I lige strikker en tester efter opskriften💚
15.12.2024 - 15:43
![]() Mette wrote:
Mette wrote:
Er det noe feil med oppskriften? Det kan vel ikke stemme at sokken skal være 8 cm (eller mer) lengere enn foten?
06.03.2023 - 12:31DROPS Design answered:
Hei Mette, Denne oppskriften er for ganske lange sokker. Dette kan du justere ved å strikke kortere før du begynne på hælen. God fornøyelse!
07.03.2023 - 07:18
![]() Marianne wrote:
Marianne wrote:
Når man tager ind i tåen, og der står “ ag ind i hver side på hver 2.omg totalt 3-4-5 gange og videre på hver omg 4-4-4 gange”, hvad betyder “videre på hver omg 4 gange”?
12.11.2022 - 21:47DROPS Design answered:
Hei Marianne. Når du har felt i hver side på hver 2. omgang totalt 3-4-5 ganger, så skal du nå felle på hver omgang, dette gjøre 4-4-4 ganger, til det er 12-12-12 masker igjen tilbake på pinnen. mvh DROPS Design
14.11.2022 - 14:13
![]() Cathrine wrote:
Cathrine wrote:
Er det noe feil i oppskriften? Skal man virkelig strikke først 22 cm også deretter 10 cm til FØR en begynner på hæl? Blir fryktelig lange sokker ??, Eller skal man begybbe på hæl etter 22 cm?
07.11.2022 - 10:19DROPS Design answered:
Hei Cathrine. Jo, dette er noen lange sokker. Men du kan fint strikke kortere skaft om du ønsker det. mvh DROPS Design
07.11.2022 - 14:10
![]() Leigh wrote:
Leigh wrote:
Hello, thank you for this pattern. I was wondering when the pattern states to measure the foot length from the marker placed at the heel, is that a straight measurement to the working stitches or is that a curved measurement along the curve of the heel please. I am new to knitting socks and reading sock patterns. Thank you so much.
05.04.2022 - 11:11DROPS Design answered:
Dear Leigh, insert the marker to measure foot in the middle of the row before decreases for heel. And then measure from that marker in the knitting direction towards the stitches on needle, there shouldn't any curved: to measure, place sock flat. Happy knitting!
05.04.2022 - 16:23
![]() Kristina wrote:
Kristina wrote:
Gör sockarna 135-10, förstår inte riktigt vad som menas med, (mät efter markeringen)mäter man inte hela foten , eller mäter man där man tog upp maskor från arbetet (efter hälen stickas det upp 12 m på var sida)är det därifrån man mäter ,
02.09.2021 - 18:48DROPS Design answered:
Hei Kristina. Første gang du måler er det fra oppleggskanten (når vrangborden måler 20-22-23 ). Så strikkes hælen og da settes det et merke som det skal måles fra (før det felles til hæl). mvh DROPS design
06.09.2021 - 14:13
![]() Anne-Beate Dokken wrote:
Anne-Beate Dokken wrote:
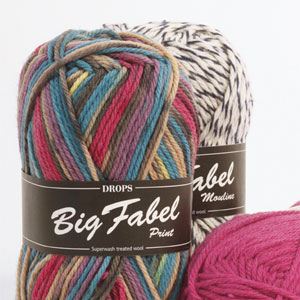
Jeg er klar over at Big Fabel ikke produsere mere. Lurte på om dere muligens hadde et nøste i en mørk farge. Hilsen Anne-Beate Dokken.
19.04.2021 - 15:00DROPS Design answered:
Hei Anne-Beate. Vi sender kun ut kilovis til butikker og DROPS Fabel er helt tomt. Ta kontakt med div butikker, kanskje noe har litt igjen. Eller gjør en etterlysning av garnet på sosiale medier. Der er det mange som hjelper hverandre med etterlysning av garn. mvh DROPS design
19.04.2021 - 15:20
![]() Tamsin wrote:
Tamsin wrote:
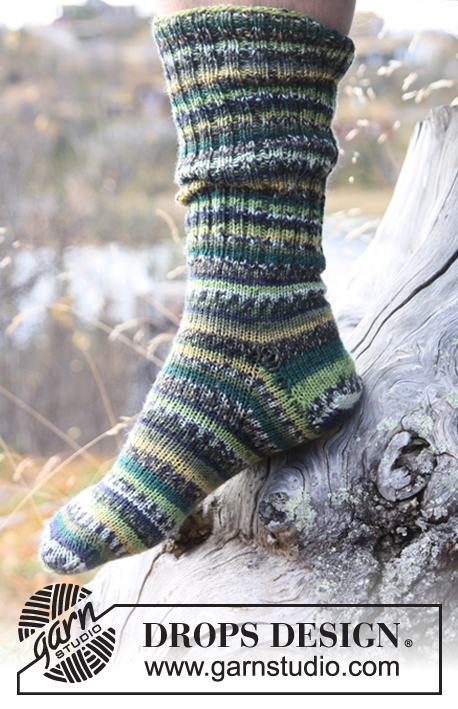
The photograph is misleading as the leg length is actually much longer than shown.
05.04.2020 - 17:36
![]() Birgitte Bjergø wrote:
Birgitte Bjergø wrote:
Jeg er lidt usikker på hvordan jeg måler foden. Jeg strikker størrelse 44/46 - nu passer den til een med en fod der er 32 cm lang fra hæl til tå.
05.12.2019 - 10:59DROPS Design answered:
Hej Birgitte, Det lyder til at du strikker lidt løsere end hvad vi gør i opskriften. Den største størrelse skal være 30 cm fra hæl til tå. Men prøv gerne strømpen, så ser du tydeligt om du skal begynde indtagningen lidt tidligere :)
06.12.2019 - 08:09
![]() Anne-Beate Dokken wrote:
Anne-Beate Dokken wrote:
Skal strikke sokker til barn og voksne i Big Fabel. Lurer på hvorfor det skal felles masker når jeg har strikket litt på vr bord. Har prøvd og finne sokker der vr bord strikkes rett opp. Takk for fine sider og god hjelp.
15.02.2016 - 12:05DROPS Design answered:
Hej. Det är för att vr-borden ska vara lite smalare längre ner på benet för att passa bättre. Om du önskar ha det på ett annat sätt kan du säkert bara justera lite i oppskriften. Lycka till!
15.02.2016 - 13:38
|
|
Woolies#wooliessocks |
|
|
|
|
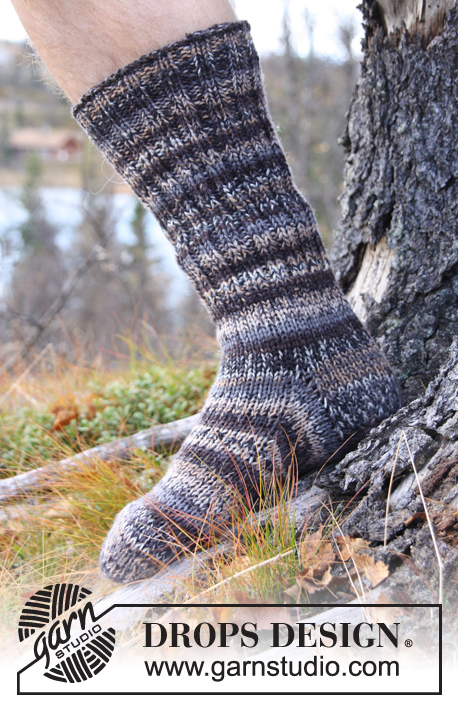
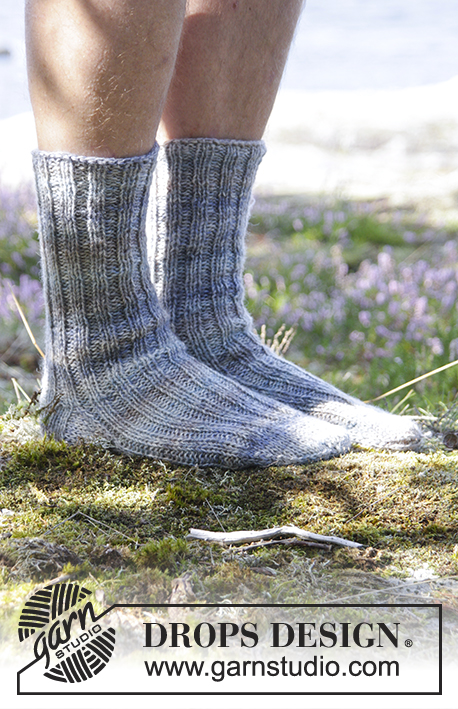
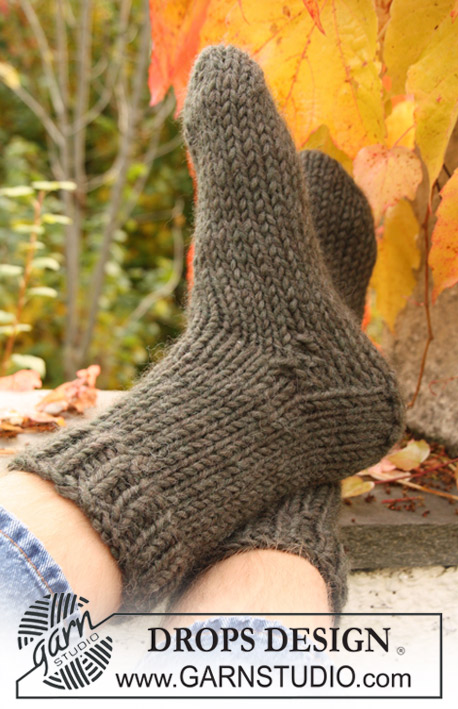
Knitted socks for men with rib, in 1 thread DROPS Big Fabel or 2 strands DROPS Fabel. Size 38-46
DROPS 135-10 |
|
|
HEEL DECREASES: Row 1 (= RS): Work row until 5-6-6 sts remain, slip next st as if to K, K1, psso, turn piece. Row 2 (= WS): Work row until 5-6-6 sts remain, slip next st as if to P, P1, psso, turn piece. Row 3 (= RS): Work row until 4-5-5 sts remain, slip next st as if to K, K1, psso, turn piece. Row 4 (= WS): Work row until 4-5-5 sts remain, slip next st as if to P, P1, psso, turn piece. Continue dec like this with 1 less st before each dec until there are 10-10-12 sts on needle. -------------------------------------------------------- SOCKS: Worked in the round on double pointed needles. Cast on 55-60-65 sts on double pointed needles size 4 mm / US 6 with 1 thread Big Fabel or 2 threads Fabel. K 2 rounds and continue in rib K2/P3. REMEMBER THE GAUGE! When piece measures 20-22-23 cm / 8"-8¾"-9½" on next round dec all P3 to P2 = 44-48-52 sts. Continue in rib K2/P2 until piece measures 30-31-32 cm / 11¾"-12¼"-12½". Now keep the first 18-22-22 sts on needle for heel (the first 2 and last 2 of these sts are K sts), and slip the last 26-26-30 sts on a stitch holder (= mid upper foot). Work stockinette st back and forth on heel sts for 5-5.5-6 cm / 2"-2¼"-2⅜", AT THE SAME TIME dec 0-2-0 sts evenly on first row = 18-20-22 sts. Insert a marker and now measure piece from here! Dec for heel – SEE HEEL DECREASES ABOVE! After heel dec pick up 10-11-12 sts each side of heel and slip the 26-26-30 sts from stitch holder back on needle = 56-58-66 sts. Insert a marker each side of the 26-26-30 sts on upper foot. Continue in rib on the 26-26-30 sts on upper foot and work remaining sts in stockinette st - AT THE SAME TIME dec each side as follows: K tog into back of loop the last 2 sts before sts on upper foot and K tog the first 2 sts after sts on upper foot. Dec on every other round a total of 8-7-9 times = 40-44-48 sts. Continue in rib on the 26-26-30 sts on upper foot and in stockinette st on the 14-18-18 sts under foot until piece measures 20-22-24 cm / 8"-8¾"-9½" from marker on heel (= 4-5-6 cm / 1½"-2"-2⅜" remain). Now insert a marker each side with 20-22-24 sts on upper foot and under foot. Complete sock in stockinette st on all sts, AT THE SAME TIME dec each side of both markers: Beg 3 sts before marker, K2 tog, K2 (marker sits between these 2 sts), K2 tog into back of loop. Dec on every other round a total of 3-4-5 times and then on every round 4-4-4 times = 12-12-12 sts left on needle. On next round K2 tog all the way round. Cut the thread, pull it through remaining sts, tighten and fasten. Finished foot length = approx 9½ - 10½- 11¾ inch. |
|
Have you finished this pattern?Tag your pictures with #dropspattern #wooliessocks or submit them to the #dropsfan gallery. Do you need help with this pattern?You'll find 10 tutorial videos, a Comments/Questions area and more by visiting the pattern on garnstudio.com. © 1982-2026 DROPS Design A/S. We reserve all rights. This document, including all its sub-sections, has copyrights. Read more about what you can do with our patterns at the bottom of each pattern on our site. |


With over 40 years in knitting and crochet design, DROPS Design offers one of the most extensive collections of free patterns on the internet - translated to 17 languages. As of today we count 325 catalogs and 12298 patterns - 12288 of which are translated into English (US/in).
We work hard to bring you the best knitting and crochet have to offer, inspiration and advice as well as great quality yarns at incredible prices! Would you like to use our patterns for other than personal use? You can read what you are allowed to do in the Copyright text at the bottom of all our patterns. Happy crafting!
Post a comment to pattern DROPS 135-10
We would love to hear what you have to say about this pattern!
If you want to leave a question, please make sure you select the correct category in the form below, to speed up the answering process. Required fields are marked *.