
Suositut kategoriat
Etsitkö tiettyä lankaa?


Kommentit / Kysymykset (67)
![]() Diane Dulong kirjoitti:
Diane Dulong kirjoitti:
Combien de pelotes exigées pour ce modèle?
01.10.2025 - 22:40DROPS Design vastasi:
Bonjour Diane, la laine Drops Silke Alpaca n'est plus en vente. Pour trouver des alternatives utilisez notre conversisseur ICI. Bon crochet!
02.10.2025 - 09:12
![]() Nelly Nabil kirjoitti:
Nelly Nabil kirjoitti:
Dear Sir , I am stuck with the picot line in which stitch do I start and on which stitch does the side ends and how many picot stitch do I get after finishing round 10 and how do I count them . Thank you in advance
24.07.2024 - 19:44DROPS Design vastasi:
Dear Nelly, please read the Picot edge section. You start in the middle of the corner of one square and work alongside one side of this square and the same side of the next square. Work as many picots as indicated for your size: 12-15-21 picots. As indicated in the pattern, the last stitch should be: 1 dc around next dtr. Happy crochetting!
27.07.2024 - 20:30
![]() Janice L Zhou kirjoitti:
Janice L Zhou kirjoitti:
It says to place a stitch in the side to hold it together. Just ONE stitch? Where does that stitch go? I also figured out that the row 2 of picot edge should skip 1 picot after chaining 6. I made as stated and had to rip that row.
12.08.2023 - 00:28DROPS Design vastasi:
Dear Mrs Zhou, you will sew the bottom stitch on 2 squares, to shape armholes (see picture). On 2nd row of picot edge, you will crochet 1 sc (US-crochet terminology) in the top of each picot, with 6 chains in between (starting in the 2nd chain of the last picot worked). Happy crocheting!
14.08.2023 - 08:55
![]() Angelica kirjoitti:
Angelica kirjoitti:
I really love this pattern …thank you lots… so I’ve not crocheted anything like this….so I’m wishing myself luck… please keep up the good designing God Bless
06.08.2021 - 18:21
![]() Virg kirjoitti:
Virg kirjoitti:
I am American. Are there triple crochets or double crochets in this pattern? After reading all these questions, I am just wondering.
06.02.2019 - 22:43DROPS Design vastasi:
Dear Virg, make sure to read the US-English pattern using the US-crochet terminology to be sure editing the language by clicking on the arrow (drop menu) under the picture. Happy crocheting!
07.02.2019 - 10:00
![]() Eli Blålid kirjoitti:
Eli Blålid kirjoitti:
Er omg 8 riktig? Skal det ikke være noe mellom dobbeltstavene i de 8 første dobbeltstavene og de i lm buene? Arbeidet strammer seg slik det er forklart.
04.07.2018 - 20:15DROPS Design vastasi:
Hei Eli. Ja dette stemmer: det skal være en dobbelstav i hver av de 8 dobbelstavene, og 1 dobbelstav rundt hver av de 8 første luftmaskebuene. God fornøyelse.
06.07.2018 - 15:39
![]() April kirjoitti:
April kirjoitti:
I'm attempting to begin the picot edging, and I'm a bit confused. The instructions state to complete 1 sc AROUND the first treble. What does AROUND mean? I would typically work into the stitch not around the stitch. Also mid corner? Which stitch do I use? So please clarify for me. Here are the instructions I'm referring to. Crochet as follows (begin mid corner): 1 sc around first tr,
27.04.2017 - 19:00DROPS Design vastasi:
Dear April, you can work in the tr - there is no picots in the corners, you are working picot edging along either 1 or 2 sides, and not in the corner. Happy crocheting!
28.04.2017 - 09:02
![]() Denise kirjoitti:
Denise kirjoitti:
Overall, the translation to American terminology is a bit different than we're used to seeing, but an experienced hooker can figure it out with a bit of effort (understanding that where pattern says "around" in the picot edges it means "in", because they do not mean the same in American terminology). Pretty shrug, though, so here's hoping I can finish it up after my alterations. Thanks for the freebie.
01.04.2016 - 08:18
![]() Denise kirjoitti:
Denise kirjoitti:
Coming rather late to the comments, but for anyone coming after me, this really doesn't make a "square", which at least one of the other comments also indicated. It's more of a round-sided motif with stitches that you can call corners, but aren't really "square" corners. That was frustrating me, so I basically abandoned the pattern after round 6 and made my own round 7 & 8 to actually make it "square".
01.04.2016 - 08:14
![]() FATIMA kirjoitti:
FATIMA kirjoitti:
GOSTARIA DE DETALHES DO DESIGNE DO SQUARE.OBRIGADO
16.09.2015 - 16:15
|
|
Lake Erie#lakeeriebolero |
|
|
|
|
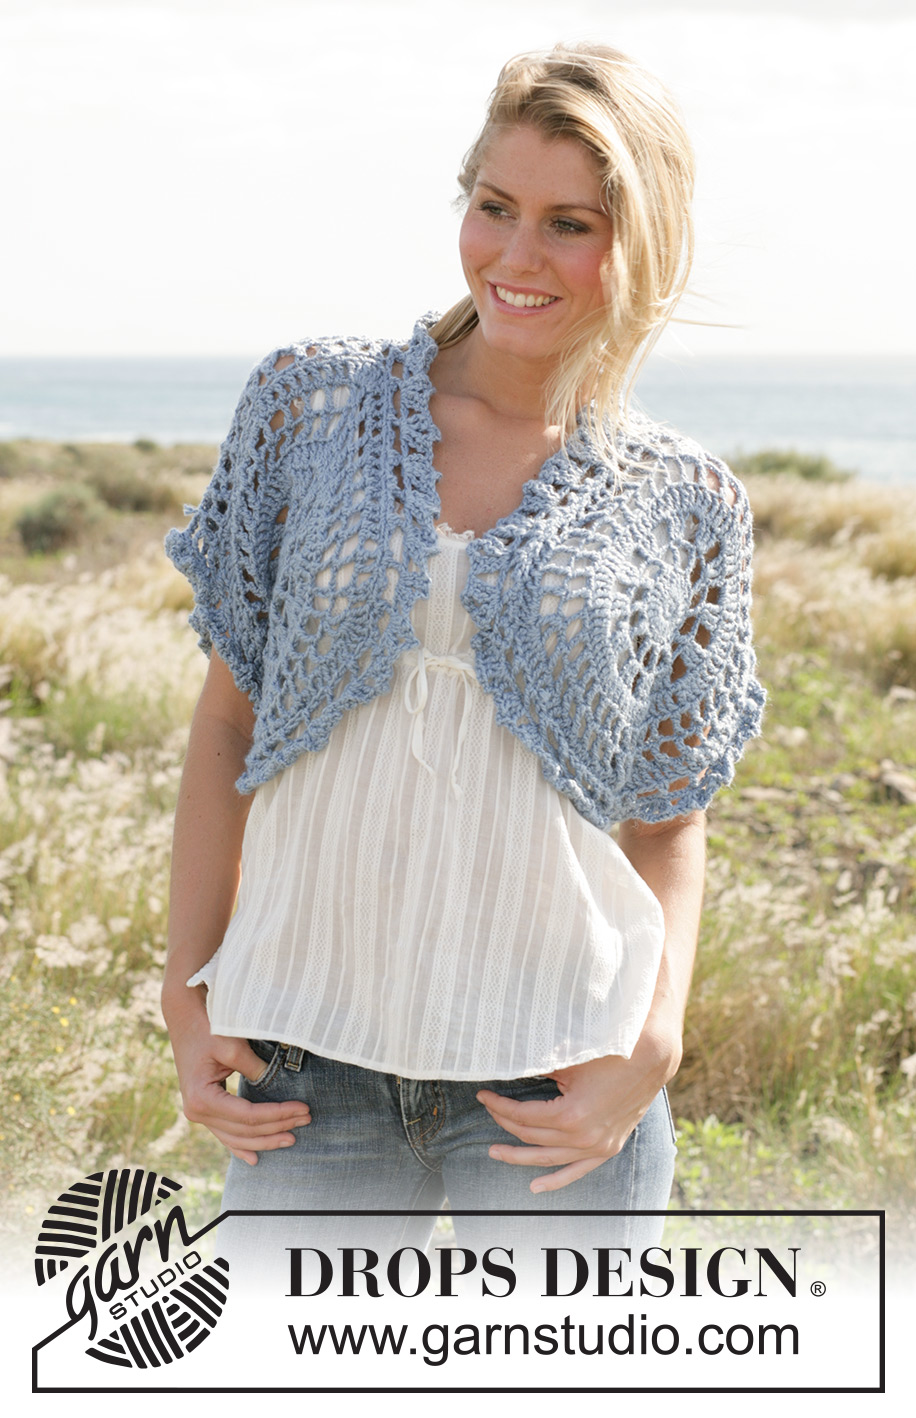
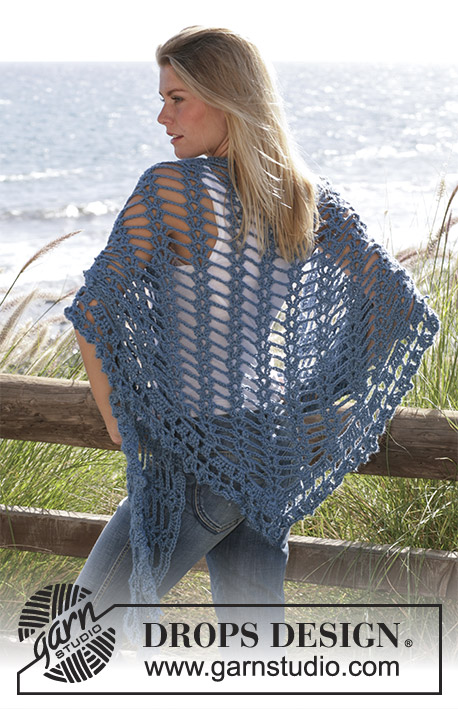
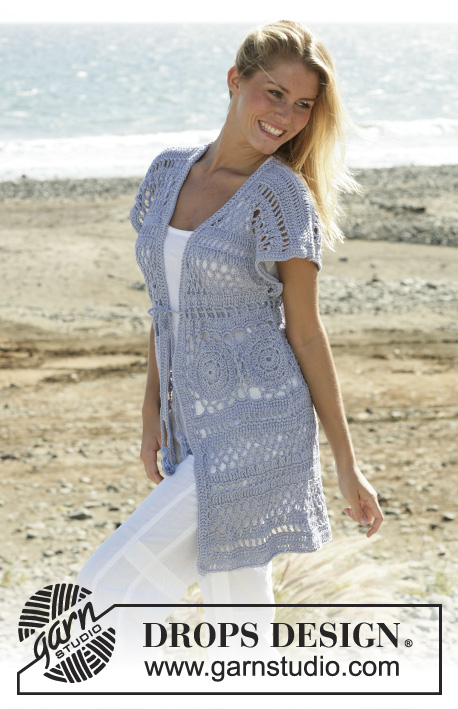
DROPS olkainlämmitin virkatuilla reunuksilla ”Silke-Alpaca”-langasta.
DROPS 99-20 |
|
|
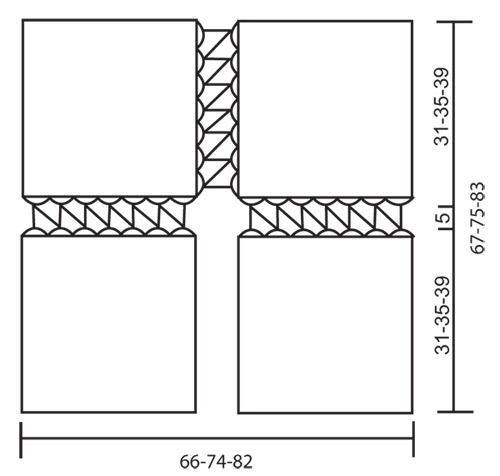
Virkkausinfo: Jokaisen kp-krs:n ensimmäinen kp korvataan 4:llä kjs:lla. Jokaisen ks-krs:n ensimmäinen ks korvataan 1:llä kjs:lla. Jokaisella krs:lla virkataan lopuksi 1 ps krs:n alkuun. Koossa S/M virkataan 8 krs. Koossa L virkataan 9 krs. Koossa XL/XXL virkataan 10 krs. Virkattu ruutu: Virkkaa 4 kjs ja sulje nämä renkaaksi 1:llä ps:lla ensimmäiseen kjs:aan. 1. krs: Virkkaa 8 ks renkaaseen - lue Virkkausinfo! 2. krs: Virkkaa 3 kp jokaiseen ks:aan = 24 kp. 3. krs: Virkkaa 1 kp, * 3 kjs, jätä 1 kp väliin, 1 kp seuraavaan kp:seen *, toista *-* ja virkkaa lopuksi 3 kjs ja 1 ps krs:n alkuun = 12 kp. 4. krs: Virkkaa 3 kp ensimmäiseen kp:seen, * 3 kjs, jätä 3 kjs väliin, 3 kp seuraavaan kp:seen *, toista *-* ja virkkaa lopuksi 3 kjs ja 1 ps krs:n alkuun = 36 kp. 5. krs: Virkkaa 1 kp jokaiseen kp:seen ja 3 kp jokaiseen kjs-kaareen = 72 kp. Ruudun halkaisija on nyt n. 18 cm. 6. krs: Virkkaa 1 kp ensimmäiseen kp:seen, * 3 kjs, jätä 1 kp väliin, 1 kp seuraavaan kp:seen *, toista *-* ja virkkaa lopuksi 3 kjs ja 1 ps krs:n alkuun = 36 kp. 7. krs: * 1 kp ja 3 kjs jokaiseen 8:aan ensimmäiseen kp:seen, 1 kp seuraavaan kp:seen, 3 kjs, 1 kp samaan kp:seen (= kulma), 3 kjs *, toista *-* yht. 4 kertaa ja virkkaa lopuksi 1 ps krs:n alkuun = 40 kp. 8. krs: * 1 kp jokaiseen 8:aan ensimmäiseen kp:seen ja jokaiseen 8:aan ensimmäiseen kjs-kaareen, 2 kp seuraavaan kp:seen, 3 kp kjs-kaareen, 2 kp seuraavaan kp:seen (= kulma), 1 kp seuraavaan kjs-kaareen *, toista *-* yht. 4 kertaa ja virkkaa lopuksi 1 ps krs:n alkuun = 96 kp. Koko S/M on nyt valmis - ruudun halkaisija on n. 31 cm. 9. krs: Virkkaa 1 kp jokaiseen kp:seen. Virkkaa jokaisen kulman 7:ään kp:seen näin: 2 kp jokaiseen 3:een ensimmäiseen kp:seen, 3 kp seuraavaan kp:seen, 2 kp jokaiseen 3:een seuraavaan kp:seen = 128 kp. Koko L on nyt valmis - ruudun halkaisija on n. 35 cm. 10. krs: Virkkaa 1 kp jokaiseen kp:seen. Virkkaa jokaisen kulman 15:sta kp:seen näin: 2 kp jokaiseen 7:ään ensimmäiseen kp:seen, 3 kp seuraavaan kp:seen, 2 kp jokaiseen 7:ään seuraavaan kp:seen = 192 kp. Koko XL/XXL on nyt valmis - ruudun halkaisija on n. 39 cm. Virkkaa vielä 3 ruutua. Nirkkoreunus: Virkkaa nirkkoreunus pitkin 2:ta sivua kahdessa ruudussa - kahteen muuhun ruutuun virkataan nirkkoreunus vain pitkin 1:tä sivua - kts. Mittapiirros. Virkkaa näin (aloita kulman keskeltä): 1 ks ensimmäiseen kp:seen, * 1 nirkko (= 3 kjs, 1 ps 3. kjs:aan koukusta laskien), jätä 1 kp väliin, 1 ks seuraavaan kp:seen *, toista *-* yht. 12-15-21 kertaa = 12-15-21 nirkkoa. Käännä työ ja virkkaa takaisin näin: Virkkaa ps:ita viimeisen nirkon toiseen kjs:aan asti, * 6 kjs, 1 ks seuraavan nirkon toiseen kjs:aan *, toista *-*. Katkaise lanka ja päättele langanpää. Yhteenvirkkaaminen: Yhdistä ruudut ja virkkaa ne yhteen - kts. Mittapiirros. Virkkaa nirkkoreunuksen kjs-kaarista näin: 1 ks ensimmäisen ruudun ensimmäiseen kjs-kaareen, 2 kjs, 1 ks toisen ruudun ensimmäiseen kjs-kaareen, * 3 kjs, 1 ks ensimmäisen ruudun seuraavaan kjs-kaareen, 2 kjs, 1 ks toisen ruudun seuraavaan kjs-kaareen *, toista *-* kunnes olet virkannut ruudut yhteen sivua pitkin. Virkattu reunus: Virkkaa reunus olkainlämmittimen aukon ympäri koukulla nro 5 ja Silke-Alpaca-langalla näin: 1. krs: 1 kp ensimmäiseen kp:seen, * 2 kjs, jätä 3 kp väliin, 1 kp seuraavaan kp:seen *, toista *-* ja virkkaa lopuksi 2 kjs ja 1 ps ensimmäiseen kp:seen. 2. krs: 2 kp ensimmäiseen kp:seen, * 4 kjs, 2 kp samaan kp:seen, 1 kjs, 2 kp seuraavaan kp:seen *, toista *-* ja virkkaa lopuksi 4 kjs, 2 kp samaan kp:seen, 1 kjs ja 1 ps ensimmäiseen kp:seen. Taita olkainlämmitin kaksinkerroin ja ompele yksi pisto kummankin sivun alareunaan, jotta olkainlämmitin pysyisi koossa kädentien alla. |
|
 |
|
Oletko tehnyt tämän mallin?Tägää tällöin kuviasi #dropspattern #lakeeriebolero tai lähetä kuvat #dropsfan galleriaan. Tarvitsetko apua tämän ohjeen kanssa?Löydät 9 ohjevideota, kommentteja/kysymyksiä ja muuta osoitteessa www.garnstudio.com © 1982-2026 DROPS Design A/S. Pidätämme kaikki oikeudet. Tämä tiedosto ja kaikki sen alatiedostot on suojattu tekijänoikeuslailla. Lue lisää siitä, mitä voit tehdä ohjeillamme, verkkosivujemme jokaisen ohjeen alaosasta. |


DROPS Design on toiminut neule- ja virkkausalalla yli 40 vuotta ja meillä on yksi kaikkein laajin valikoima ilmaisia ohjeita verkossa - käännettynä 17 kielelle. Tänään meiltä löytyy 324 lehteä ja 12290 ohjetta - joista 11712 ohjetta on käännetty suomeksi.
Työskentelemme ahkerasti, jotta voisimme antaa teille kaikkein parhaimpia neule- ja virkkausohjeita, inspiraatiota ja neuvoja sekä korkealaatuisia lankoja todella edulliseen hintaan! Haluaisitko käyttää ohjeitamme muuhun kuin henkilökohtaiseen käyttöön? Voit lukea säännöistä ohjeiden Tekijänoikeus -tekstissä, joka löytyy kaikkien ohjeidemme alapuolelta. Hauskoja hetkiä käsitöiden parissa!
Lisää kommentti ohjeeseen DROPS 99-20
Haluamme mielellämme kuulla mielipiteesi tästä ohjeesta!
Mikäli haluat esittää kysymyksen, valitse oikea kategoria alla olevasta valikosta - tällä tavoin saat vastauksen nopeammin. Pakolliset kentät on merkitty tähdellä *.