
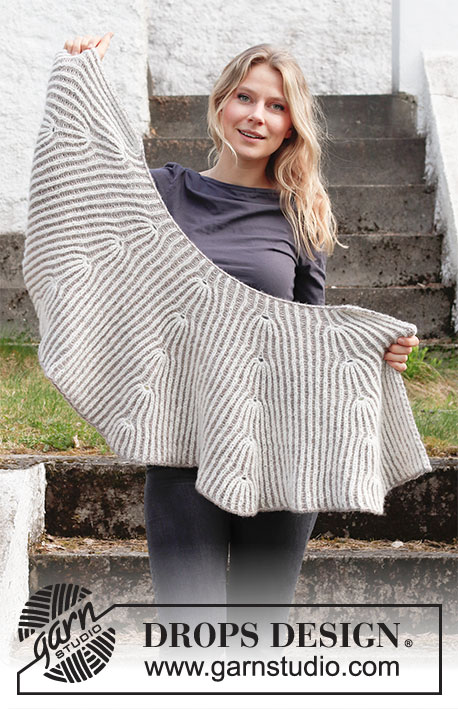
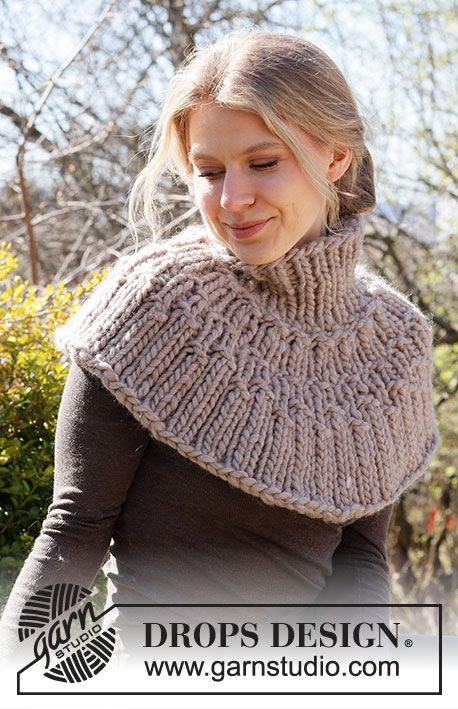
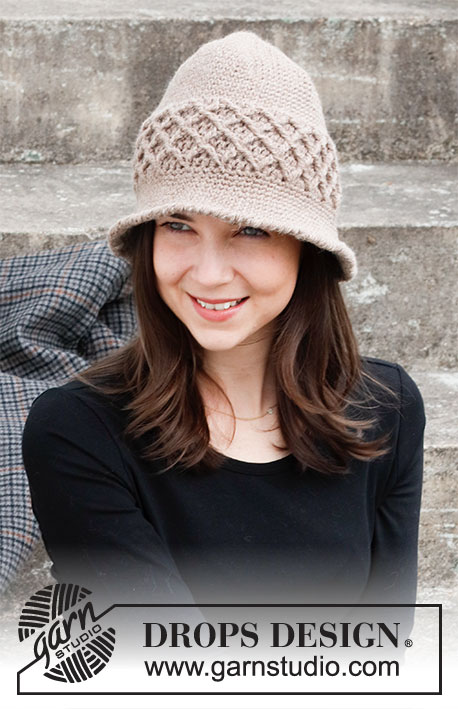
Popular categories
Looking for a yarn?


|
||||||||||
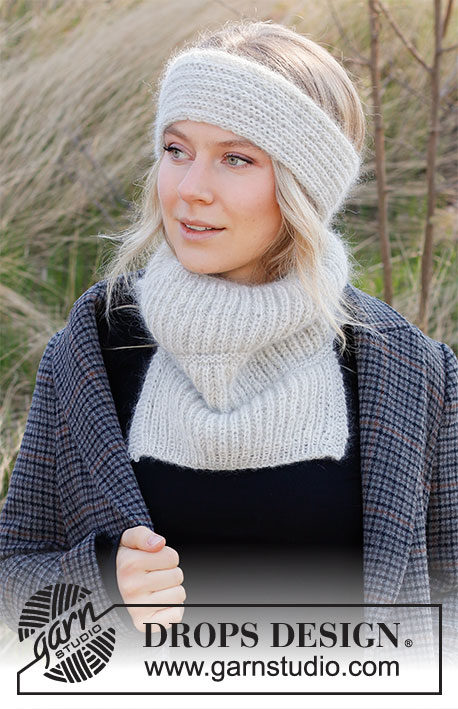
Winter Companions |
||||||||||
 |
 |
|||||||||
Knitted head band and neck warmer in DROPS Alpaca and DROPS Kid-Silk. Work the entire set in English rib.
DROPS 214-44 |
||||||||||
|
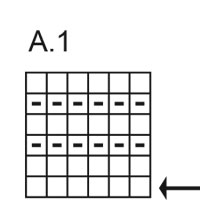
------------------------------------------------------- EXPLANATION FOR THE PATTERN: ------------------------------------------------------- GARTER STITCH (back and forth): Knit all rows. 1 ridge vertically = knit 2 rows. KNITTING TIP (applies to head band): The head band can be worked in 2 sizes but length can be adjust to desired measurement. To get a good fit on the head band work approx. 7-8 cm shorter than head circumference. ENGLISH RIB (worked back and forth): ROW 1: Work edge stitch(es) as explained in pattern - this applies to every row, * knit 1, make 1 yarn over, slip 1 stitch purlwise *, work from *-* until 1 stitch remains before edge stitch(es), knit 1 and finish with edge stitch(es) as explained in pattern. ROW 2: Work edge stitch(es),* make 1 yarn over, slip 1 stitch purlwise, knit yarn over and slipped stitch together *, work from *-* until 1 stitch remains before edge stitch(es), make 1 yarn over, slip 1 stitch purlwise and work edge stitch(es). ROW 3: Work edge stitch(es), * knit yarn over and slipped stitch together, make 1 yarn over, slip 1 stitch purlwise *, work from *-* until 1 stitch remains before edge stitch(es), knit yarn over and slipped stitch together, and finish with edge stitch(es). Repeat rows 2 and 3. ENGLISH RIB (worked in the round): ROUND 1: * Knit 1, make 1 yarn over, slip 1 stitch purlwise *, work from *-* the entire round. ROUND 2: * Make 1 yarn over, slip 1 stitch purlwise, purl together yarn over and slipped stitch *, repeat from *-* the entire round. ROUND 3: * Knit yarn over and slipped stitch together, 1 yarn over, slip 1 stitch purlwise *, work from *-* the entire round. Repeat rounds 2 to 3. PATTERN (applies to neck warmer): See diagram A.1. ------------------------------------------------------- START THE PIECE HERE: ------------------------------------------------------- HEAD BAND - SHORT OVERVIEW OF THE PIECE: Worked back and forth on needle, sew together when finished. HEAD BAND: Cast on 15-17 stitches somewhat loosely on needle size 3.5 mm with 1 strand in each quality (= 2 strands). Work 2 ridges in GARTER STITCH back and forth - read explanation above! Then work 2 rows in stocking stitch with 1 edge stitch in each side (slip edge stitch at the beginning of row and knit at the end of row - this applies to every row). Change to needle 4.5 mm. Then work ENGLISH RIB (worked back and forth) - read explanation above, with 1 edge stitch in each side as explained above. REMEMBER THE KNITTING TENSION! When head band measures approx. 46-49 from cast-on edge - read KNITTING TIP, change back to needle 3.5 mm. Work 2 rows in stocking stitch back and forth with 1 edge stitch in each side as before (work 1st row from right side). Work 2 ridges over all stitches. Loosely cast off by knitting from right side. ASSEMBLY: Sew head band together mid back - sew with 1 stitch in every stitch. Fasten off. ------------------------------------------------------- NECK WARMER - SHORT SUMMARY OF PIECE: Worked in the round on circular needle, top down. Then divide the piece into vent in each side, and finish each part back and forth on circular needle separately. NECK WARMER: Cast on 86-98 stitches on circular needle size 4 mm with 1 strand Alpaca and 2 strands Kid-Silk (= 3 strands). Remove one strand with Kid-Silk. Work the rest of piece with 1 strand in each quality (cast on like this to avoid a tight cast-on edge). Knit 1 round. Then work rib in the round (= knit 1/purl 1) for 2 cm. Then work as follows: * Switch to circular size 4.5 mm, work 8-9 cm with ENGLISH RIB (worked in the round) - read explanation above, switch to circular size 4 mm and work A.1 *, work from *-* one more time. REMEMBER THE KNITTING TENSION! Now divide piece in each side so that the two parts are worked back and forth on circular needle separately as explained below: Displace beginning of round 1 stitch to the right or left, slip the next 43-49 stitches on circular needle size 4.5 mm and slip the remaining 43-49 stitches on a stitch holder. Work ENGLISH RIB (worked back and forth) with 3 edge stitches in garter stitch in each side (by displacing beginning of round the English rib will begin and end with 1 knit stitch in English rib inside the 3 edge stitches in garter stitch in each side - seen from right side). When piece measures 29-32 cm from cast-on edge, switch to circular needle size 4 mm. Then work rib back and forth for 2 cm with knit over knit and purl over purl with 3 edge stitches in garter stitch in each side. Loosely cast off stitches with knit over knit and purl over purl. Slip stitches from stitch holder back on circular needle 4.5 and work as first half piece. Neck warmer measures approx. 31-34 cm from cast-on edge and down. |
||||||||||
Diagram explanations |
||||||||||
|
||||||||||
|
||||||||||
|
Have you made this or any other of our designs? Tag your pictures in social media with #dropsdesign so we can see them! Do you need help with this pattern?You'll find tutorial videos, a Comments/Questions area and more by visiting the pattern on garnstudio.com. © 1982-2024 DROPS Design A/S. We reserve all rights. This document, including all its sub-sections, has copyrights. Read more about what you can do with our patterns at the bottom of each pattern on our site. |
||||||||||


With over 40 years in knitting and crochet design, DROPS Design offers one of the most extensive collections of free patterns on the internet - translated to 17 languages. As of today we count 304 catalogues and 11422 patterns - 11422 of which are translated into English (UK/cm).
We work hard to bring you the best knitting and crochet have to offer, inspiration and advice as well as great quality yarns at incredible prices! Would you like to use our patterns for other than personal use? You can read what you are allowed to do in the Copyright text at the bottom of all our patterns. Happy crafting!
Comments / Questions (8)
Désolée, mais j’avais mal lu. Oubliez ma question, tout est très clair.
16.12.2021 - 11:36Dans les explications de départ, on indique d’utiliser des aiguilles 4 et 4.5 et dans le tricot, on indique plutôt des 3.5 pour les côtes et ensuite des 4.5. Est-ce préférable de commencer les côtes avec des 3.5 ou des 4 nonobstant la tension. Merci
16.12.2021 - 11:20DROPS Design answered:
Bonjour Josette, la tension est toujours importante, mais les aiguilles ne sont pas les mêmes pour le bandeau (= 4,5 pour les côtes anglaises et 3,5 pour le point mousse) et pour le plastron (4,5 pour les côtes anglaises mais cette fois 4 pour les côtes), tout va dépendre donc quel modèle vous réalisez. l'échantillon est mesuré en côtes anglaises / jersey , avec les aiguilles 4,5. Bon tricot!
16.12.2021 - 14:21Does the headband have visible garter stitch in the back or does that get covered by the join? Is there a way to join it so that it is ribbing all the way around?
14.12.2021 - 02:15DROPS Design answered:
Dear Eve, correct, there is a total of 4 ridges on mid back of the headband (= 2 ridges after cast on and 2 ridges before casting off). Happy knitting!
14.12.2021 - 07:51Wie breit wird das Stirnband.
25.01.2021 - 19:12DROPS Design answered:
Liebe Johanna, es ist ca 10-11 cm breit. Viel Spaß beim stricken!
26.01.2021 - 08:41Beautiful set
17.01.2021 - 10:55Se ce un video o qualcosa che spieghi come lavorare i scaldacollo con pettorina si parte dall'alto ma poi vome si lavorano i due pezzi il davanti e il dietro.Questo chiedevo
22.11.2020 - 18:07DROPS Design answered:
Buonasera Arianna, non ci sono video specifici per questo modello, ma se segue le istruzioni indicate riuscirà a realizzarlo. Buon lavoro!
22.11.2020 - 18:18Buongiorno ce un video che fa vedere come lavorare con i ferri circolari in maniera divisa.Grazie attendo risposta.
22.11.2020 - 15:58DROPS Design answered:
Buongiorno Arianna, può spiegarci meglio cosa intende "in maniera divisa?". Buon lavoro!
22.11.2020 - 17:40Witam, proszę o potwierdzenie mojego rozumowania, w pozycji materiał, potrzeba jest zakupienia kolor 9020 - 100 g. i kolor 01 -50 g. Czy ta ilość oznacza, że starczy na wykonanie całego kompletu określonego rozmiaru? Dziękuję i pozdrawiam
29.10.2020 - 11:19DROPS Design answered:
Witaj Gosiu! Dokładnie tak jest :) Pozdrawiamy!
29.10.2020 - 18:47