
Popular categories
Looking for a yarn?


Comments / Questions (8)
![]() Linda wrote:
Linda wrote:
Vielen Dank für die prompte Antwort. Habe noch eine kurze Frage, muss ich zuerst eine Reihe mit Picot machen und danach eine mit den Stäbchen und Luftmaschen, dies ist mir nicht ganz klar.Vielen Dank.
25.02.2014 - 16:13DROPS Design answered:
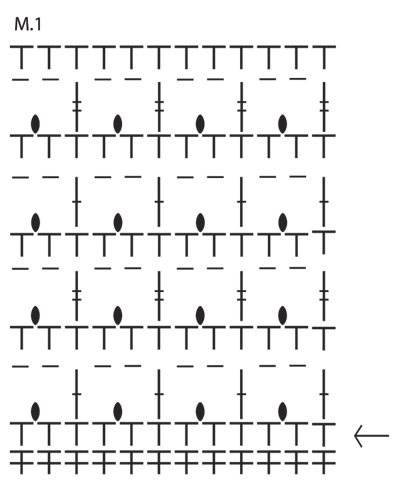
Liebe Linda, nach den Runden mit den Halb-Stäbchen starten Sie M.1 mit einer Runde mit festen M und Picots. Die Startrunde ist im Diagramm mit dem Pfeil markiert. Sie häkeln also eine Rd mit fM + Picots, dann eine Rd mit Stb + Lm, dann wieder eine Rd mit fM + Picots, dann eine Rd mit Doppel-Stb + Lm usw. Gutes Gelingen!
25.02.2014 - 21:04
![]() Linda wrote:
Linda wrote:
Das Diagramm M1 ist mir nicht ganz klar. Nach dem Stäbchen müsste da nicht eine feste Masche in die feste Masche gehäkelt werden. Wie kann sonst das Pikot gehäkelt werden ?Danke für ihre Auskunft
25.02.2014 - 10:55DROPS Design answered:
Liebe Linda, den Picot häkeln Sie immer in den Runden mit fM, nicht in den Runden mit Stb oder D-Stb. Der Lm-Bogen zwischen den Stb/D-Stb der nächsten Runde bildet dann praktisch die "Brücke" über den Picot. Viel Spaß beim Häkeln!
25.02.2014 - 13:33
![]() LEMAUX wrote:
LEMAUX wrote:
Très bien, mais je crois qu'il manque quelques mailles serrées dans les tours du point fantaisie. Si on suit "à la lettre",chaque tour est beaucoup trop serré avec seulement deux mailles serrées entre les brides ou doubles brides. Qu'en pensez-vous ?
07.06.2013 - 13:54DROPS Design answered:
Bonjour Mme Lemaux, c'est peut-être une question de tension ? les 2 ms crochetées au-dessus des 2 ml doivent avoir la même largeur que les dB du début du chapeau, soit 22 dB = 10 cm. Bon crochet!
07.06.2013 - 14:01
![]() Nadine wrote:
Nadine wrote:
Super kul hat !!
09.01.2011 - 21:24
![]() Christine wrote:
Christine wrote:
Like this one too, only need a summer to wear it in
08.01.2011 - 23:51
![]() Carrie wrote:
Carrie wrote:
Love this hat!
08.01.2011 - 00:12
![]() Adeline wrote:
Adeline wrote:
Vous allez finir par me faire commencer le crochet!!!
10.12.2010 - 16:42
![]() Ghislaine wrote:
Ghislaine wrote:
Trés joli modele , j'attends les explcations avec impatience .
09.12.2010 - 14:44
|
||||||||||||||||||||||
Wood Lily#woodlilyhat |
||||||||||||||||||||||
 |
 |
|||||||||||||||||||||
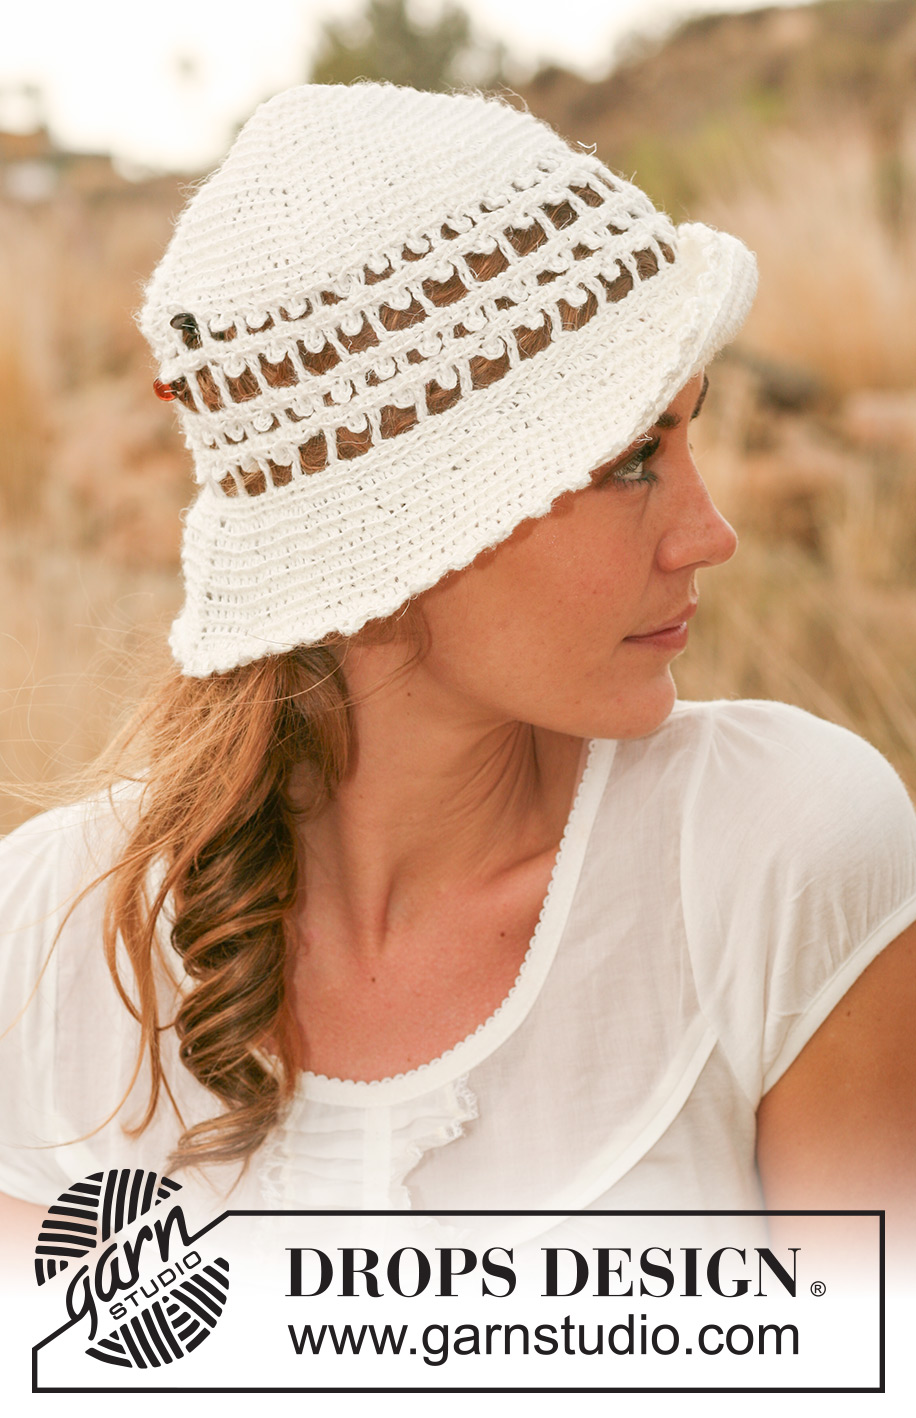
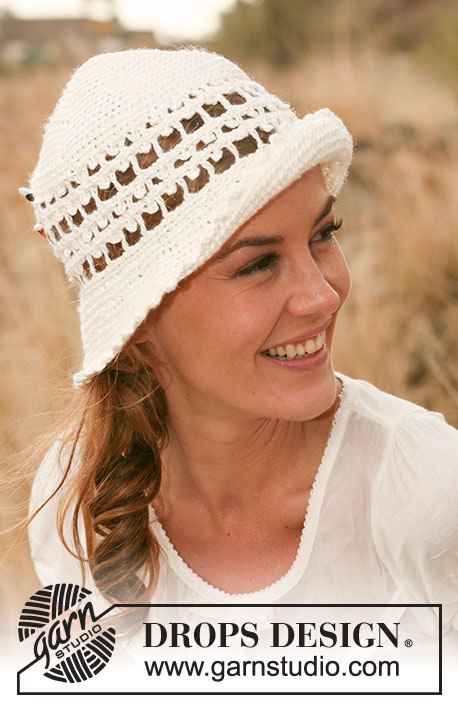
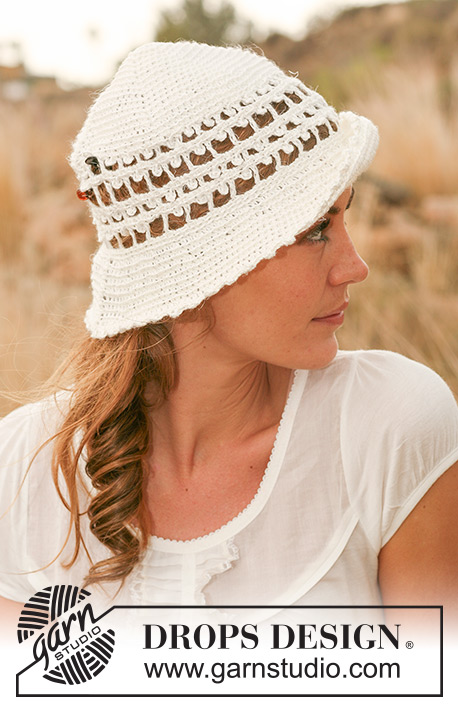
Crochet DROPS hat with fan pattern border in "Lin".
DROPS 127-44 |
||||||||||||||||||||||
|
CROCHET INFO: Replace first hdc on every round with hdc with 2 ch and finish every round with hdc with 1 sl st in 2nd ch from beg of round. NOTE: When working hdc, work in back loop of st (not through both loops of st). PATTERN: See diagram M.1, start of round is marked with arrow in diagram - NOTE: In M.1 replace first sc on round with sc with 1 ch and finish round with 1 sl st in ch from beg of round. Replace first dc at beg of every round with dc with 3 ch and finish every round with 1 sl st in 3rd ch from beg of round. Replace first tr at beg of every round with tr with ch 4 and finish every round with 1 sl st in 4th ch from beg of round. DECREASE TIP: Dec 1 sc by working 1 sc but wait with last YO and last pull through (= 2 sts on hook), then work next sc but on last YO and pull through pull thread through all sts on hook = 1 sc dec. -------------------------------------------------------- HAT: The hat is worked top down. Ch 5 on hook size 3 mm / C with Lin and form a ring with 1 sl st in first ch. ROUND 1: Work 12 hdc in ch-ring – READ CROCHET INFO! ROUND 2: * 1 hdc in first st, 2 hdc in next st *, repeat from *-* the rest of the round = 18 hdc. ROUND 3: * 1 hdc in each of the first 2 sts, 2 hdc in next st *, repeat from *-* the rest of the round = 24 hdc. ROUND 4: * 1 hdc in each of the first 3 sts, 2 hdc in next st *, repeat from *-* the rest of the round = 30 hdc. Continue inc like this (= 6 sts inc on every round) until there are 90-108 hdc on the round (i.e. so that for every round 1 hdc more is worked between every 1 hdc inc). Continue working 1 hdc in every st until piece measures 11-13 cm / 4⅜"-5⅛" from mid down - while AT THE SAME TIME on last round inc 6 hdc evenly = 96-114 hdc. Now work PATTERN - see explanation above. After M.1 there are 96-114 sc on round. Work 1 round sc while AT THE SAME TIME dec 6 sc evenly = 90-108 sc on round. Piece measures approx. 17-19 cm / 6¾"-7½" from mid and down. BRIM: Remember CROCHET INFO! ROUND 1: * 1 hdc in each of the first 2 sts, 2 hdc in next st *, repeat from *-* the rest of the round = 120-144 hdc. ROUND 2: 1 hdc in every st. ROUND 3: * 1 hdc in each of the first 5 sts, 2 hdc in next st *, repeat from *-* the rest of the round = 140-168 hdc. Continue to work 1 hdc in every st until piece measures approx. 22-24 cm / 8¾"-9½" from mid and down (brim measures approx. 5 cm / 2"). Now work a final picot border round the brim of the hat as follows: ch 1 (= 1 sc), 1 sc in next st, * ch 4, 1 sl st in first ch (1 picot), 1 sc in each of the next 3 sts *, repeat from *-* until 0-1 st remain, finish with 1 sc in last st (applies to size M/L) and 1 sl st in ch from beg of previous round. |
||||||||||||||||||||||
Diagram explanations |
||||||||||||||||||||||
|
||||||||||||||||||||||
 |
||||||||||||||||||||||
Have you finished this pattern?Tag your pictures with #dropspattern #woodlilyhat or submit them to the #dropsfan gallery. Do you need help with this pattern?You'll find 8 tutorial videos, a Comments/Questions area and more by visiting the pattern on garnstudio.com. © 1982-2026 DROPS Design A/S. We reserve all rights. This document, including all its sub-sections, has copyrights. Read more about what you can do with our patterns at the bottom of each pattern on our site. |
||||||||||||||||||||||


With over 40 years in knitting and crochet design, DROPS Design offers one of the most extensive collections of free patterns on the internet - translated to 17 languages. As of today we count 324 catalogs and 12290 patterns - 12280 of which are translated into English (US/in).
We work hard to bring you the best knitting and crochet have to offer, inspiration and advice as well as great quality yarns at incredible prices! Would you like to use our patterns for other than personal use? You can read what you are allowed to do in the Copyright text at the bottom of all our patterns. Happy crafting!
Post a comment to pattern DROPS 127-44
We would love to hear what you have to say about this pattern!
If you want to leave a question, please make sure you select the correct category in the form below, to speed up the answering process. Required fields are marked *.