
Popular categories
Looking for a yarn?


Comments / Questions (24)
![]() Lucienne BASCOU wrote:
Lucienne BASCOU wrote:
Bonjour, La fin des deux bordures (droite et gauche) de ce boléro est donnée pour les tailles XS plus SM, et...XL/XXL. Manque la fin des cotés pour lataille M/L Pourrait-on l'avoir s'il vous plait?
16.03.2020 - 22:48DROPS Design answered:
Bonjour Mme Bascou, il ne manque rien en taille M/L, on n'augmente pas de mailles supplémentaires et on en diminue pas non plus, on continue simplement comme indiqué. Bon tricot!
17.03.2020 - 10:02
![]() Manuela wrote:
Manuela wrote:
Herzlichen Dank für die Antwort. Nun geht es gleich weiter. Schönen Abend.
25.11.2015 - 18:42
![]() Manuela wrote:
Manuela wrote:
In der Beschreibung steht beim rechten Vorderteil die Angabe: "...nach 27-30-33-38 og 32-35-38-43 cm in jeder li. Partie....". Was sind denn das für unterschiedliche Maße und was heißt "og" ? Bitte um schnelle Antwort. Liebe Grüße
14.11.2015 - 15:33DROPS Design answered:
"og" heißt "und", das ist in der Übersetzung nicht mitübersetzt worden und wird gleich korrigiert. Die Maße beziehen sich darauf, dass Sie in der entsprechenden Größe die Abnahmen nach den genannten cm machen, also z.B. in der kleinsten Größe (XS) bei einer Gesamtlänge von 27 cm und bei einer Gesamtlänge von 32 cm.
18.11.2015 - 19:01Eva wrote:
Thanks for your reply. I did get that, let's hope it will turn out fine :)
07.04.2014 - 14:04Eva wrote:
Hi there, I hope someone could help me understand something about this pattern. So far I've knitted, in XS size, the back piece and the right edge piece, but something I guess is not adding up: the shoulder seam (marked C in chart) on the back piece (19 sts) is shorter than the shoulder seam of the edge (24 sts). Is that correct? Shouldn't the number of sts be equal for both pieces? Otherwise, what am I supposed to do with the 5 sts extra? Eva
06.04.2014 - 20:27DROPS Design answered:
Dear Eva, the parts C+G on right front piece will be sewn to the part C+G on back piece, ie from shoulder to mid neckline on back piece. Happy knitting!
07.04.2014 - 10:08
![]() DROPS Design NL wrote:
DROPS Design NL wrote:
Hoi. Geen probleem! Nee je moet ze niet op een hulpnld zetten. Bekijk ook even de video (Onder V in de index: verkorte toeren), dan zie je precies hoe het moet. Succes en veel plezier mee! Gr. Tine
27.04.2010 - 21:07
![]() Josette wrote:
Josette wrote:
Hoi Tine, Dank voor je snelle reaktie maar ik wilde (als het kan toch nog iets vragen)dus je hoeft niet de steken van het verkorte gedeelte apart te breien en op een hulpnaald te zetten.Dat is wat ik eerst gedaan had. Met vriendelijke breigroetjes Josette
27.04.2010 - 17:04
![]() DROPS Design NL wrote:
DROPS Design NL wrote:
Hoi Josette. Is dat bij het beginnen met het breien van de verkorte toeren? Je breit verkorte toeren (naalden) heen en weer zoals er wordt beschreven. Op deze manier krijg je de "draai" in de randstuk. Dus als je maat S/M breit, dan brei je: 2 naalden (heen en weer) over de eerste 23 st, 2 naalden over de eerste 33 st, en 2 naalden over alle st. Herhaal dit tot een hoogte van 29 cm. Kijk ook in onze instructievideo's hoe je verkorte toeren moet breien. Gr. Tine
27.04.2010 - 11:30
![]() Josette wrote:
Josette wrote:
Graag wil ik weten hoe ik verder kan breien bij het rechter randstuk d.w.z. wat moet ik doen met de verkorte kant 17 cm moet ik hier ook verder mee breien. Ik hoop dat iemand mij verder kan helpen zodat ik toch het vestje kan afbreien. Met vriendelijke groet, Josette
26.04.2010 - 19:41
![]() DROPS Design wrote:
DROPS Design wrote:
"P section" is a section of purled stitches.
23.02.2008 - 22:28
|
||||||||||||||||||||||
Wings of Moonlight Vest#wingsofmoonlightvest |
||||||||||||||||||||||
 |
 |
|||||||||||||||||||||
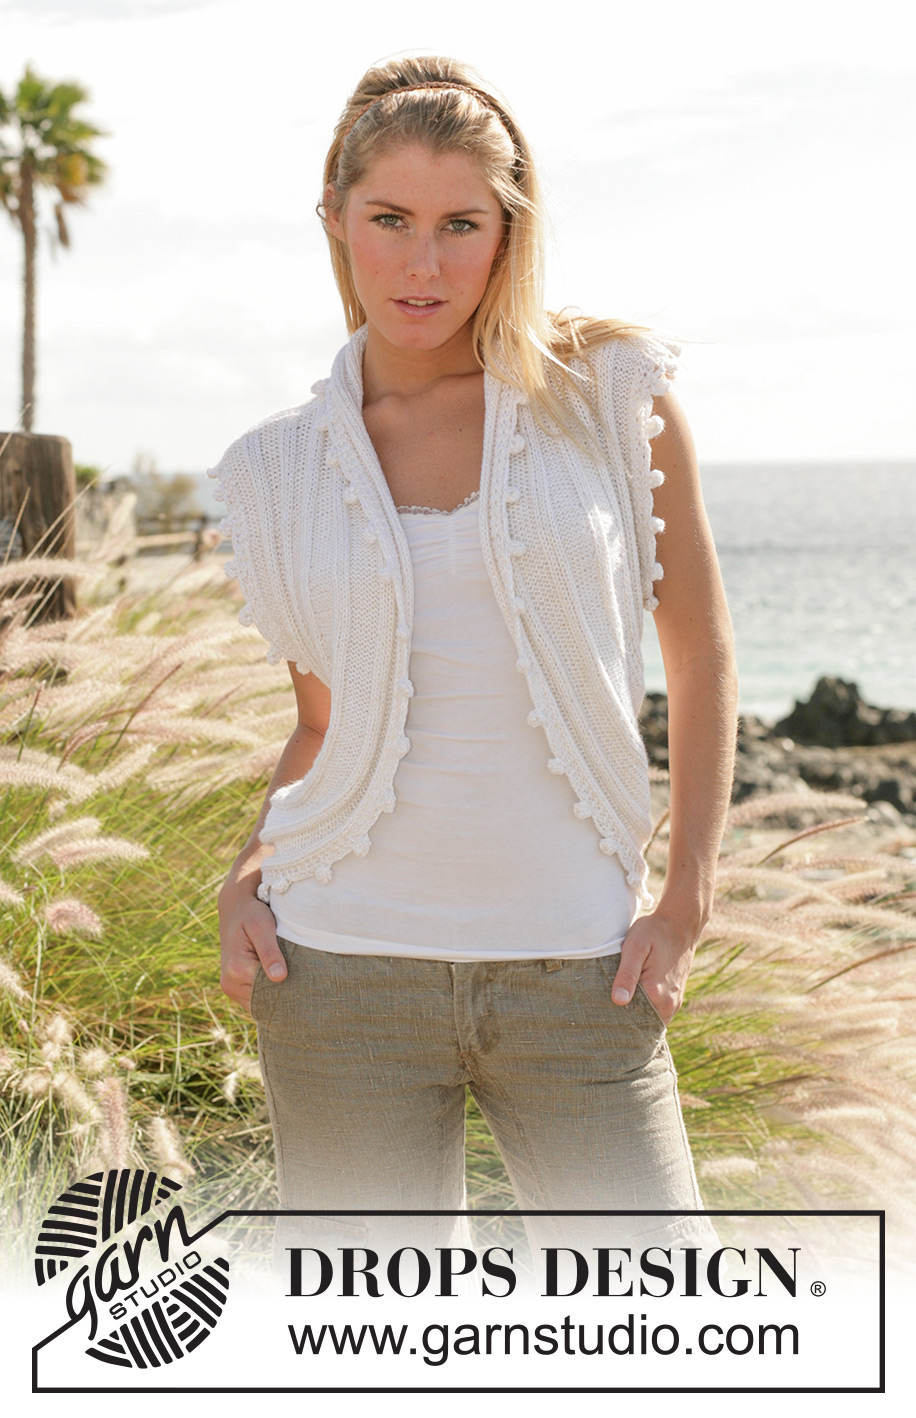
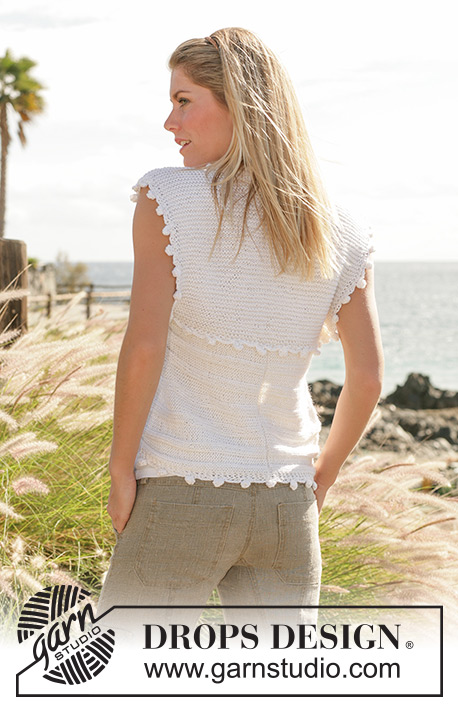
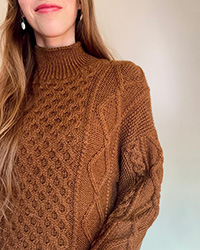
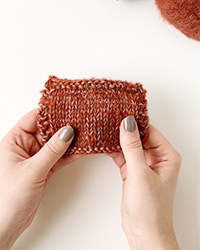
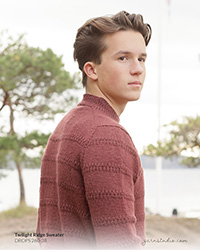
DROPS sleeveless top with rib and crochet borders in “Alpaca” and “Cotton Viscose”.
DROPS 100-35 |
||||||||||||||||||||||
|
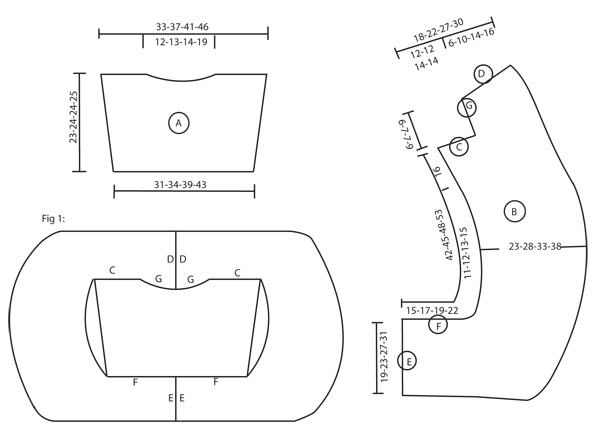
The top is knitted in 3 pieces: 1 back piece (= A) + 2 border pieces (= B). The border pieces are knitted from mid back and up to neck on back piece. They are sewn tog afterwards to form a ring and sewn to back piece. Knitting gauge: 18 sts x 38 rows on needles size 4.5 mm / US 7 with 1 thread of Alpaca and 1 thread of Cotton Viscose (double thread) in garter st = 10 x 10 cm / 4" x 4". 20 sts x 22 rows on needles size 5 mm / US 8 with 1 thread of Alpaca and 1 thread of Cotton Viscose (double thread) in rib = 10 x 10 cm / 4" x 4". Rib: *K3, P5*, repeat from *-*. Garter st, back and forth on needle: Knit all rows. Measuring tip: All measurements on border piece should be made on the shortest side. Knitting tip: When turning mid row slip the first st as if to knit in order to avoid a hole. Assembly tip: Because of varying knitting gauges, number of sts on shoulder and neckline on border piece will not match number of sts on shoulder and neckline on back piece. Therefore these pieces should not be assembled with grafting sts. ____________________________________________________________________ Back piece: Cast on 56-62-70-78 sts on needle size 4.5 mm / US 7 with 1 thread of each quality and knit garter st – see explanation above. When piece measures 10 and 15 cm / 4" and 6" inc 1 st each side = 60-66-74-82 sts. When piece measures 21-22-22-23 cm / 8¼"-8¾"-8¾"-9" bind off the middle 20-22-23-32 sts for neck and work each side separately. Dec 1 st on neckline on next row = 19-21-24-24 sts left on shoulder. Bind off when piece measures 23-24-24-25 cm / 9"-9½"-9½"-9¾". Right edge piece: Read the whole section before knitting it! The cast on row is marked E in chart. Cast on 38-46-54-62 sts on needle size 5 mm / US 8 with 1 thread of each quality and knit as follows, (1st row = RS): 3 garter sts, *K3, P5*, repeat from *-* and finish with 3 garter sts. When piece measures 10 and 14 cm / 4" and 5½" inc 1 st in each P section = 46-56-66-76 sts. When piece measures 15-17-19-22 cm / 6"-6¾"-7½"-8¾" continue as follows: *2 rows on the first 13-23-33-33 sts – see Knitting tip -, 2 rows on the first 23-33-43-53 sts, 2 rows on all sts*, repeat from *-* until piece measures 26-29-32-37 cm / 10¼"-11⅜"-12½"-14½" – see Measuring tip. Now continue on all sts. When piece measures 27-30-33-38 cm / 10⅝"-11¾"-13"-15" and 32-35-38-43 cm / 12½"-13¾"-15"-17" dec 1 st in each P section. XS + S/M: When piece measures 40 cm / 15¾" dec 1 additional st in the 3 outermost P sections towards the left side for size (no dec for the other sizes). After all dec are complete = 35-43-54-62 sts. When piece measures 41-44-47-52 cm / 16⅛"-17¼"-18½"-20½" knit 2 rows with garter st on the outermost 24-24-27-27 sts towards the left and on next row bind off these 24-24-27-27 sts for shoulder = 11-19-27-35 sts left for neckline. Measure piece from this point onwards. Cast on 1 edge st on the left side (knitted in garter st throughout) and continue in Rib with 3 garter sts each side. XL/XXL: At the same time dec 1 st in each P section on the first row = 32 sts. At the same time continue as follows: *2 rows on the first 6-11-19-24 sts, 2 rows on all sts*, repeat from *-*. Bind off when piece measures 6-7-7-9 cm / 2⅜"-2¾"-2¾"-3½" (measured on the shortest side). Left edge piece: Cast on and knit as right front band, but mirrored. Assembly: See chart - read Assembly tip. Sew tog the 2 edge pieces at bottom ledge (E to E) and at neckline (D to D). Sew edge piece to back piece by sewing shoulder seams (C) and lower and upper edge of back piece (G) and (F). Crochet border: Crochet with crochet hook size 5 mm / H/8 and 1 thread Alpaca and 1 thread Cotton Viscose round all edges and along seam at the bottom of back piece as follows: 1 sc in first st, *3 ch, skip approx 2.5 cm / ⅞", 1 sc, ch 4, 1 dc in first ch, 1 sc in the same ch, skip approx 1 cm / ⅜", 1 sc*, repeat from *-*. |
||||||||||||||||||||||
Diagram explanations |
||||||||||||||||||||||
|
||||||||||||||||||||||
 |
||||||||||||||||||||||
 |
||||||||||||||||||||||
Have you finished this pattern?Tag your pictures with #dropspattern #wingsofmoonlightvest or submit them to the #dropsfan gallery. Do you need help with this pattern?You'll find 18 tutorial videos, a Comments/Questions area and more by visiting the pattern on garnstudio.com. © 1982-2025 DROPS Design A/S. We reserve all rights. This document, including all its sub-sections, has copyrights. Read more about what you can do with our patterns at the bottom of each pattern on our site. |
||||||||||||||||||||||

With over 40 years in knitting and crochet design, DROPS Design offers one of the most extensive collections of free patterns on the internet - translated to 17 languages. As of today we count 320 catalogs and 12053 patterns - 12043 of which are translated into English (US/in).
We work hard to bring you the best knitting and crochet have to offer, inspiration and advice as well as great quality yarns at incredible prices! Would you like to use our patterns for other than personal use? You can read what you are allowed to do in the Copyright text at the bottom of all our patterns. Happy crafting!
Post a comment to pattern DROPS 100-35
We would love to hear what you have to say about this pattern!
If you want to leave a question, please make sure you select the correct category in the form below, to speed up the answering process. Required fields are marked *.