
Popular categories
Looking for a yarn?


Comments / Questions (20)
![]() Margret Jenner wrote:
Margret Jenner wrote:
Bei der Kante nehme ich 200 Masche auf die rundnadel wie? Die Teile sind aufeinander gelegt. Nähe ich die schrägen rechts und links zusammen? Was ist oben der Hals und was sind die Arme? Wie stricke ich ganz rund? Bitte zeigen sie mir wie es rund gestrickt wird bei der Kante. Danke
26.01.2026 - 14:40DROPS Design answered:
Liebe Margret, Sie nähen jeweils die schrägen Kanten zusammen, sodass sich die Armausschnitte ergeben. Die rechteckigen "Einkerbungen" sind ja die Armauschnitte. Sie haben ja vom Stricken noch 100 Maschen stillgelegt, die anderen 100 Maschen fassen Sie aus dem Anschlagrand auf. Dann stricken Sie die Kante rundrum, also auf der Skizze an beiden langen Seiten, die ja durch das Zusammennähen aufeinander treffen, sodass rundum gestrickt werden kann. Gutes Gelingen!
06.02.2026 - 12:27
![]() Cheng Sun wrote:
Cheng Sun wrote:
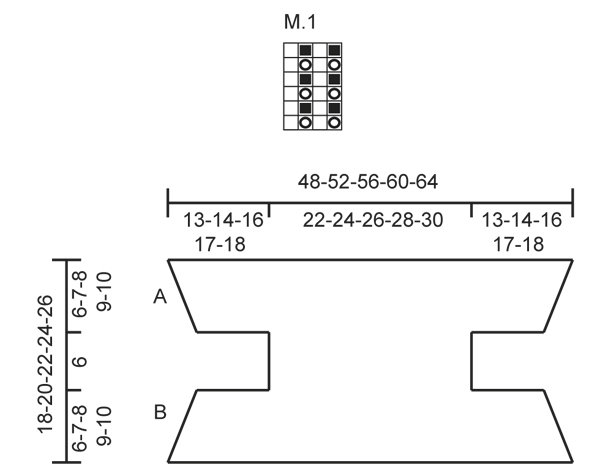
I think I might need to unravel my work. I need your clarification. So when instructions saying "until piece measures 12-13-14-15-16 cm", is this measured from the bottom of the piece (the very beginning of the piece, row 0, ie. casting row) or from the 1st row of the 40 stitches section ? Also in diagram M1, are those numbers measurements, if so are they in cm? "each side = 40-44-46-50-54 sts remain on needle. Continue to work in garter st until piece measures 12-13-14-15-16 cm."
14.08.2023 - 23:21DROPS Design answered:
Hi Cheng, The measurements are from the cast-on edge (the complete length). Happy knitting!
15.08.2023 - 06:42
![]() Cheng Sun wrote:
Cheng Sun wrote:
I am at ASSEMBLY step of Pixie pattern size 3/4. It is very confusing. My questions: 1. After I place A against B (as shown in diagram), do I sew the slant sides together? And then also sew the horizontal sides together? Are the vertical sides arm holes. 2. I plan to make a 2nd one, size 5/6. I was unable to find enough DROPS Symphony yarns. Will Melody be 1:1 (exact weight or gauge) replacement?
11.08.2023 - 08:52DROPS Design answered:
Dear Cheng Sun, sew the both slanted lines A and B together, you will have a hole: cast off stitches, part worked straight and cast on stitches, these holes are for armholes. DROPS Symphony is now discontinued, DROPS Melody is a good alternative but, as always, remember to check your gauge and adjust the needle size if needed. Happy knitting!
11.08.2023 - 09:58
![]() Rene Badenhorst wrote:
Rene Badenhorst wrote:
Please explain the diagram M1 of pattern WW-003. Many thx
06.12.2022 - 14:51
![]() Rene Badenhorst wrote:
Rene Badenhorst wrote:
Please can you explain how to knit the M1 diagram of the bolero pattern WW-003. THX very much:)
06.12.2022 - 14:50DROPS Design answered:
Dear Mrs Badenhorst, sure you will work the first and 3rd stitch in M.1 as for the knitted stitches in English rib worked in the round - see also this video - the 2nd and 4th stitch in M.1 will be purled on every round (not worked like the stitch in the video). Happy knitting!
06.12.2022 - 16:27
![]() Paty wrote:
Paty wrote:
I think the pattern is confusing regarding the decreases sequences ; pattern reads : bind off 1 at the beg of every row 14 times on each end and then BO 1 at the beginning of every row 16 times on each end ; to me, this means 30 decreases altogether worked on a total of 30 rows to get 9 cm ; but to get 28 cm it is 60 decreases ; so pattern should read : bind of 1 at the beginning of 1st 2 rows and then K2 tog on every row 28 times which gives 30 rows to get 9cm
05.10.2022 - 12:58
![]() Robyn M Sutherland wrote:
Robyn M Sutherland wrote:
I dont understand this procedure Place A against B - see chart - and sew tog inside 1 edge st. This is done on both sides of piece., can you please make it clearer to me. The pattern of M1 , can i do just stocking stitch for this knit and purl every row, will it make any difference to the shaping of the bolero
01.10.2022 - 05:34DROPS Design answered:
Dear Robyn, you can work knit and purl instead of M.1; it won't affect shaping, only the pattern or motif in the bolero. Sew in the chest to join the armhole on each side (A and B is only represented on one side but would also refer to the other side). Happy knitting!
03.10.2022 - 01:07
![]() Christine Seikel wrote:
Christine Seikel wrote:
Frage zu DROPS Weste Modell WW-003-bn Ich finde die Weste total süß und möchte diese für meine Enkeltochter nachstricken. In der Anleitung, welche ich mir ausgedruckt habe, ist als Muster "Krausrippe" und Diagramm M1 angegeben. Ich kann in der Anleitung nicht erkennen, an welcher Stelle diese M1 gestrickt wird. Könnten sie mir helfen? Freue mich auf Rückmeldung LG Christine Seikel
19.02.2021 - 15:36DROPS Design answered:
Liebe Frau Seikel, M.1 wird bei der Kante gestrickt (zuerst stricken Sie 1 re, 1 li, dann mit M.1 (= Vollpatent). Viel Spaß beim stricken!
19.02.2021 - 16:06
![]() Nerea wrote:
Nerea wrote:
Buona sera, vorrei fare questo modello pixie, ma con il filato Drops brushed, con due fili. Ho provato con il convertitore dei fili ma non mi dà questa alternativa. Come mai? Grazie
09.02.2021 - 20:01DROPS Design answered:
Buonasera Nerea, il convertitore non glielo indica perchè Simphony appartiene al gruppo D e Brushed Alpaca Silk al gruppo C. Provi a leggere qui le informazioni sulla sostituzione dei filati. Buon lavoro!
09.02.2021 - 21:59
![]() Doreen Thorntonb wrote:
Doreen Thorntonb wrote:
The wool recommend Drops 4 symphony has been discontinued. Love the knit pattern so what type or thickness of yarn should I purchase ?
15.01.2021 - 22:28DROPS Design answered:
Dear Mrs Thorntonb, you can use Brushed Alpaca Silk + BabyMerino or Melody - Read more about alternatives here. Happy knitting!
18.01.2021 - 08:03
|
||||||||||
Pixie#pixievestbolero |
||||||||||
 |
 |
|||||||||
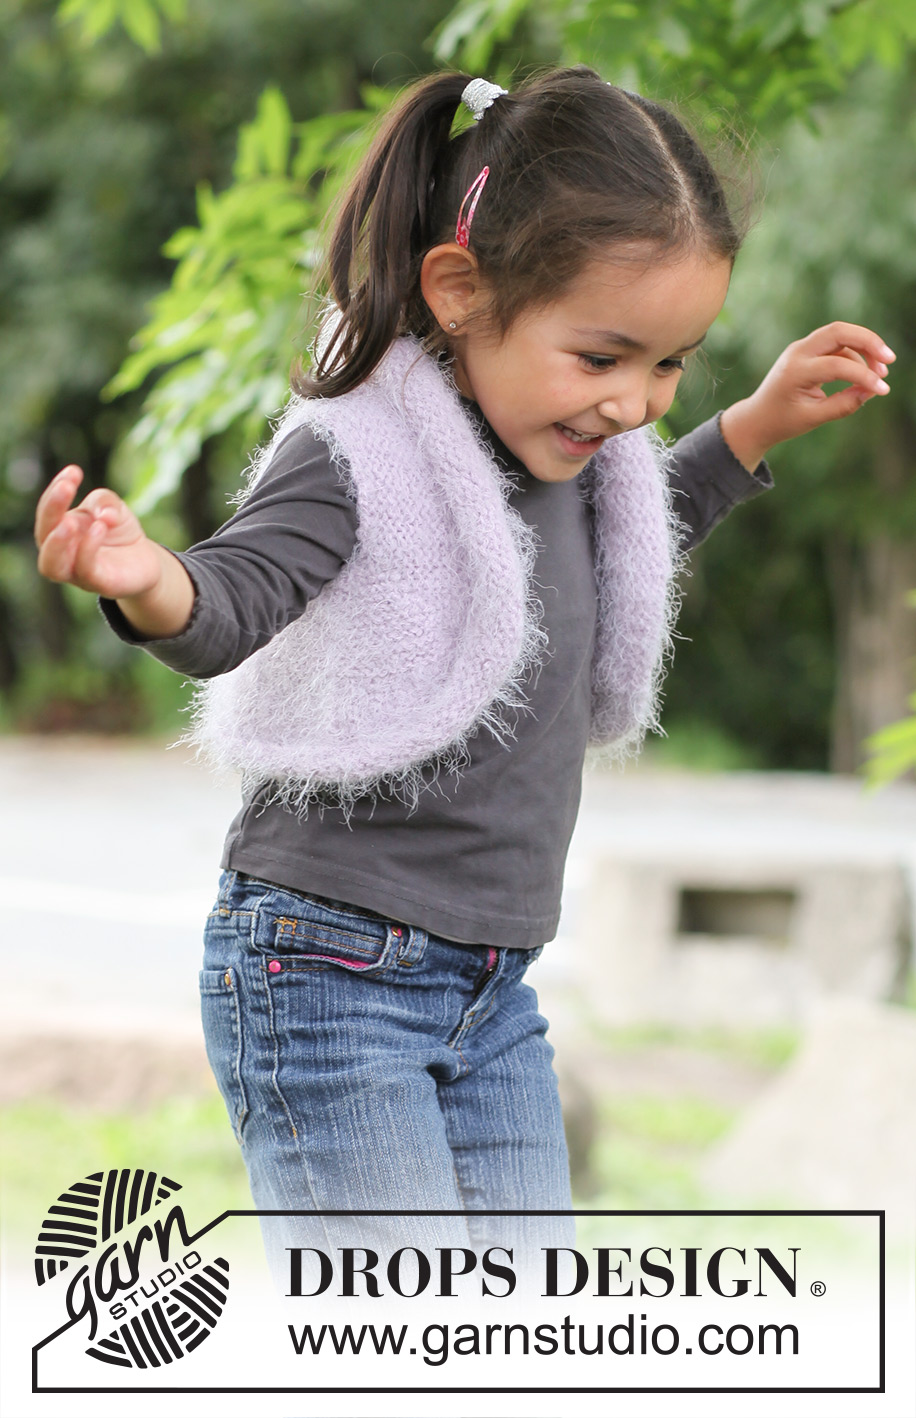
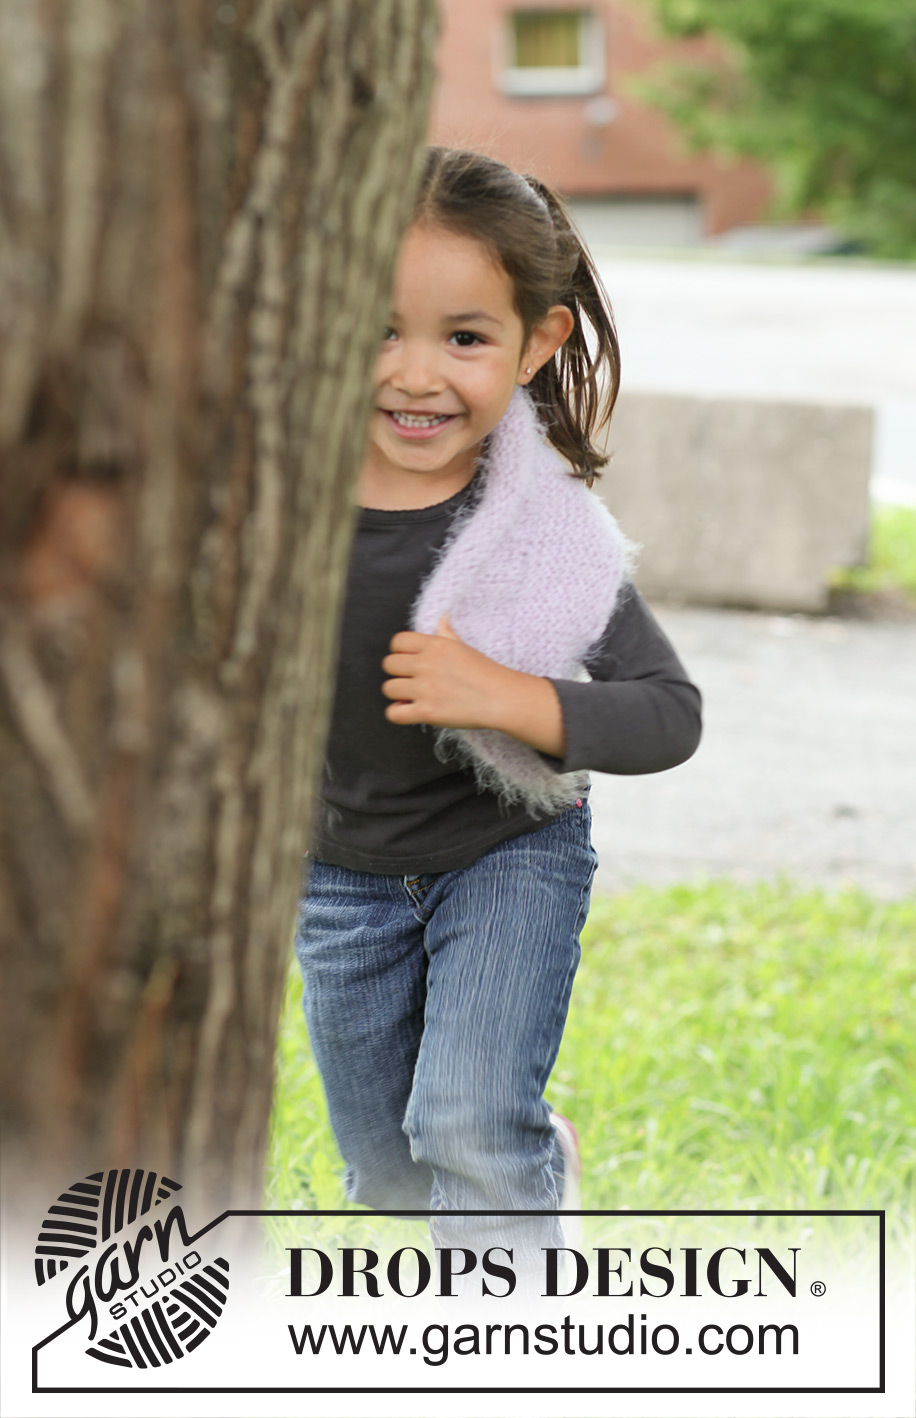
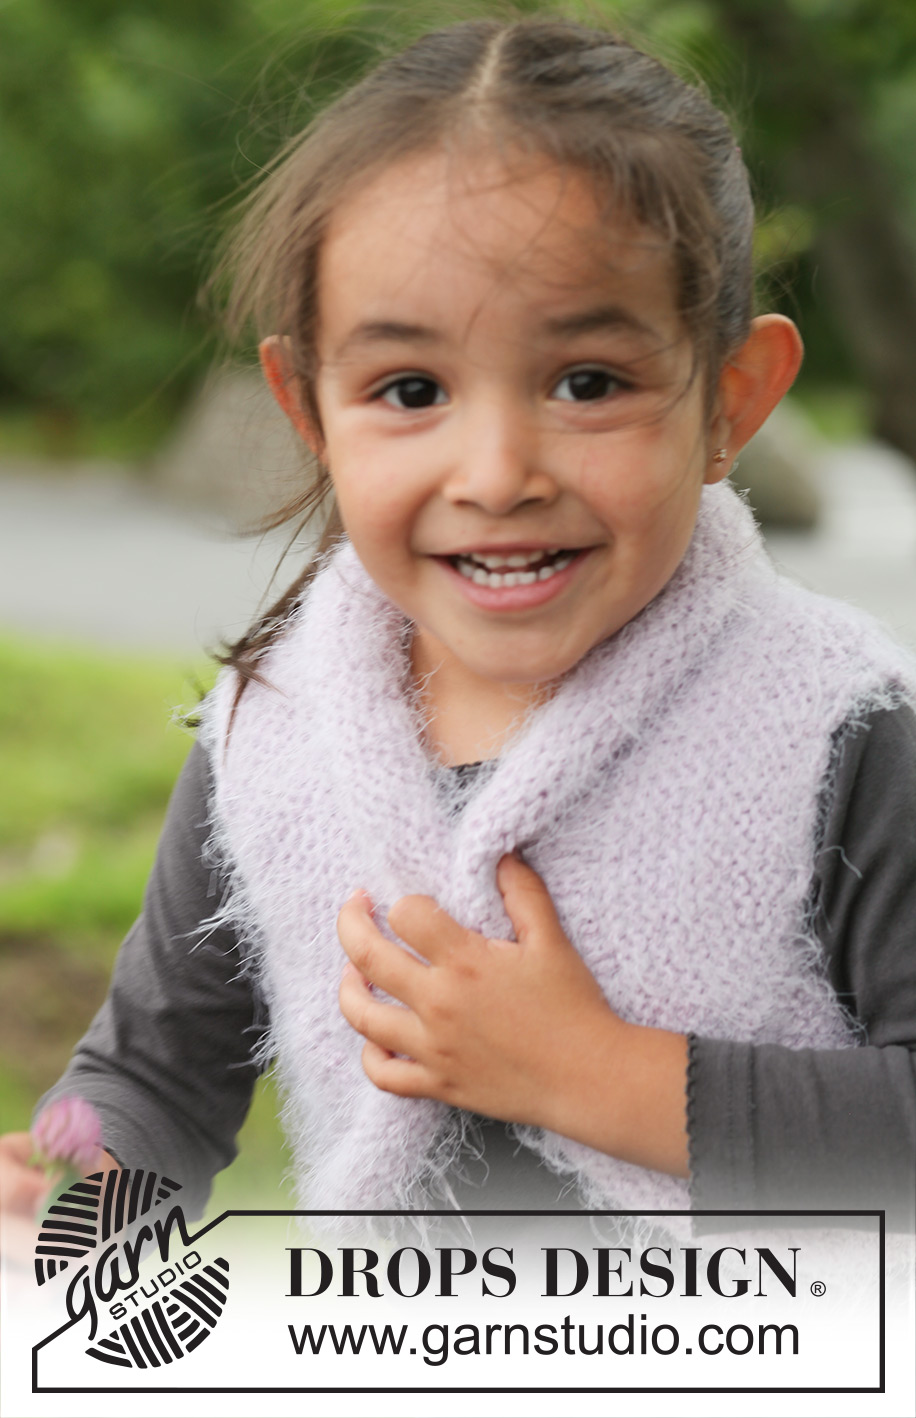
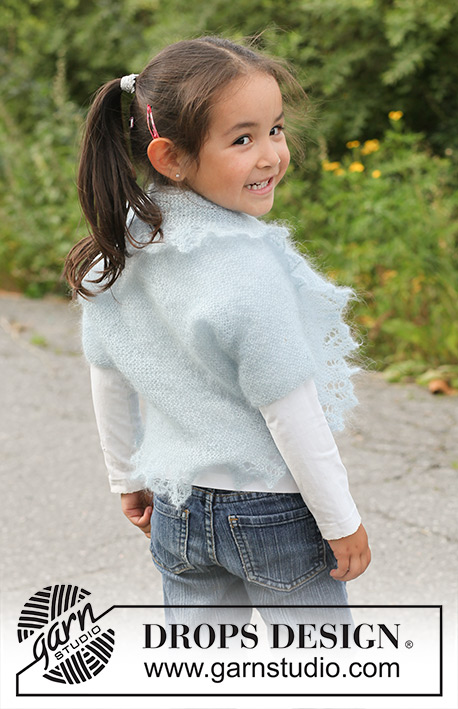
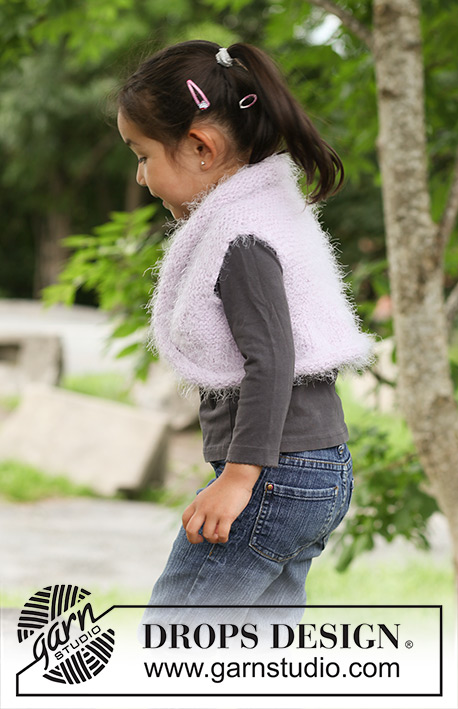
Small knitted DROPS bolero in ”Symphony”. Size 3 - 12 years.
DROPS Children 22-19 |
||||||||||
|
GARTER ST (back and forth on needle): K all rows. PATTERN: See diagram M.1. --------------------------------------------------------- BODY: Worked back and forth on circular needle. Cast on 88-96-102-110-120 sts (incl 1 edge st in each side) on circular needle size 4.5 mm with Symphony. Work in GARTER ST over all sts – see explanation above – AT THE SAME TIME on on 2nd row, cast off 1 st at beg of every row 9-11-12-14-16 times in each side, and then cast off 15-15-16-16-17 sts 1 time in each side = 40-44-46-50-54 sts remain on needle. Continue to work in garter st until piece measures 12-13-14-15-16 cm. Now loosely cast on new sts at the end of every row:15-15-16-16-17 sts 1 time in each side and then 1 st 9-11-12-14-16 times in each side = 88-96-102-110-120 sts. Piece now measures approx. 18-20-22-24-26 cm. On next row cast off 1 st at beg and end of row, then slip sts on a stitch holder. ASSEMBLY: Place A against B - see chart - and sew tog inside 1 edge st. This is done on both sides of piece. EDGE: Worked in the round on circular needle. Slip sts from stitch holder back on circular needle and knit up 86-94-100-108-118 sts (1 st in every st) along the cast on edge = 172-188-200-216-236 sts. Work first round as follows: * K 1, P 1 *, repeat from *-* the entire round. Then work diagram M.1. When edge measures 8-9-9-10-10 cm, LOOSELY cast off sts with K over K and P over P. CROCHET BORDER: Crochet on hook size 5 mm around the entire edge of the bolero + around the armholes as follows: 1 dc in first st, * 3 ch, skip approx. 1 cm, 1 dc in next st *, repeat from *-* and finish with 1 sl st in dc from beg of round. |
||||||||||
Diagram explanations |
||||||||||
|
||||||||||
 |
||||||||||
Have you finished this pattern?Tag your pictures with #dropspattern #pixievestbolero or submit them to the #dropsfan gallery. Do you need help with this pattern?You'll find 12 tutorial videos, a Comments/Questions area and more by visiting the pattern on garnstudio.com. © 1982-2026 DROPS Design A/S. We reserve all rights. This document, including all its sub-sections, has copyrights. Read more about what you can do with our patterns at the bottom of each pattern on our site. |
||||||||||


With over 40 years in knitting and crochet design, DROPS Design offers one of the most extensive collections of free patterns on the internet - translated to 17 languages. As of today we count 324 catalogues and 12290 patterns translated into English (UK/cm).
We work hard to bring you the best knitting and crochet have to offer, inspiration and advice as well as great quality yarns at incredible prices! Would you like to use our patterns for other than personal use? You can read what you are allowed to do in the Copyright text at the bottom of all our patterns. Happy crafting!
Post a comment to pattern DROPS Children 22-19
We would love to hear what you have to say about this pattern!
If you want to leave a question, please make sure you select the correct category in the form below, to speed up the answering process. Required fields are marked *.