
Popular categories
Looking for a yarn?


Comments / Questions (13)
Maria Del Carmen wrote:
Todo esta lindo , precioso pero hay un detalle los patrones no son muy claros para poder hacerlo , me encantaría aprender sobre todo las chalinas y chales para esta temporada . Gracias
07.05.2015 - 18:05
![]() Ann-Charlotte Andersson wrote:
Ann-Charlotte Andersson wrote:
Väldigt tjusig sjal! Men finns det verkligen inga bättre allternativ till 'salsa' som är utgånget? Tycker inte era ersättnings-garner motsvarar förväntningarna.
09.02.2015 - 11:00DROPS Design answered:
Hej Ann-Charlotte, Nej tyvärr, Salsa var ett blankt bandgarn och det har vi inte i sortimentet. Här hittar du hela sortimentet: https://www.garnstudio.com/yarns.php?cid=12
09.02.2015 - 11:10
![]() Sonja wrote:
Sonja wrote:
Drops Salsa ist leider ausverkauft. Die vorgeschlagenen Alternativen verändern das Produkt zu sehr. Könnte man evtl Drops Cotton Viscose statt Salsa nehmen? Was meint ihr?
27.04.2014 - 08:04DROPS Design answered:
Liebe Sonja, Cotton Viscose würde optisch besser passen, allerdings ist das Garn viel dünner als Salsa. Da das Tuch jedoch sehr locker gestrickt wird und eine Loch-Optik hat und Sie das Tuch nach Bedarf so groß stricken können, wie Sie möchten, könnten Sie in diesem Fall versuchen, Cotton Viscose zu verwenden, vielleicht mit doppeltem Faden. Es wäre in jedem Fall angeraten, vorab eine Strickprobe zu machen, dann können Sie entscheiden, wie Ihnen das Ergebnis gefällt.
28.04.2014 - 10:30
![]() Ineke wrote:
Ineke wrote:
Het alternatief voor salsa dat u aangeeft klopt niet. Salsa is een lintgaren en het alternatief niet. Ik heb Bomull Lin garen gekocht, die u aanbeveeld, maar het resultaat is heel anders dan u laat zien. Het breisel hangt en is heel los. Kunt u aangeven wat wel het juiste alternatief is?
23.03.2013 - 11:48DROPS Design answered:
Bomull-Lin is een mogelijk alternatief (valt in dezelfde categorie stekenverhouding), maar inderdaad geen lintjesgaren zoals te zien is op het kleurenkaart. Wij hebben geen lintjesgaren meer in de collectie, maar probeer bij je breiwinkel te vragen, misschien weten ze een alternatief van een andere merk.
28.03.2013 - 12:11
![]() Mariél wrote:
Mariél wrote:
Er staat: "Zet losjes 3 st op met breinld 20 mm en 1 draad van beide garens (= 2 draden)." Wordt er bedoeld dat je breit met 1 draad Salsa en 1 draad Vivaldi? Ene draad is dikker dan andere draad? En heb je dan genoeg aan opgegeven 50 gram vivaldi gezien je hiermee hele sjaal breit en ook nog de rand afhaakt?
18.03.2013 - 12:14
![]() G. Van Groeningen wrote:
G. Van Groeningen wrote:
Ik ben dit patroon aan het breien en heb alle instructies gevolgd maar inplaats van een open (gaatjes) patroon heb ik een dicht patroon. Wat doe ik verkeerd.
22.02.2013 - 16:45DROPS Design answered:
In de 7e nld maak je tussen elke st en omslag. Deze omslag moet je in de volgende nld laten vallen (= Dwz, gewoon van de nld laten vallen - niet breien). Daarbij kan het ook aan het garen liggen. Salsa bestaat niet meer, maar gebruik je een bandjes/lintjes garen en met breinaald 20 mm wordt het behalve de gevallen omslagen ook heel losjes gebreid.
22.02.2013 - 17:03
![]() Marion wrote:
Marion wrote:
In de 7e nld van M.1 komen er 2 omsl naast de kantst. Er staat : Laat de ene omsl vallen in de 8e nld – en brei de tweede omsl recht zoals hierboven is beschreven. Ik zie nergens in de teltekening twee omslagen achter elkaar? Overal zitten er twee of een recht tussen. Er staat ook : Begin de meerderingen in de 1e nld = goede kant, terwijl er in de zin daarvoor staat dat je in elke twee naald moet meerderen?
13.02.2012 - 16:14DROPS Design NL answered:
1e vraag: De teltekening klopt. 2e vraag: Tegelijkertijd met de omsl in de teltekening meerder je ook steeds aan de zijkanten door een omsl te maken (zie tip meerderen). De eerste nld is de goede kant, je breit dan terug zonder meerderingen (verkeerde kant). In de volgende nld op de goede kant meerdert je weer (= elke tweede nld).
14.02.2012 - 12:43
![]() Marion wrote:
Marion wrote:
Bij de uitleg van de teltekening staat bij de 0 , maak losjes een omslag en laat deze in de volgende naald vallen. Klopt dit?
13.02.2012 - 16:13
![]() Titti wrote:
Titti wrote:
Hej! Jag är återförsäljare för era garner och håller på med mönster 100-25. Undran: ska varv 7 stickas så här: 1 rm, 2 omsl, M1 (1rm, 1 omsl, 2rm, 1 omsl osv) får då ej till det i slutet av varvet om det ska sluta på 1rm, 2 omsl och 1rm. Snälla tänker jag rätt eller fel. Har ni stickat hårt? Tackar på förhand för snaraste besked. MVH Titti :)
27.03.2007 - 15:22
![]() Marianne wrote:
Marianne wrote:
Super flot
03.01.2007 - 19:25
|
||||||||||
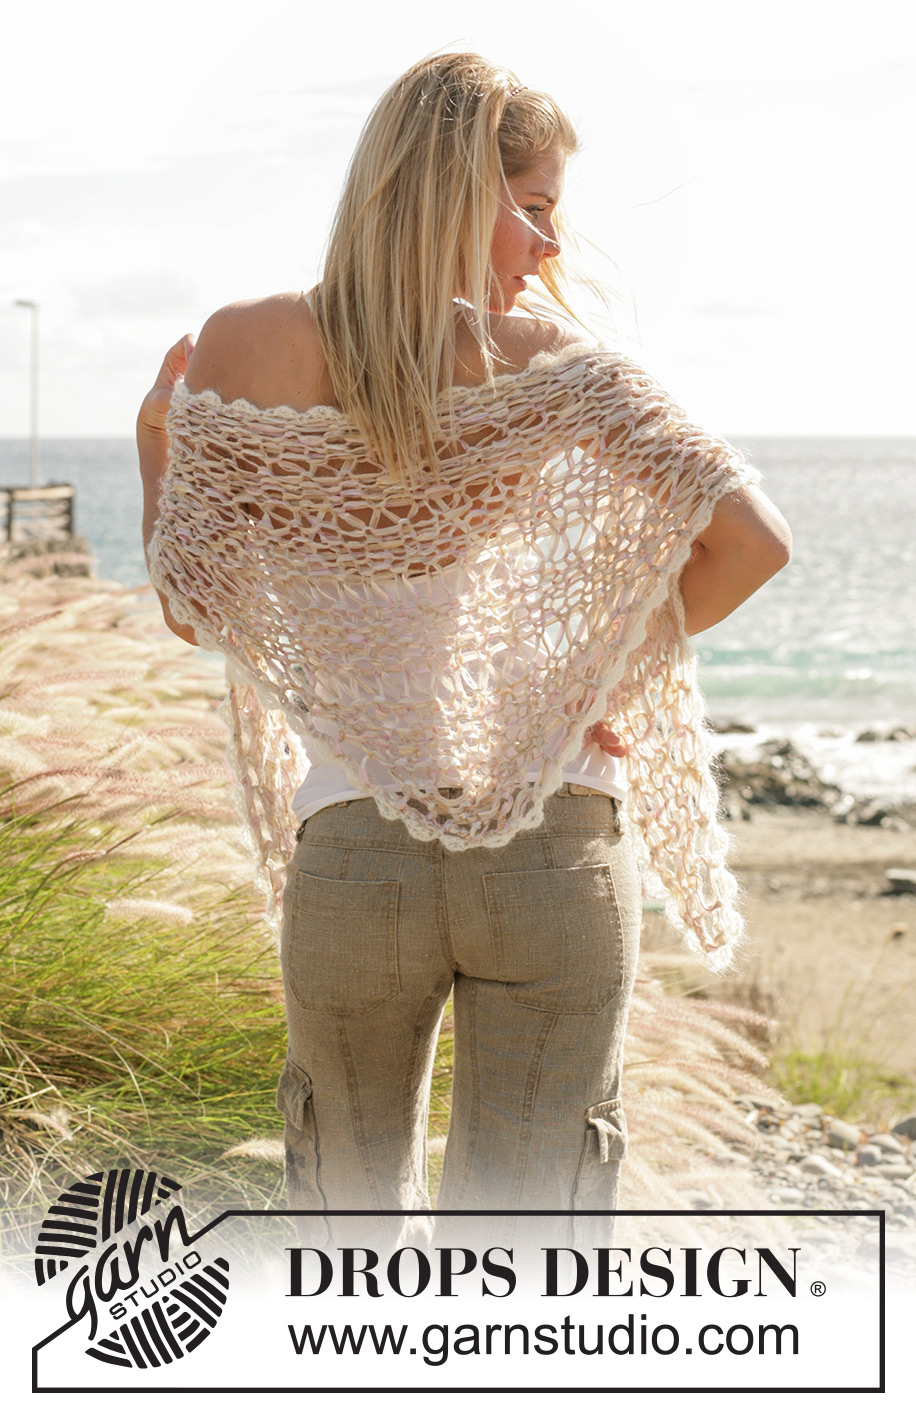
Spun Sugar Shawl#spunsugarshawl |
||||||||||
|
|
||||||||||
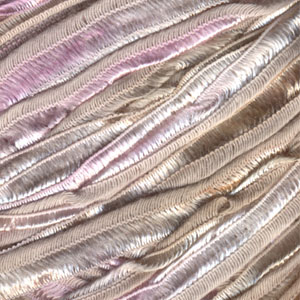
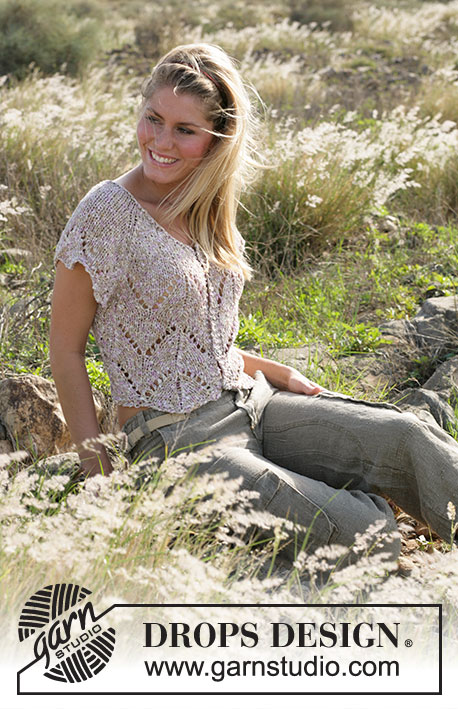
DROPS loosely knitted shawl with a lace pattern knitted in “Salsa” and “Vivaldi”.
DROPS 100-25 |
||||||||||
|
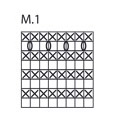
Knitting tension: 4.5 to 5 sts of the lace pattern with 1 thread of each quality = width 10 cm. Pattern: See diagram M.1. The diagram is seen from the RS. Increasing tips: Inc. 1 st inside the first and the last st each side on every other row the whole way up. Begin to inc. at the 1st row = the RS. Inc. as follows: Make a yo, on the returning row K the yo as if it was a st. – Note: On the 7th row of M.1 make 2 yo’s inside the first and the last st, on the 8th row slip the extra yo as explained in the diagram text and K the other yo as explained above. SHAWL Loosely cast on 3 sts on pointed needles size 20 mm with 1 thread of each quality (= 2 threads in total). Knit M.1 at the same time inc. 1 st each side on every other row – see increasing tips above. When the piece measures approx. 75 cm mid back (hold up the piece when doing the measurements), or the length you wish, cast off loosely – NB: to avoid the casting off edge becoming too tight make a yo after every 2 sts at the same time as casting off (cast off the yo’s as a st). Crochet edge: Crochet an edge around the whole shawl with hook size 7 mm and 2 threads of Vivaldi as follows (crochet a little closer at the corners to avoid the edge becoming too tight): 1 dc in the first st, *5 ch, 1 dtr in the first of the 5 ch, skip approx 3-4 cm, 1 dc in the next st*, repeat from *-* around the whole edge of the shawl and finish with 1 sl st in the first dc at the beginning of the round – NB: Make sure the edge doesn’t become wavy. |
||||||||||
Diagram explanations |
||||||||||
|
||||||||||
 |
||||||||||
Have you finished this pattern?Tag your pictures with #dropspattern #spunsugarshawl or submit them to the #dropsfan gallery. Do you need help with this pattern?You'll find 10 tutorial videos, a Comments/Questions area and more by visiting the pattern on garnstudio.com. © 1982-2025 DROPS Design A/S. We reserve all rights. This document, including all its sub-sections, has copyrights. Read more about what you can do with our patterns at the bottom of each pattern on our site. |
||||||||||


With over 40 years in knitting and crochet design, DROPS Design offers one of the most extensive collections of free patterns on the internet - translated to 17 languages. As of today we count 320 catalogues and 12067 patterns translated into English (UK/cm).
We work hard to bring you the best knitting and crochet have to offer, inspiration and advice as well as great quality yarns at incredible prices! Would you like to use our patterns for other than personal use? You can read what you are allowed to do in the Copyright text at the bottom of all our patterns. Happy crafting!
Post a comment to pattern DROPS 100-25
We would love to hear what you have to say about this pattern!
If you want to leave a question, please make sure you select the correct category in the form below, to speed up the answering process. Required fields are marked *.